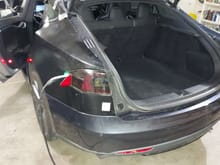
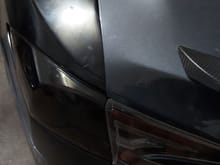
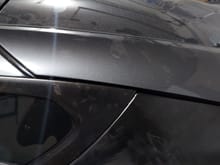
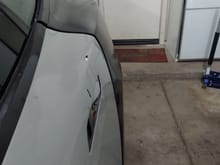
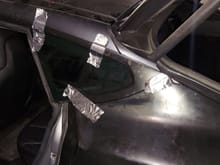
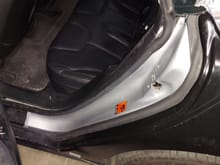
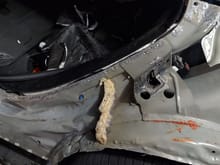
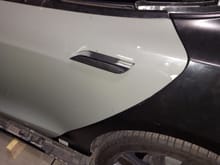
The large gap at the top is simply Tesla build quality. That gap is where the trunk meets the roof. I don't think that has anything to do with the accident. I read in a tesla repair manual at one point a 10mm gap was acceptable, ha. Now where the quarter panel meets the trunk, that's all my doing. In person it looks acceptable. It's a tricky transition. The top of the trunk in the picture has a vertical gap. Near the taillight the trunk gap is horizontal.