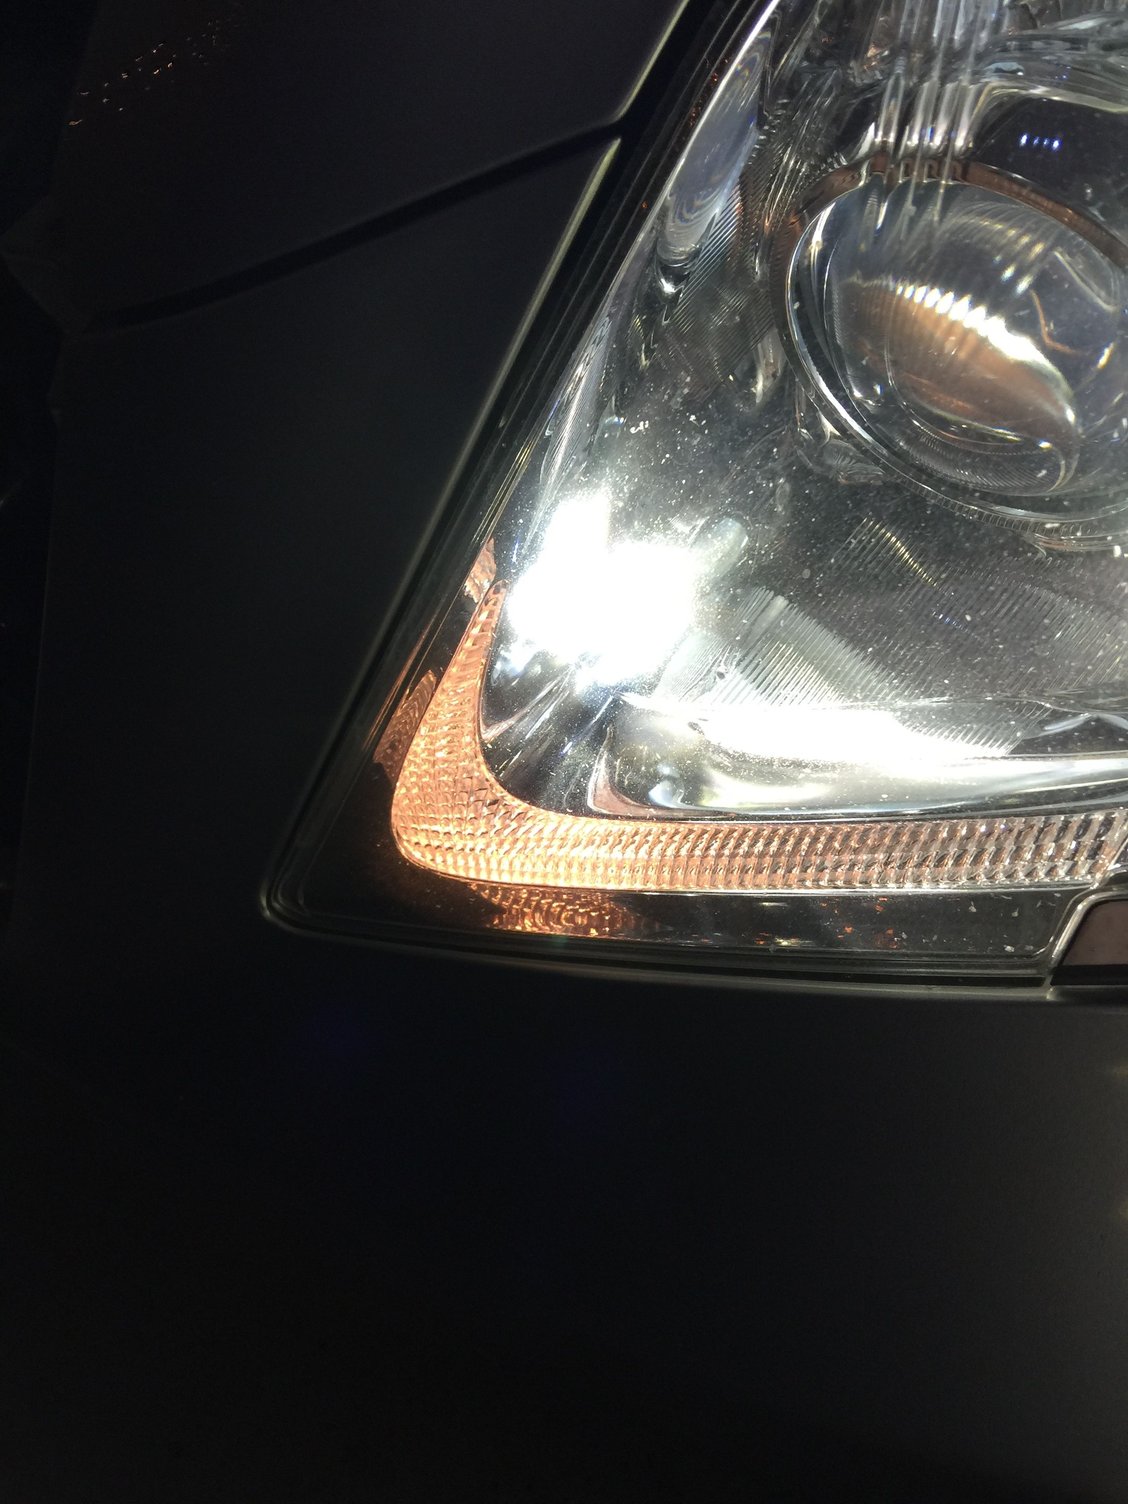
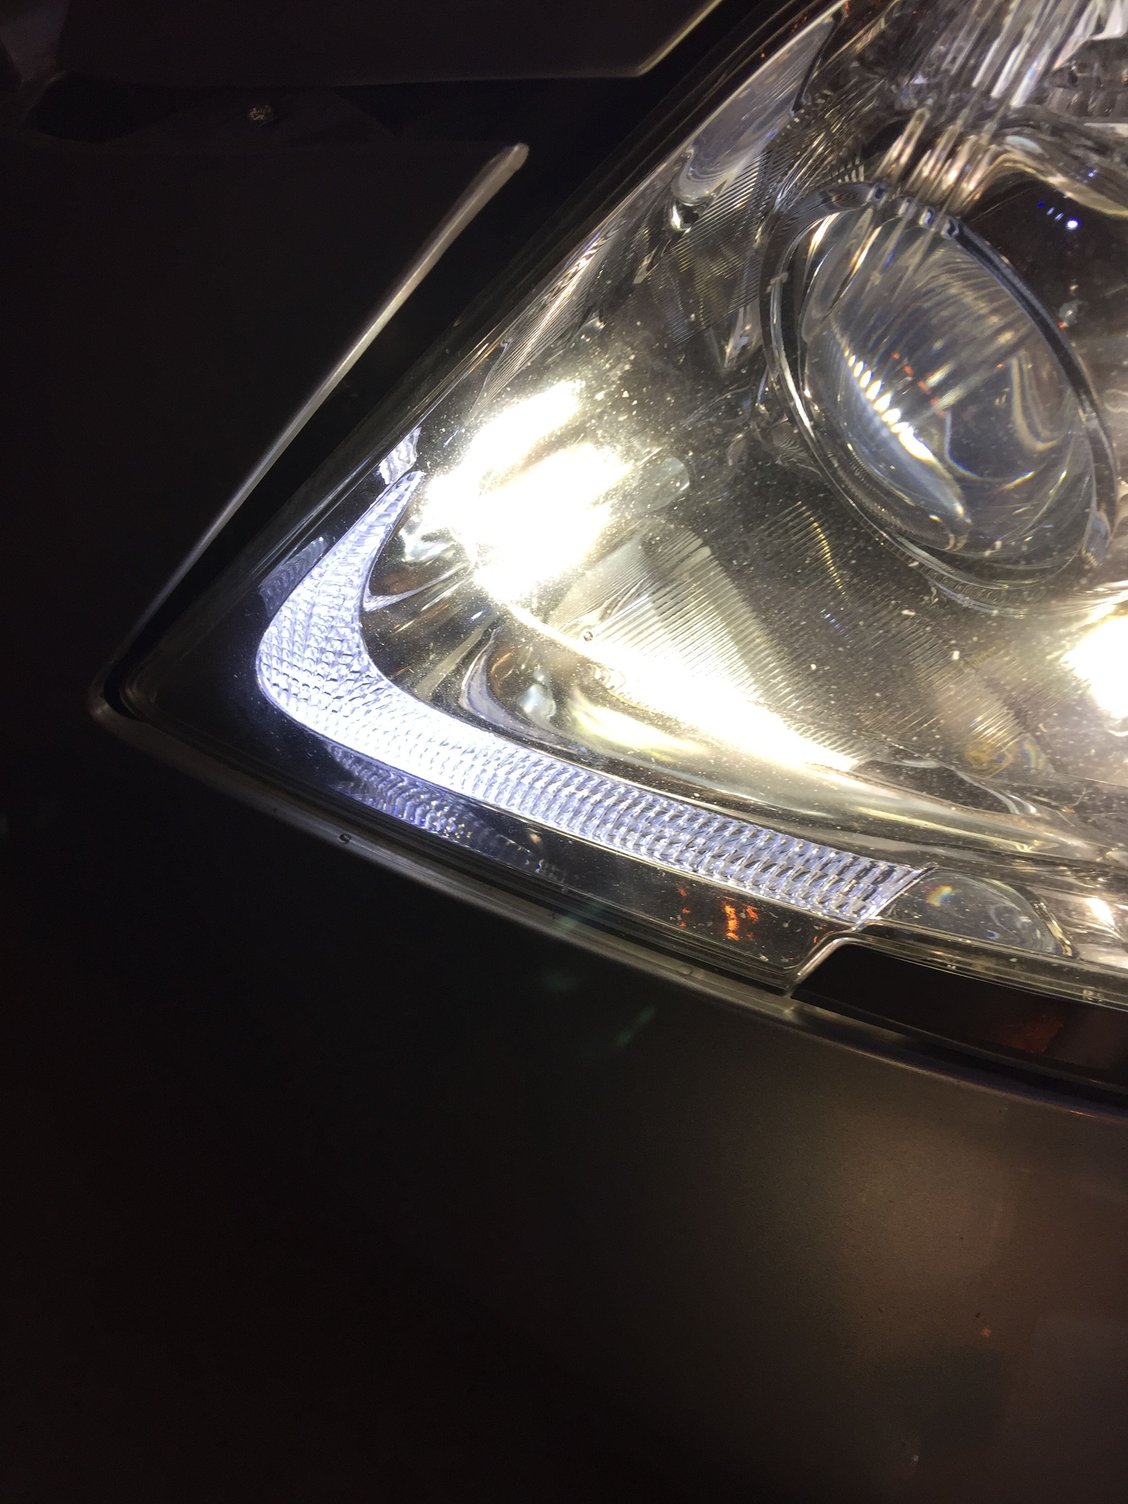
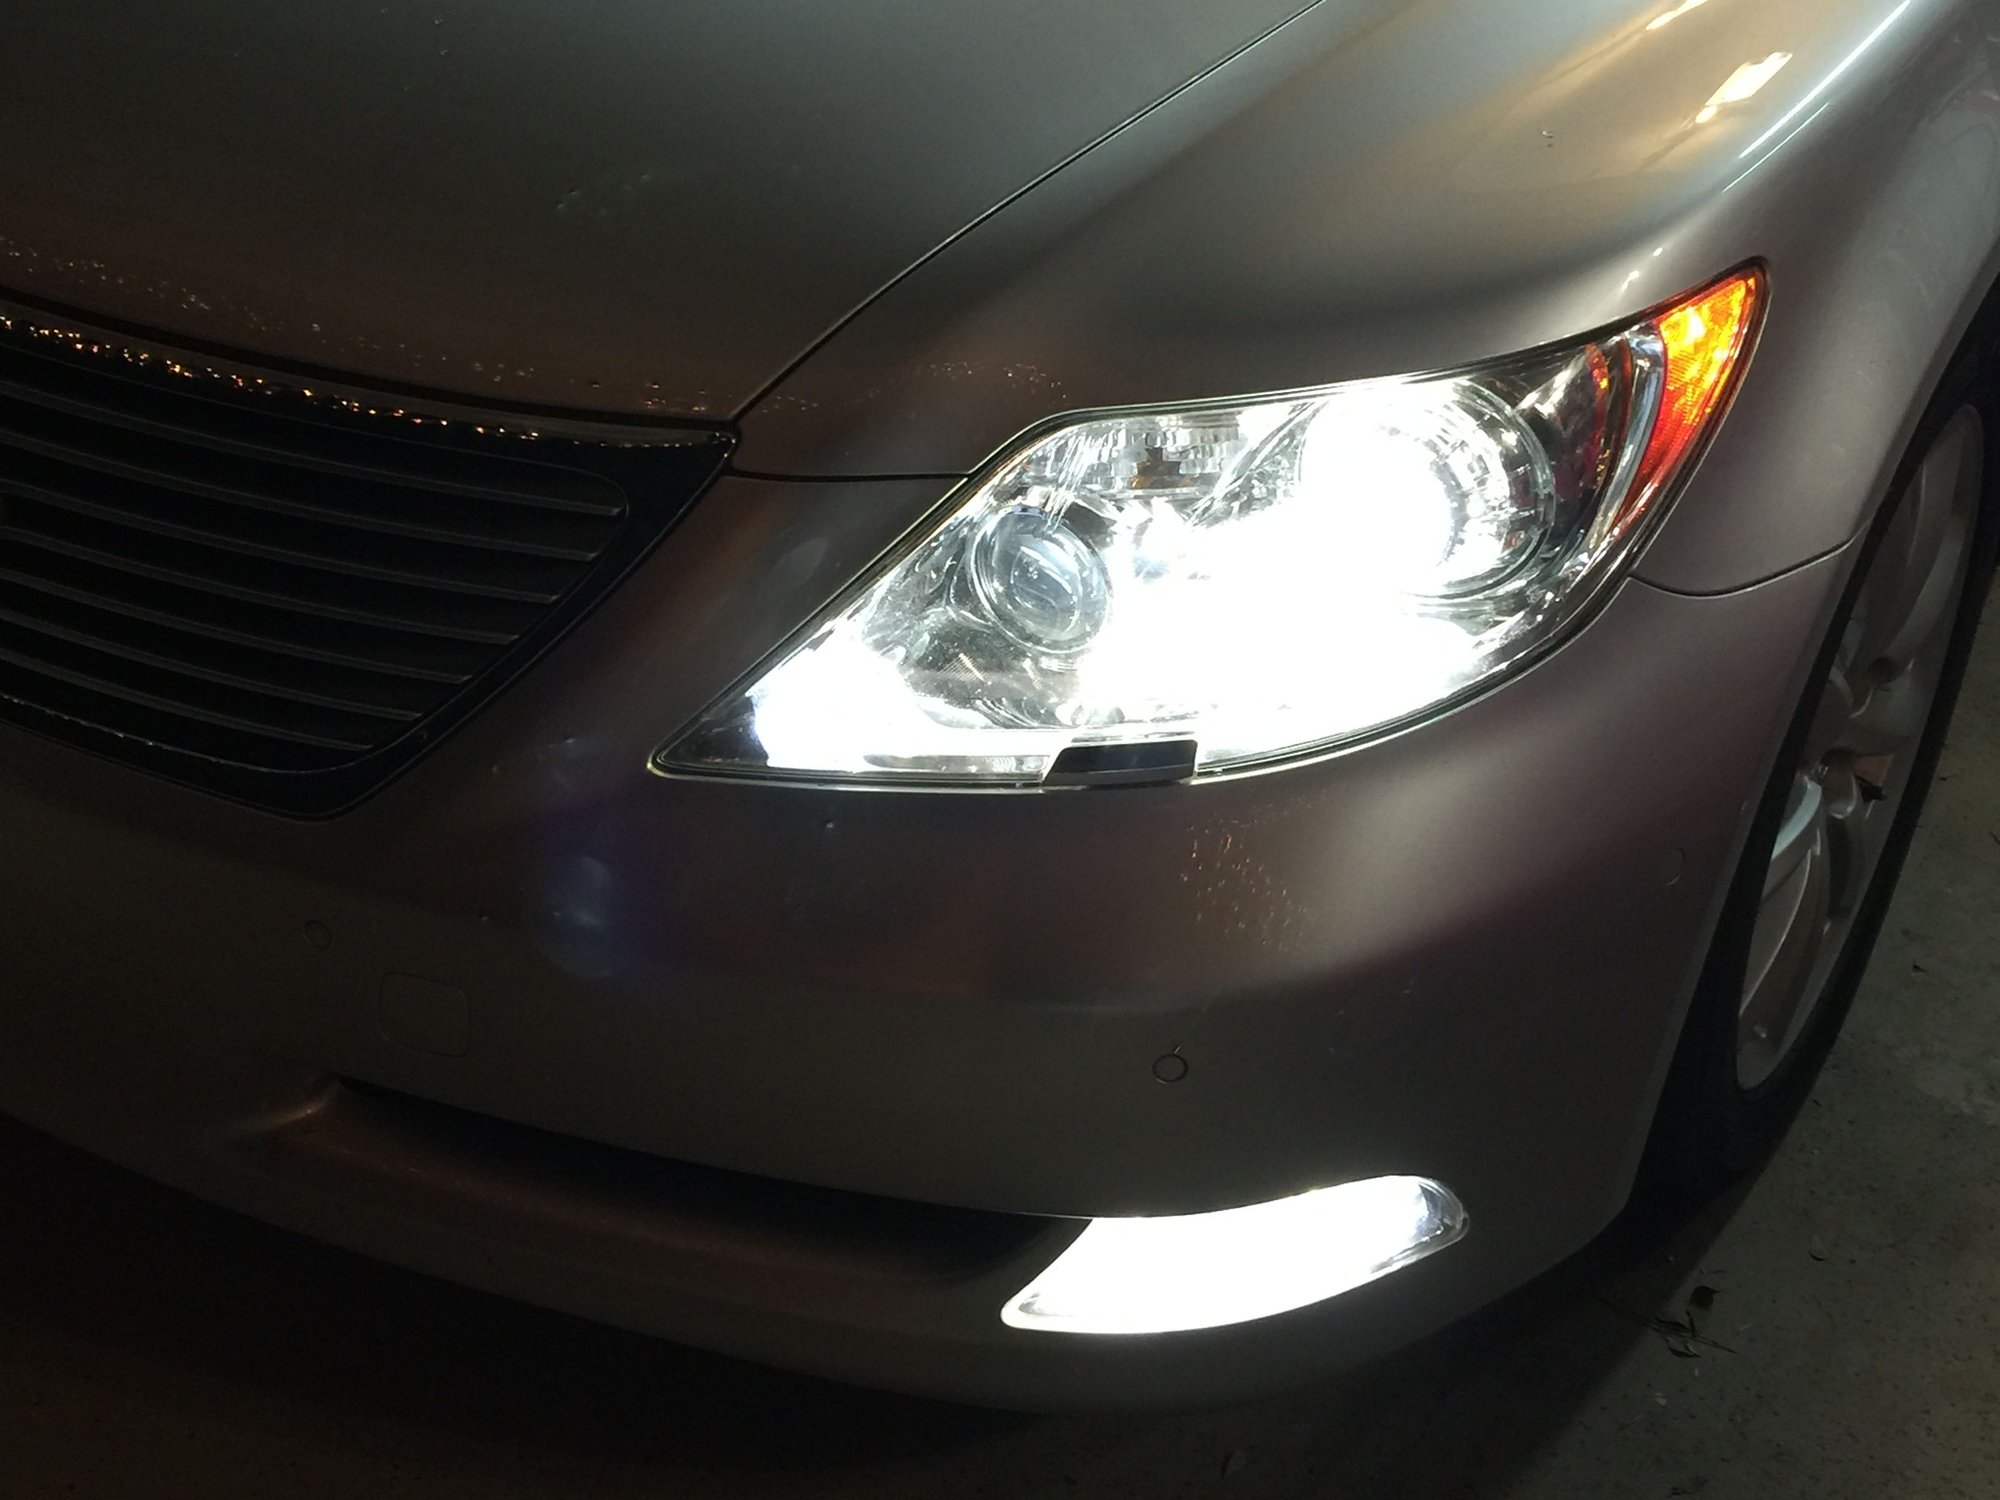
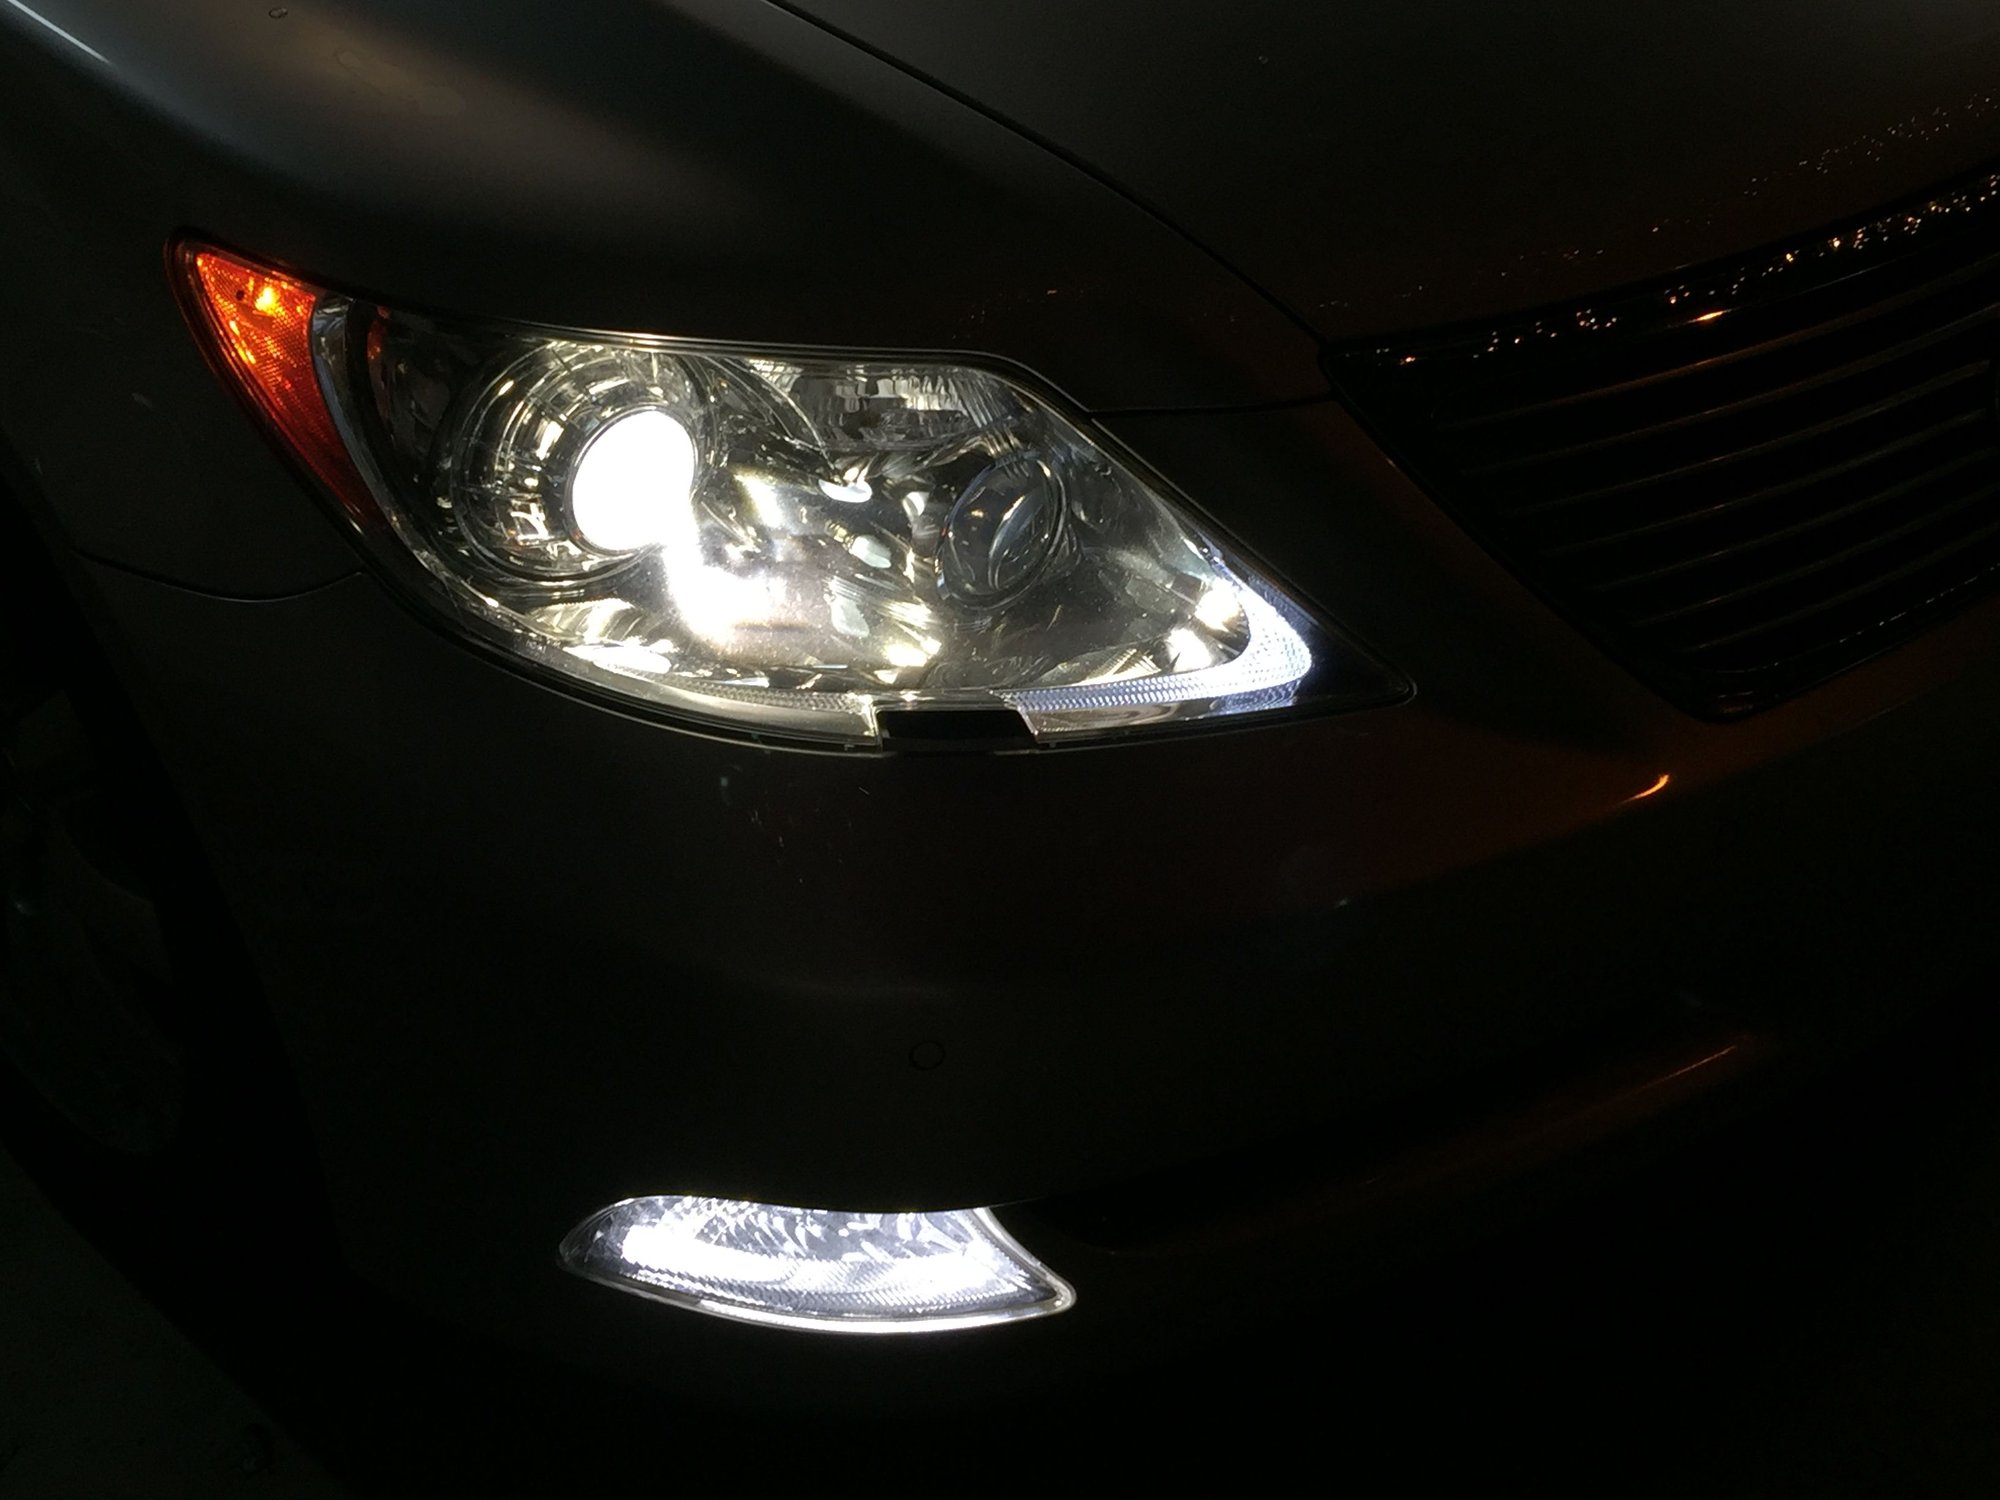
corner light bulb swap
#226
Lexus Champion
Thread Starter
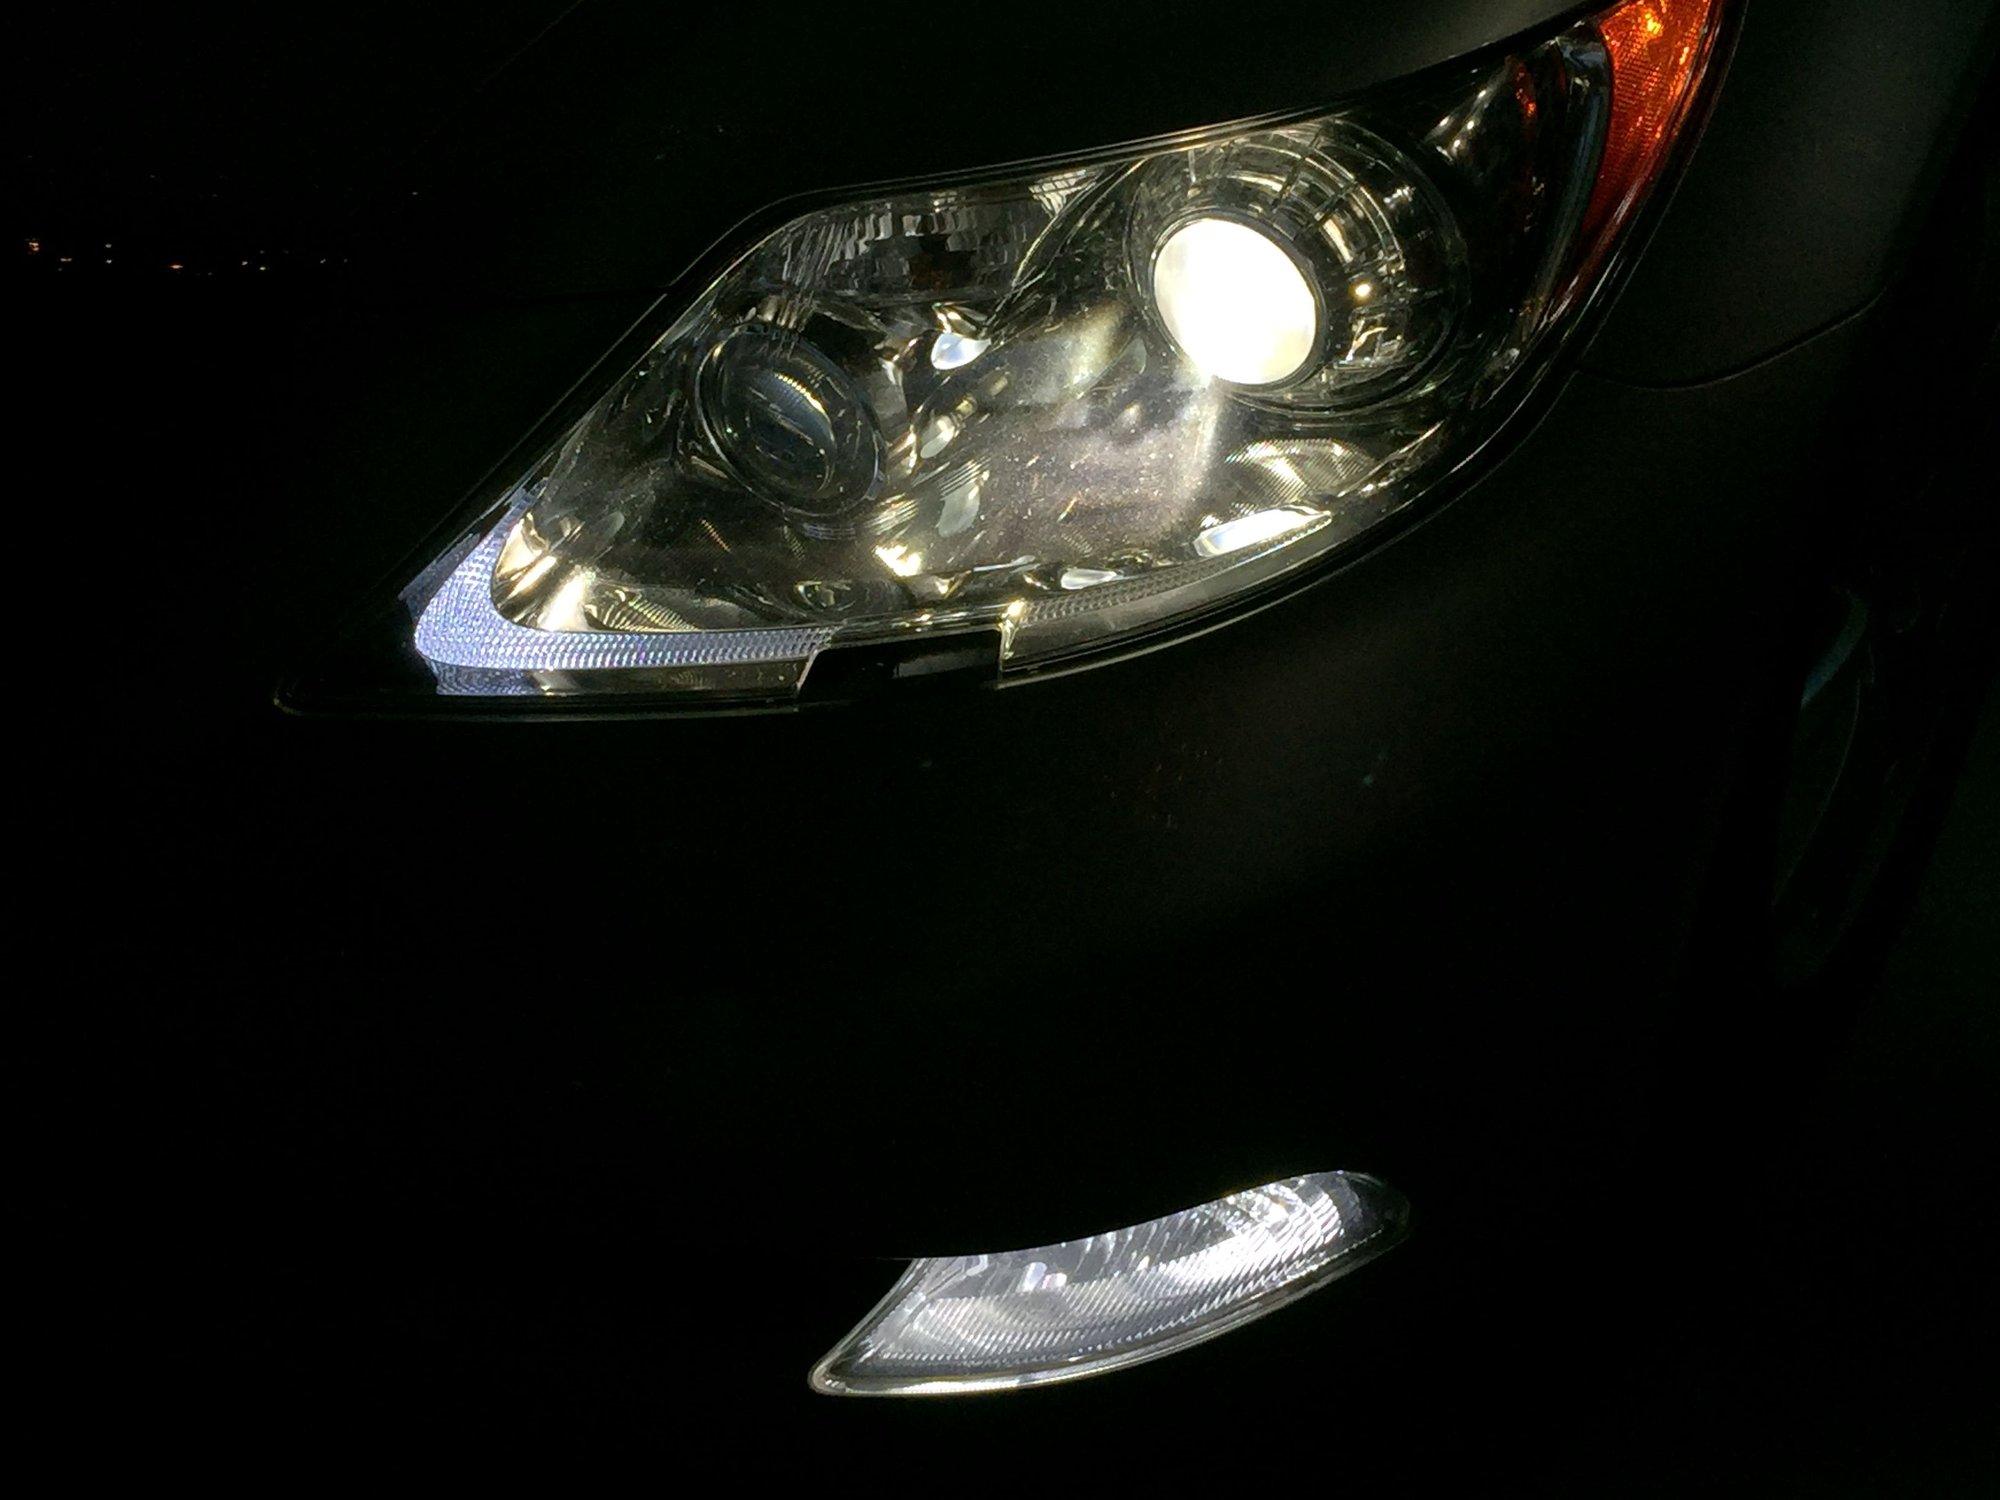
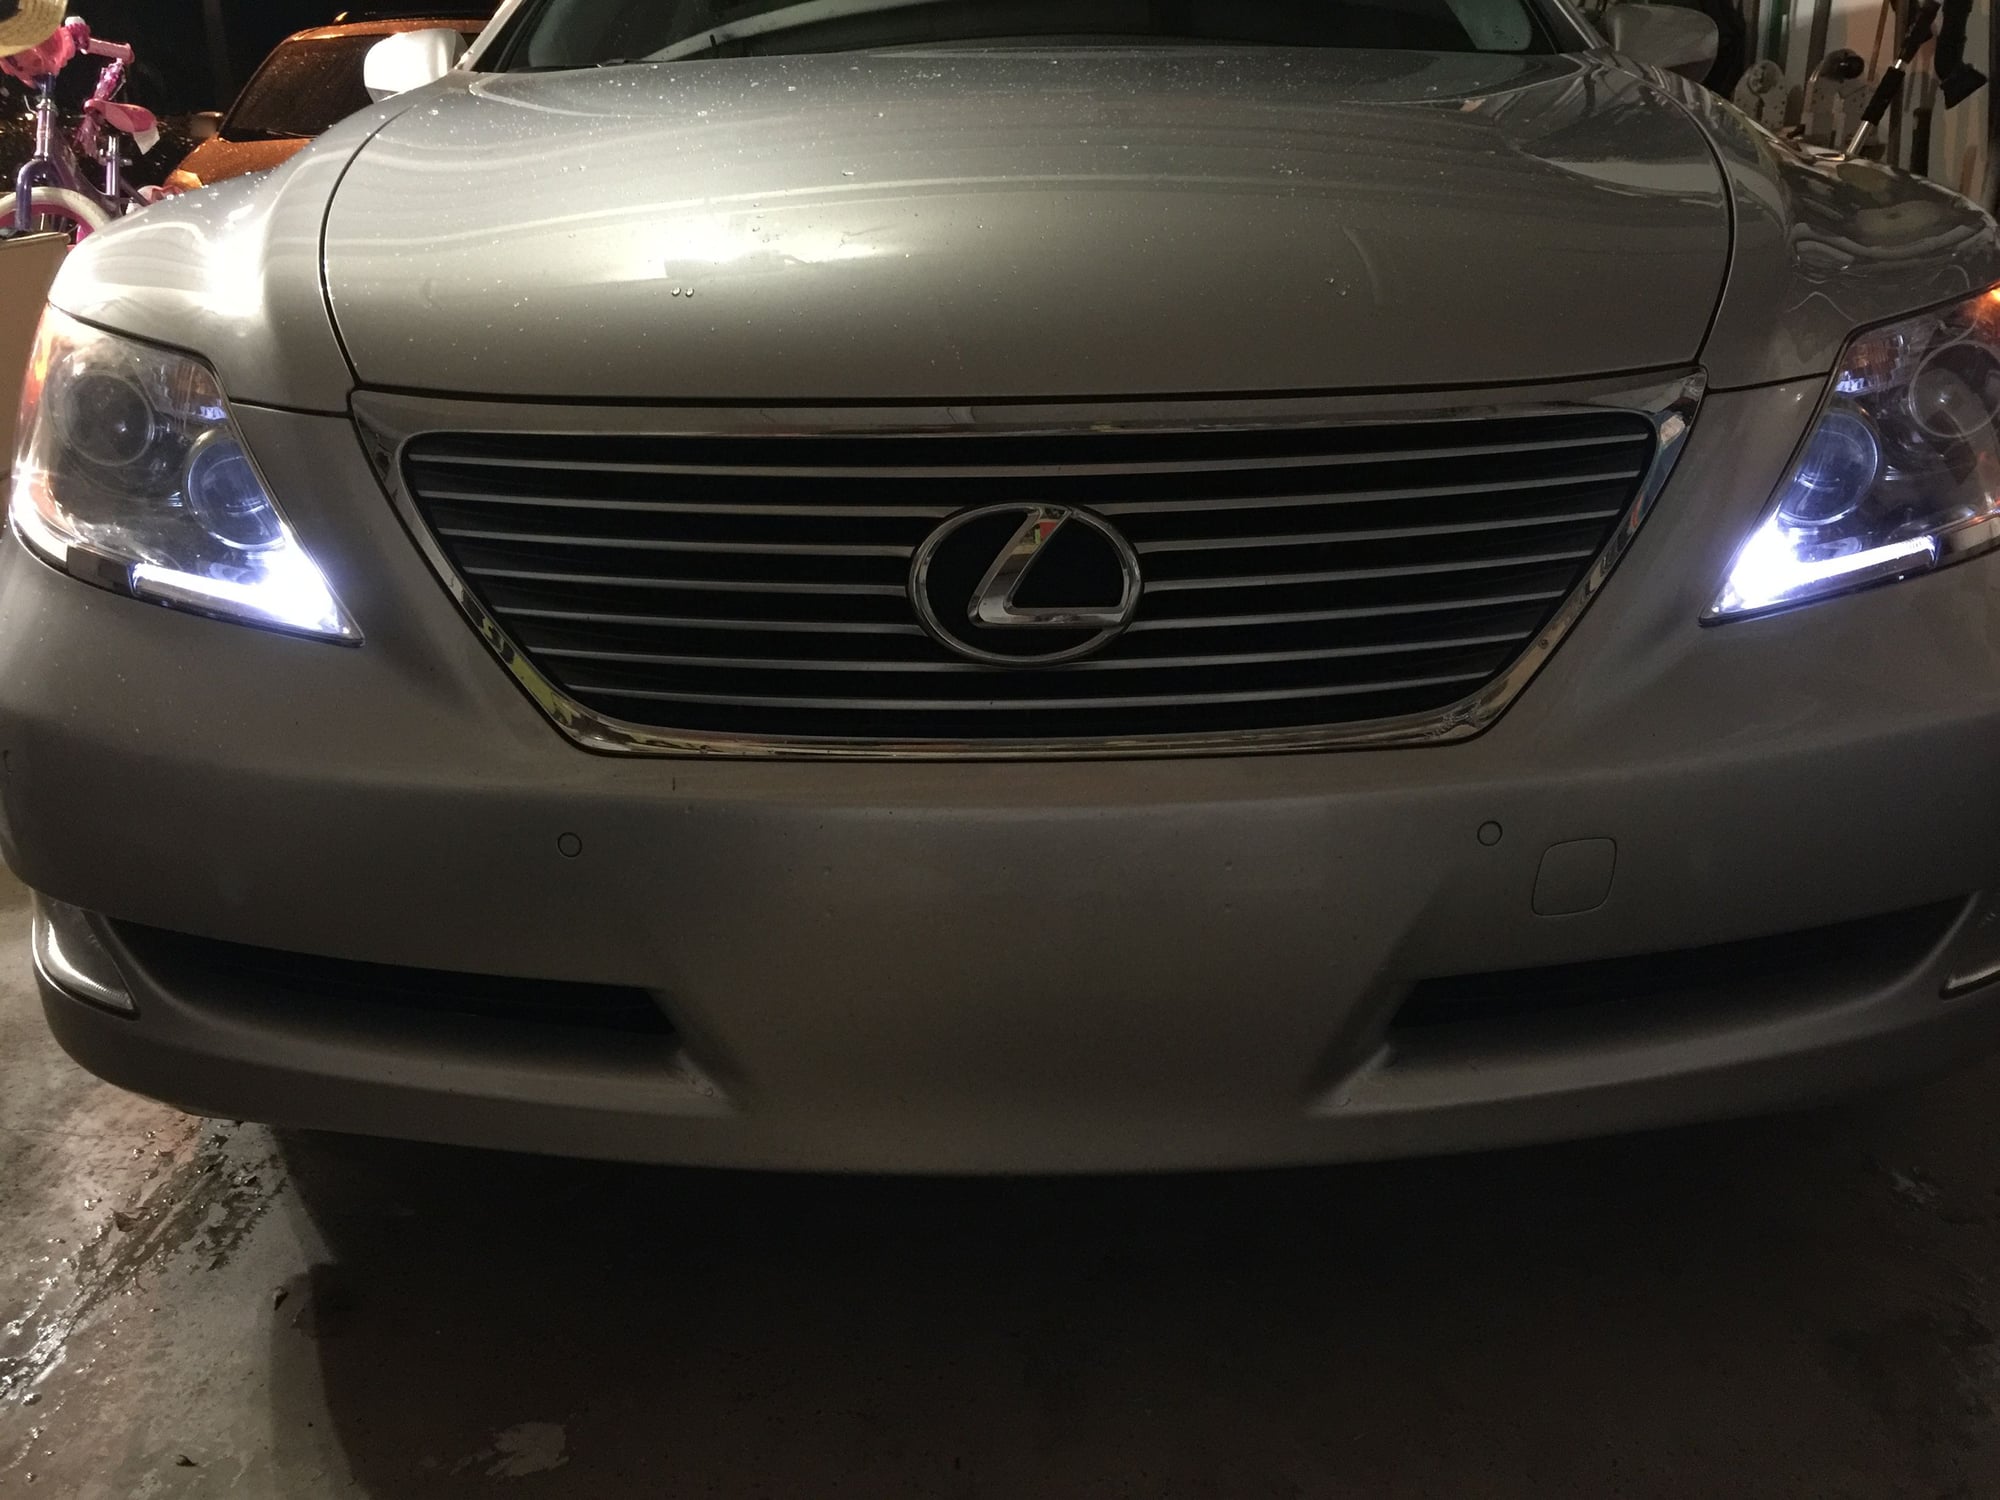
I can say for certain ZERO MELTING OR NEGATIVE ISSUES!! I had all my lights (except for low beams) on for about 11hrs at H.I.N.....tons of light.. makes night driving a breeze.. my Nikes are bright enough to cast light on my neighbors house across the street from inside my garage
#229
Lexus Test Driver
Looks good!
Those don't look like the ultra bright ones though...the ones Shibumi and I installed, or are they??
I'm assuming not because they dont appear to be super bright, but either way, I hope you feel rewarded with the effort it took.
I still love looking at mine!
Small but really effective, enhancing mod.

#230
Looks good!
Those don't look like the ultra bright ones though...the ones Shibumi and I installed, or are they??
I'm assuming not because they dont appear to be super bright, but either way, I hope you feel rewarded with the effort it took.
I still love looking at mine!
Small but really effective, enhancing mod.

Those don't look like the ultra bright ones though...the ones Shibumi and I installed, or are they??
I'm assuming not because they dont appear to be super bright, but either way, I hope you feel rewarded with the effort it took.
I still love looking at mine!
Small but really effective, enhancing mod.

#231
Lexus Test Driver
I don't think these are as bright as the ones you guys used. They were the larger 194 bulbs. I think it had 6 sampler smd on each side. Yes I do feel rewarded and if I find better bulbs feel like it wouldn't take anytime to redo. Just like the reverse lights. Piece of cake now. Lol
Once you get in there that initial time, it takes so much less time to get in there and be comfortable with working is such a small area. By the time I was finished with the Shibumi mod with the H1 bulbs, that entire area felt pretty large to me!
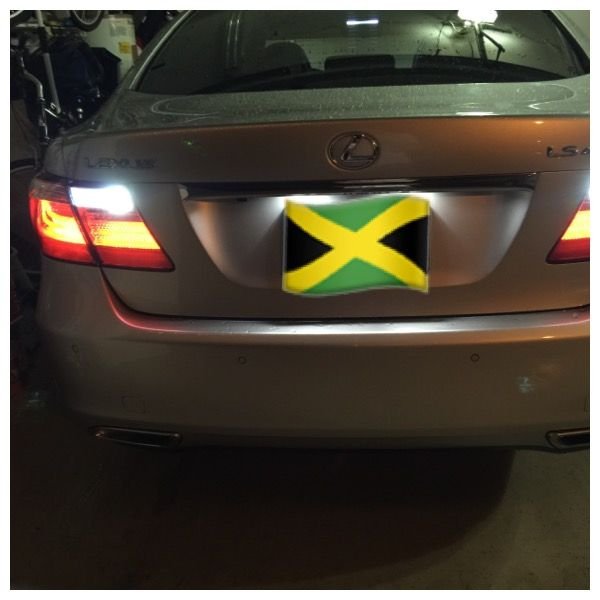
BTW your back up lights look great as well.
Lastly, I honestly don't think that there is a 194 bulb out there that will produce enough light to be really bright, or should I say, bright enough to cast light.
One would have to go "bigger", and more than likely, the bulb would have to have a ballast for boosting the output.
Excellent job on both.

#232
Lexus Test Driver
So, though I can not say with 100% confidence that this LED mod was the cause of my issue(s), I have to lean towards thinking that this mod has caused me the below issues, and I simply just want to share it with the forum.
Now, my headlights..
I feel so stupid because I believe I caused this issue.
Every since I did this mod to put a larger, brighter LED in the parking light/Nike light position, I've head headlight condensation.
The lights worked, but the condensation was horrible.
I'd dry them out, the lens would be fine and after driving around for a few minutes, they'd fog on the inside.
Its not rain either, it just the cold weather here. So a few weeks ago, my pass. side bulb went out, but then days later it came back on.
Then the drivers side went out and came back on. So I thought maybe it was because of the condensation, but I just wanted to replace the bulbs.
But I was so crunched for time, I never changed the bulbs out, and luckily, both bulbs were working the day we left to hit the road.
I removed two of the caps under the hood and placed microfiber towels in the holes but left space for air flow to keep the lenses from fogging up. When I made a rest room stop, it seemed to be working because the cloths were still in place and the lenses were hardly foggy.
When night fell, I tuned on the light, they worked.
We stopped to eat and get gas, I tuned on the light, both were out!
Luckily between the bight LED parking/Nike lights and LED fogs, and the light from other cars, I was ok.
I brought the new bulbs with me and tried to change them while at my parents house and ran into the issue of the new bulb not working on the passenger side.
It got dark and I didn't fully have a chance to troubleshoot the issue (swap the drivers bulb to the passenger side, as I knew for sure that bulb worked, and wasn't sure if I had a faulty bulb).
I went to the dealership and an SA told me I had air getting in somehow ( I told him about my mod) and he said probably from the silicone on the backside of the Nike/park light not being air tight, its causing condensation, and I have to stop it. The because of the condensation, I had probably shorted out the ballast (OEM dealership charge: ~$500/pc.
I found a local shop that dealt with HID systems.
They claim my passenger side ballast was shot and the drivers side was "going out". I needed headlights, so they did an "OEM Over-ride", where I now have an aftermarket HID system in there. And it sucks because the light output isn't even close to the output I had with 8+ year old OEM bulbs.
To add salt to the wound, I have to turn the AFS feature off, because the way they ran the aftermarket cable, then lens cant freely move when im taking turns.
I removed the LED bulbs and had them just place the OEM socket back in place, but there's currently no bulb there because they didn't have any 194's.
I cant tell you how stupid I feel, as I feel as though im going to have to spend money unnecessarily to get my car back to OEM.
On top of all of this, I still have condensation.
I haven't had a chance to check and make sure the sockets are securely twisted, but I will.
I just don't think its a lens seal because I didn't have the moisture issue until I did the LED mod.
Live and learn...smh.


#233
Moderator

seeing this thread evolve over the past few years brings a tear to my eye. Shout out to Shibumi for taking this mod to the higher level with the powered LEDs...I have seen his car in person and they look incredible. If I had my 460 still, I would of followed suit. Shout out to CROWE for diving on in on that also. Looks awesome. My 600 doesn't have a nike light, but I wished it did. I would convert those to be used as DRLs
#234
Lexus Test Driver
seeing this thread evolve over the past few years brings a tear to my eye. Shout out to Shibumi for taking this mod to the higher level with the powered LEDs...I have seen his car in person and they look incredible. If I had my 460 still, I would of followed suit. Shout out to CROWE for diving on in on that also. Looks awesome. My 600 doesn't have a nike light, but I wished it did. I would convert those to be used as DRLs
My plan though, is to get to the bottom of everything myself.
Remove the bumper because from the look of it and from what I've been told, its not overly difficult, remove the headlight and see just what condition the ballasts' are really in and go from there.
I want to remove the aftermarket HID kit because the light output is abysmal at best. I could try using other, brighter HID's but im not sure how they'd match up with the ballast, and if that would cause them to go out prematurely.
Im almost willing to bet that both OEM ballast are ok, and I simply need new bulbs.
#235
Moderator

Sorry to hear about the subsequent housing issues. I wonder if over the time, the heat generated around the silicone base weakened it to allow moisture to creep in...those bulb bases to get pretty warm as I have the braided setup LEDs in my fogs now. Water is usually great for sustaining life for living things, but unfortunately not something electronics likes whatsoever...dang it
#236
Lexus Test Driver
Sorry to hear about the subsequent housing issues. I wonder if over the time, the heat generated around the silicone base weakened it to allow moisture to creep in...those bulb bases to get pretty warm as I have the braided setup LEDs in my fogs now. Water is usually great for sustaining life for living things, but unfortunately not something electronics likes whatsoever...dang it
I didn't realize the 600 didn't have the Nike lights...but the look of the triple lenses per side is killer!
I'd do THAT mod if it wasn't an arm and a leg! 600-->460 headlights.
You may be right regarding the heat and silicone, which is something I didn't fully consider.
Once I completed both sides, the drivers side lens showed up first, then it was a good few days later when the passenger side started.
I spoke with Damion about it and he said to make sure I used enough silicone, so I used as much as I could within reason, its such a tight space (you already know this).
But thinking about the heat factor, even though there's a heat sink on the back side of the bulbs, the base/stem of the bulb is plastic, the lens housing is plastic and silicone doesn't like heat.
Perfect combo for failure....
I wont let this get me too down though...it is what it is, and for now, I have headlights.
Could be much, much worse.
#237
Lexus Champion
Thread Starter
Troy,
I was so upset when I heard about your issues... the only thing I can say is I'm truly sorry for the headache an issue. I've never seen silicone react like that especially if u have proper curing time. (it does take longer in lower temps) i will add that no headlight is completely sealed.. they all have vents.(if u pull your headlight out you'll see 2 or 3 lil rubber "elbows" for venting but they are all 90° angling down) it must breathe or else condensation will occur.
that said due to the position of the Nike light bulb, moisture can make its way in if that seal isn't 100%. which is why I say use as much as possible (without making TOO much of a mess) I always put a tiny bit on the inside edge of the bulb b4 i attempt to install it (bcuz at least there I know it's even all the way around) plus it adds surface tension to hold the bulb upright until I can seal it in around the top side. so it's actually an inner AND outer seal situation a lil inside ALOT outside. I always let it cure 1hr minimum (in fl) b4 attempting to moved the car so a skin builds on the outside which means the outer surface has cured but it takes 24 hrs (at least) to cure 100% . so my advice is let it sit overnight (in a dry area) b4 driving.. ideally if u can pull the bumper for THIS particular mod that Troy an I have done with the led headlight bulb swap in the Nike housing. I believe would make 100% sure that u have a moisture tight seal. plus u can guarantee zero bulb movement until it's totally cured...
feel free to pm me if u have ANY QUESTIONS
good luck Troy.. lemme know how it turns out..and if I can help
footnote: always use 100% silicone rubber... NOT CAULK!!!!!
I use CLEAR, any colored silicone (black,brown,white etc) takes much longer to cure...
Last edited by Shibumi1; 01-27-16 at 01:47 AM.
The following users liked this post:
RazorBack1 (04-06-18)
#238
Lexus Champion
Thread Starter
my fenders and bumper are comin off soon enough for some minor maintenance. when they do I'll redo the install for right up purposes.. with tons of pics so no one runs into any problems...
#239
Lexus Test Driver
Damion,
Allow me to say thank you very, very much.
I wouldn't have even attempted this if not for your advice.
All others:
Please let it be known that this mod will NOT guarantee lens moisture.
I should have made that clear before saying anything.
There is a solid possibility that I didn't secure the bulbs correctly (use silicon I'm the proper fashion).
I did allow them to cure overnight, but in a colder climate. My garage isn't heat regulated, but it was significantly warmer inside than outside and when I did the mod, it wasn't too cold out as of yet.
That's really why I want to take the bumper off and take a good look at the lens myself to determine any leaks.
I think I failed to mention this, but even after removing the bulbs from this mod, and placing the OEM connector back in place (no bulb in there currently), I still have condensation. So I need to check if the connector is turn to the "lock" position to assure it's air tight, because my rationale was that Ididmt have condensation before the mod, and due to me removing the bulbs and putting the OEM connector back, that should stop the condensation, but it hasn't.
Someone else (the shop that did the aftermarket HID install), put the connectors back and I'm thinking it's possible they didn't secure them properly.
I also wasn't aware that there are vents near the Nike bulb area.
Damion, my apologies for the late, more thorough explanation.
I only regret doing the mod because of the issue, but for the look I don't regret it one bit.
And if it can be pulled off without moisture in my lens, I'll do it again.
#240
Lexus Champion
Thread Starter
Troy
You're more than welcome. understand I'm just worried about the situation.
sometimes because I know the entire process I typically use in a given scenario I may forget to mention minor details an tend to focus more on the larger details. (such as the inner bead of silicone on the bulb itself before inserting it in the Nike housing) an then a 2nd (more substantial ) layer in the outside...
also guys be aware that the headlight housing itself is basically open inside despite having separate chambers for individual bulbs.


