Lexus: How to Install a Car Stereo
Learn how to upgrade the stereo system in a Lexus with this helpful guide.
This article applies to the Lexus IS, GS, ES, and RX (2007-2014).
Back in the 90s and early 2000s, Lexus vehicles were equipped with a pretty typical double-din stereo setup. That made it easy to upgrade the headunit to one with aftermarket capabilities that were unavailable on the stock car. Modern Lexus vehicles—and most other cars—have moved beyond that to integrated, proprietary units that differ greatly from manufacturer to manufacturer. While this means that the stock units have gotten better, it also means swapping out the stereo is not as easy as it once was. Still, there are options for the 2007+ model year Lexus owner looking for a little more sophistication.
This article covers the installation of the Fly Audio brand stereo head unit. The 2012+ Lexus models don't have removable stereos, so this guide will apply to models built before that year.

Materials Needed
- Flathead screwdriver
- Phillips head screwdriver
- 10mm socket
- Magnet
- Fly Audio unit or other stereo unit
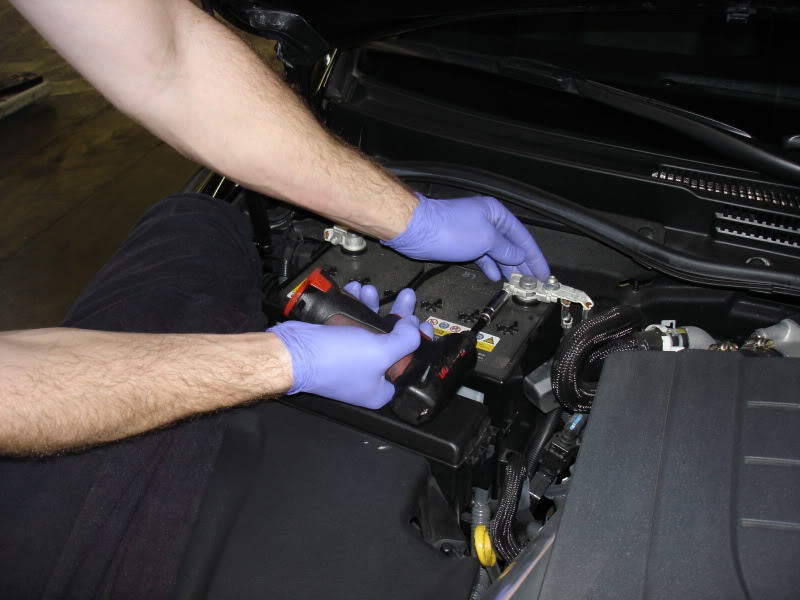
Step 1 - Disconnect the negative battery terminal
Unscrew the negative battery terminal connector. This will prevent any of the electronics from shorting out by accident.
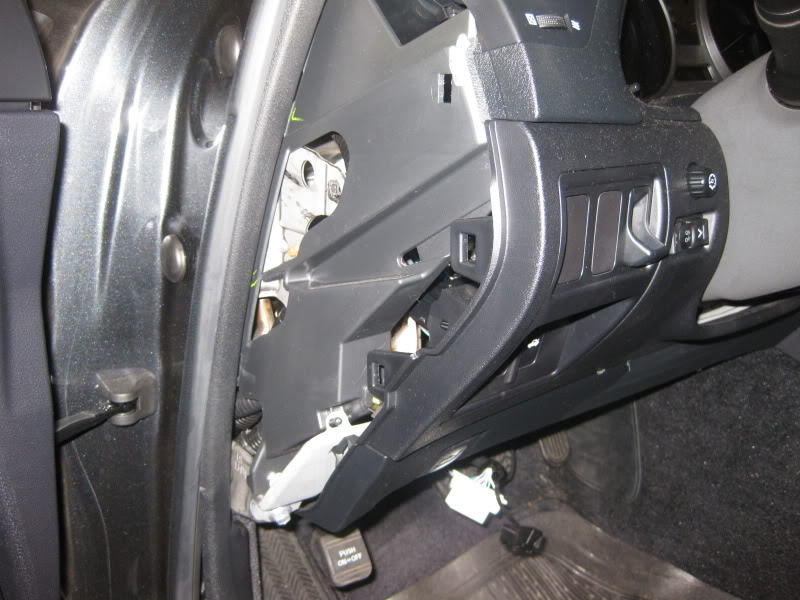
Step 2 - Remove the trim
The console trim pieces are held in by clips, not bolts. Start by unscrewing the shift knob and setting it aside. Then, work the plastic pry bar tool around the center console and lift up to remove the trim. Unplug the connectors.
Next, remove the side panels. They're held in with a single screw and will just pull out. On some Lexus, these panels are held in by clips instead of bolts. Pull these out starting at the side nearest to the driver first. Then, remove those panels by pulling them away from the car.
Featured Video: How to Remove 2006 + Lexus GS Headunit Stereo Navigation System Screen
Step 3 - Remove the center vents
Use a plastic prying tool near the top center of the vents to relax the clip keeping it in. Pull out at the same time to remove the vents.
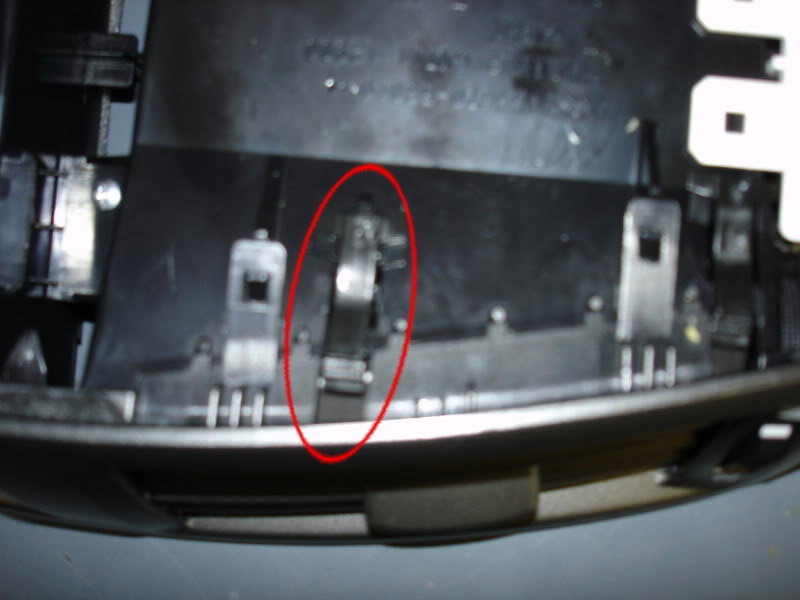
Figure 2. Clip is circled in red. 
Figure 3. Center vent after removal.
Step 4 - Remove A/C control unit and factory stereo bracket
There are four bolts securing the factory stereo brackets to the vehicle. Remove the lower two bolts first. There's one on the passenger side as well as the driver's side. Then, proceed to the two upper bolts. Some models will have another two easily accessible bolts located on the front-bottom part of the unit. Look for these if the unit doesn't pull out after removing the first four.
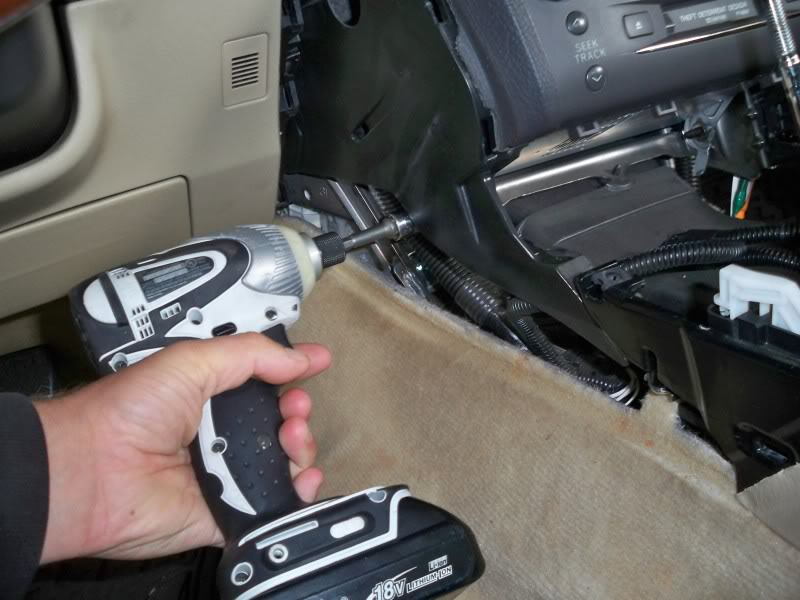
Figure 4. Remove the bottom bolts on both sides of the center console. 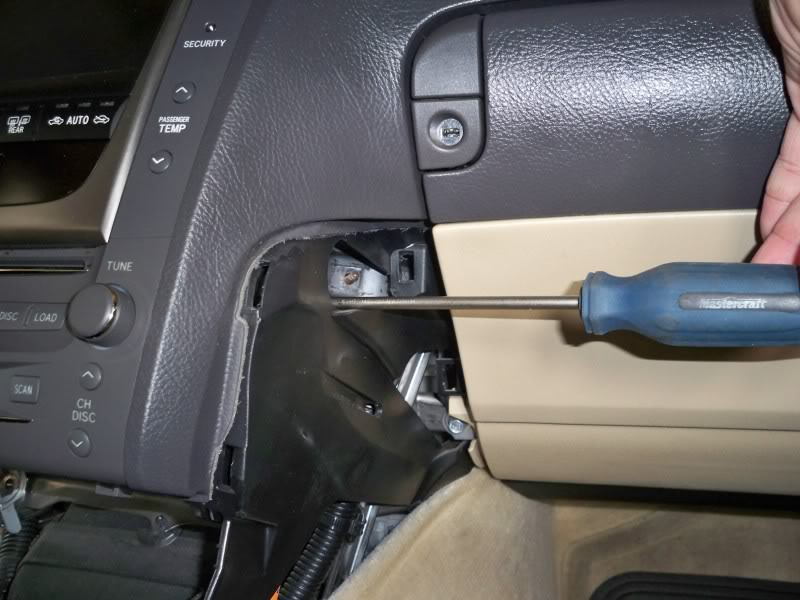
Figure 5. Be careful not to drop the upper bolts as recovering them is very difficult. Use a magnetized screwdriver to be safe. 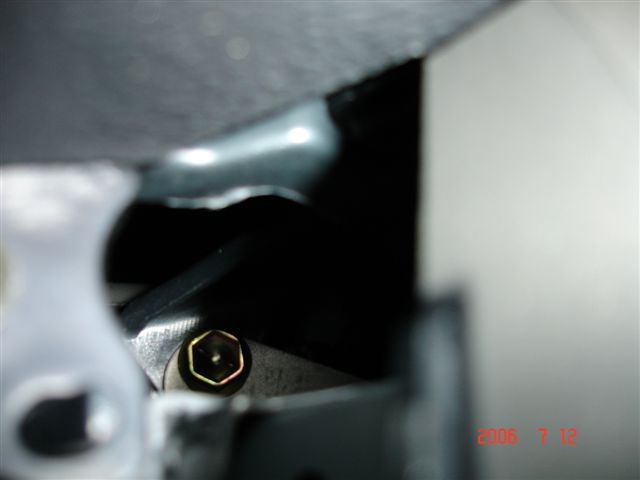
Figure 6. A closer look at the upper bolts; take care when removing these. 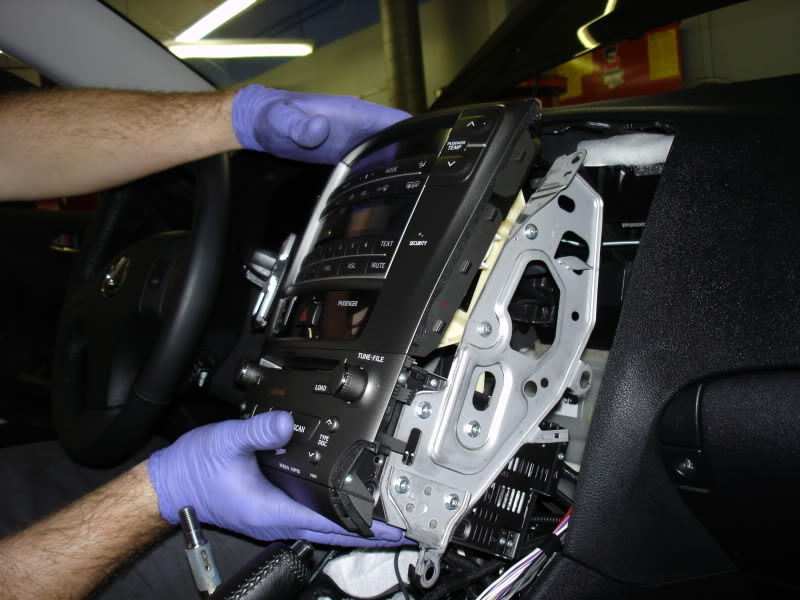
Figure 7. Remove stereo bracketry.
Pro Tip
Having a magnet handy during the process is recommended. It's easy to accidentally drop these bolts and recovering them by hand will result in bruised knuckles and lots of swearing. Save yourself the trouble by either being very careful or keeping a magnet handy.
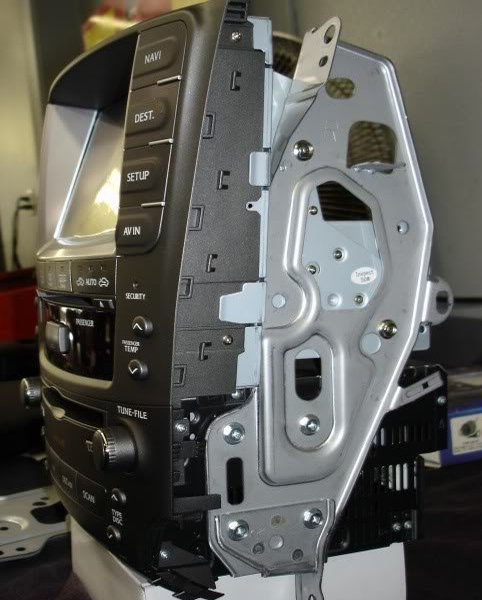
Step 5 - Uninstall the stereo unit
Remove the screws holding the factory radio into the bracket.

Figure 8. Remove screws securing OEM head unit. 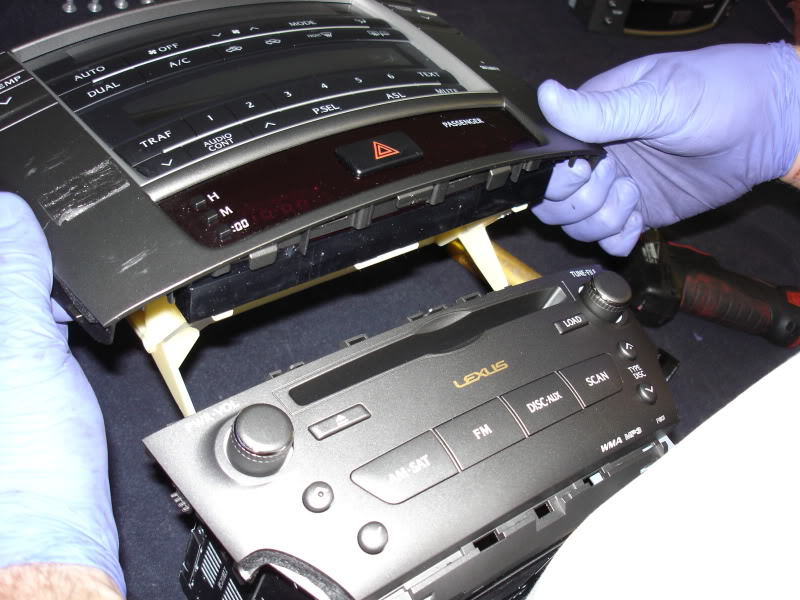
Figure 9. Remove OEM head unit from brackets.
Pro Tip
It's much easier to do this on a stable surface like a table or a cardboard box.
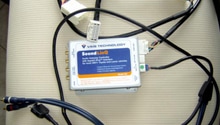
Step 6 - Install the Fly Audio unit
Install the Fly Audio unit in its place.
Step 7 - Install GPS antenna (optional)
There's no specific location where the GPS antenna must be mounted, but it's suggested to mount it behind the headrests in the rear.
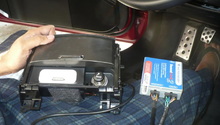
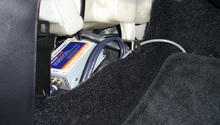
Route the wiring for the GPS antenna under the steering wheel and down to the kick panel. Remove the kick panel trim along the driver's side of the car. Unclip the seatbelts and remove the rear seats. Lift up on the bottom cushions to unclip them. The back cushions are held in by four bolts along the bottom and two at the top of each corner. Remove these bolts and the pull up on the seat to lift it out.
Rest the antenna near the rear window and out of sight. Then re-install the seats and kick panels.
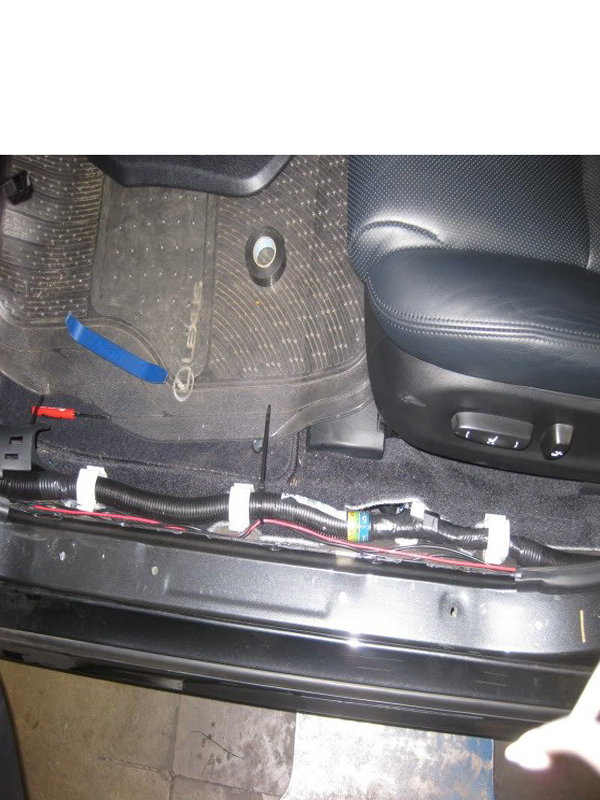
Figure 11. Wiring along the kick panel. 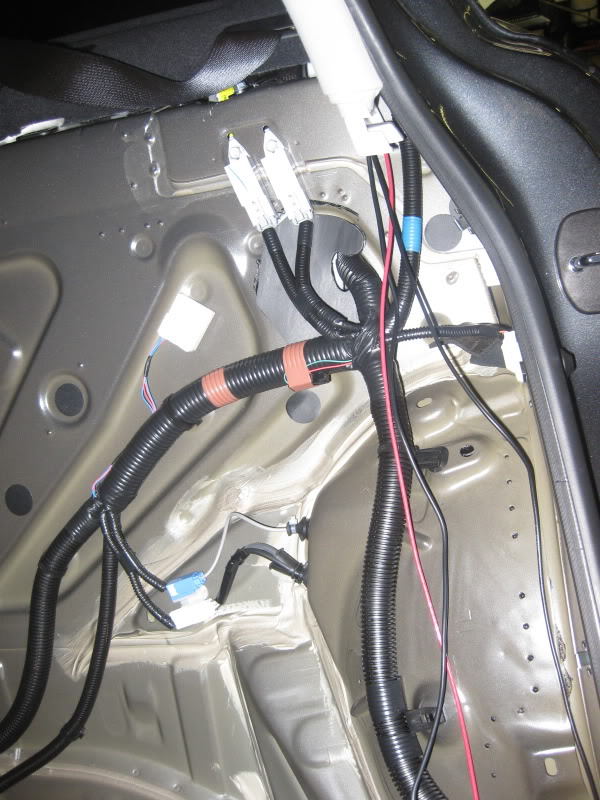
Figure 12. Seat removed.
Step 8 - Mount Bluetooth microphone (optional)
Mounting the Bluetooth microphone is a similarly simple job. Run the connection from the head unit under the driver's side dash, through the kick panel, and up the A-pillar. Removing the pillar isn't necessary; tuck the wire behind the pillar without pulling it off.
Related Discussion
- FlyAudio Install Instruction - ClubLexus.com