Lexus IS: How to Install Vaistech iPhone/Android Integration
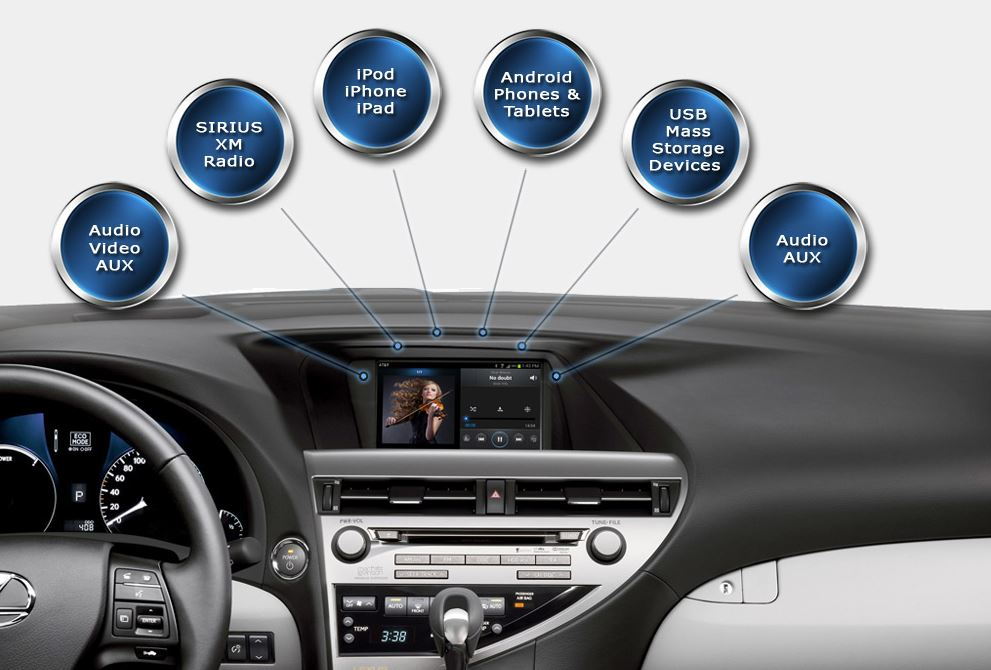
The Vaistech iOS or Android integration unit can not only give you easier control of your iOS or Android device, but a safer drive as well by removing the struggle of finding songs while driving.
This article applies to the Lexus IS (2004-2013).
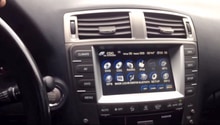
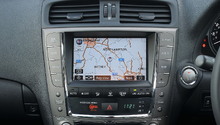
Some Lexus IS vehicles only come with the standard auxiliary port to connect an iOS or Android device. While this is a nice feature to have, it makes it hard to search for a song while driving. Also, having a cord draped across the center console just doesn't look good. The Vaistech integration unit allows you to control your iPod, iPhone, or Android through the head unit in the dashboard, and hides both the cords and the mobile device.

Materials Needed
- Socket set
- Trim panel puller or flat head screwdriver
- Dremel or file
Step 1 - Remove trim panels and head unit
Not all interiors will be the same so you may find there are less trim panels to remove or more; however, for the most part, removal is the same for trim panels in the same area.
- Put car into neutral and set the parking brake. It needs to be in neutral for the radio to be able to come out properly.
- Disconnect the battery: negative first followed by the positive cable.
- Remove shift knob by turning it counter clockwise.
- Remove inner trim panels on both sides of the shift knob by prying them free, and then pulling up and towards the back of the car.

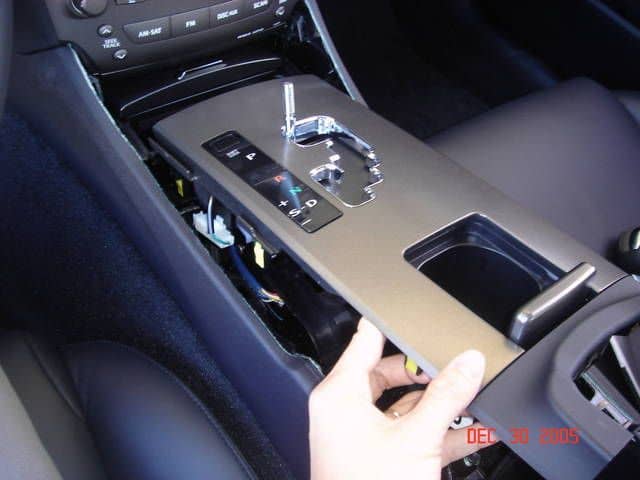
- Remove the shift plate cover by carefully prying it up. Disconnect any electrical connections running to it.
- Some Lexus IS vehicles were built with an ash tray. Remove it by unbolting the two 10mm bolts at its base. If the vehicle has the air vents above the radio, press in the four clips inside using a flat head. Then, pull off the vent cover.
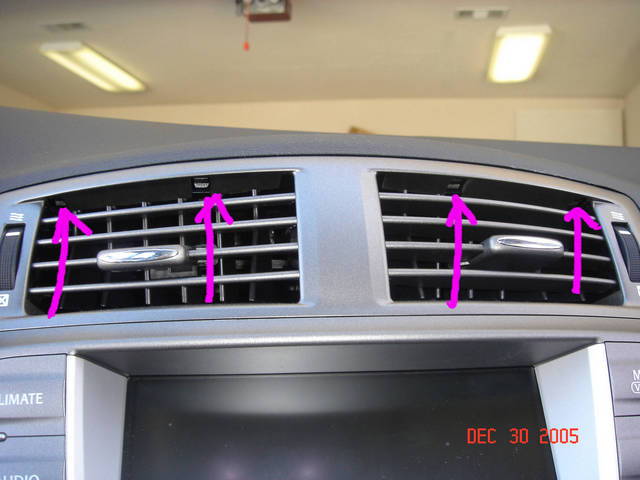
- Remove the four bolts holding in the head unit. There will be two on either side: one at the top and one at the bottom.
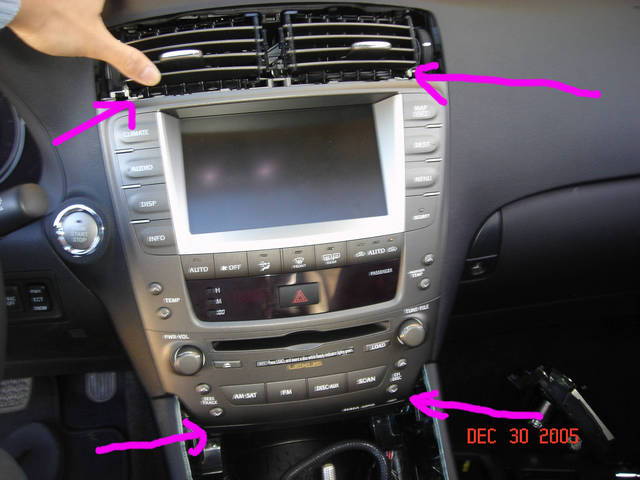
- Slowly and carefully wiggle the head unit far enough towards you so that you can disconnect all the wire connections on the back.
Pro Tip
If you're using a flat head screwdriver, wrap the end in electrical or painters tape to help prevent damaging the trim panels.
Step 2 - Install iPod integration unit
This will vary depending on the year of the car and model of the Vaistech unit. Be sure to have the installation manual handy.
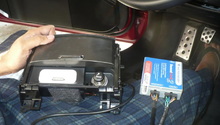
- Near the top left corner of the head unit, plug in the blue Vais connector into the blue jack. Then, plug the white Vais connector into the main radio jack; it'll also be white and it'll be the only one the connector will fit in. Plug the main radio connector into the spliced connector connected to the Vais cable you just plugged in.
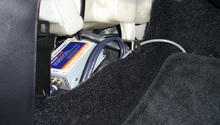
- Find a place to set the Vais box behind the head unit. Use some double stick tape or velcro to hold it in place. The Vais cable coming from the box to the iPod or iPod/Auxiliary Box needs to be routed under the shift plate cover. It's recommended to route the cable to the center console. It'll need to be routed around the console shifter.
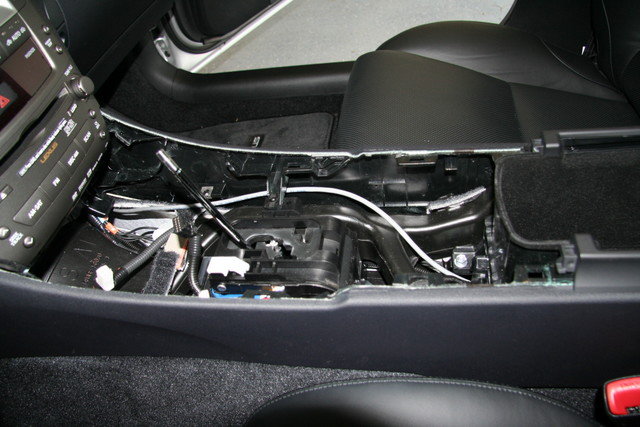
- Reconnect all the other electrical connections to the head unit. All that's left now is to finish routing the wire to where you'll be keeping your iPod. Trim a section out of the bottom plate to be able to run the cord through.

Figure 6. iPod cord routed into center console. 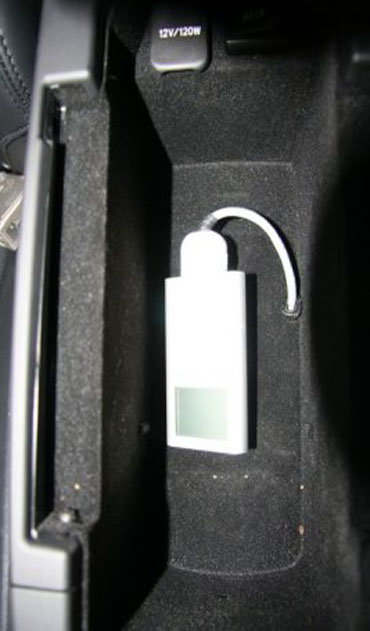
Figure 7. Center console panel trim and cord routed through.
- Push the radio back into place.
Step 3 - Set up and test
Set up the Vaistech unit and test it to make sure everything is functioning properly before installing all the trim panels and bolting in the radio.
- Reconnect the battery terminals and then run the Viastech setup on the unit. Be sure to follow the included instruction manual for this.
- Finally, test and make sure the unit is functioning properly as is all the controls on the head unit. If something isn't working correctly, pull out the head unit and make sure all connections are tight and no wires are loose.
Step 4 - Tidying up
- Bolt in the head unit, re-install all trim pieces, and then the shift knob.
- Re-install everything in the order you removed it in.
Featured Video: Installing Vaistech
Related Discussions
- How to Install iPod Integration - ClubLexus.com
- VAIS SLI/SLX Discussion - ClubLexus.com