When you click on links to various merchants on this site and make a purchase, this can result in this site earning a commission. Affiliate programs and affiliations include, but are not limited to, the eBay Partner Network.
So my rear upper passenger window trim got damaged presumably from something falling off of a tree. 75763-0E040 This piece is held in with about 5-6 of these window rivets. 90269-A0006. How do you remove these rivets and put new ones in? I was quoted 2 hours for this replacement of the trim which sounds ludicrous to me, unless there is something I�m not getting. Can anyone help out? I figure I would just get the parts and do it myself because almost 400 dollars in labor to put in a 40 dollar mounding is just bananas. It�s been a while, but are there still vendors that are CL friendly? Thanks everyone!
We purchased our pre-owned RX and it also has a similar problem from a rock chip. I'm told in my case, they need to take the window out and replacing the whole trim and that can get expensive. We ended up just living with it.
I have a 2021 RX350 F Sport. I had 2 smaller pings like that on the driver door upper trim. It's a long story, my new car was sitting on a lot for like 6 months, 600 miles away and had a lot of small issues that I noticed and the dealer agreed to fix before I picked it up. A week or 2 later I noticed these 2 pings. I ordered the trim and rivets off ebay. Those rivets are a bit special because they have a nylon sleeve. You put the window down, you just pull the window strip down that the window fits into and let it hang, then you remove the upper window weatherstrip only as far as you have to. There are some clips and stuff on the edges, you get like a plastic tool to pry them off. You drill out the rivets and remove them, replace the trim re rivet aligning the trim with the edge of the door and replace the weatherstrip.it could be a 45 min or hour job, but will probably take you 2 hours working extra carefully. The hardest part for me was pushing the upper outer weatherstrip that covers the rivets back in. There's no clips at the top, it just pushes in. But you kind of have to push and tuck at the same time to get it in perfectly even. I had to look at the opposite door a few times for reference. My front trim piece was I think 50.00 or 65.00 and the genuine rivets were only like 10.00 on ebay for 10.00 + SH. They come in a 10 pack bag, try to get a whole bag, if you buy individually they will gouge you. You could use regular rivets in a pinch.
Has anyone had to replace the Door Belt Moulding at the top of the front door by the bottom of the window?? I've seen U-Tube video's for the GX and GS but not any on the RX. Mine has a dent so I am going to replace this. Looking for helpful tips before attempting. 2020 RX350
Chrome strips around windows replacement question.
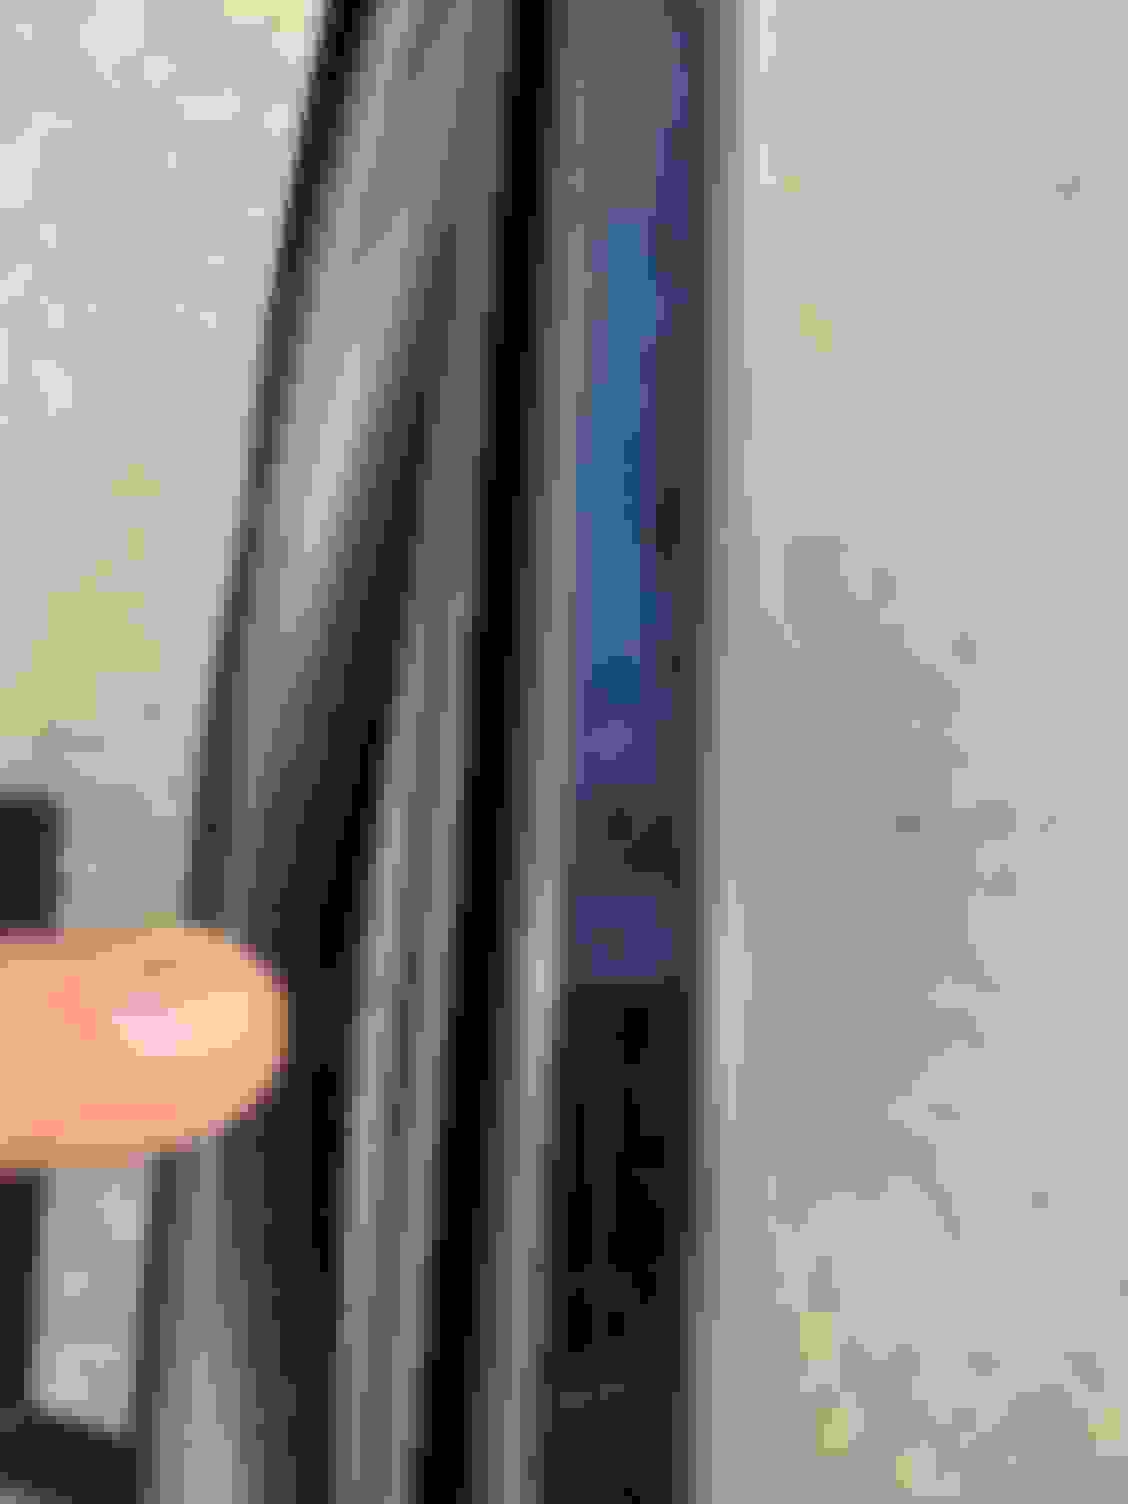
hi all i need to replace those chrome strips (top ones). There is bunch of dents on them from little hail and it is driving me crazy every time i wash the car.
Its 2022 RX350 right (passenger) side...bottom ones from what i understand need to be pulled out (?) but the ones on top are riveted (?) and require rubber stripping to be pulled?
As long as there is "how to" im sure i can get it done right on my driveway skipping dealers high labor charges. i guess i can purchase these at the dealer.
I need to replace both front one and rear one.
Thanks in advance.
Last edited by dronek75; Feb 5, 2024 at 03:26 PM.
Reason: typo
Parts list suggests the top trim is clipped on. Search 75556-0E010 I didn't find an online parts diagram off hand that we're allowed to post here. The belt molding (top of door) you "rip" off I don't know of another way to remove them without breaking clips.
Give me a call if you want me to explain how to replace either the upper door moulding or the belt moulding.
9 Oh 4 - seven zero 5- 3 four six four
Basically the belts are pretty easy.
The upper door mouldings are more difficult but not rocket science. The rivets need to be drilled out and the moulding has double sided tape also holding it on. Once off you�ll need to remove ALL of the double stick tape. You�ll also need to buy new rivets from Lexus as they are special sizes and not your typical ones you have around the house.
I removed and replaced the bottom ones. The rear doors are a lot easier then the front.
Start pulling up at the rear of the door Look for two clips within a few inches You can use a something like a plastic trim tool to poke on the clips. I used the new piece as a guide to see exactly where the clips were. The rest comes right up and theres one last clip on the end.
The front ones have a few clips plus a long plastic j hook style piece running the entire way. It was so hard i couldnt take pics because i had both hands yanking on it. It comes up tho but very hard to not damage in the process.
im gonna try the top ones in the next few days. Im waiting on some oem rivets.
Top rear wasnt so bad. Need to drive a punch through it. Then drill it out. I started drilling then turned a little to get it to out at an angle.
Pull the westher stripping out of the way I used a 1/16 punch and hammer Punch it through Start drilling Pull it out when it starts to get loose Only one clip at the end Put the new one in at an angle Cheap amazon river gun and toyota rivets. Line it up and squeeze Tuck your weather strip back in good Done! Make sure you clear the hole out. Little metal chunks in it i tried to pull out with a magnetic punch. Then blew it out with compressed air
I recently noticed a dent on the bottom drivers side window chrome trim and couldn't find much information other than another thread on CL regarding the upper chrome trim that uses rivets to hold them in place.
( https://www.clublexus.com/forums/rx-...ndow-trim.html )
I'm assuming the bottom trim is much easier than the top? I've watched some GS + GX owners remove some screws and pull horizontally + vertically to release the trim without pulling out the door panels. Is that the case here? Has anyone had any experience with this? I don't want to rely on the dealership for some minor replacement.
The bottoms are super easy to get off. I dont remember exactly how i did it but i remember it being a breeze. You should order the part and line it up to make sure its the exact one. Then look at the back of it to see where everything attaches. Then yank the old one. Dont worry about trying to preserve the old one just throw it in the trash.
I mentioned making sure its the exact part because i had an incident where i ordered the correct part number and they sent me the opposite side even though the packaging was the correct side. I didnt double check it and let a month or two go by before i noticed. Then i was skeptical to order the exact part number again but i did and it was the correct side