When you click on links to various merchants on this site and make a purchase, this can result in this site earning a commission. Affiliate programs and affiliations include, but are not limited to, the eBay Partner Network.
I just finished taking this switch apart, cleaning and replacing with the help of these instructions and pictures. Mirrors work great now! In my case, the contacts were pretty clean but I de-oxidized them anyway. I think the factory contact grease had dried so hard it was breaking the circuit. After cleaning the hardened grease off and putting a thin smear of dielectric all is well.
Very much appreciate the time taken to post these instructions.
The steps outlined above worked today for my '02 LS430 - first time both mirrors have adjusted 'as intended' in many years. Sincere THANK YOU! to all who contributed to this thread.
Thank you x100000!! Easily pulls right off from the dash! Then I unplugged the 3 harness wires behind it. Easy
then used a small tiny tool screwdriver to remove the two screws. And got the black little box out. Then cleaned the contacts as everyone suggested. I sorted smeared and removed all the grease though (not sure if good idea but oh well). Then plugged back in. Make sure you guys screw it back together tightly (the 2 screws) or else it won’t work! I didn’t do it tightly enough the first time and had to reopen and screw it back. Now it’s nice and tight and works perfectly!! Thanks !!
I just picked a very clean one owner 2004 UL with 95K and my side mirrors where not adjusting up and down but would adjust side to side. I just removed the switch and opened it up and cleaned the contact points, and now my passenger mirror does have full adjustments, but the driver is still only adjusting side to side.
I just picked a very clean one owner 2004 UL with 95K and my side mirrors where not adjusting up and down but would adjust side to side. I just removed the switch and opened it up and cleaned the contact points, and now my passenger mirror does have full adjustments, but the driver is still only adjusting side to side.
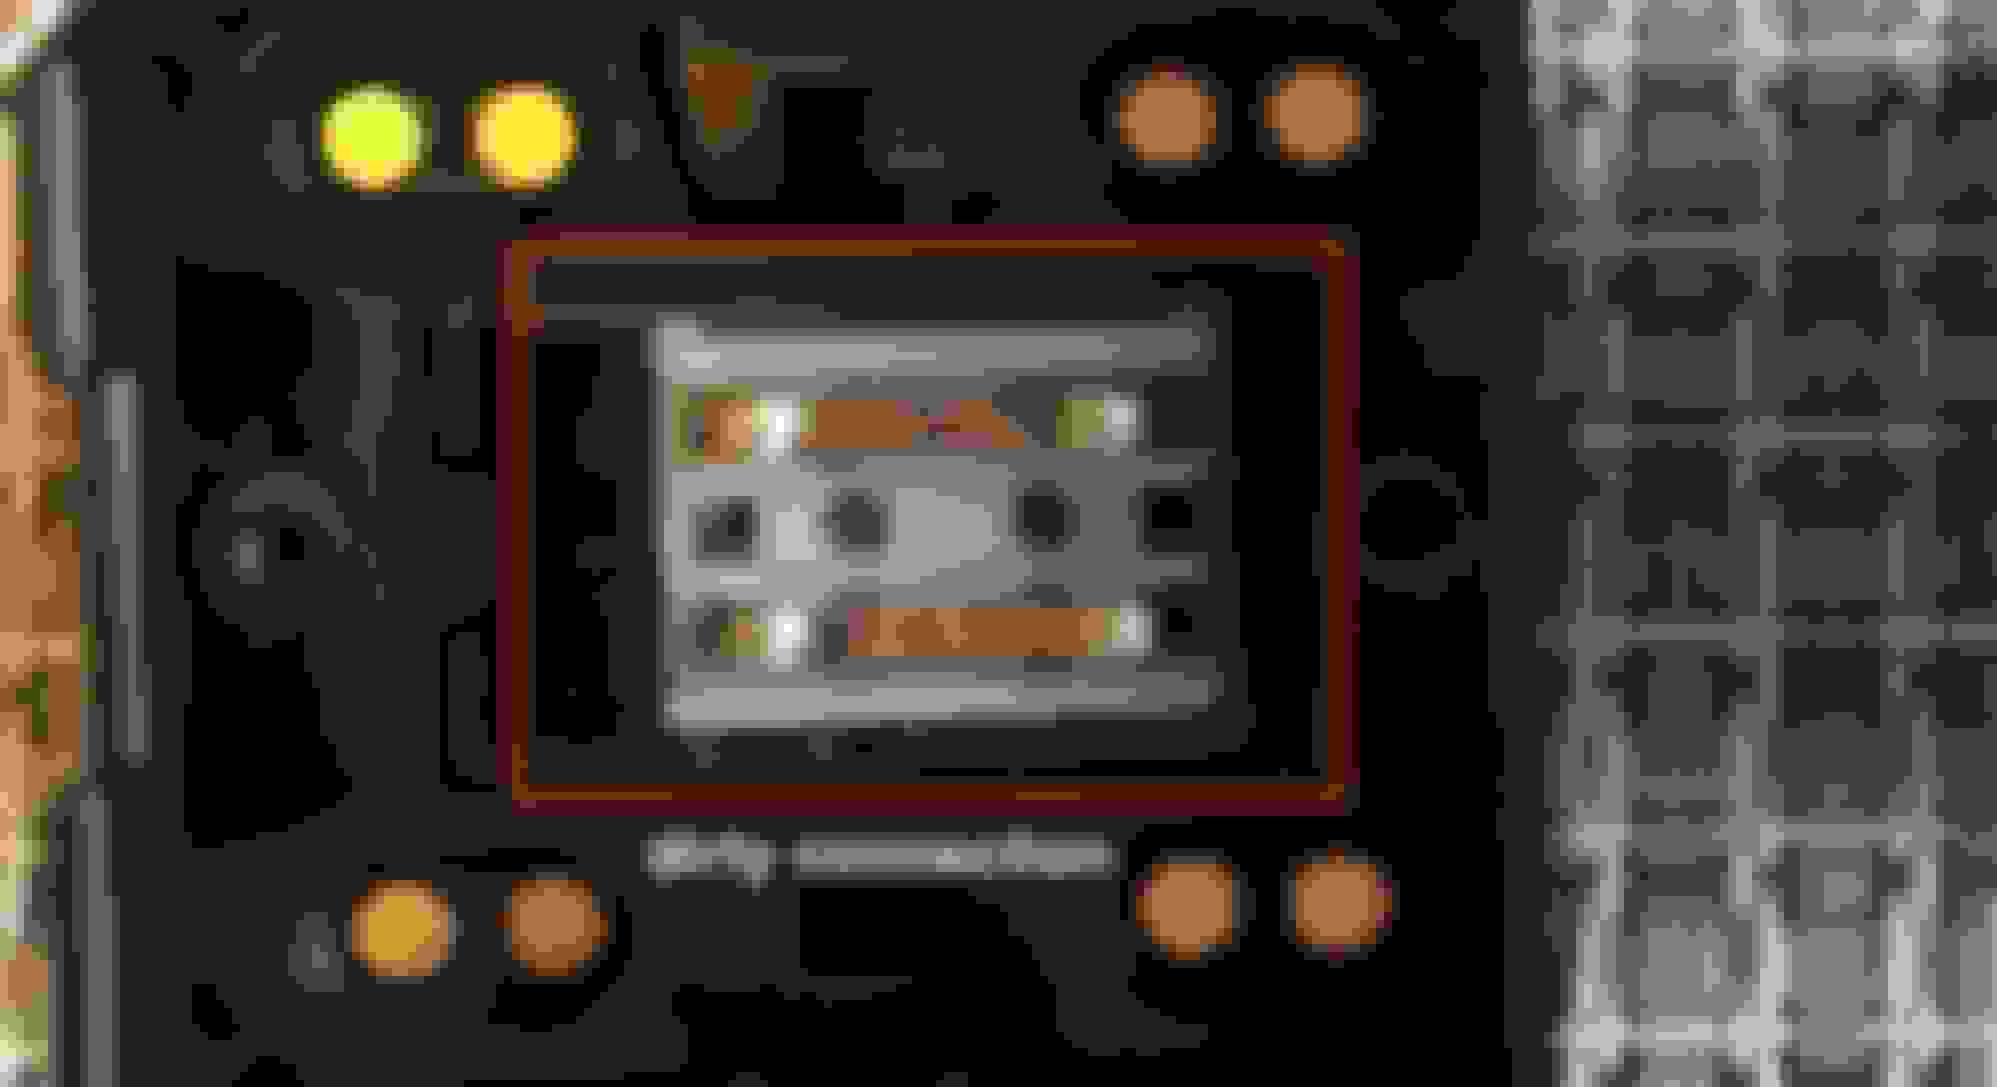
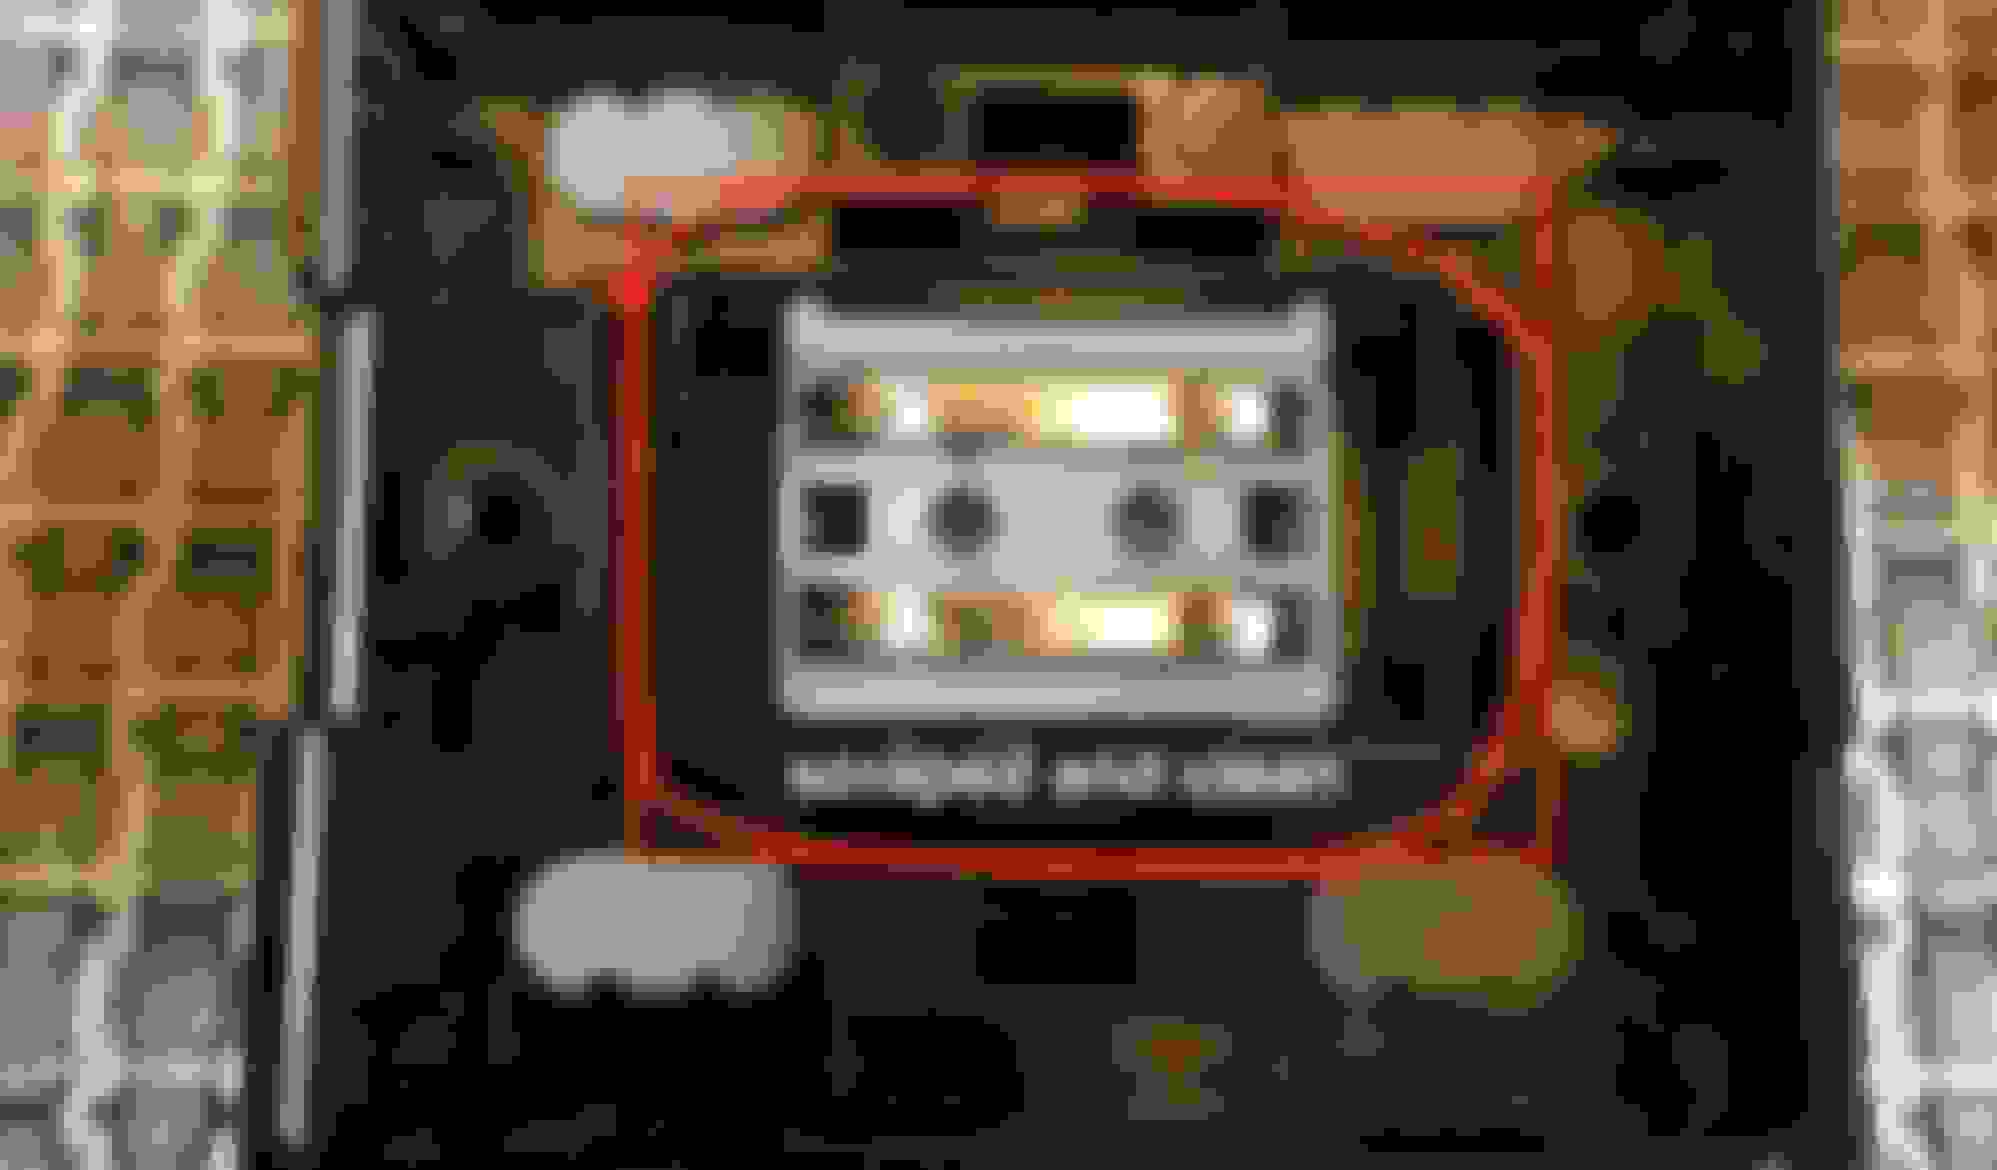
I have taken mine apart but no knowledge of how these (or anything electrical) work. What is supposed to be cleaned? The 2 metal strips or the golden colored(8) round circles on the gasket? The pins in the white housing?
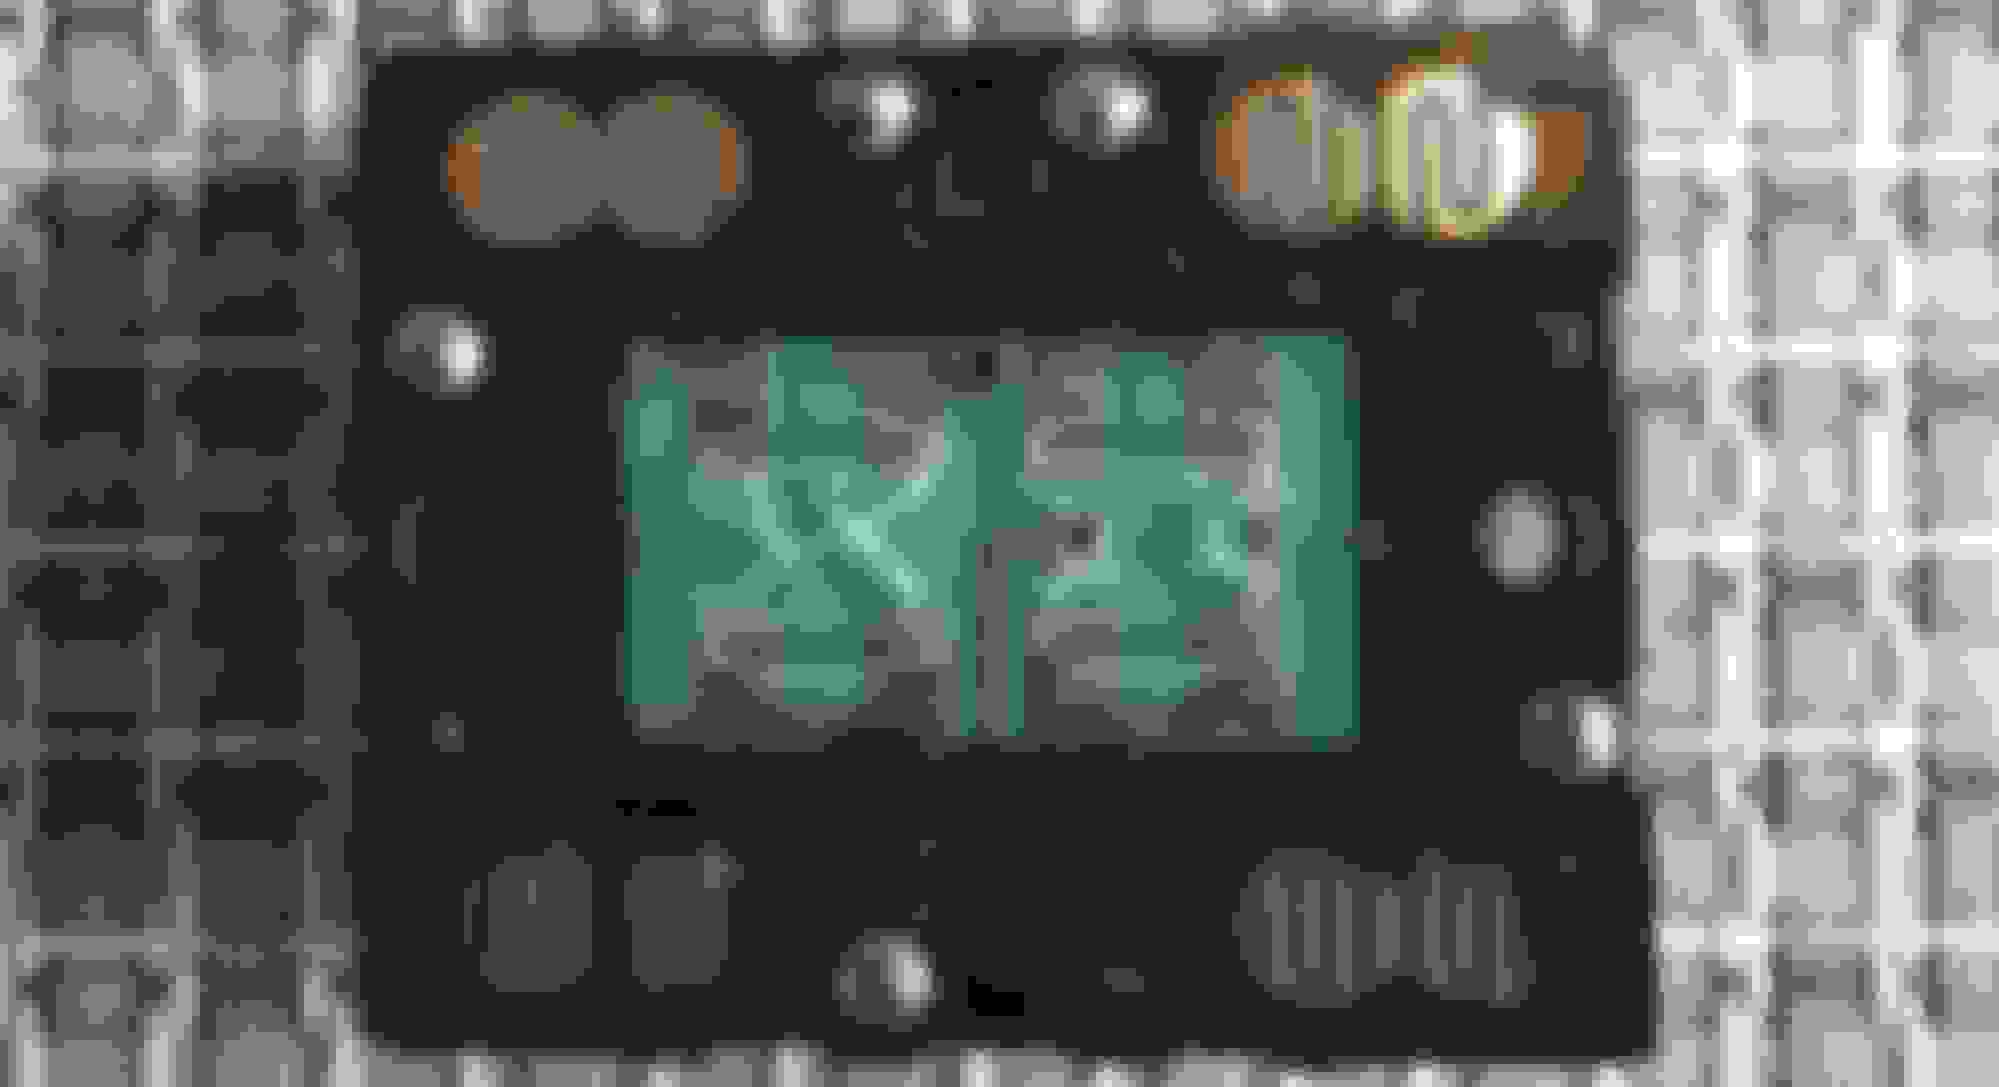
To answer the above question, clean the four round brass contacts embedded in the rubber square "gasket", the two silver parallel electrical contacts, and the silver tracing in the center of the the back of the circuit board (mine had oxidized and were dirty, cleaned with Q-tip and alcohol). I want to reinforce what was said in post 124 " Make sure you guys screw it back together tightly (the 2 screws) or else it won’t work! I didn’t do it tightly enough the first time and had to . . . screw it back. Now it’s nice and tight and works perfectly!! Thanks !! "- That was my situation after cleaning - I neglected to snug down tight the 2 screws that hold the two halves of the switch together. By the way, to pop out the switch from the brown housing, you have to flex the sides of the housing outwards, I used a corner of a credit card to do that on both sides. Nobody mentioned that - but I figured it out eventually.
If the white plastic "feet" come loose when you open the switch up (mine did) just reassemble as shown in the photos in this thread using tweezers or small needle nose pliers to place the "feet" back in their slots as shown in the photo.
Any tools recommended or things to be careful of when trying this? Admittedly would be first time opening up something in the car and I don't want to tug stupidly and break something.
Use a plastic trim tool to pop the switch out of the dash. Put the switch on a towel or sheet on a bench so that when you open it up if things start flying apart you don't lose anything. A really small jewelry tool size needle nose pliers is helpful to have. Everything else you need to know is set forth in the posts and photos on this thread. Its not that hard.
I'm moreso hesitant at step 1 to break something as I don't know what tool (I have very few on hand) to use to pull the panel out. It fits fairly snug as intended right now!
For a few bucks, literally, buy a set of plastic trim tools and use one of them to pop the switch out of the dash. If you cannot fathom that step, do not attempt this procedure.