When you click on links to various merchants on this site and make a purchase, this can result in this site earning a commission. Affiliate programs and affiliations include, but are not limited to, the eBay Partner Network.
Underbody/Interior/Moustache Individually Addressable LED Light Effects
Hello!
Today I'm going to introduce the first major project I'll be undertaking on my new CT200h. I had previously done this once on my 2013 Veloster, though I used a mass produced version that didn't really meet my standards in retrospect, so I'll doing it right this time!
I'll be installing a full hand-built, custom engineered RGBW (Red/Green/Blue/White) interior, exterior and underbody lighting effects system. To break it down bit, I'm going to be installing 35 feet of NeoPixels (https://learn.adafruit.com/adafruit-...guide/overview) in and around the vehicle.
What are NeoPixels you ask?
Well they're a lot like your computer monitor and are made up of a bunch of tiny lights that can each be individually addressed by an onboard computer to create lighting effects! You can make them virtually any color and brightness you want and even sync them up with your sound system (something I will be doing!).
Doing this is no small feat and will require a power supply capable of 50 amps at 5v, transforming the cars 12v power. There's a lot of electric issues to figure out and I hope you find it interesting, as well as provide welcomed feedback.
Today I'm going to be tackling the issues of drawing such a large amount of power through the cars electrical system!
As you may know, there's a few unused fuse positions on the fuse panel in the car, which as it turns out are a great place to tap in to get power and at the same time, stay safe by being able to use built in fuses. I disassembled the fuse box and stripped it down the bare PCB, which took a lot longer than I hoped due to how cramped the inside of the dash is. Once the fuse box was open I was able to test the unused circuits and make sure where I wanted to tap into was electrically isolated from the rest of the car. I soldered and ran 4 new power lines (3 are always on and 1 is ignition controlled) out of the face of the fuse box using appropriate gauge wire.
Today I installed the custom made lighted switches I purchased from CH4X4 (http://www.ch4x4.com/product/ch4x4-c...push-switches/) in the lower left of the drivers side dash, replacing the factory blanks that came with the car. Each switch controls the function as follows:
Parking Sensor - Controls retrofit of factory parking system
Underbody Lights - Lights under the body of the car
Party Lights - Interior lighting effects
Moustache Lights - Lights sew in to the Carstache on my car (more on that later...)
Mode Select - Cycles through lighting effects
A lot of the work done today was necessary prep wiring that will make phases going forward easier, as well as keeping it all looking clean. I managed to run everything on the switch panel through a single 9 pin connector that will allow myself and my Lexus dealership to easily remove the panel should the need arise.
Today I ran the wiring harnesses and installed the control system for all this lighting! I ran 150 feet of wire in a bundle larger than your wrist from under the drivers seat, to the center console and out to various places in the car (mainly the dash and through the firewall into the engine bay).
I installed the 50 amp 12v -> 5v transformer that will power all this as well as the microcontroller that manages these lights, as well as soldering the 10 inputs that I can use as points of data to create light sequences. The inputs are as follows:
Left Turn Signal
Right Turn Signal
Brake Signal
Moustache Switch
Mode Switch
Underbody Switch
Party Mode Switch
Subwoofer Audio
12v+ Ignition
Dash 12v+
Once all the wire harnesses were run and installed I used a 12 pin aviation connector in the engine bay to create a removable harness. The removable harness allows me to create and test the engine bay side of the harness outside the car.
Onto the outside harness! Seeing as I haven't installed anything except the Moustache yet, I decided to only create that part of the harness for the time being. Each pair of wires requires various inline capacitors and resistors to shield the LEDs from voltages spikes and various electrical gremlins, so I'm adding them here at the ends.
That's it for now, more to come soon! (I should be posting a video here shortly!)
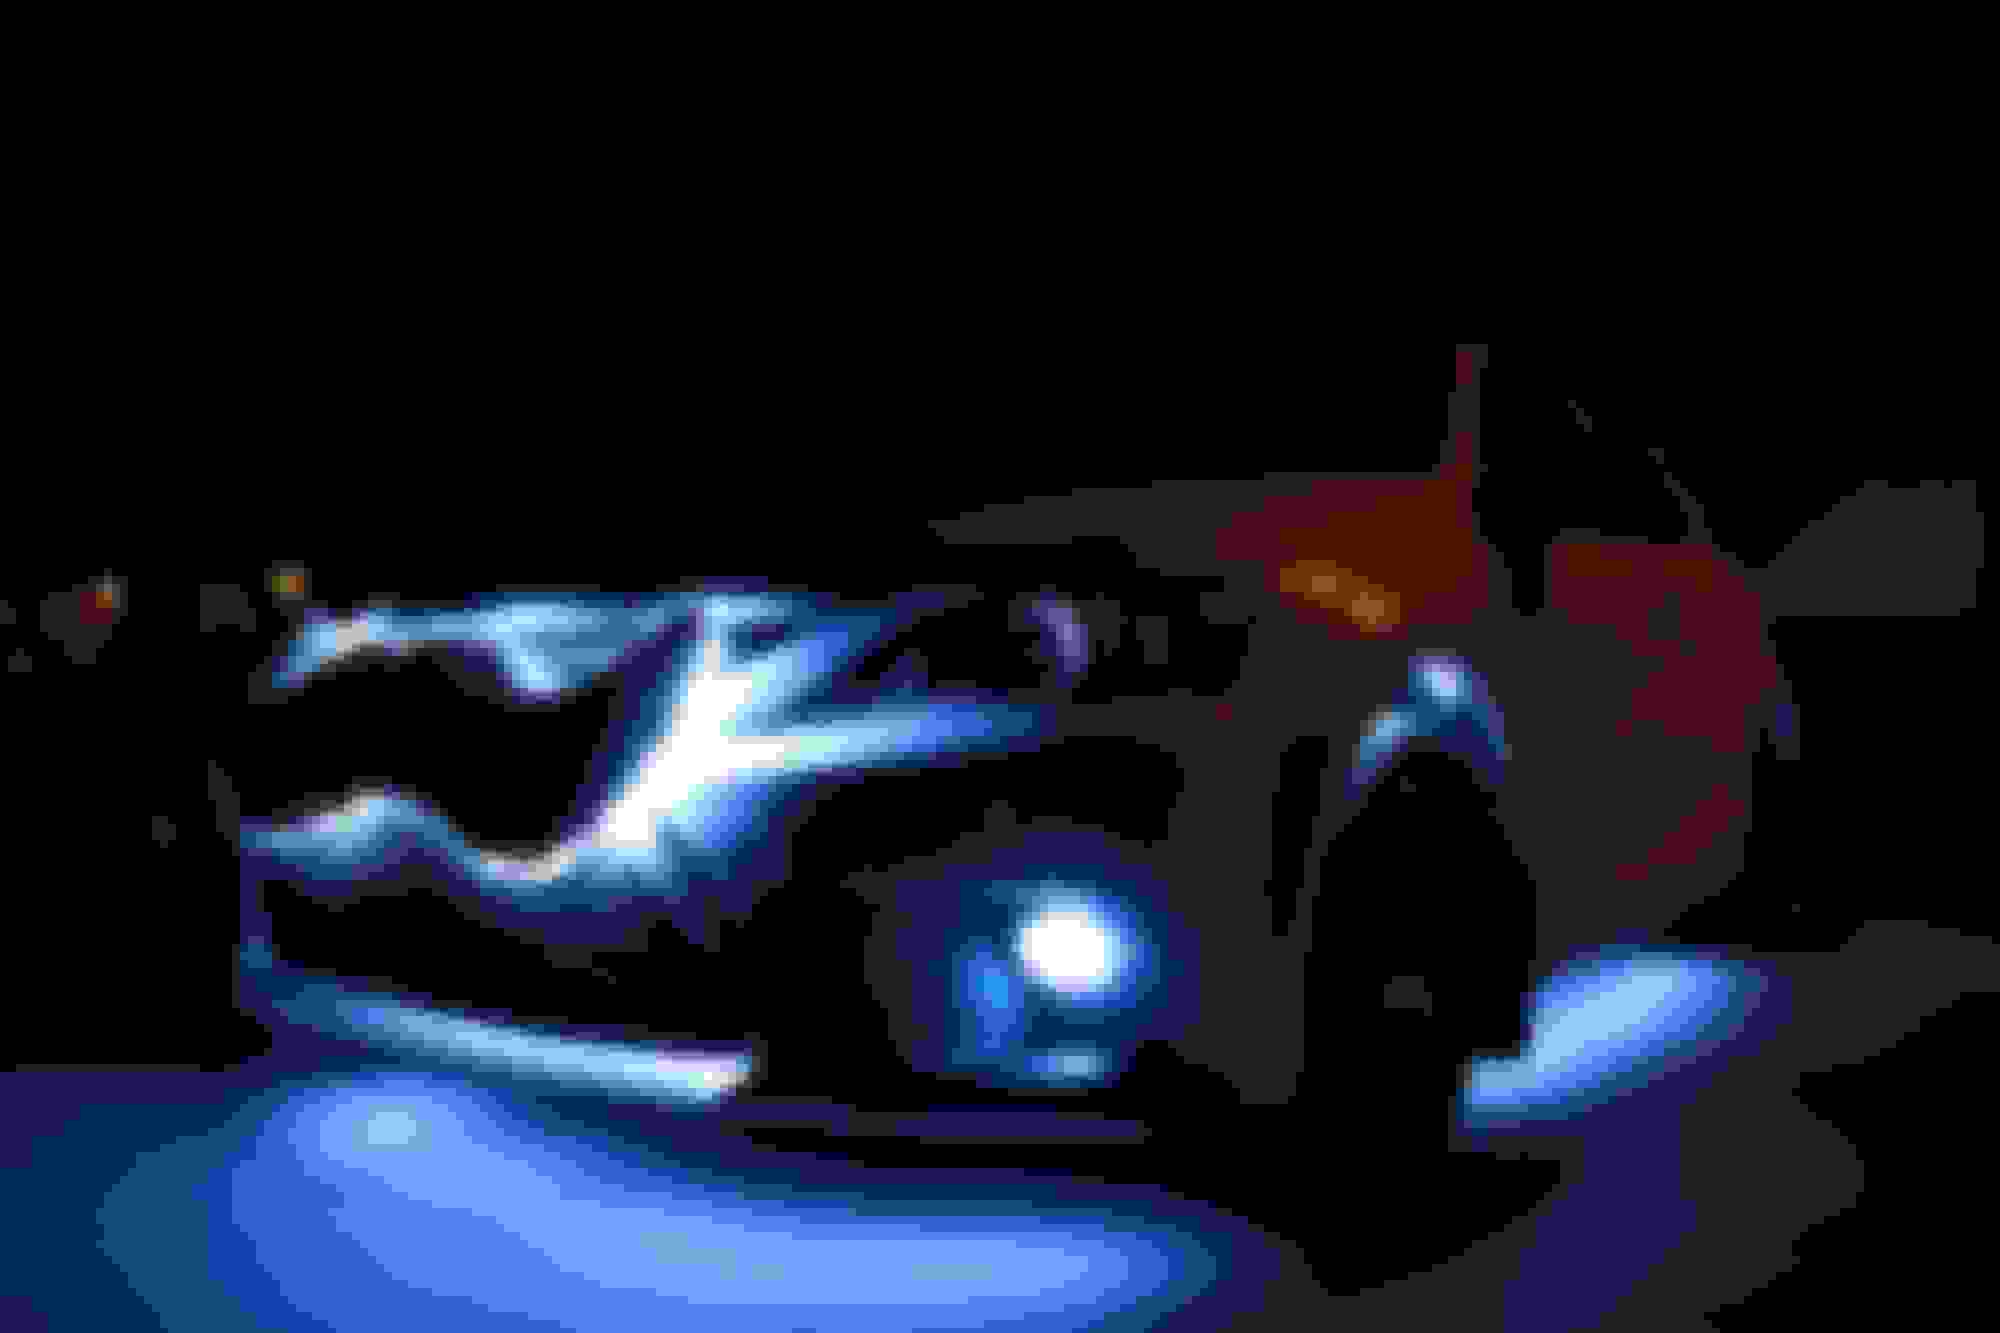
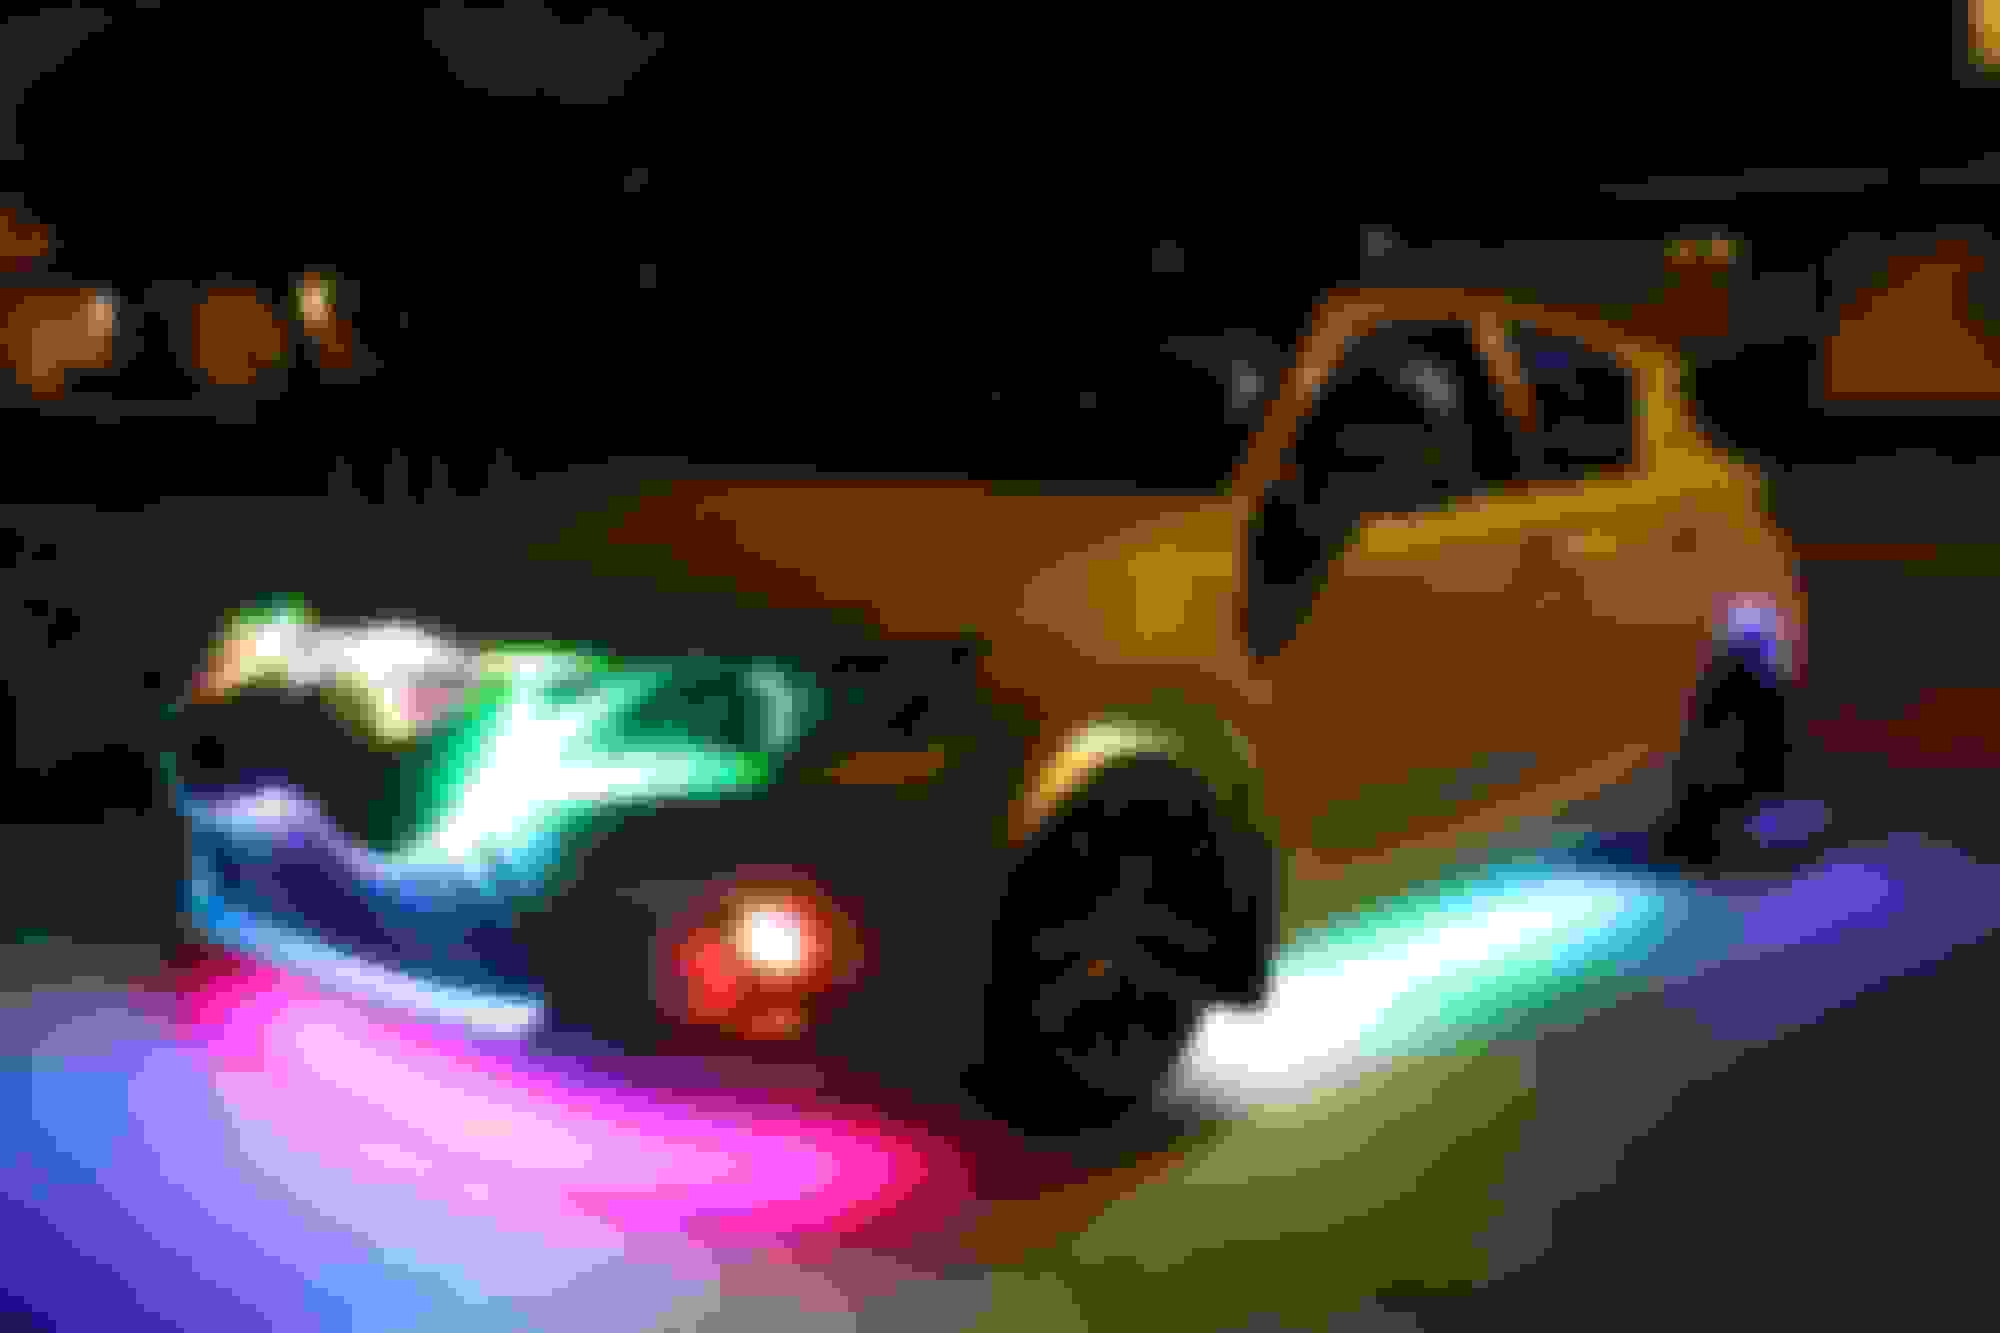
Hello! It's been a couple weeks since I posted an update, but I'm still working at it! I took a few in progress shots this weekend from testing the underbody system.
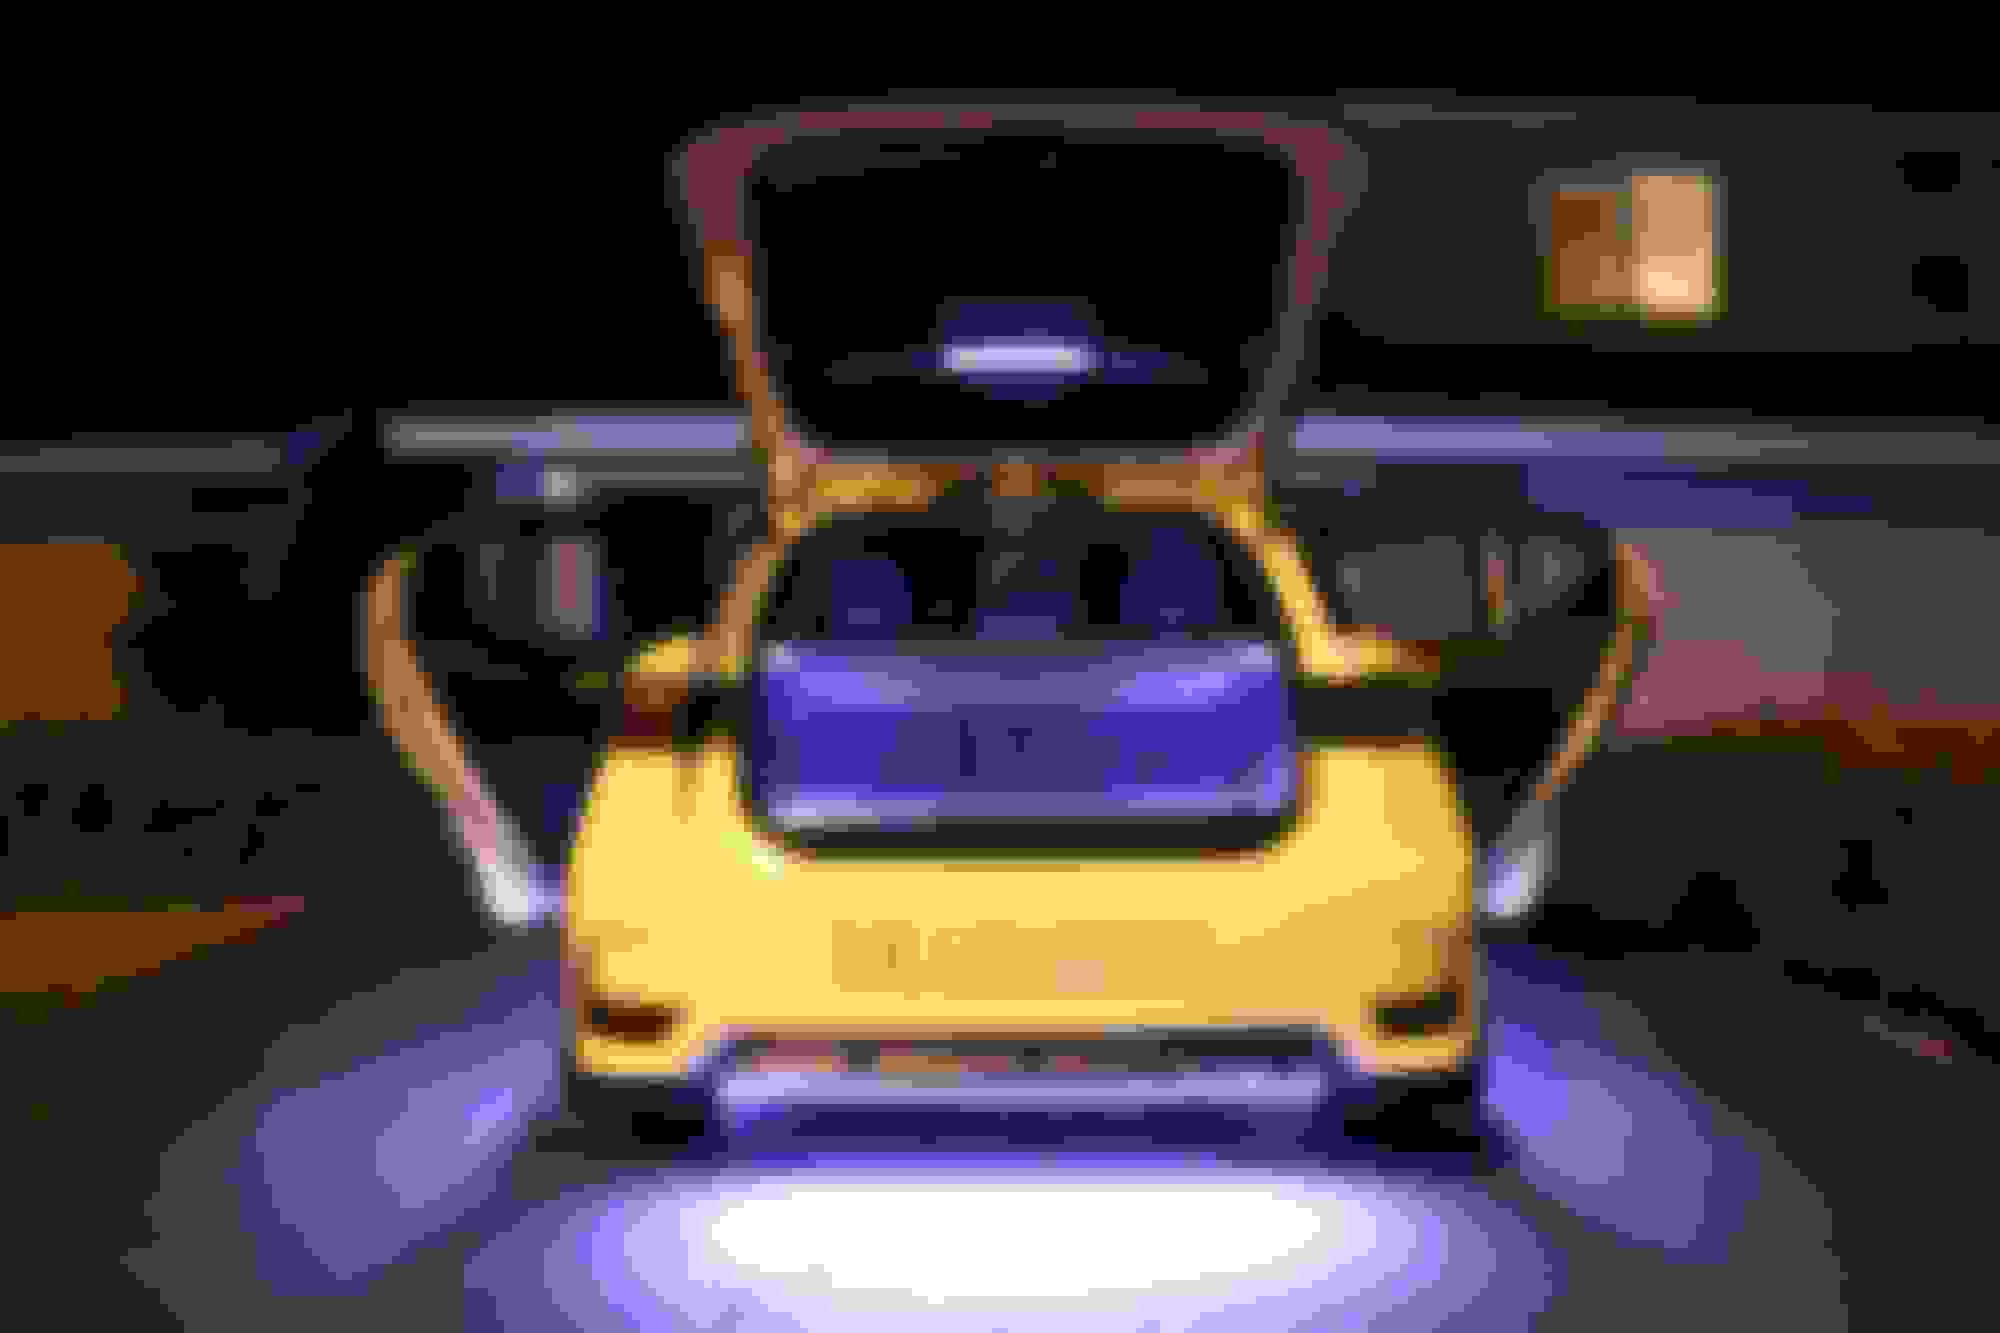
So, I did get the interior lights done and will be posting a video shortly! The interior consists of 6 strips running all the way back to the trunk of the car.
I am also custom engraving lighted door sills!
Last weekend I did a ton of fine tuning of software and some vinyl work!
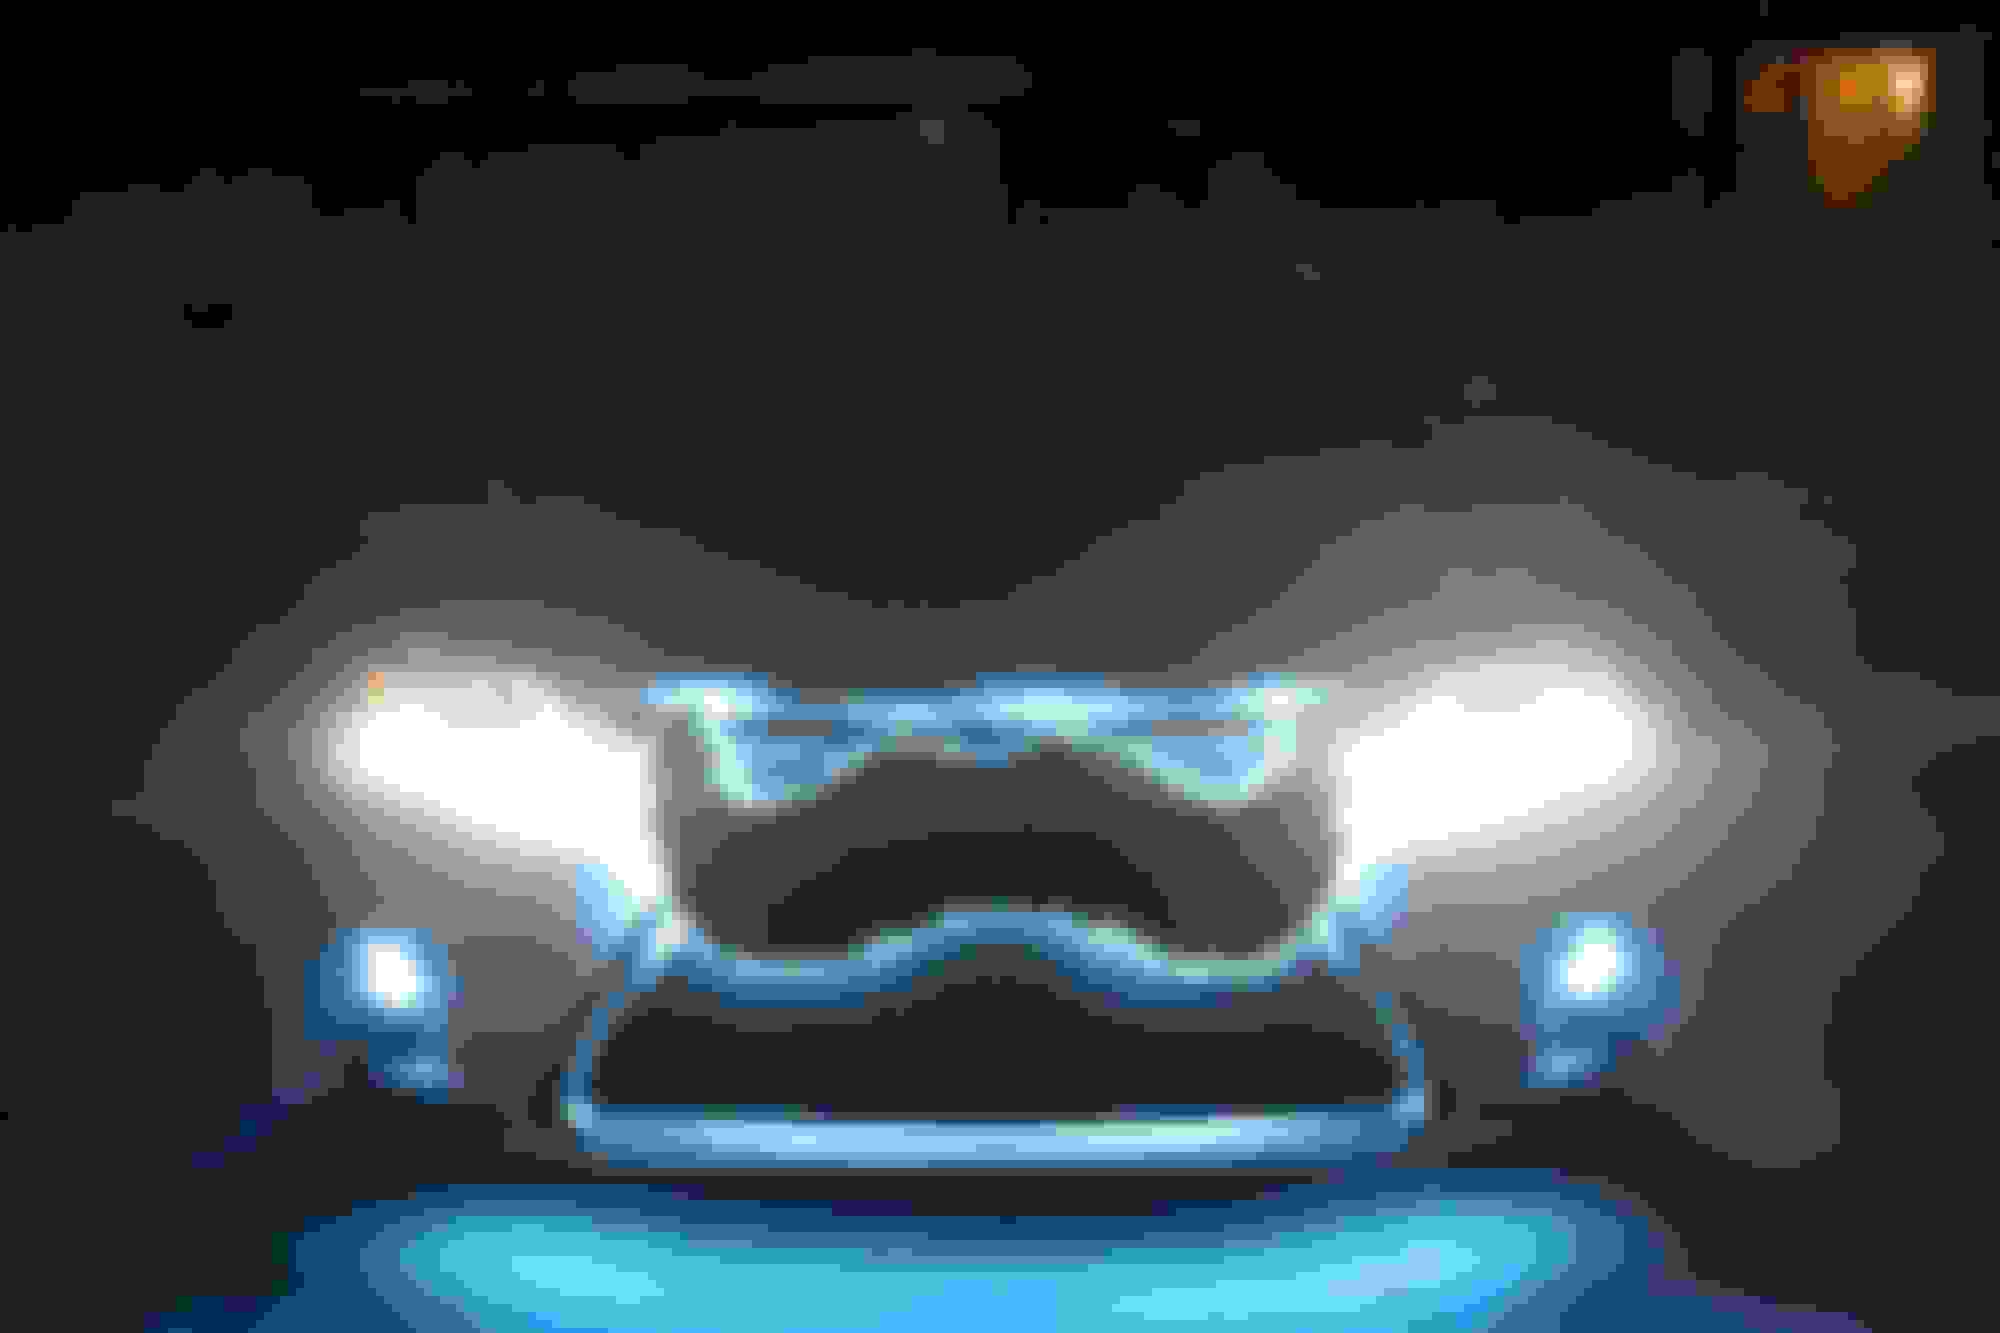
This weekend was a fun one, I got the Angel Eyes installed in the fog light housing and the brake light internals replaced with my own (it even still functions as a brake light!)