When you click on links to various merchants on this site and make a purchase, this can result in this site earning a commission. Affiliate programs and affiliations include, but are not limited to, the eBay Partner Network.
I wouldn't run a Kit with Proton solenoids, they always seem to fail for some reason. Any universal kit with high quality parts will get you to your goals.
I got about $1500 into my kit I built myself, it's nx Lightning splenoids,nx Lightning purgesole kit, zex bottle, nozzle and jet kit, Russell -4 lines to solenoids, zex gauge adapter and gauge, jmschip universal controller, vibrant weld fitting installed on takada intake, custom -6 braided fuel feed line. The Braille battery was a help to have a spot to fit the solenoids and such in little area. This was prior to mounting the gauge in the glovebox and mounting the purge kit
thats a nice set up i honestly am just looking for a kit to just arm and have the nitrous ready when im at WOT and maybe a window switch at 6800rpm. I may install a remote bottle opener but i feel its not needed. I would just like a kit to spray 100-150 shot no problem nothing real fancy. I also am still trying to figure out where and how im going to place the bottle, as id like to retain to drilling into any of the interior plastics and such. thinking to drill the metal where the spare is as i drive with full empty weight most of the time.
The firewall grommet is under the battery fortunately, the tank can be mounted in a few places, where I mounted mine is easy to reverse from if you sell the car.
The firewall grommet is under the battery fortunately, the tank can be mounted in a few places, where I mounted mine is easy to reverse from if you sell the car.
Do you think you can post a picture of how you mounted it. im sure other members can refer back to my thread if they need an idea of where to mount the bottle.or i can pm you instead? which would you like?
If you look in the rear shot showing the bottle, take out the carpet that is in the center behind the seat, measure how far apart the brackets are when they are mounted on the bottle (they should be close to some of the raised formed sheet metal in the center area) then mark the hole locations and drill but be careful don't go shoving a 6" drill bit through less than 1/4" of material. Used stainless 5/16 grade 8 bolts and a good size washer to support the stack up. You can drill through the carpet if you want just make sure things line up right.
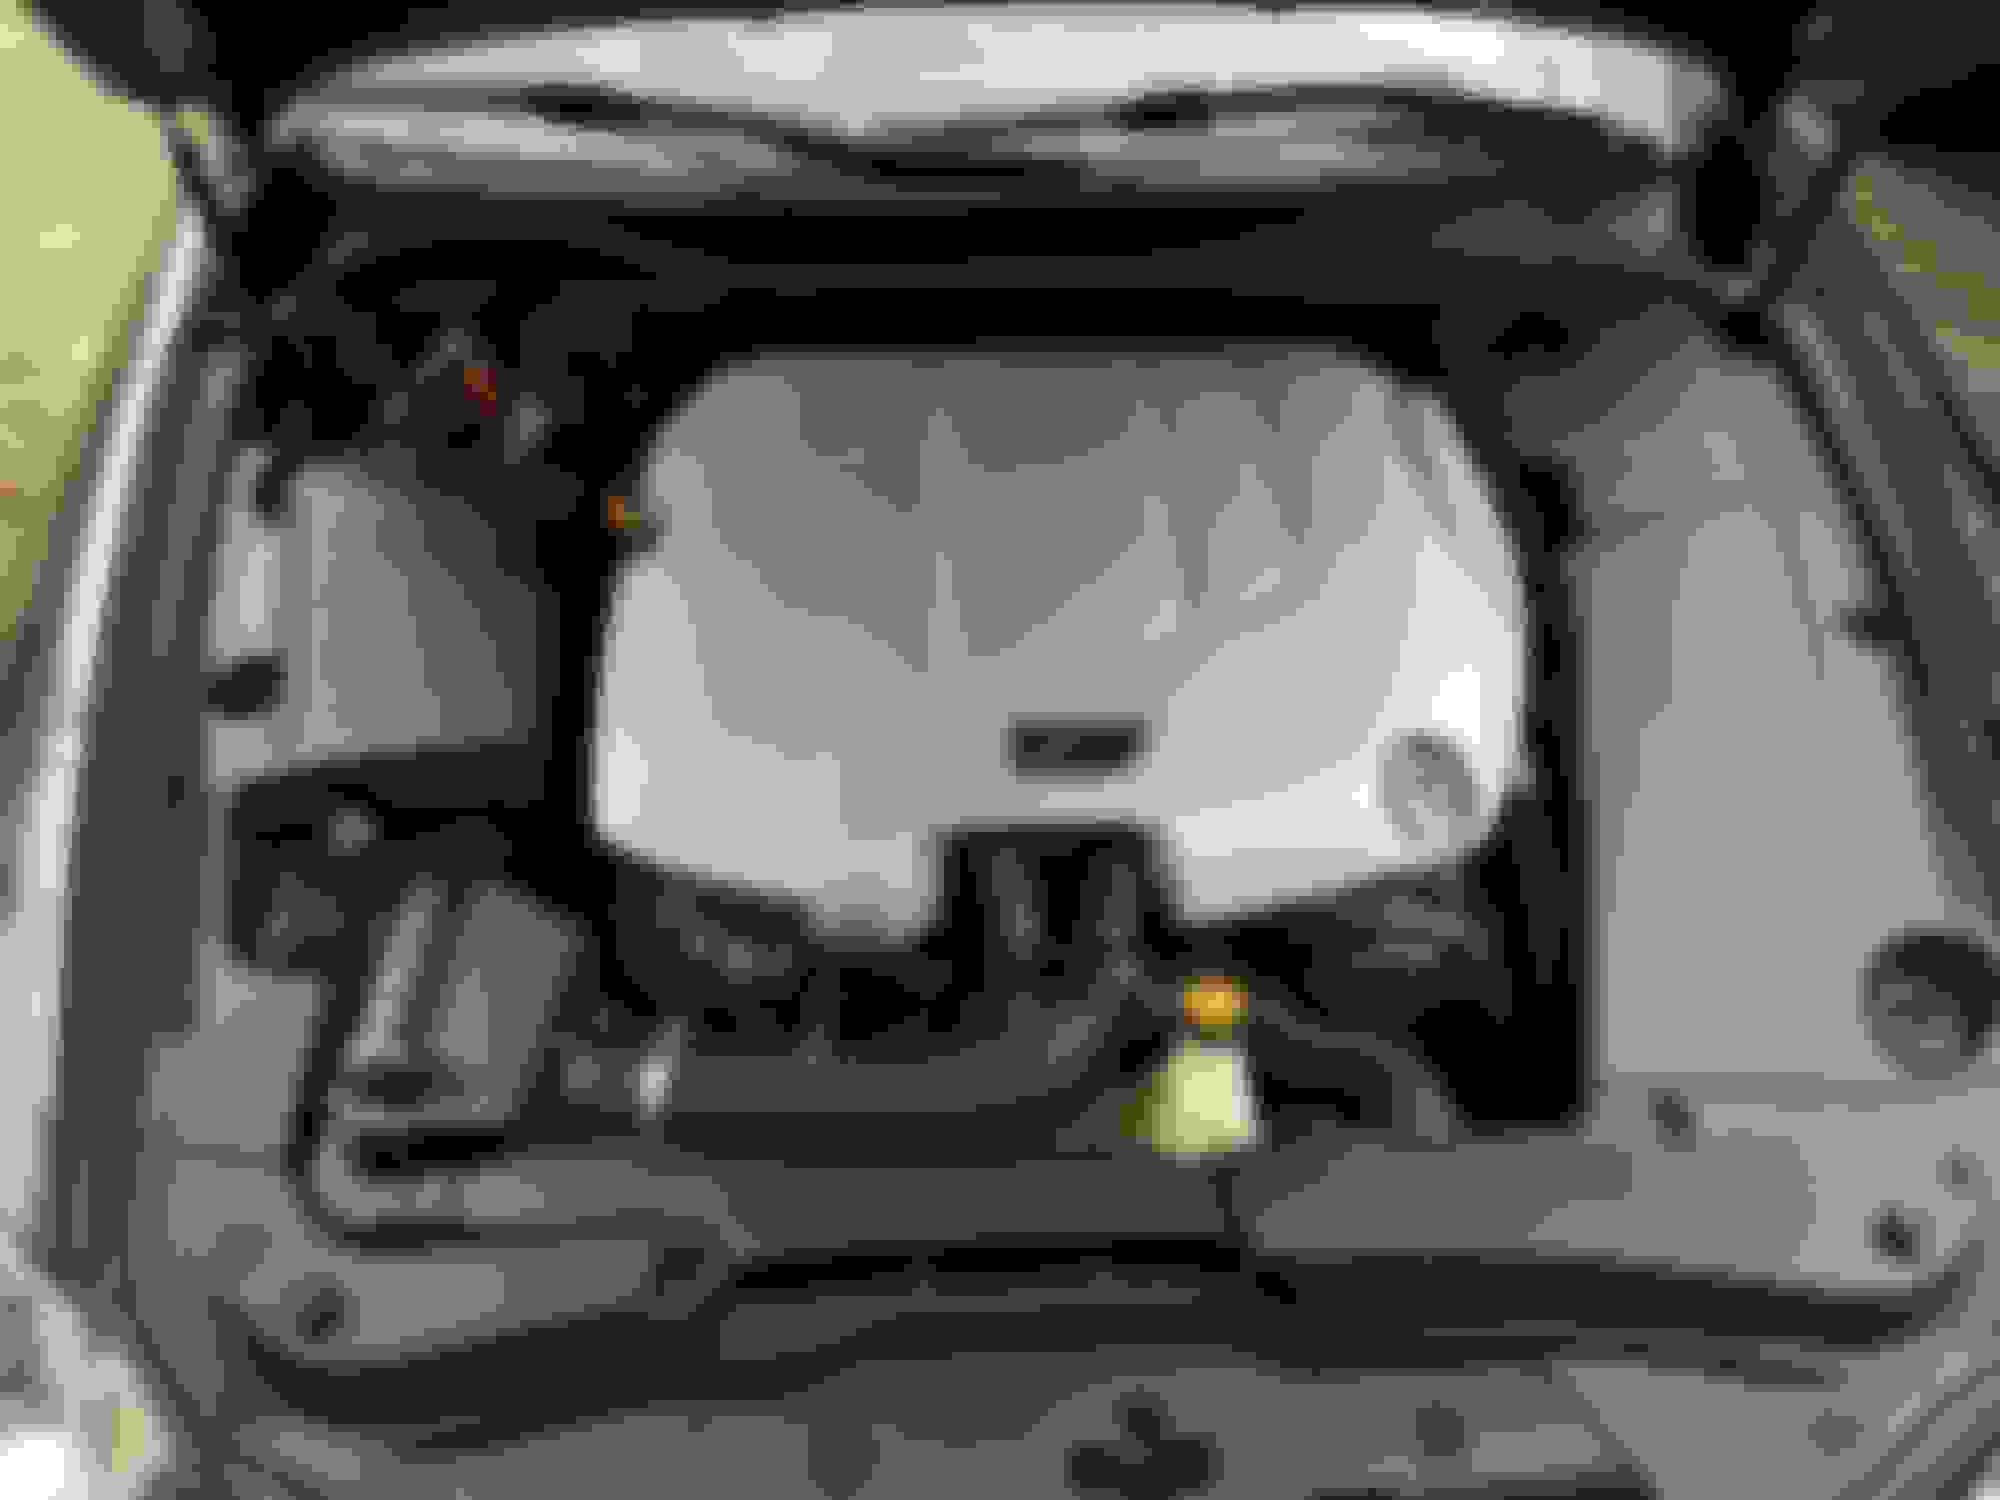
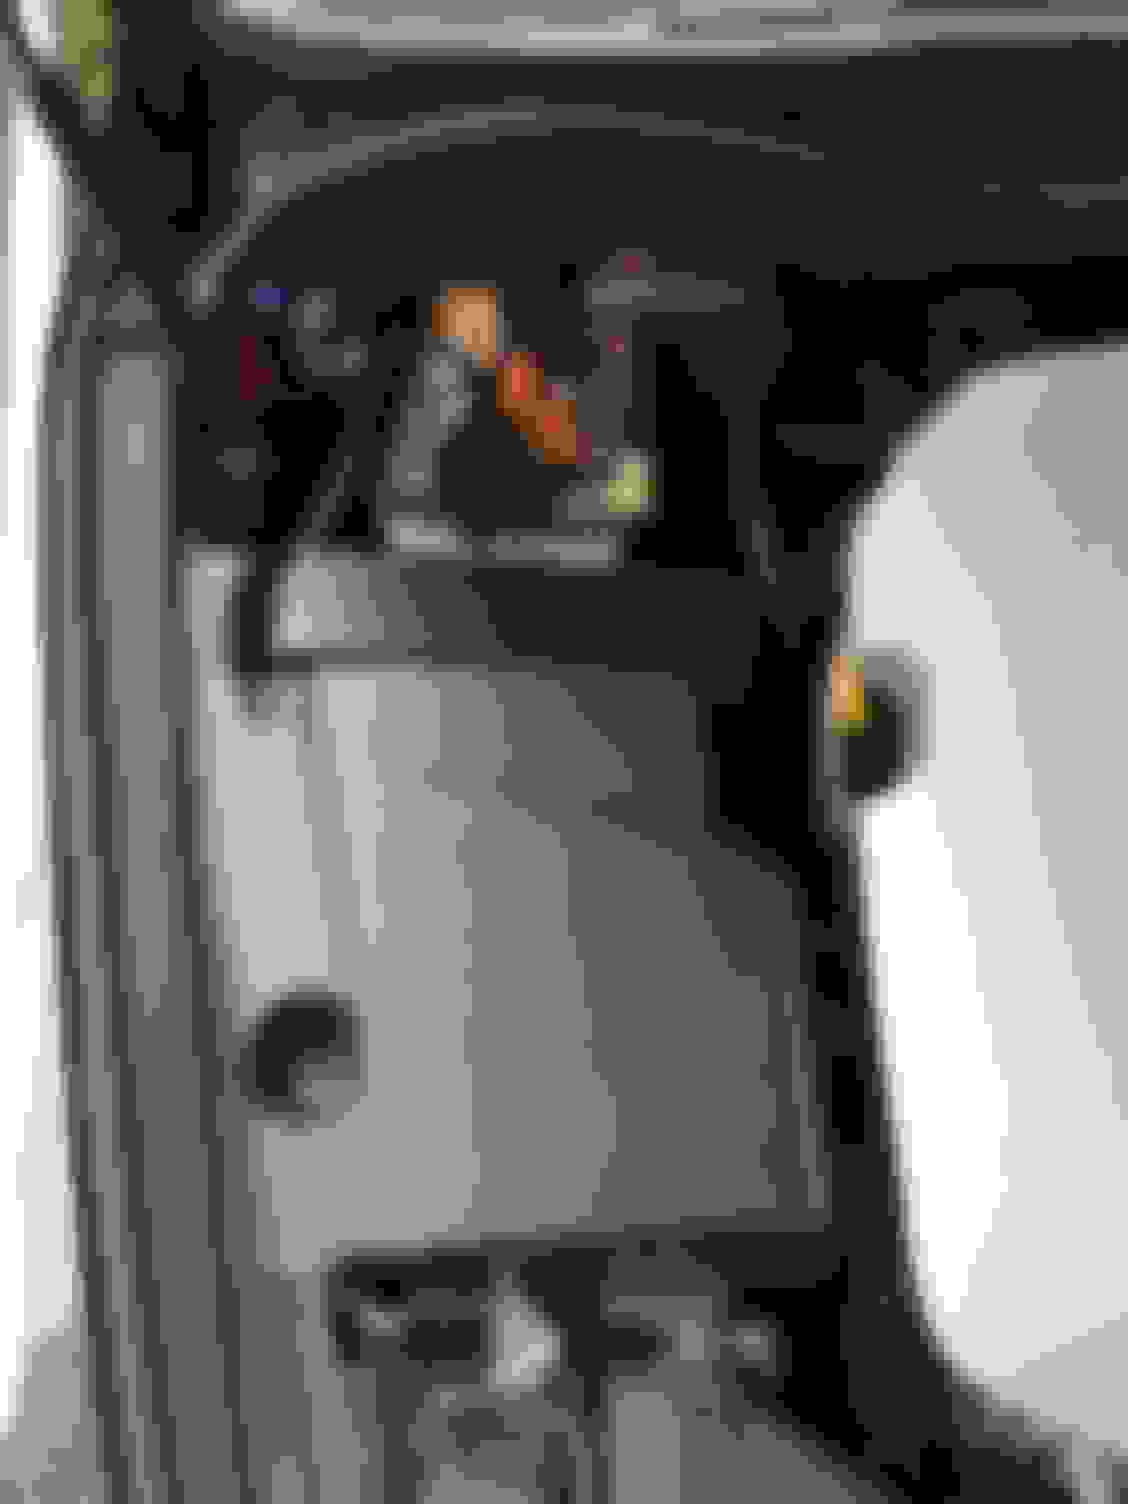
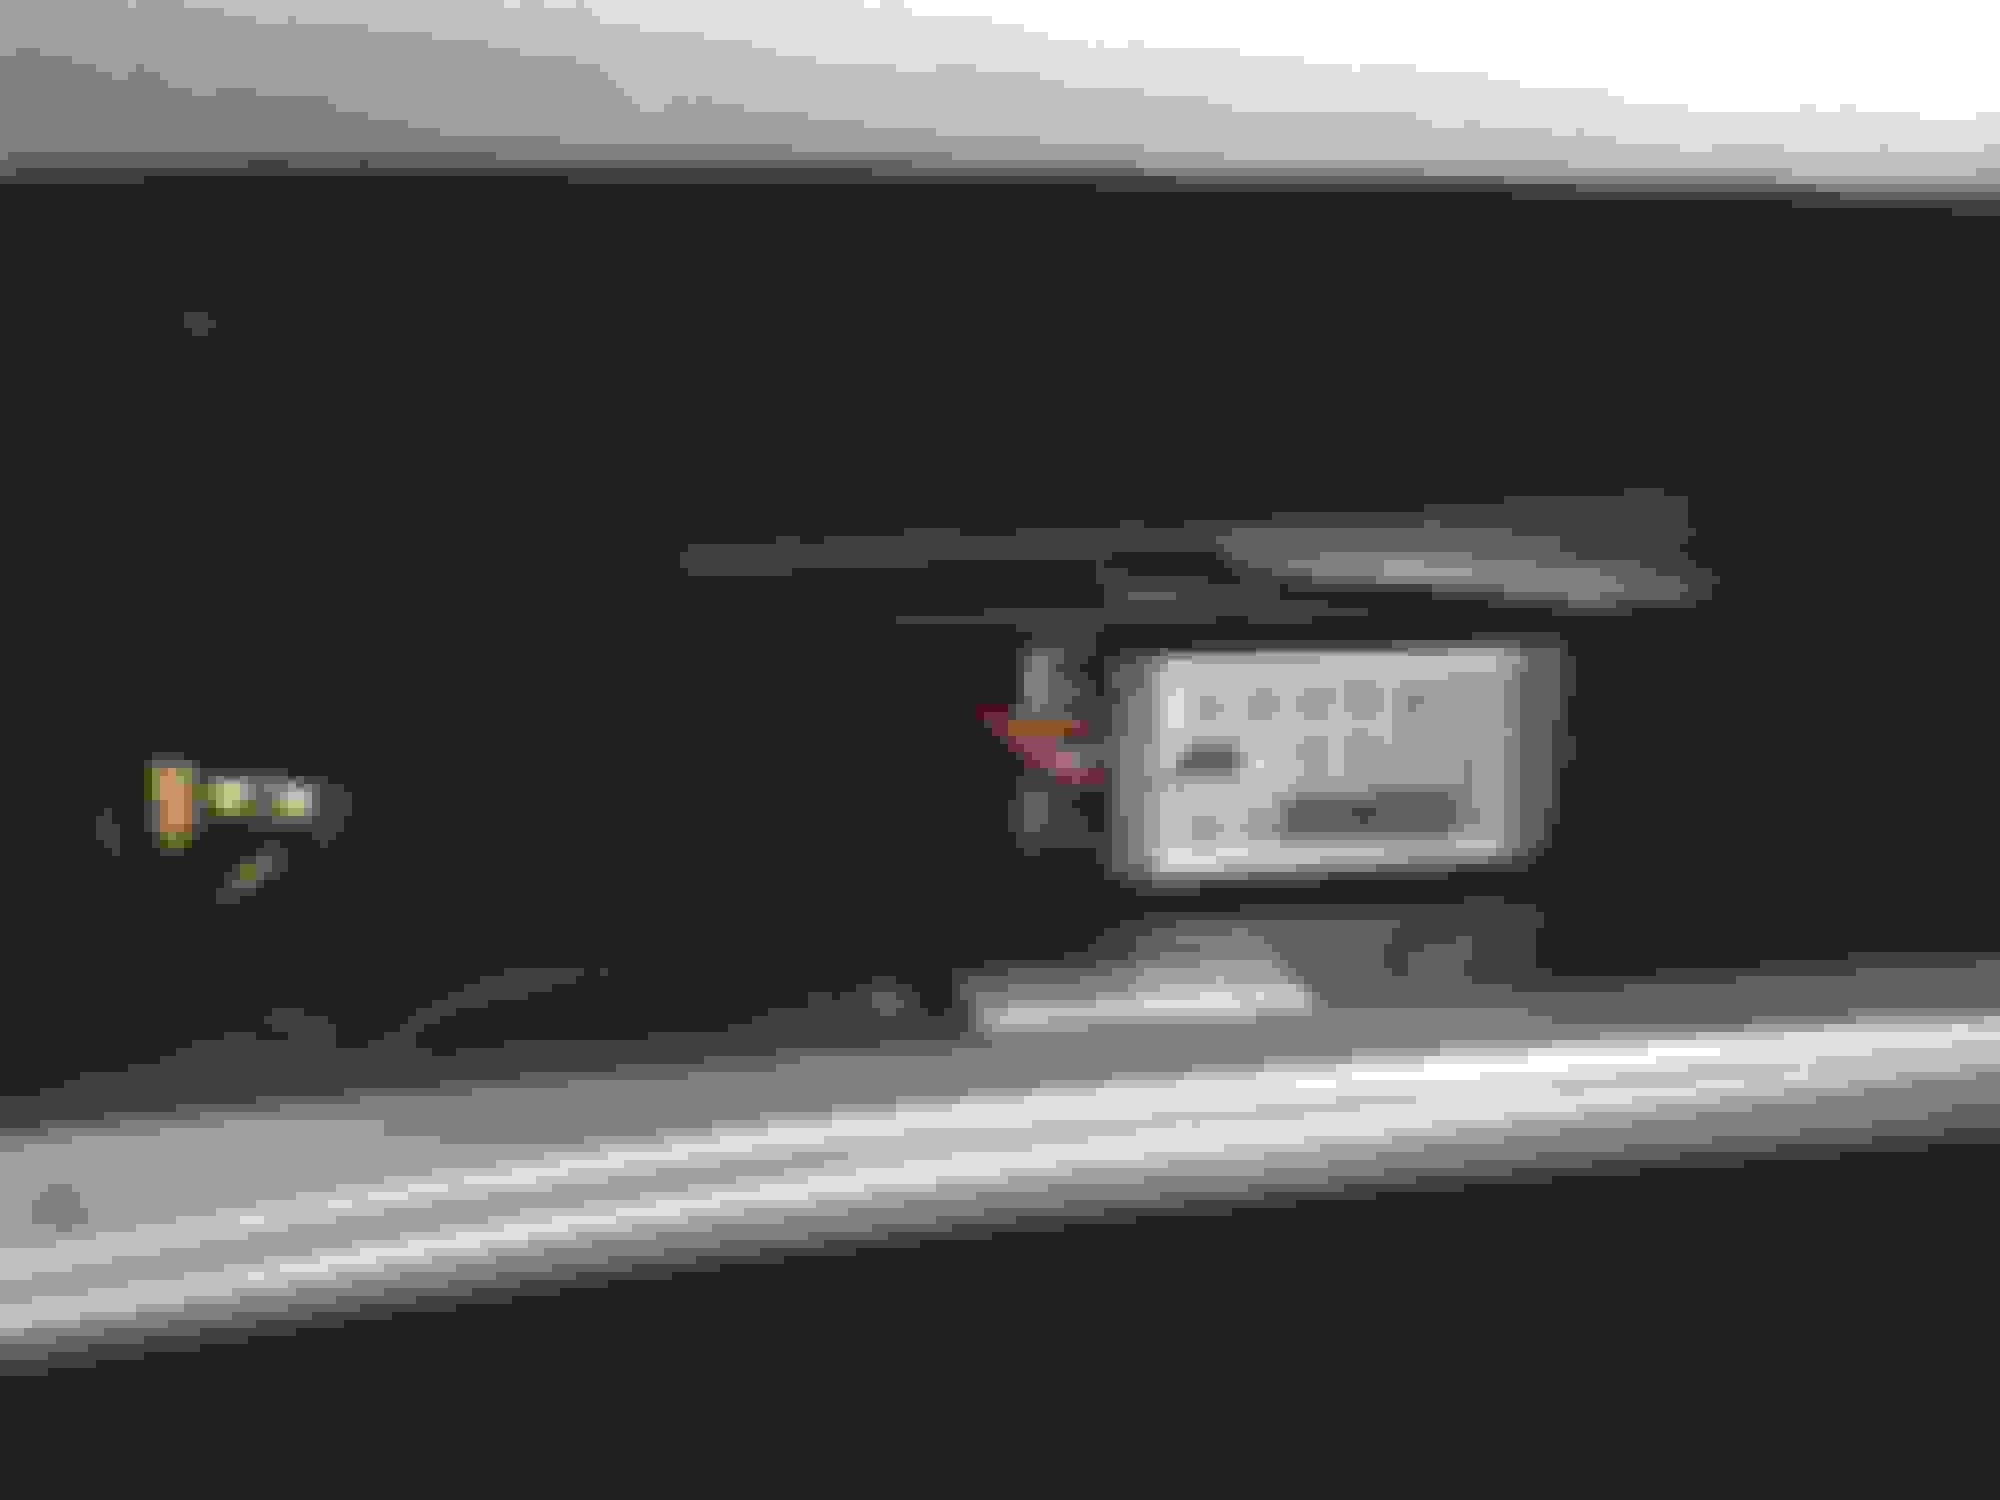
Found the plumbing pic from the initial install, it's a little different now but not much and obviously the nozzle was not installed there, I was waiting for the bung.
If you look in the rear shot showing the bottle, take out the carpet that is in the center behind the seat, measure how far apart the brackets are when they are mounted on the bottle (they should be close to some of the raised formed sheet metal in the center area) then mark the hole locations and drill but be careful don't go shoving a 6" drill bit through less than 1/4" of material. Used stainless 5/16 grade 8 bolts and a good size washer to support the stack up. You can drill through the carpet if you want just make sure things line up right.
That's actually a good bottle setup thank you for the idea . As for your setup is nice great work on it. One more question sorry if you're annoyed . But where did you drill to tap the extra fuel