When you click on links to various merchants on this site and make a purchase, this can result in this site earning a commission. Affiliate programs and affiliations include, but are not limited to, the eBay Partner Network.
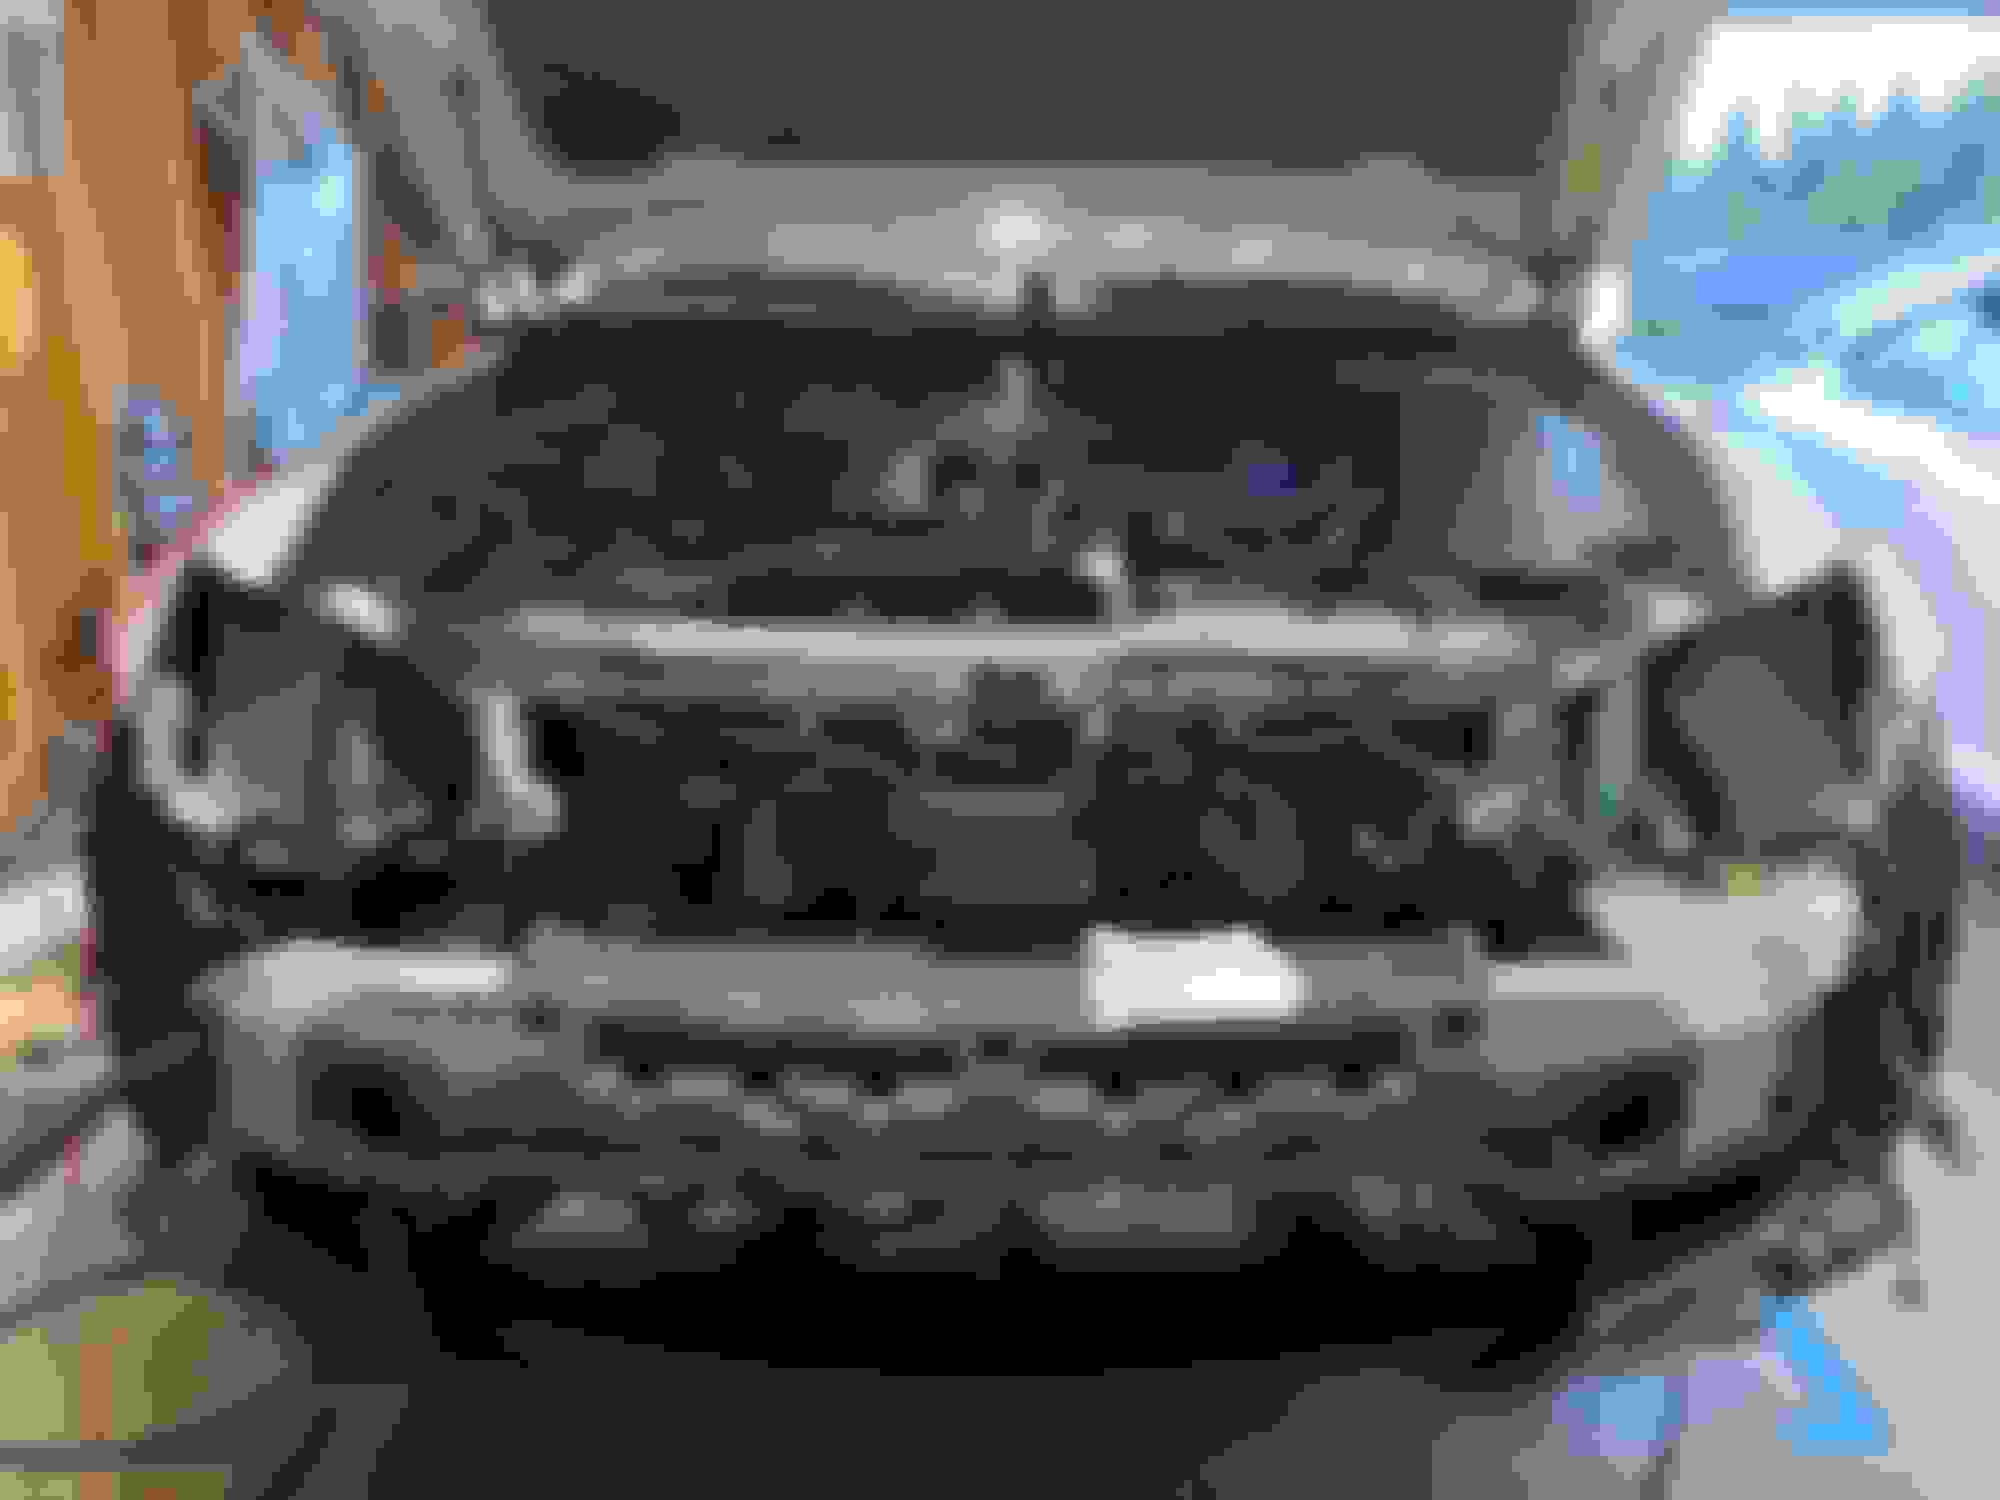
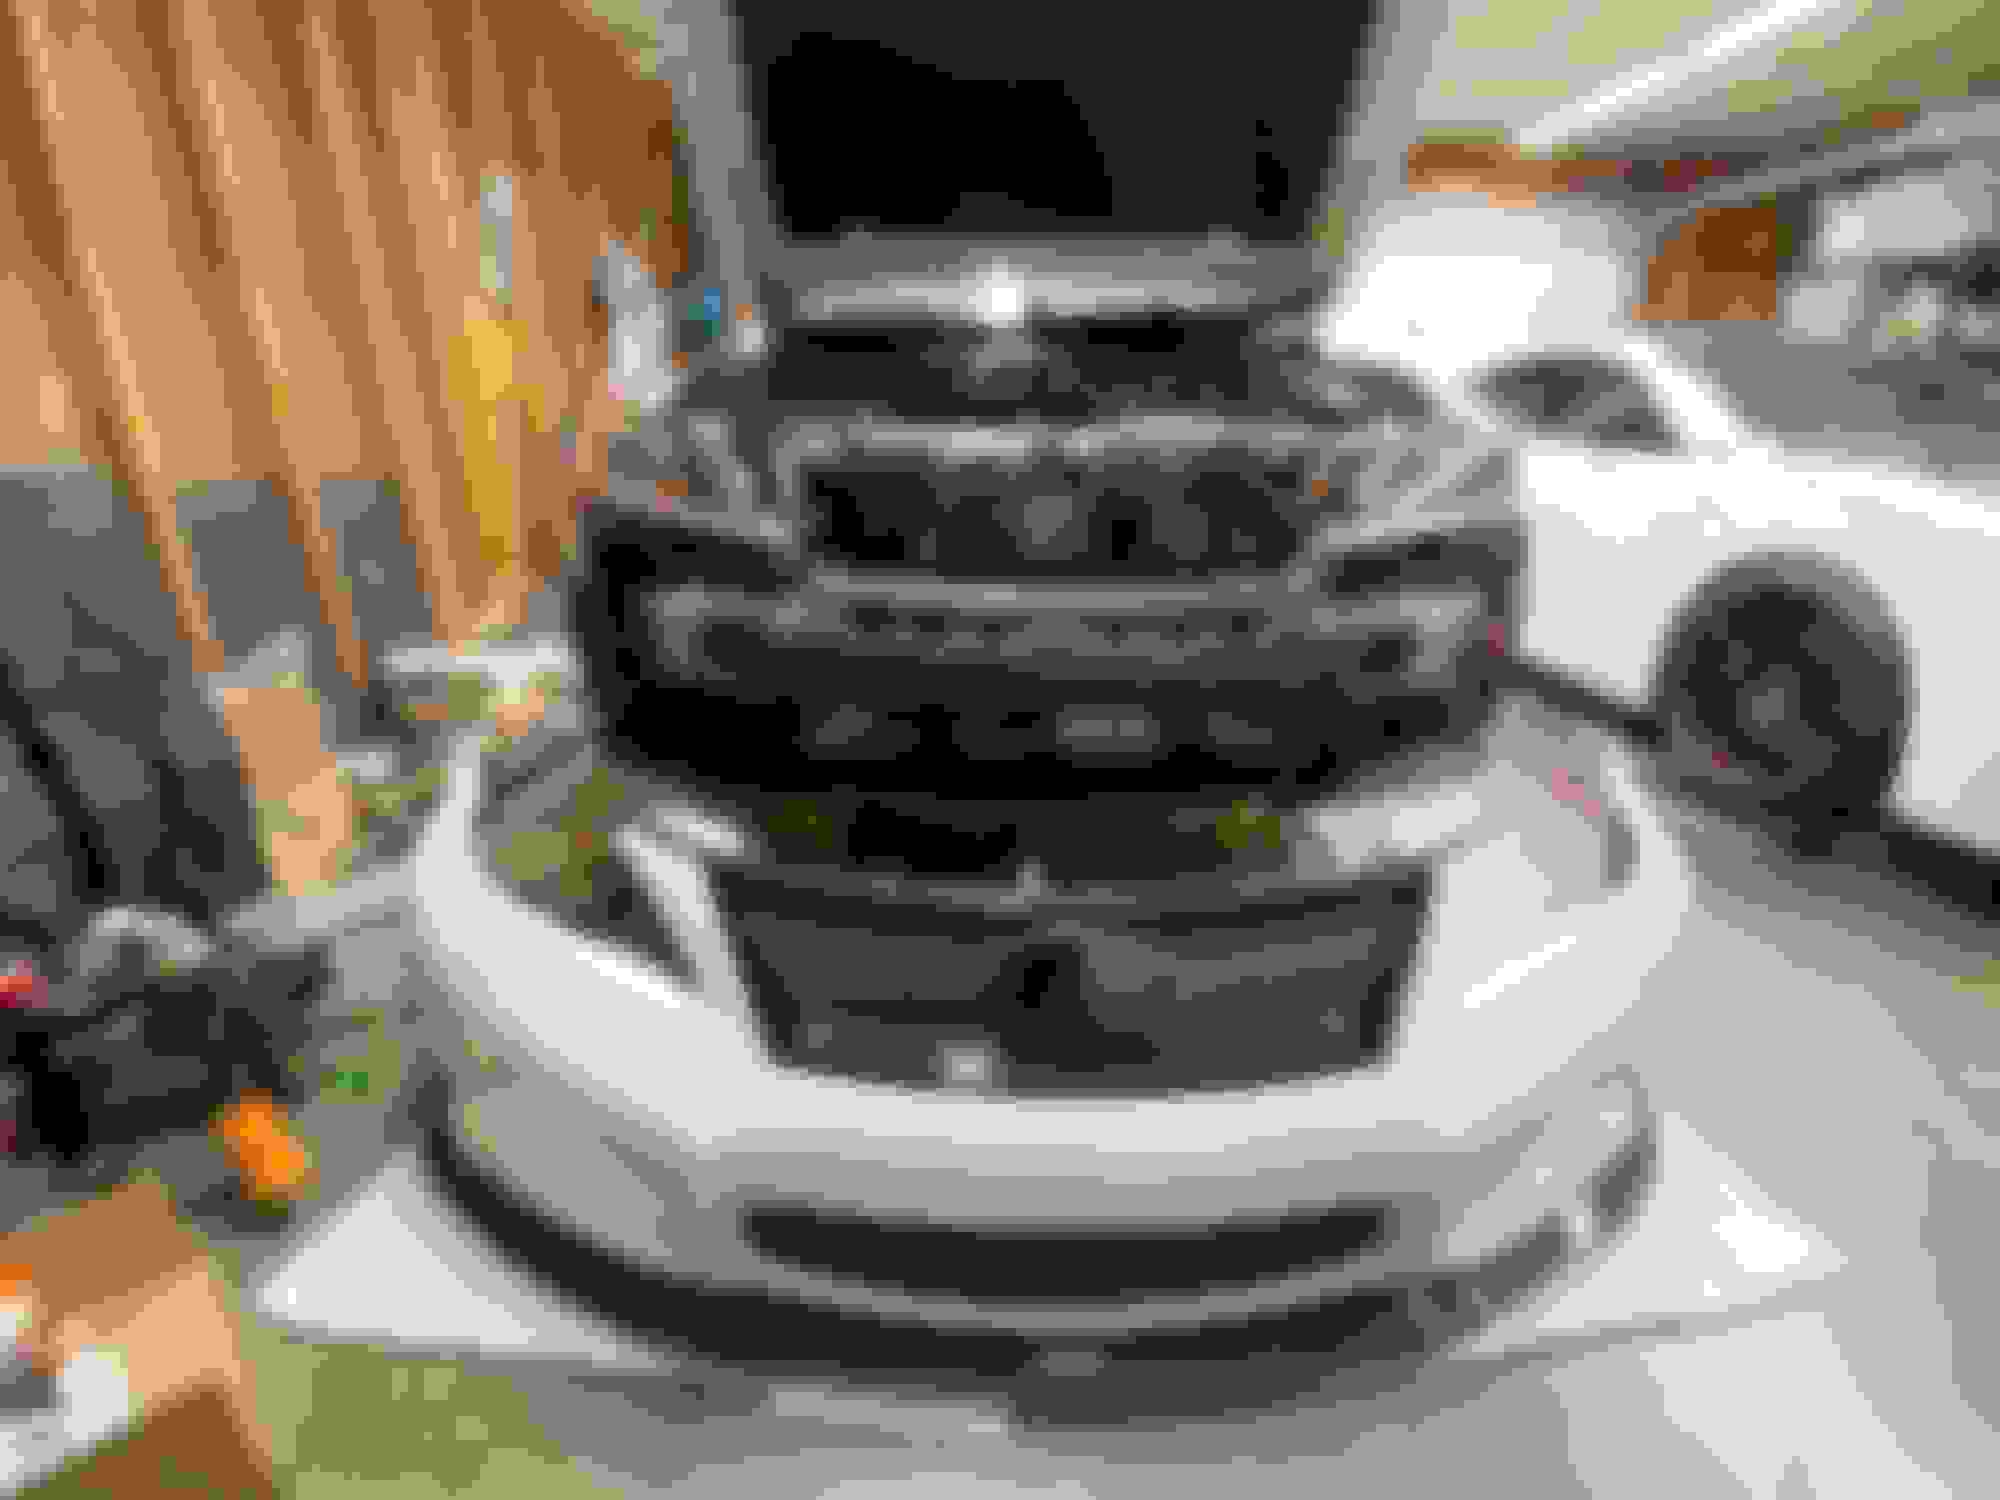
Looks nice, but if you do this you will absolutely need to remove the bumper cover to replace the radiator. Without the fine screen you can get a long extension and remove the bolts holding the A/C condenser easily without removing the bumper cover.
Looks nice, but if you do this you will absolutely need to remove the bumper cover to replace the radiator. Without the fine screen you can get a long extension and remove the bolts holding the A/C condenser easily without removing the bumper cover.
I didn�t know the ac condenser need to come off to replace the radiator, I thought you just have to take the top core support off to make the job easier.
I didn’t know the ac condenser need to come off to replace the radiator, I thought you just have to take the top core support off to make the job easier.
The condenser is bolted to the radiator in the front. No idea why, but a radiator swap is far more of a PITA than it should be. My Supra is stupid easy to do the same task. I routinely take the radiator out of it to clean out all the bugs and road grime.
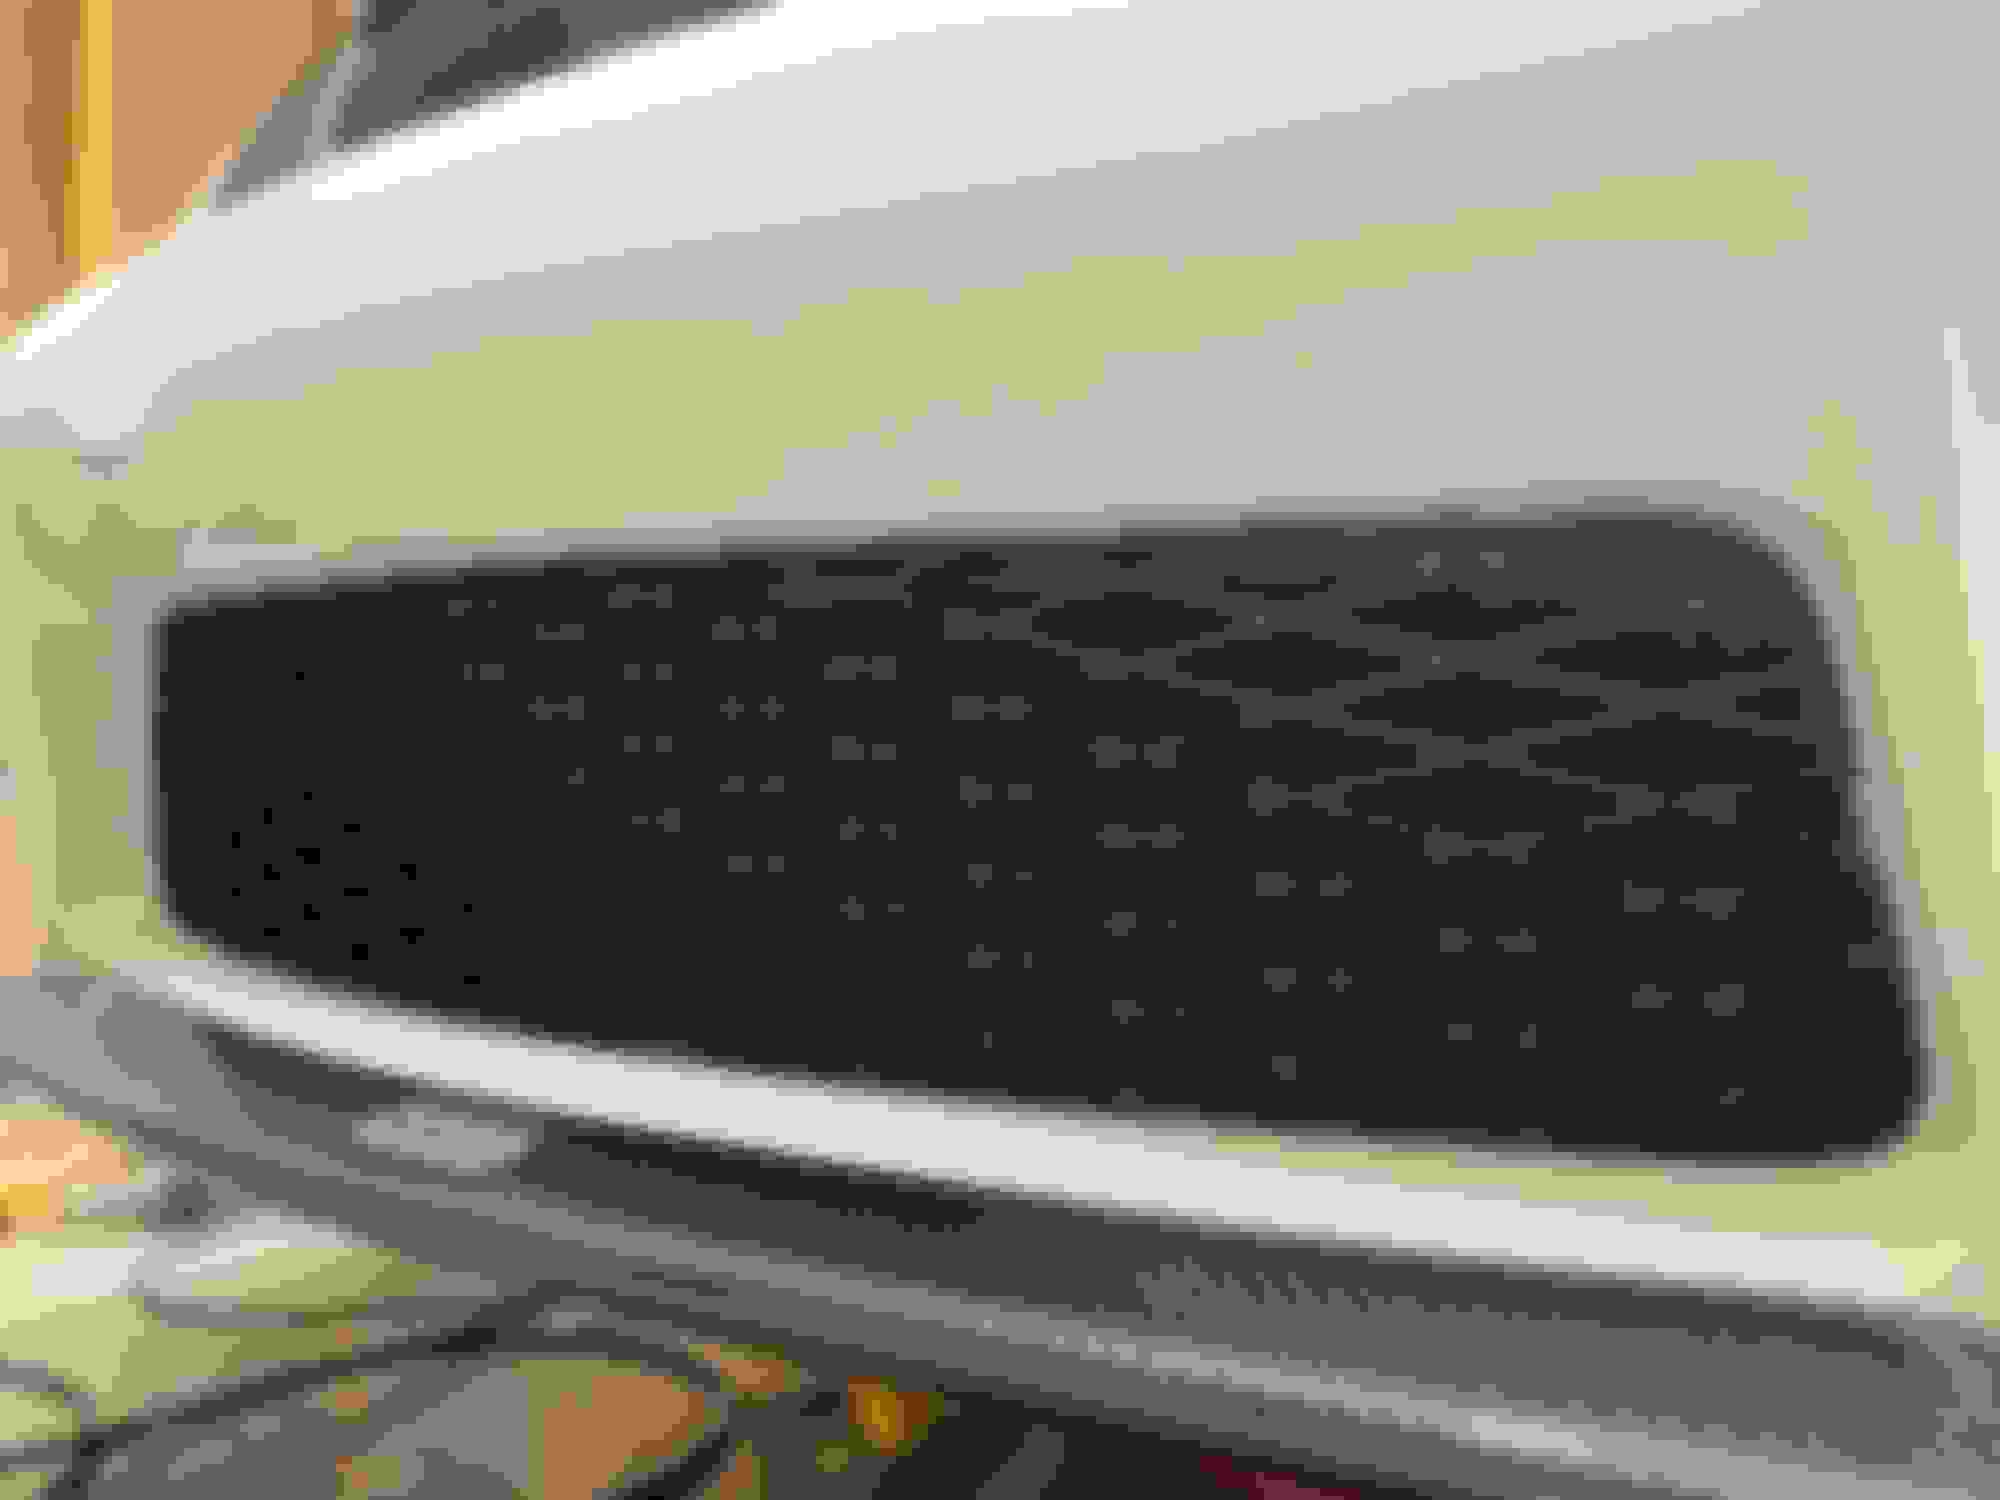
Did you check the vent to be sure it's not paint clogged? I think I would remove that if I were painting the cover.
The condenser is bolted to the radiator in the front. No idea why, but a radiator swap is far more of a PITA than it should be. My Supra is stupid easy to do the same task. I routinely take the radiator out of it to clean out all the bugs and road grime.
Did you check the vent to be sure it's not paint clogged? I think I would remove that if I were painting the cover.
yes, I did make sure that vent wasn�t clogged
I only spayed outside/around it and made sure I wasn�t spraying right up under the cap.
Had some time to install some ARP wheel studs. Had to trim them to get them in, without removing the hub. Also, used gun blue to apply finish to the hub flange and the ends of the studs. Paint just doesn�t work on the hub flange so hopefully the gun blue will last longer.