


YannG's 05 Lexus LS430 Build thread


Advanced


Joined: Oct 2008
Posts: 504
Likes: 54
From: wa

Any tip on removing the window trim? I heard somewhere that it was a bit difficult. I plan to remove the rear panel to replace the rear door lock (maybe the actuator/motor) It will get stuck once a while and once stuck, I can't unlock the car both inside and outside. What a pain...

Thread Starter
Intermediate


Joined: Jan 2014
Posts: 355
Likes: 180
From: GA
Any tip on removing the window trim? I heard somewhere that it was a bit difficult. I plan to remove the rear panel to replace the rear door lock (maybe the actuator/motor) It will get stuck once a while and once stuck, I can't unlock the car both inside and outside. What a pain...
Thread Starter
Intermediate
Joined: Jan 2014
Posts: 355
Likes: 180
From: GA
Maintenance - Interior bulbs
Hello,
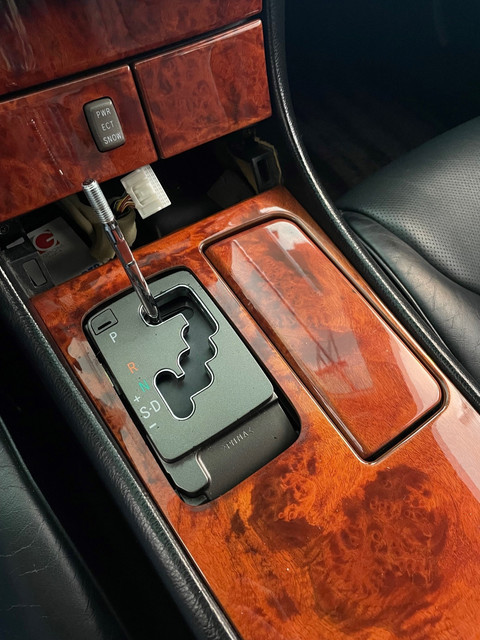
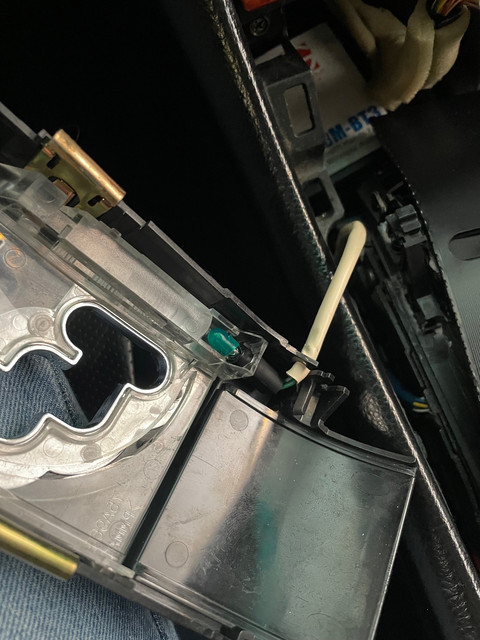
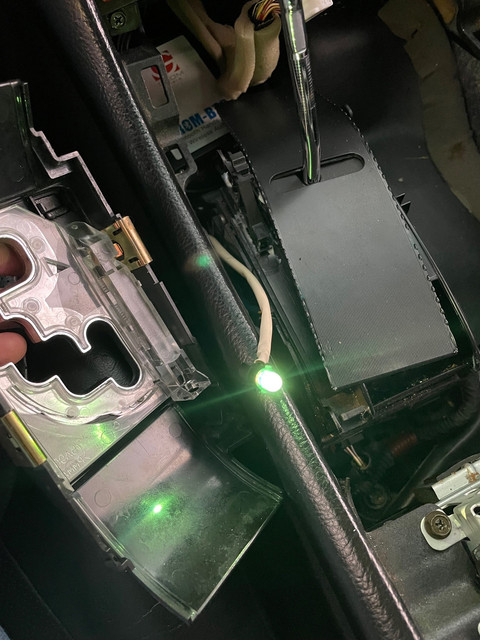
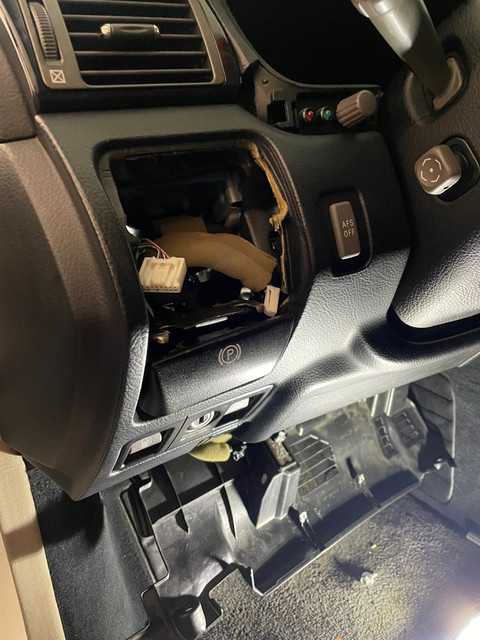
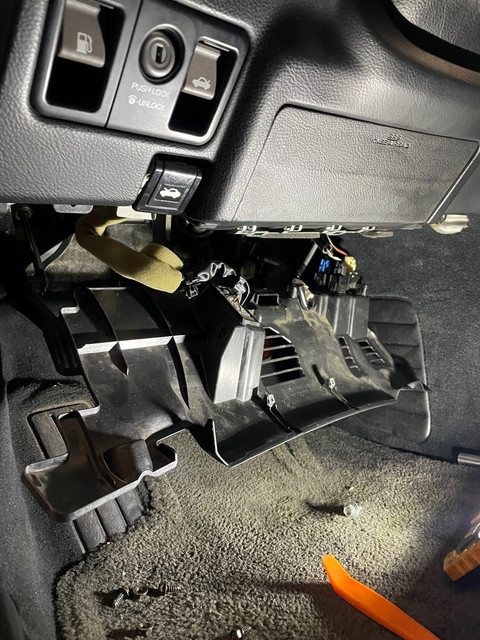
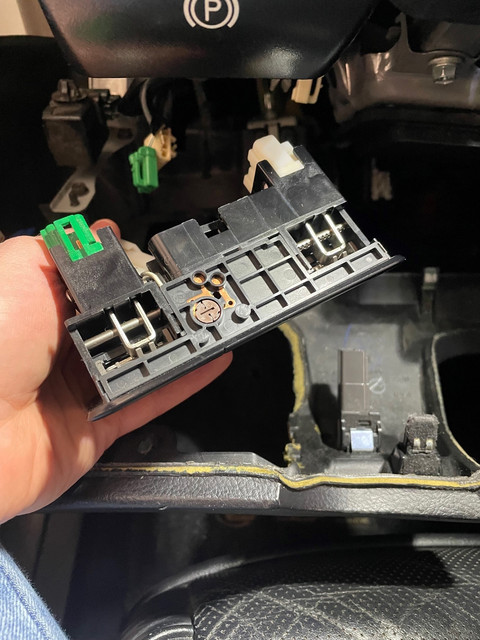
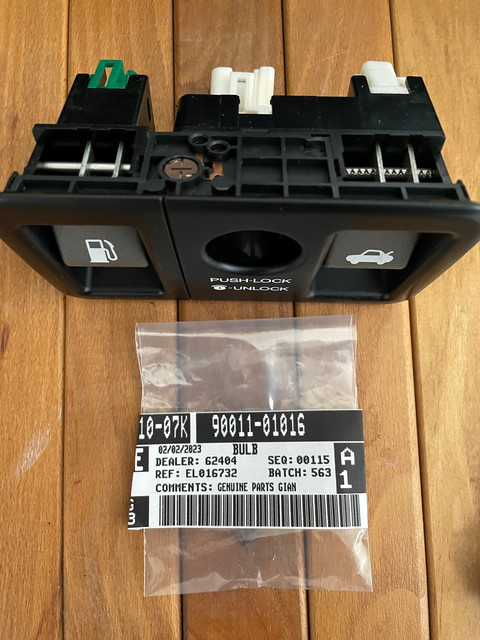
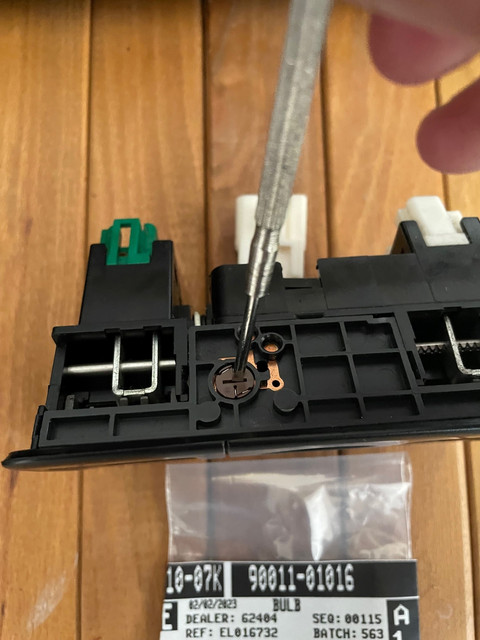
I noticed some of my interior bulbs needed to be replaced, so I ordered some new bulbs and replaced them!
(I'll let the pictures do the talking)


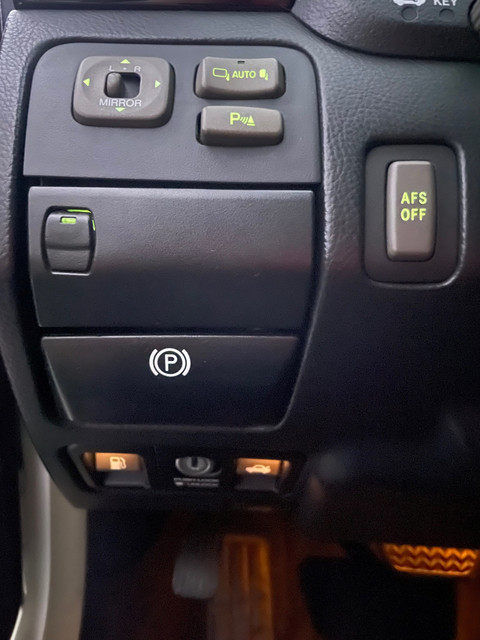
New bulb in the AFS button:

Yann.
I noticed some of my interior bulbs needed to be replaced, so I ordered some new bulbs and replaced them!
(I'll let the pictures do the talking)
New bulb in the AFS button:
Yann.


Racer
Joined: Jun 2010
Posts: 1,461
Likes: 69
From: oo
Good ****. I just ordered some leds from Vleds for the license plate, trunk, side mirrors, dome light, glove box, door lights and map lights. I’ll probably just go to Lexus and tell them give me every single interior bulb and green condom for everything else. Not having a single burnt out interior bulb makes a huge difference.
Advanced
Joined: Oct 2008
Posts: 504
Likes: 54
From: wa
I didn't know the gas door button has light. Will check. Did you get the bulb from Lexus?
Thread Starter
Intermediate
Joined: Jan 2014
Posts: 355
Likes: 180
From: GA
This is what it looks like illuminated!
(maybe i could try to put a green condom on it - I know it was intended to match the floor lighting)
https://www.clublexus.com/forums/ls-...nd-part-s.html
Thread Starter
Intermediate
Joined: Jan 2014
Posts: 355
Likes: 180
From: GA


Thread Starter
Intermediate
Joined: Jan 2014
Posts: 355
Likes: 180
From: GA

My LS definitely treats me right - its been a super reliable daily !
Thread Starter
Intermediate
Joined: Jan 2014
Posts: 355
Likes: 180
From: GA
JDM Update - Rear seat assist
Hello,
Quick JDM update - I finally purchased some "Reat seat gript assist". Based on my research they came standard on some celsior's back in japan.
I started by removing the seat, removed the seat's back panel and I was pleasantly surprised to see holes in the actual inner seat metal frame. I purchased new hardware and clipped on the metal U-nut.
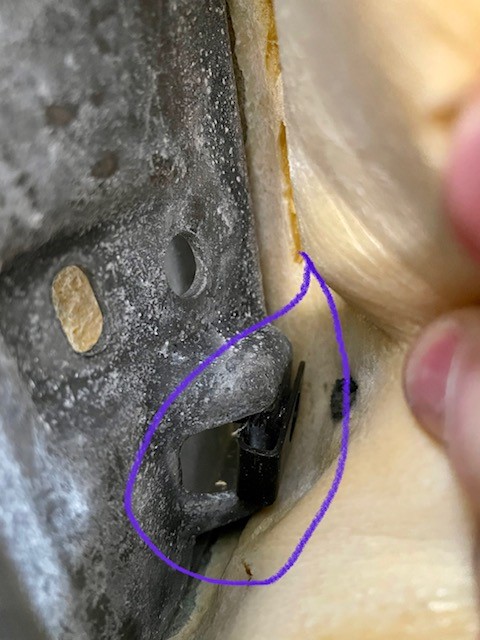
New hardware - U metal nut (circled in the previous picture) and a 10mm bolt.

I used 2 small tiny screw drivers to poke holes through the leather from the back to make sure I had the right alignment (if that makes sense).
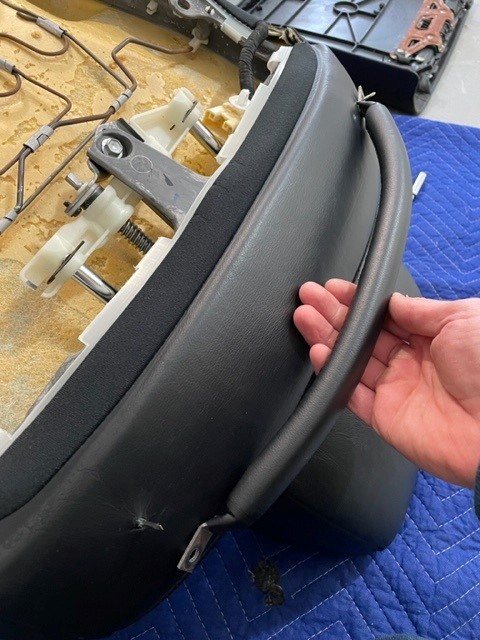
Tightened the bolts
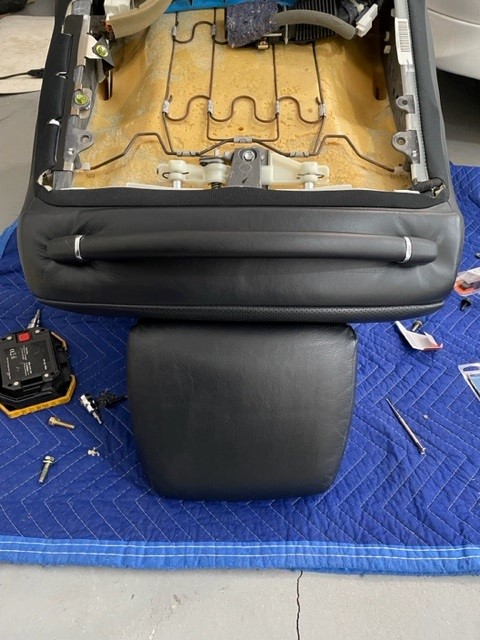
Quick interior vaccum.
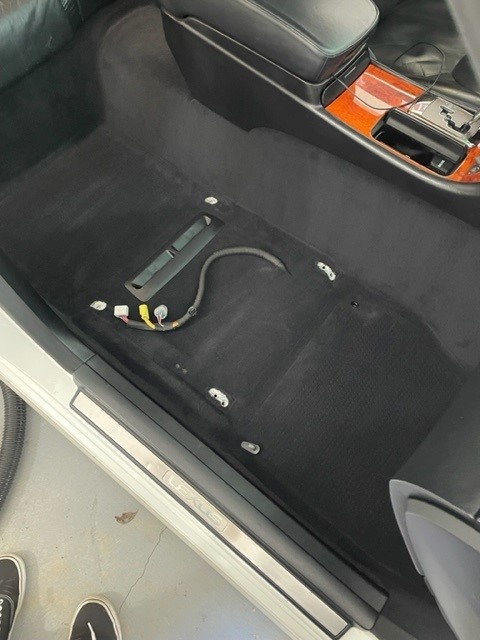
Seats back in!
I actually did the drivers side with the seat IN the car - it certainly was trickier (especially putting the seat back panel back on) but manageable!

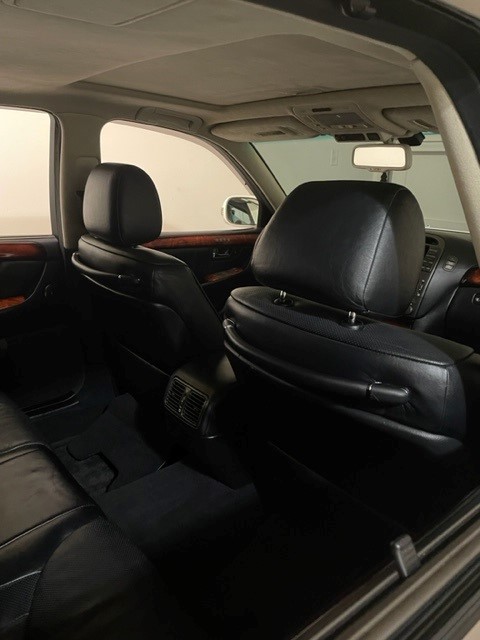
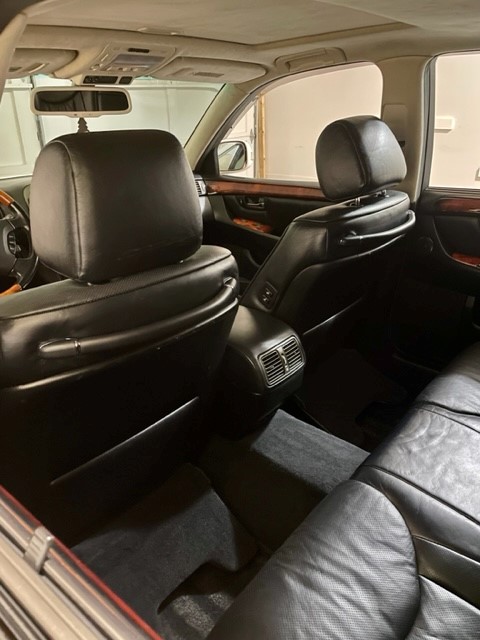
Overall, I "think" I like them - I am planning to either have my seats re-upholstered or buy used seats in better condition so I figured I'd fit these to my current seats and see if I like them. They've grown on my since I fitted them - Time will tell if I keep them on!
Thanks,
Yann
Quick JDM update - I finally purchased some "Reat seat gript assist". Based on my research they came standard on some celsior's back in japan.
I started by removing the seat, removed the seat's back panel and I was pleasantly surprised to see holes in the actual inner seat metal frame. I purchased new hardware and clipped on the metal U-nut.
New hardware - U metal nut (circled in the previous picture) and a 10mm bolt.
I used 2 small tiny screw drivers to poke holes through the leather from the back to make sure I had the right alignment (if that makes sense).
Tightened the bolts
Quick interior vaccum.
Seats back in!
I actually did the drivers side with the seat IN the car - it certainly was trickier (especially putting the seat back panel back on) but manageable!
Overall, I "think" I like them - I am planning to either have my seats re-upholstered or buy used seats in better condition so I figured I'd fit these to my current seats and see if I like them. They've grown on my since I fitted them - Time will tell if I keep them on!
Thanks,
Yann



Thread Starter
Intermediate
Joined: Jan 2014
Posts: 355
Likes: 180
From: GA
Update - Black Interior swap
Hello All,
Happy New Year to all Clublexus owners!
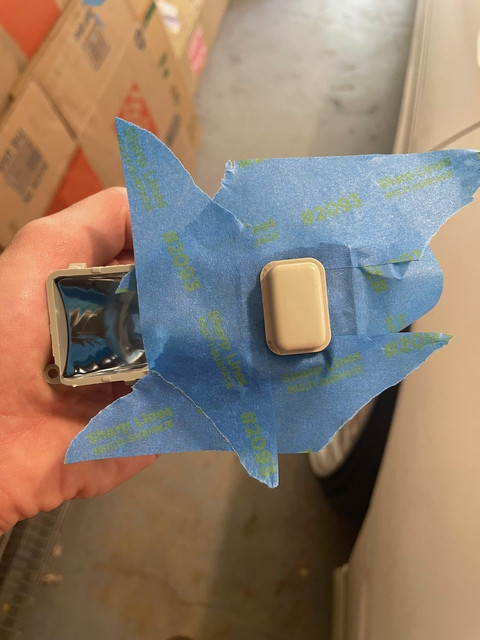
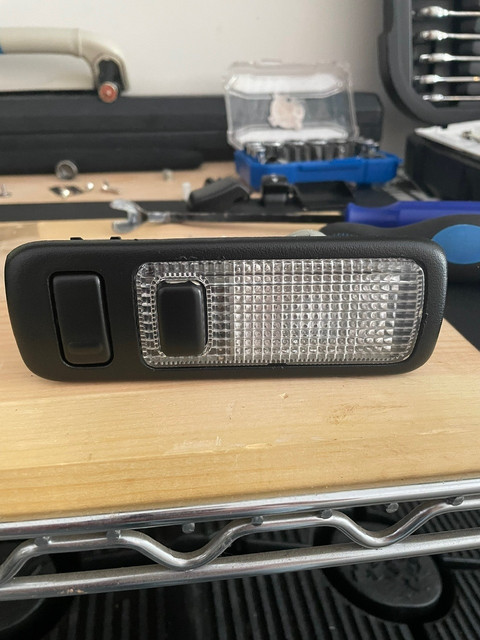
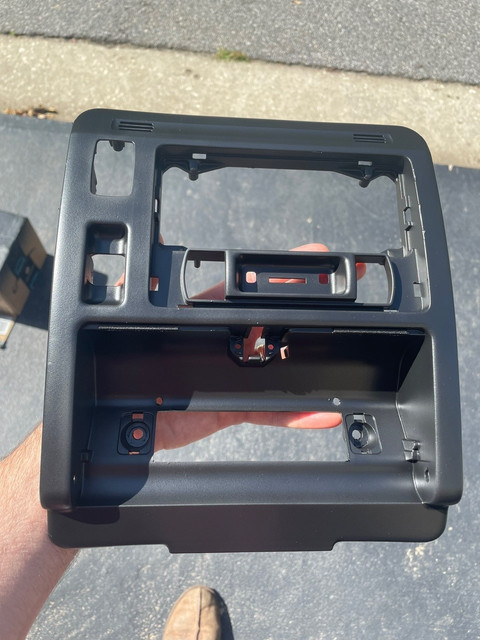
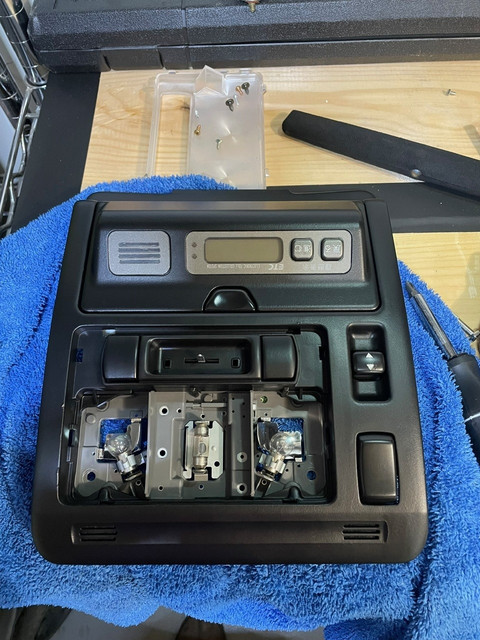
I've realized that I never updated this build thread with the completion of the black interior swap. Initially, I wanted to either paint or dye the fabric, but the end result wasn't up to my standards. Consequently, I decided to wrap all pillars and the headliner with black suede fabric, in addition to painting all the interior plastic trim. A tip for painting: lightly sand, spray with Bulldog adhesive promoter (very important), and then spray with black paint (SEM Color Coat - 15243 Satin Black)
For the pillars I would remove the existing fabric, cut the new black suede and glue it to the plastic pillar - It was harder than expected but after practicing on a spare part I got the hang of it pretty quickly.
Removal of the pillars + headliner
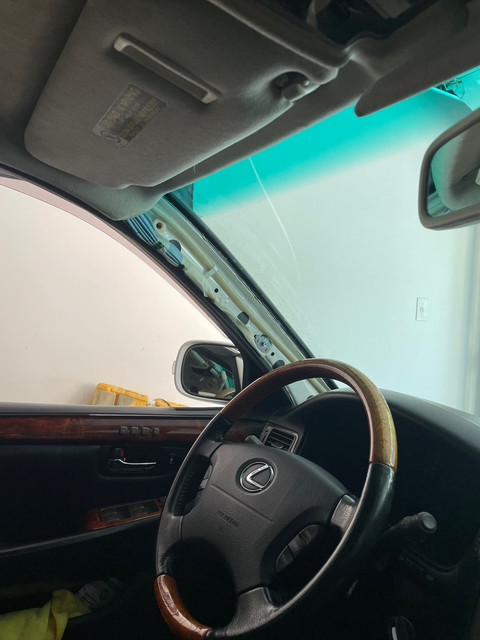
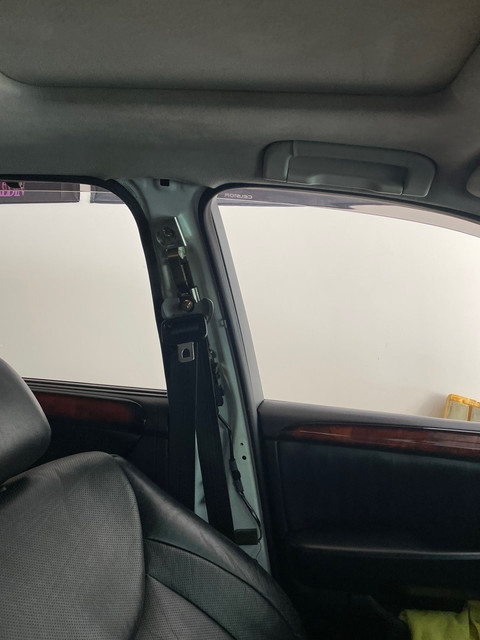
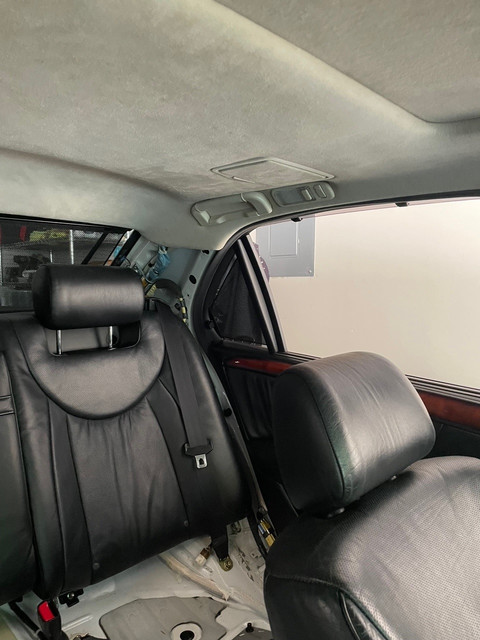
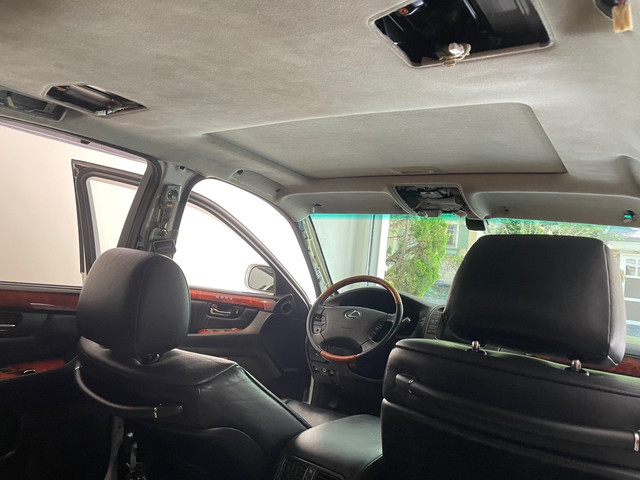
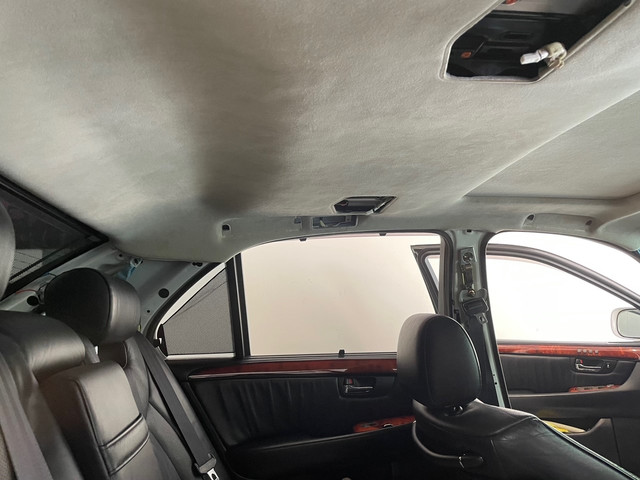
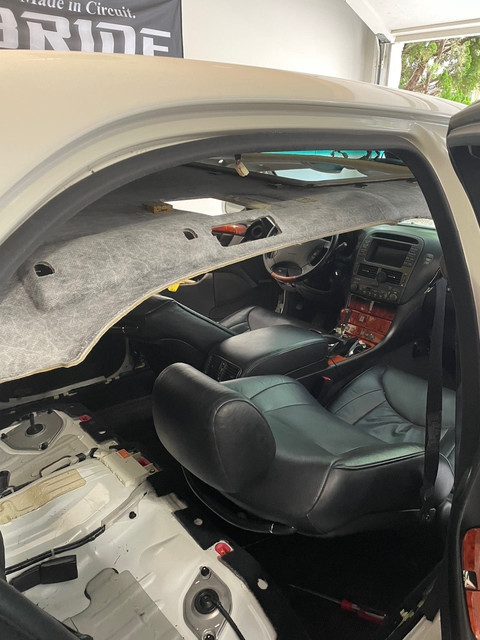
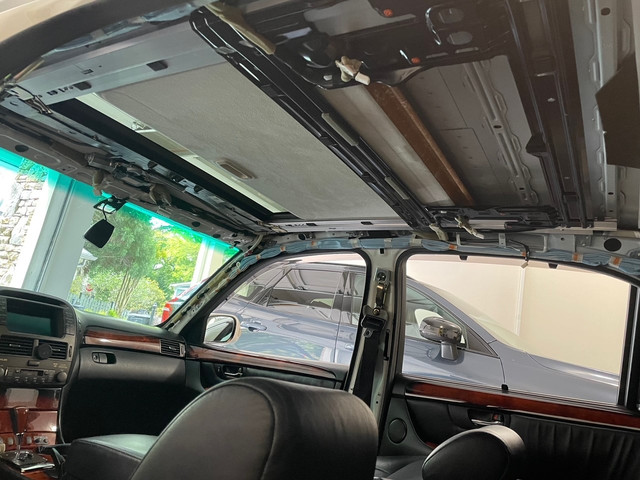

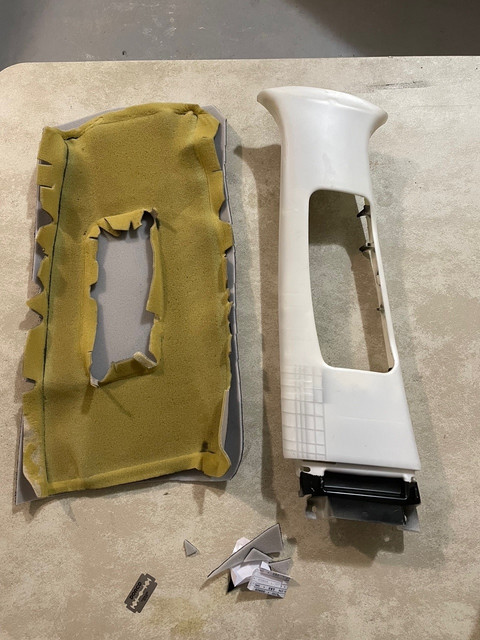
I removed the tan fabric from the headliner, Sprayed some adhesive glue and applied the new black fabric ( forgot to take pictures)
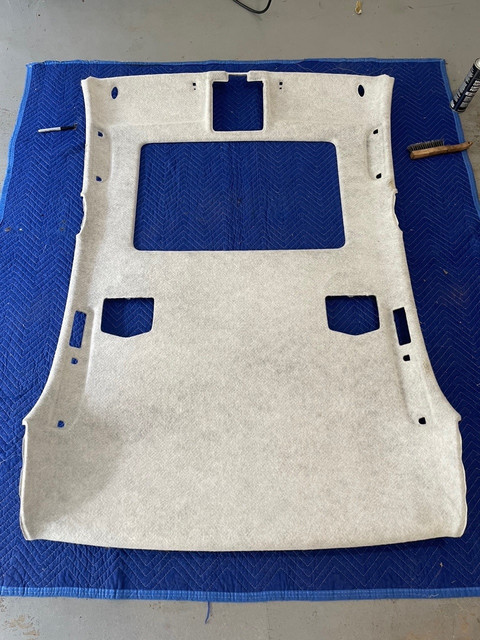
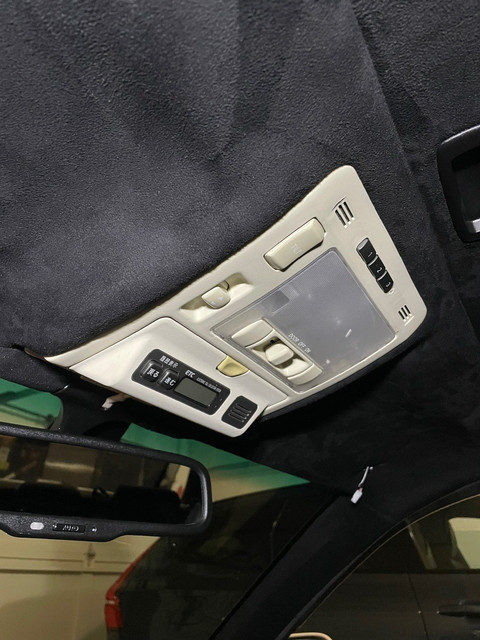
How it looked (with unpainted interior plastics)


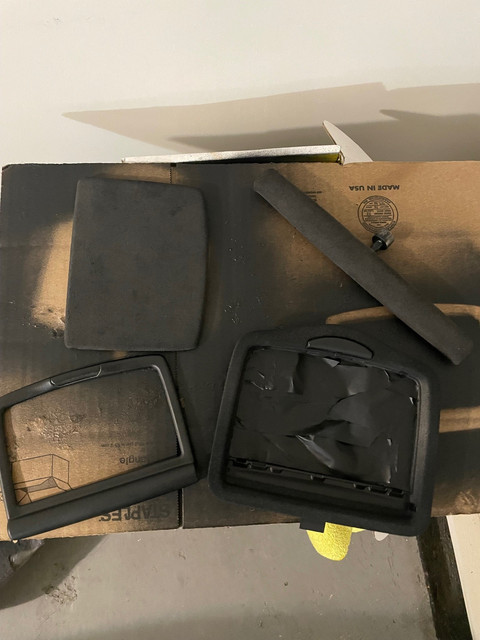
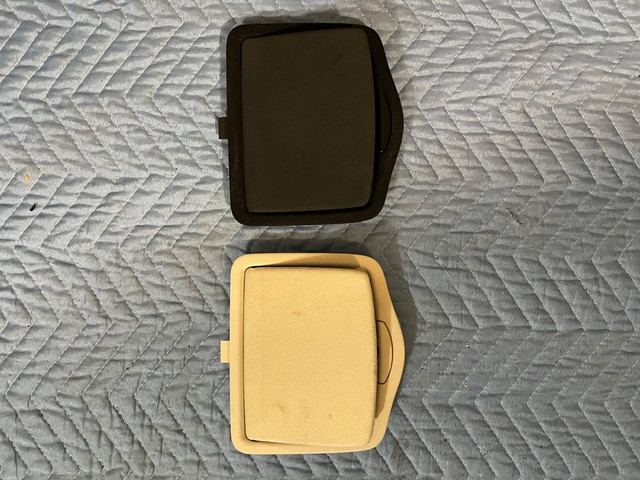
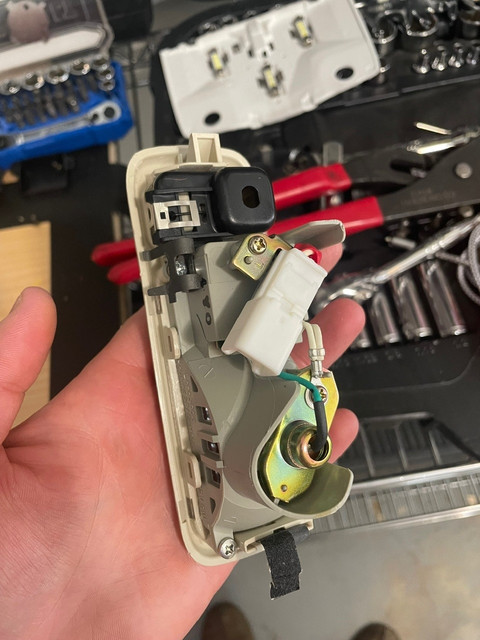
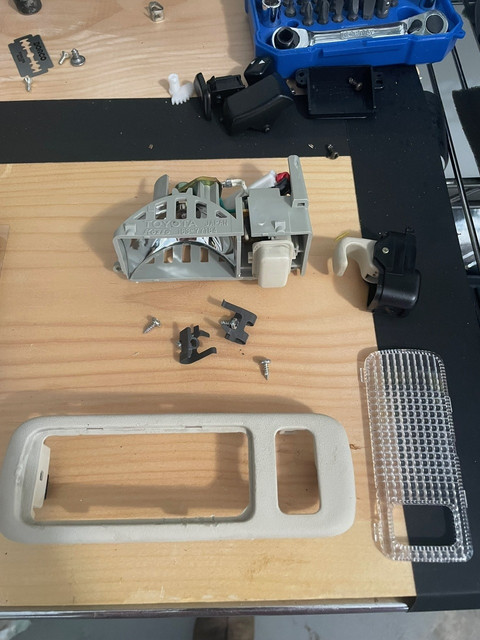
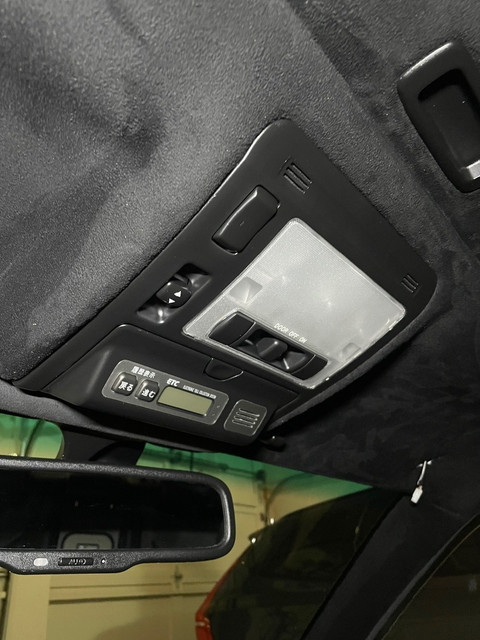
Next up was painting the plastic components + the sun visors. I'll let the pictures do the talking
Happy New Year to all Clublexus owners!
I've realized that I never updated this build thread with the completion of the black interior swap. Initially, I wanted to either paint or dye the fabric, but the end result wasn't up to my standards. Consequently, I decided to wrap all pillars and the headliner with black suede fabric, in addition to painting all the interior plastic trim. A tip for painting: lightly sand, spray with Bulldog adhesive promoter (very important), and then spray with black paint (SEM Color Coat - 15243 Satin Black)
For the pillars I would remove the existing fabric, cut the new black suede and glue it to the plastic pillar - It was harder than expected but after practicing on a spare part I got the hang of it pretty quickly.
Removal of the pillars + headliner
I removed the tan fabric from the headliner, Sprayed some adhesive glue and applied the new black fabric ( forgot to take pictures)
How it looked (with unpainted interior plastics)
Next up was painting the plastic components + the sun visors. I'll let the pictures do the talking