Lexus IS: How to Replace Ball Joints
Worn ball joints can affect your Lexus IS' handling and your comfort. Replace them yourself using this step-by-step guide.
This article applies to the Lexus IS (2005-2013).
Worn or damaged ball joints can affect the handling of your Lexus IS on the road. While cornering, your car will feel sloppy and disengaged. In "sudden" or "hard stop" situations, you will feel a noticeable clunk. A car's suspension comprises of many components. Ball joints are crucial to the longevity of a comfortable, well handling ride. They cost around $30-$50 each. Another cost is renting or purchasing a Control Arm Puller SST for $10-$15. Optional costs include tie rods (which run about $25 a side online) and control arm bushings (priced at around $35). Reputable shops can charge $75/hour plus the cost of the parts, so you'll be saving a substantial amount.

Materials Needed
- Hydraulic jack with jack stands and wheel chocks
- 14mm, 17mm, 18mm, 19mm and 27mm sockets
- Breaker bar
- Control Arm Puller SST
- Torque wrench
- Flat head screw driver
- Pliers
Step 1 - Loosen the front wheels and raise the car
Using the breaker bar, loosen the wheel lugs on both front wheels. Chock the back wheels and raise the car with the jack.

Step 2 - Remove caliper bolts
There are two 14mm bolts to be removed.

Pro Tip
Use a hanger to secure the caliper off to the side or place atop a spare jack stand or cinder block.
Step 3 - Remove tie rod crown nut
Use pliers to remove the cotter pin from the crown nut. Use 17mm socket wrench to remove the nut.

Step 4 - Separate control arm from tie rod
Using the SST Puller, separate the rod from the arm.
Pro Tip
The Pitman Arm Puller can be rented/purchased from many auto stores such as Autozone.
Step 5 - Remove ball joint bolt
Use the 27mm socket to undo the bolt holding the ball joint in place.

Pro Tip
There is also a cotter pin that needs to be removed prior.
Step 6 - Remove ball joint bolts from knuckle
Two 17mm nuts secure the ball joint to the knuckle. Undo these with a socket wrench.

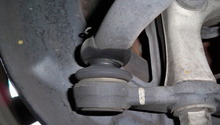
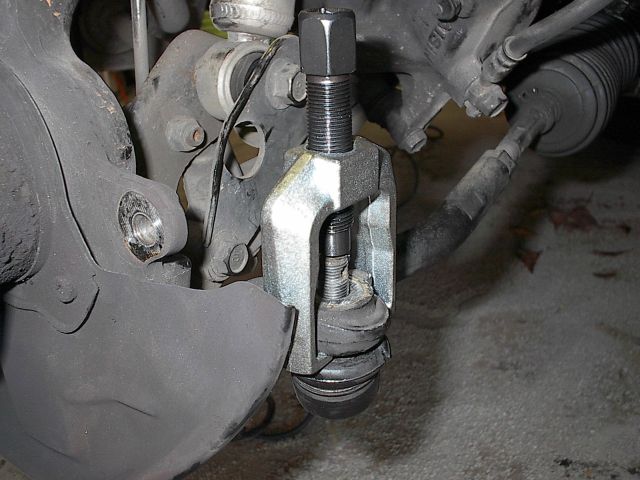
Step 7 - Separate ball joint from control arm
Screw the pin down to separate the ball joint from the arm.
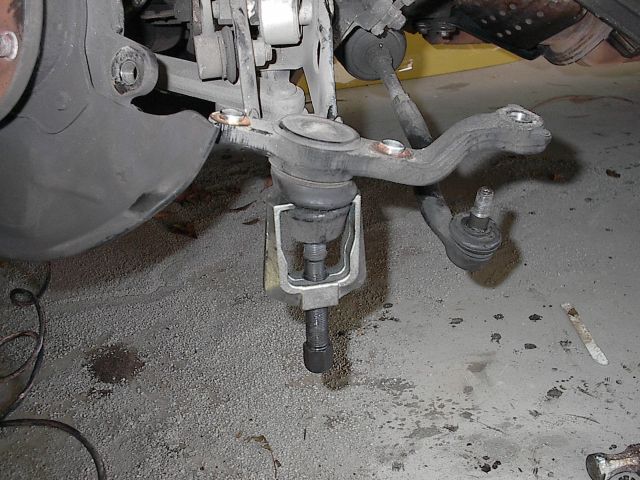
Pro Tip
Use a flat head screwdriver to pry the rubber boot on the old ball joint to secure the puller.
Step 8 - Installation is reverse of removal
Re-install components in the order you removed them. Don't forget to torque!

Pro Tips
- Lower bolts to hold new ball joint to knuckle: 83ft/lb torque
- Lower ball joint: 112 ft/lb torque
- Tie rod end: 48ft/lb torque
- Caliper bolts: 87ft/lb torque
Related Discussions and Site
- DIY Guide for Lower Ball joints - ClubLexus.com
- DIY Guide for Replacing Control Arm bushings and Ball joints - ClubLexus.com
- Pitman Arm Puller - Autozone.com