Lexus IS: How to Replace Tie Rod Ends
Here is how to replace the tie rods on your Lexus IS yourself and save some money on labor.
This article applies the Lexus IS 250, IS 350 (2005-2013).
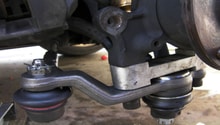
A tie rod ties your Lexus' steering rack to the steering arm. Tie rods are subject to a lot of abuse, especially if you travel rough roads or hit a lot of curbs. On a Lexus vehicle, there are inner and outer tie rods. Removal requires different tools and methods for each end. However, they are easy to fix and can be replaced in an hour.


Materials Needed
- Lug wrench and jack
- Metric wrenches
- Needle nose pliers
- Flat blade screw driver
- Pickle fork or tie rod press (returnable at auto parts store)
- Inner tie rod removal tool (see photos)
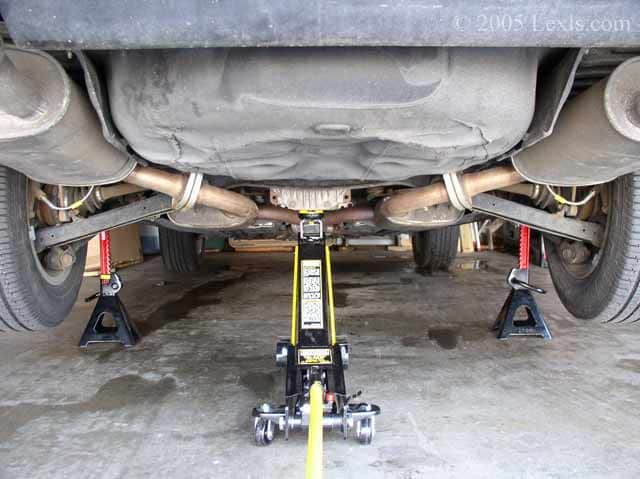
Step 1 - Lift the vehicle and remove the wheel
Loosen the lug nuts while the vehicle is on the ground and raise the wheel where the tie rod is located. Support the vehicle with the jack stand. Remove the lug nuts and the wheel.
Pro Tip
Place the tire and wheel assembly under the car in case it falls.
Step 2 - Remove the boot on the tie rod
Twist the protective rubber boot to access the tab that holds it on. Remove it by prying the tab open with the screw driver and pliers.
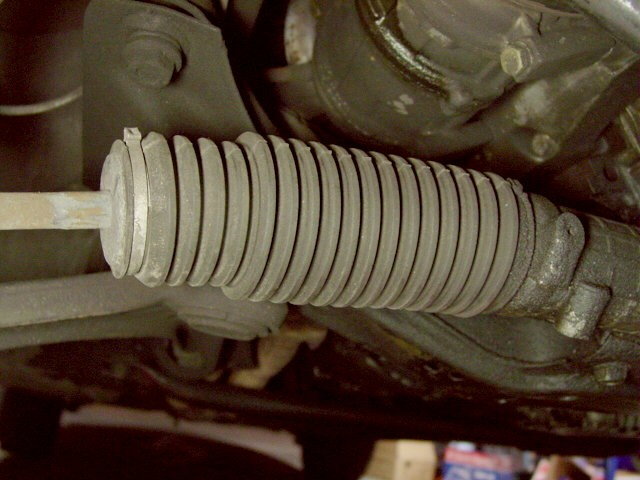
Figure 3. Locate the boot connecting to the wheel. 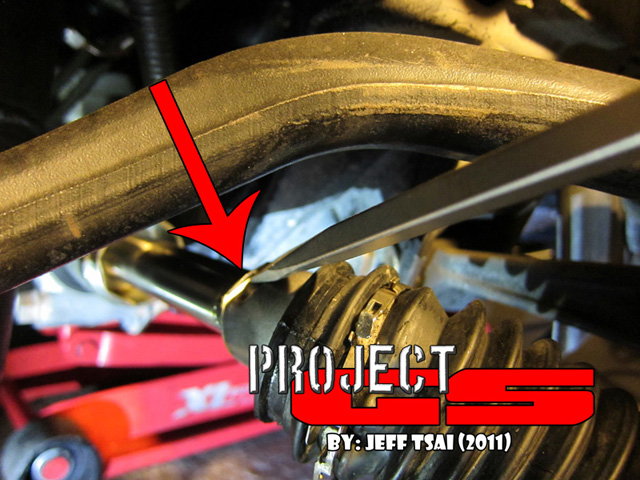
Figure 4. Pry the tab open.
Step 3 - Unbolt the tie rod end
Use a set of metric wrenches to unbolt the tie rod end.
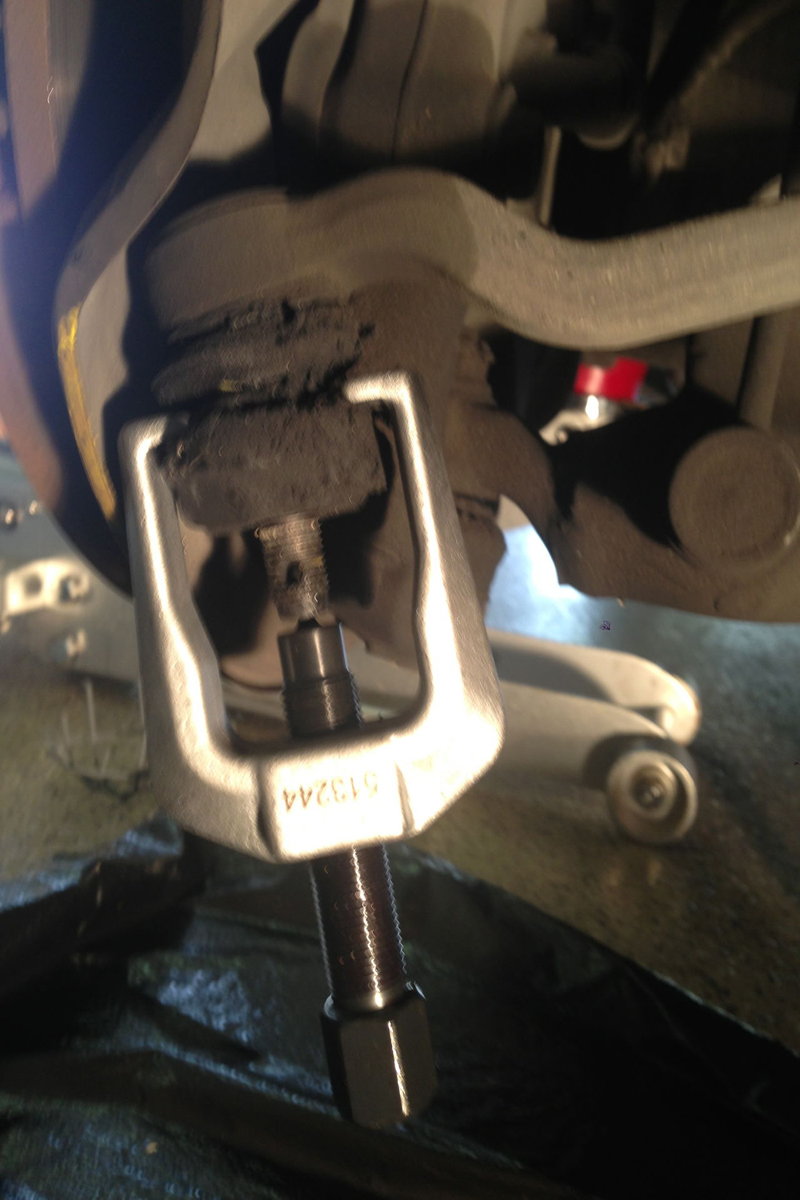
Step 4 - Remove the tie rod from the steering arm
Remove the cotter pin with the pliers and remove the nut. Using a pickle fork (tie rod separator), separate the tie rod from the steering arm. You can use a press to remove the tie rod end as shown in the picture below.
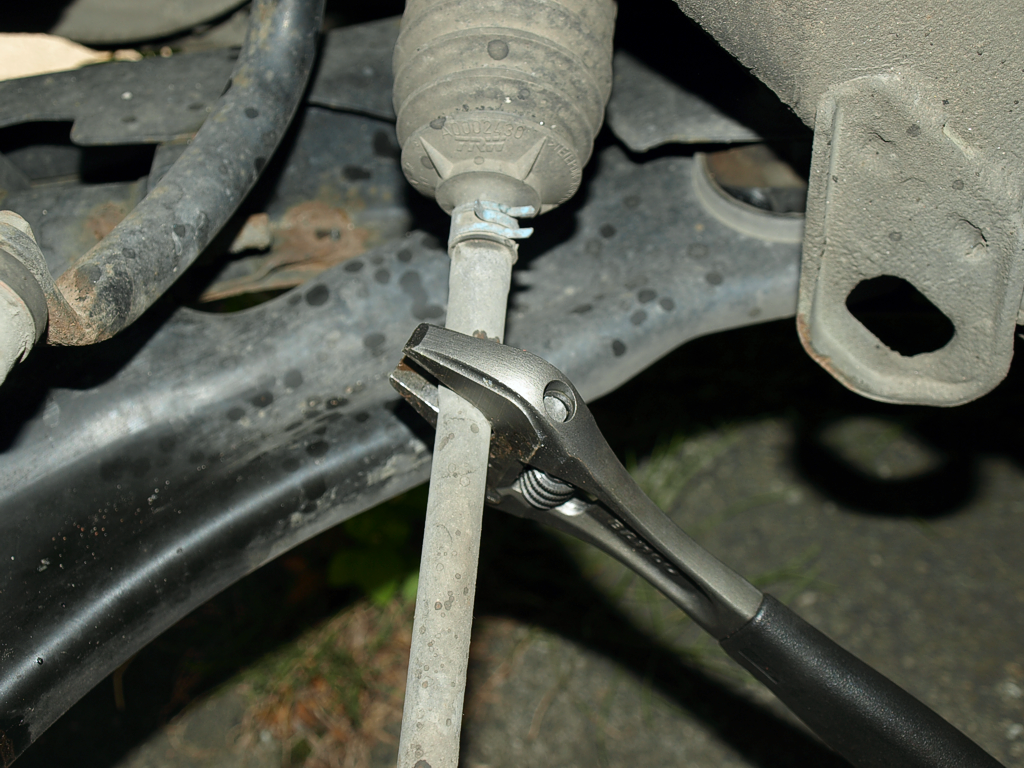
Step 5 - Remove the inner tie rod end
Remove the inner tie rod end with the inner tie rod end tool shown in figure 7 below. Harbor Freight makes universal tools that you can purchase.
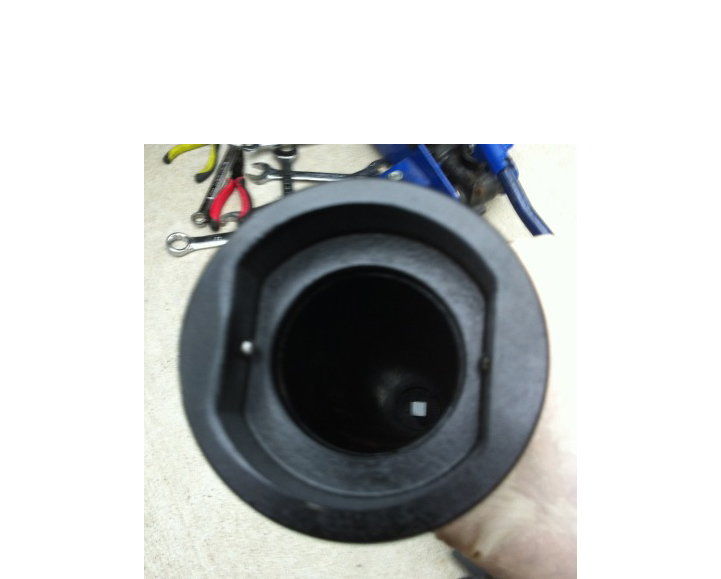
Figure 7. Use the inner tie rod tool to remove the inner tie rod end. 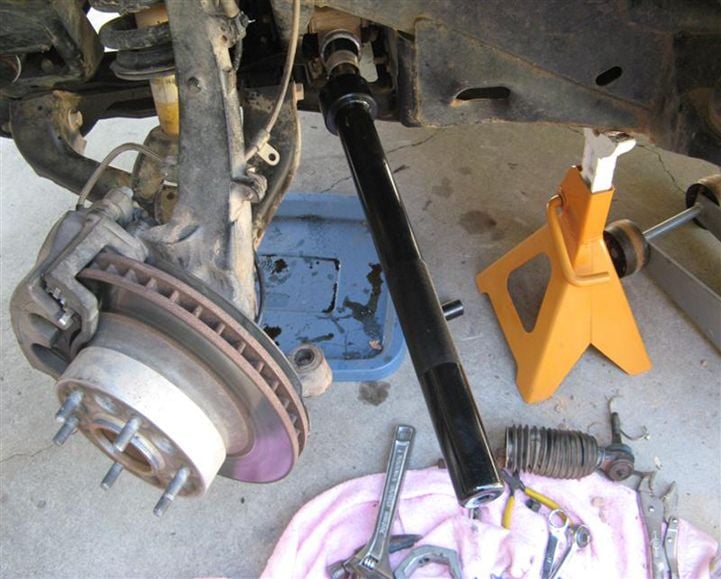
Figure 8. Inner tie rod end removal tool in place for removal.
Step 6 - Re-assemble with new tie rods
Reassembly is opposite of removal. Note that the nut can be used to seat the tie rod end into place. There is no need for a press. Insert the grease fitting and fill the tie rod until grease comes out of the dust cover.
Featured Video: How to Change Tie Rod
Related Discussions
- Inner Tie Rod Replacement - ClubLexus.com
- Inner and Outer Tie Rod Replacement - ClubLexus.com
- How to Replace Tie Rod - ClubLexus.com