Lexus IS: Why is My Suspension Clunking?
A clunky suspension is a definite sign something is wrong. Here's what to look for if you hear noise coming out of your suspension.
This article applies to the Lexus IS (2005-2013).
A clunky suspension is a sign something is loose or worn out in the Lexus, but it can be hard to trace the problem because there are so many possible sources. In addition to there being several sources, the noise may not be consistent. You may only notice it on days that are cold or rainy, or when hitting bumps at certain angles. If you wish to avoid paying a shop to track down the problem, be prepared to do a lot of trial and error. It's recommended to find a place that causes the noise, such as a speed bump in a parking lot, and bringing your tools with you to do some testing there.

Materials Needed
- Socket set
- WD-40
- Lithium grease
- Grease gun
- Grease gun Zerk fitting and needle attachment
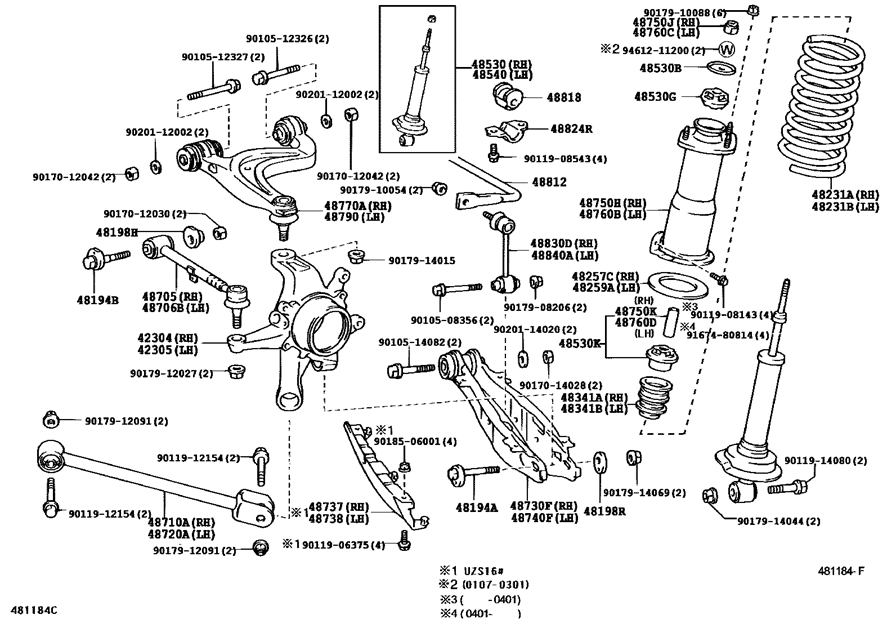
Step 1 - Check all suspension bolts
They may be loose.
Depending on how loud the clunk is you may be able to narrow it down to a certain wheel or side; if not, you'll want to go over everything. While not completely necessary, removing the wheel can make gaining access a little easier. However, turning the wheel at different angles should give you enough access. You'll want to go over all the suspension components in the area where you hear the sound and make sure everything is tight; if you have a torque wrench make sure it's all torqued properly, too. Pay special attention to the bolts on the sway bar, strut bar, struts, upper and lower control arms, tie rod ends, and ball joints.
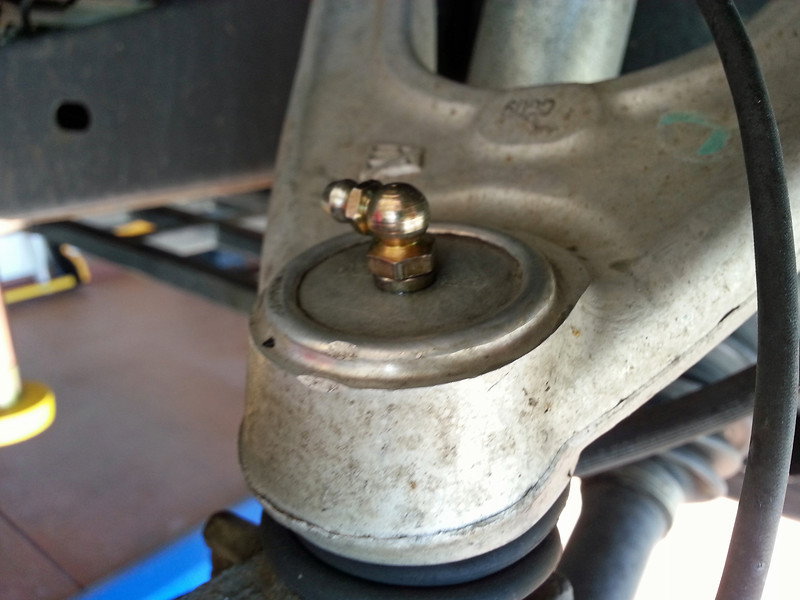
Step 2 - Check bushings
They may be worn out.
The most likely bushings to go out are on the control arms, strut bar, and sway bar end links. Doing a visual inspection first to look for dry or cracked bushings is recommended. If the visual inspection doesn't turn up anything, the next step is to begin greasing or lubing them one by one to test them individually.
- If it's a standard bushing you'll want to use WD-40 or something similar.
- If it has a grease boot this is where the grease gun will come into play. If it has a Zerk fitting; put the grease in using that, otherwise you'll need to use the needle to insert the grease in. Take care not to overfill; you only want to fill until the boot feels firm. Overfilling can cause the boot's seal to break and prematurely wear out a good part.
Step 3 - Check struts and coils
They may be blown or broken.
Usually a good visual inspection can tell you whether or not the struts and coils are good.
- On the struts, look for areas where dirt is sticking to them. If you find any area with dirt on it, touch it and see if it feels greasy; if it does, the strut is more than likely leaking oil and will need to be replaced.
- Inspect for any coils that are broken and replace them if necessary.
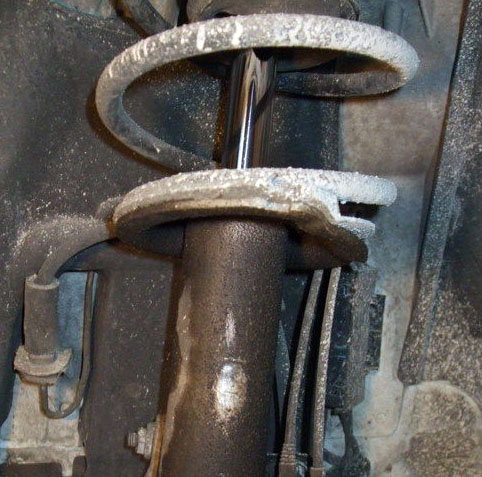
Figure 3. Leaking strut. 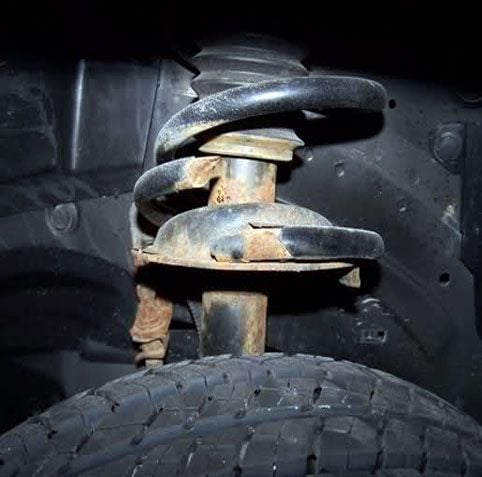
Figure 4. Broken coil spring.
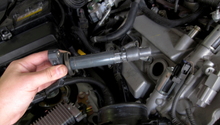
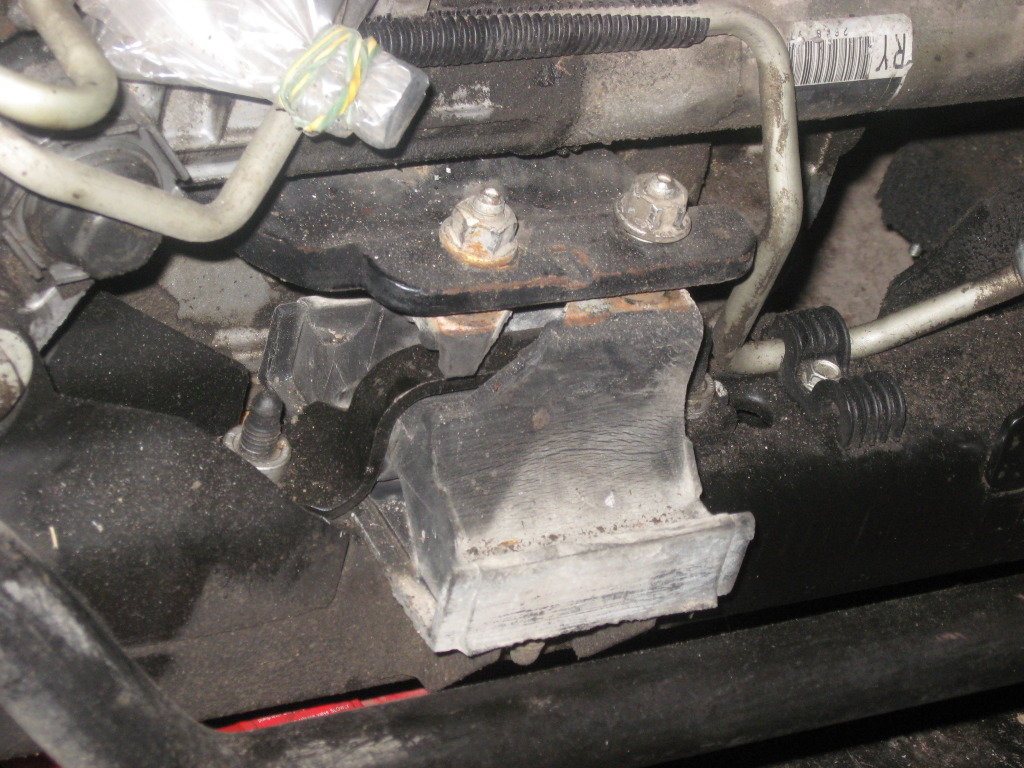
Step 4 - Check motor and transmission mounts
They might be broken.
At this point, there aren't many other places to check. While uncommon, the motor and transmission mounts have been known to wear out and break on higher mileage cars (100K+ miles). You'll be able to tell a broken mount from a visual inspection; if you see any large cracks you can also feel to see if it goes all the way through. Just make sure the car has cooled down completely.
Related Discussion
- Clunking Suspension Over Bumps - ClubLexus.com