Lexus: How to Replace Your Wheel Hub Bearing
Loose steering is often caused by a loose wheel hub bearing. Here's a step-by-step guide to replacing it.
This article applies to the Lexus (2005-2013).
If you ever feel a little play or wiggle room in your Lexus' steering wheel, you probably have a bad wheel hub bearing. You can also identify a bad wheel hub bearing by listening to noise and roughness coming from your wheels. The worst case scenario is that your wheel could literally separate from your car. Here is how to replace your wheel hub bearing and avoid that situation.

Materials Needed
- Tire iron
- Torque wrench
- Pry bar
- 10mm, 17mm, and 22mm sockets
- Control arm puller
- Jack, jack stands, and wheel chocks
- Impact gun
Step 1 - Loosen the wheel
With the car on the ground, use a tire iron to loosen each lug nut.

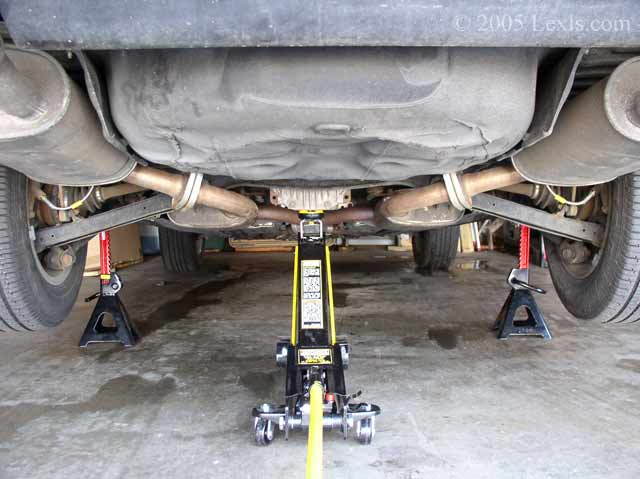
Step 2 - Raise the car
Raise the car using a jack and secure the vehicle with jack stands.
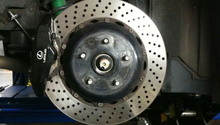
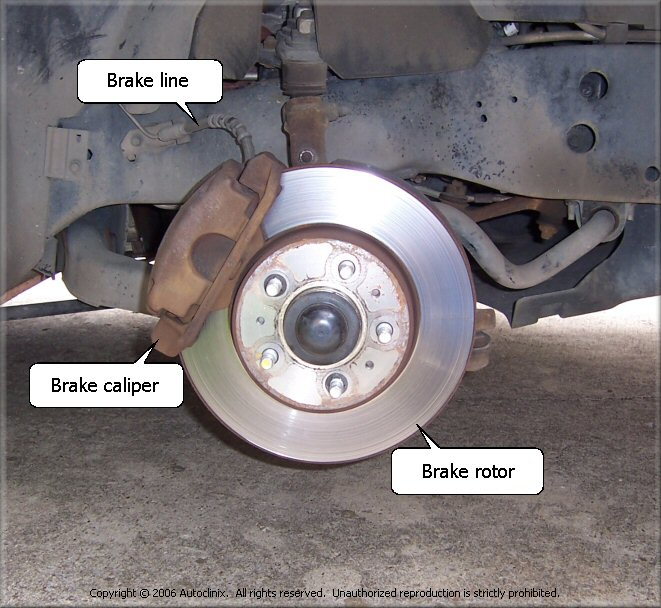
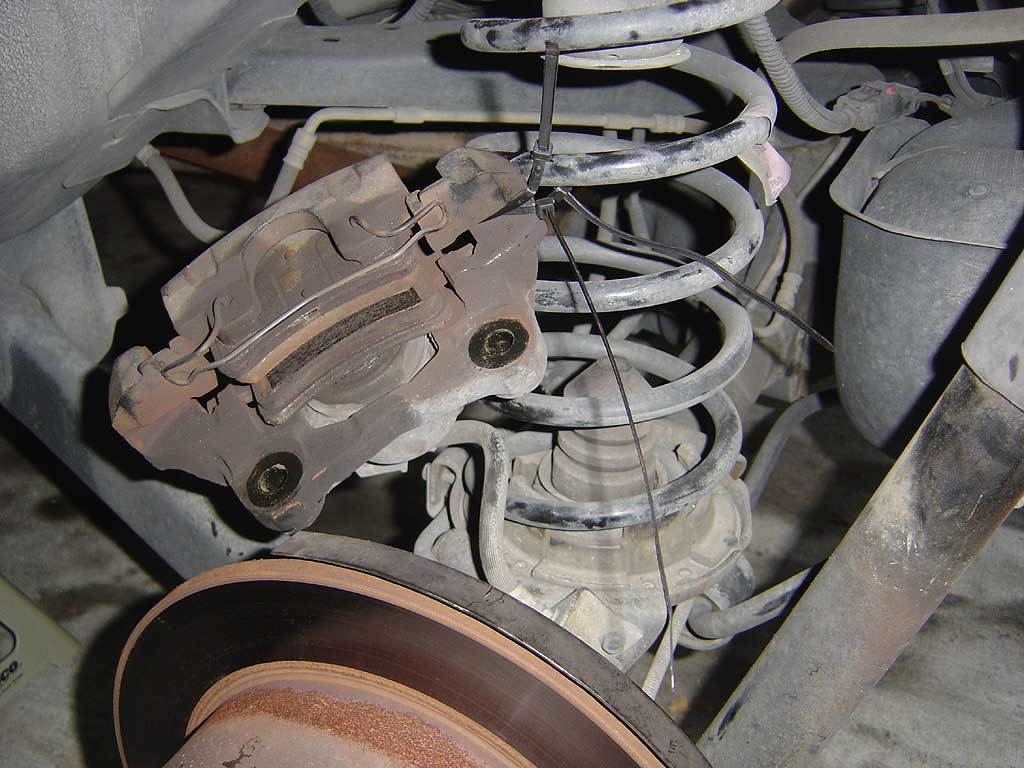
Step 3 - Remove brake caliper and rotor
Once you have the wheel off, you can begin to remove the brake caliper and the disc brake.
Related Articles:
- How to Replace brake Calipers - ClubLexus.com
- How to Change Brake Disc - ClubLexus.com
Step 4 - Secure caliper
Remove the two 17mm bolts and secure the carrier off to the side using a wire hanger or place on top extra jack stand.
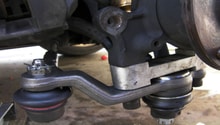
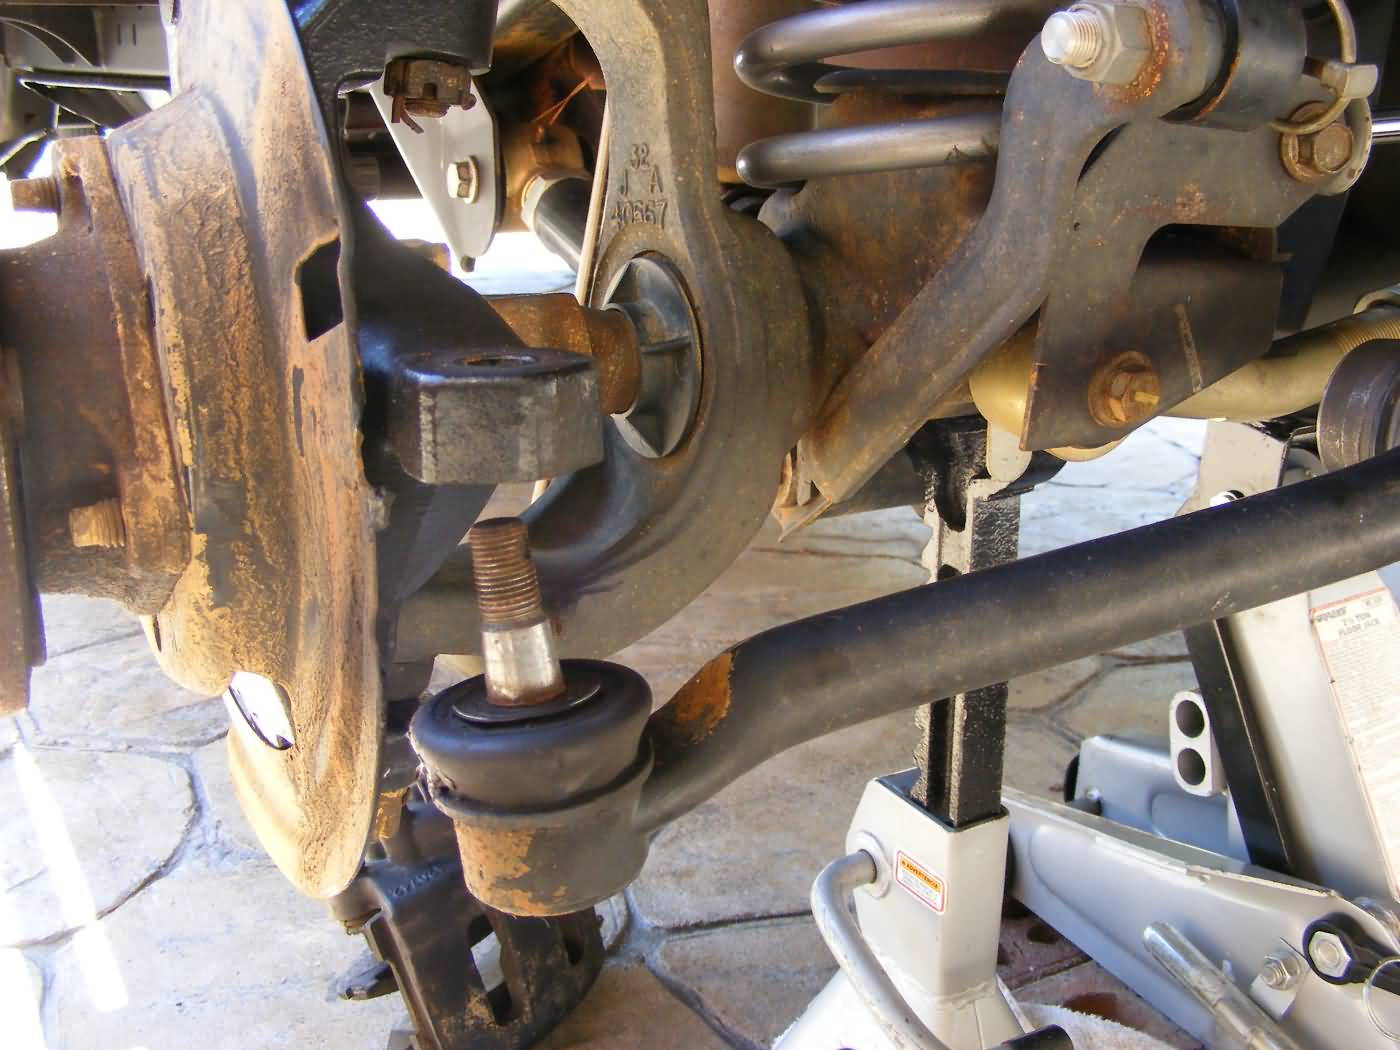
Step 5 - Release control arm
Using a 17mm socket, undo the nut on the bottom of the tie rod. Using pliers, remove the cotter pin; save and set aside. Using the gear puller or control arm puller, release the control arm.
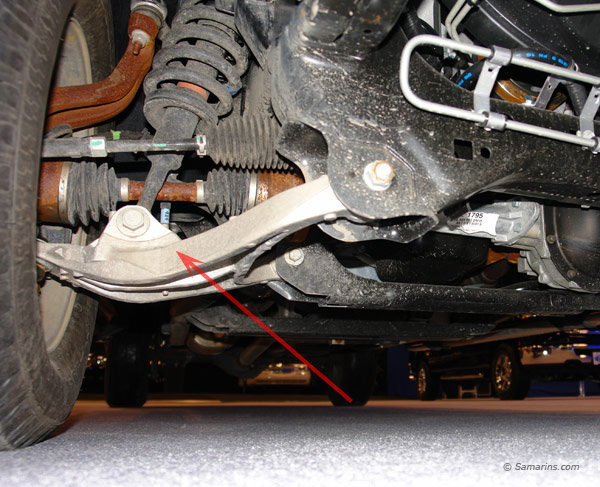
Figure 5. Control arm location. 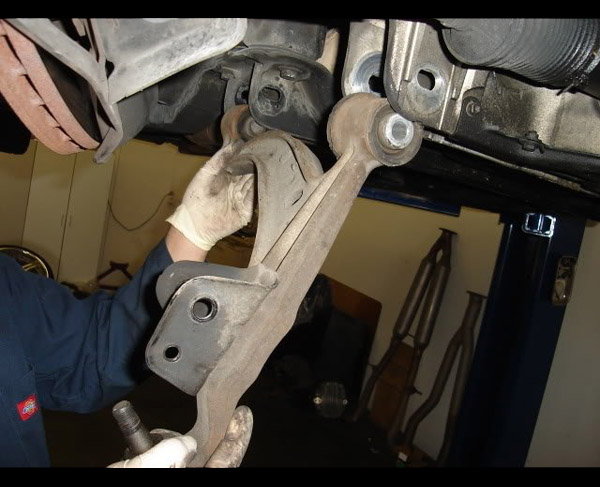
Figure 6. Remove the control arm.
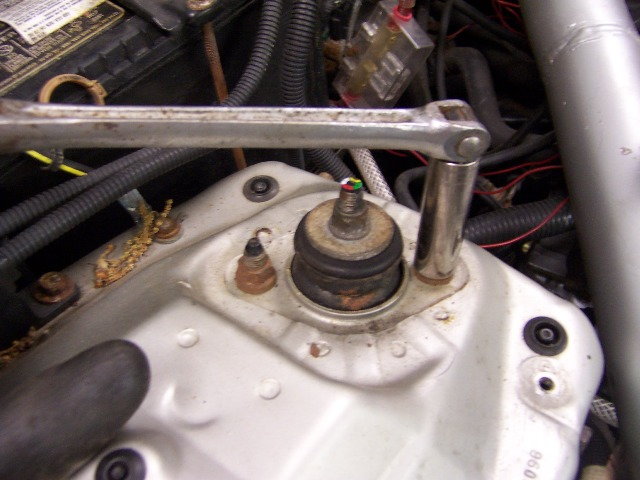
Step 6 - Loosen shock absorber bolts
Using a 22mm socket, loosen but do not remove the upper shock absorber bolts located under the hood on top of the wheel well.
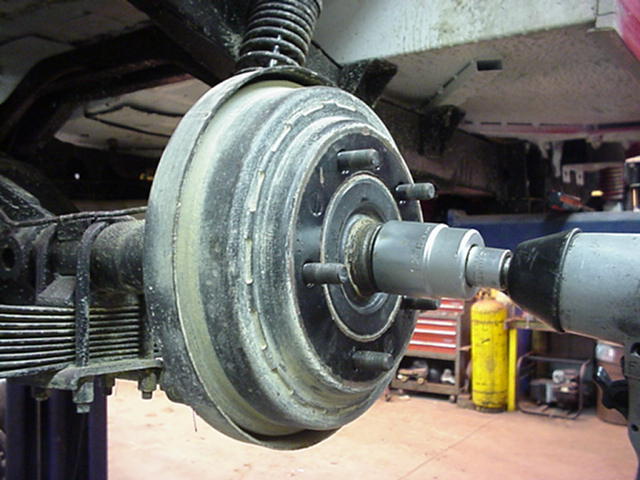
Step 7 - Remove axle nut
The axle nut is on the axle with a lot of torque. Make sure the impact gun you're using is fully charged or connected to a full air compressor.
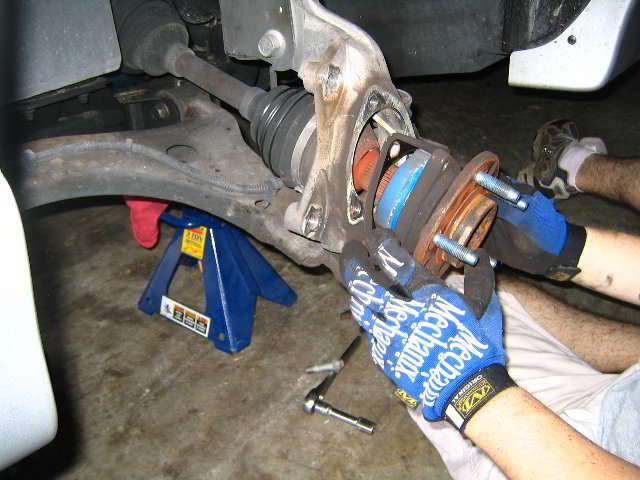
Step 8 - Pry steering knuckle from shock absorber
Remove the two upper 22mm bolts completely from shock absorber. Using a pry bar, pry the steering knuckle off of assembly. You will be able to remove the wheel hub assembly as one piece.
Step 9 - Get new bearing pressed into hub
Take the hub assembly and new bearing to a machine shop. They will use a special service tool to "press" the bearing and race into place. Once this is done, installation of all components is reverse of removal. Refer to the links below for proper torque procedures.
Featured Video: Front Wheel Bearing
Related Discussions and Site
- How to Remove and Replace Wheel Bearings - ClubLexus.com
- Visual Steps to Raise and Secure the Vehicle - ClubLexus.com
- Removing and Securing Brake Caliper - Lexusownersclub.co.uk