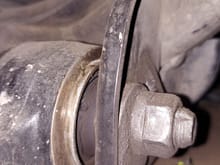
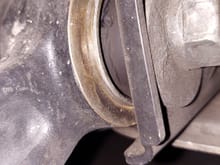
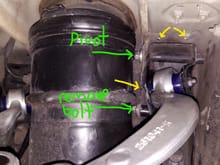
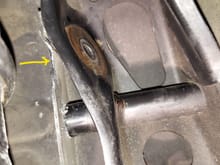
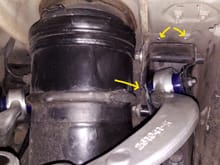
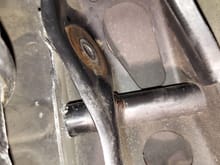
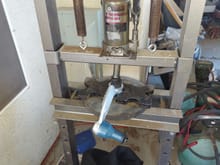
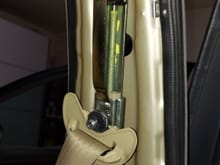
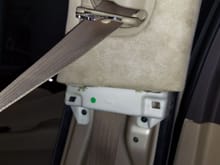
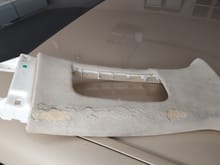
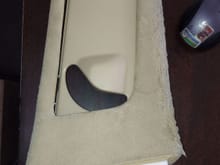
The 3 yellow areas which I removed material. The top 2 are the bottom threads of 2 bolts from the engine bay. The bracket pivots on the top bolt. By shaving down the 2 top bolts the bracket can pivot further. This allows less material to be removed from the lower yellow arrow while removing the bushing bolt.