
OEM shock won't compress for removal


Thread Starter
Driver School Candidate
Joined: Jul 2012
Posts: 20
Likes: 0
From: TX
Hey guys,
I'm in the process of removing my OEM shocks to install coilovers, and my driver's side shock won't compress to allow me to remove it. I have all the bolts off top & bottom, I have allowed the lower arm to rest freely and the shock is still pressing firmly into the boot at the bottom. I have hammered a flat bar in there and tried to use it as leverage while pulling on the shock, I have lifted the whole assembly with the jack and released it while trying to pull on the shock, etc.
Anybody know any tricks on how to remove it, or am I doing something wrong here?

Thread Starter
Driver School Candidate
Joined: Jul 2012
Posts: 20
Likes: 0
From: TX
Yep, the shock is fully extended though and will not compress at all whatsoever. I was going to try to put it all back together and drive around the block & see if it would help, but I can't even compress it enough to put the bottom bolt back through.


I think you're trying to remove it with the sway being connected. Take off the sway end links and it will have more space for the lca to drop. Also the upper control ball joint needs to be removed
Thread Starter
Driver School Candidate
Joined: Jul 2012
Posts: 20
Likes: 0
From: TX
Got it, I ended up unbolting the caliper to free up the brake line, and pushed down with my foot and pulled it right out. Now if I can somehow magically remove the other bottom bolts! My impact wrench can't remove those bottom bolts, they're on there pretty solid.
Trending Topics
Thread Starter
Driver School Candidate
Joined: Jul 2012
Posts: 20
Likes: 0
From: TX
Definitely on the nut side, I've been hitting the wrench with a hammer, I put both my legs up into the inner wheel well and pulled the wrench with both hands (I'm 6'0" 185 and lift 3-4 days a week) I've sprayed wd40 on the threads, wire brushed the threads to clean them up, etc and still can't get them off.
The back bolts I've gotten off with relative ease compared to the fronts, still don't have the shocks out yet. Looks like this is going to be a multi-day ordeal just because of one damn bolt!
The back bolts I've gotten off with relative ease compared to the fronts, still don't have the shocks out yet. Looks like this is going to be a multi-day ordeal just because of one damn bolt!

Driver
Joined: Aug 2013
Posts: 186
Likes: 2
From: ca
Heat....just a little. Works wonders if done carefully. I had to get the bolt on my idler pulley for my old Toyota truck off....two days later, several friends, several special impact wrenches, still couldn't get it off. Last effort was putting a torch on it for ~20-30 seconds max, and then the impact took it off. Good luck :-)
Thread Starter
Driver School Candidate
Joined: Jul 2012
Posts: 20
Likes: 0
From: TX
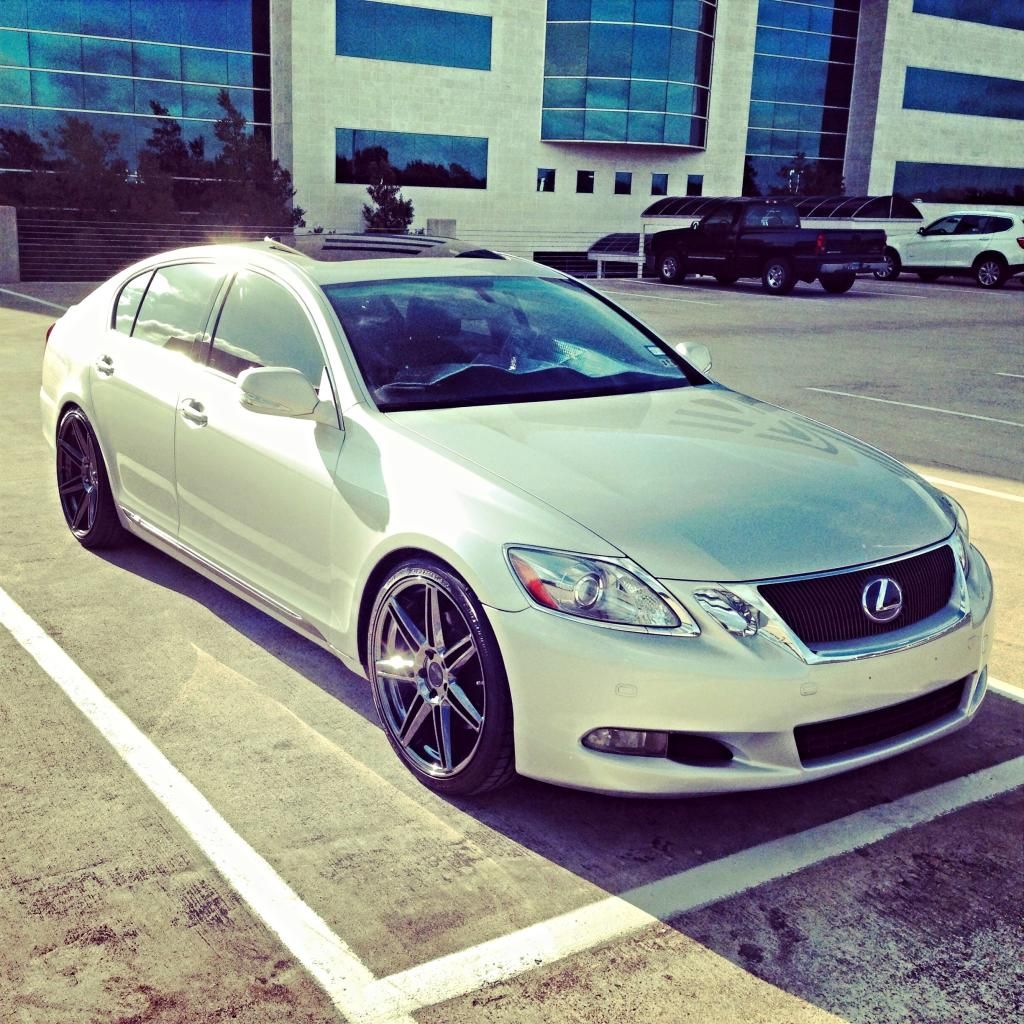
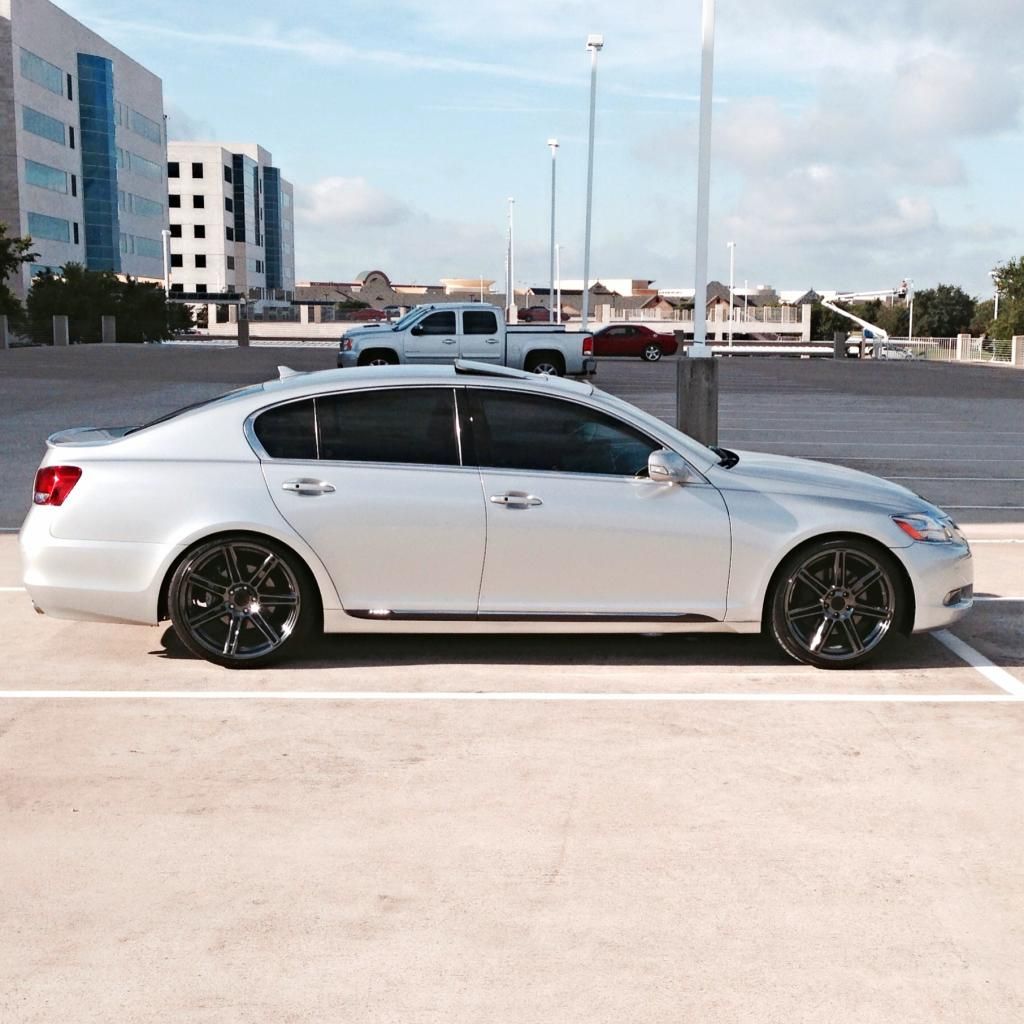
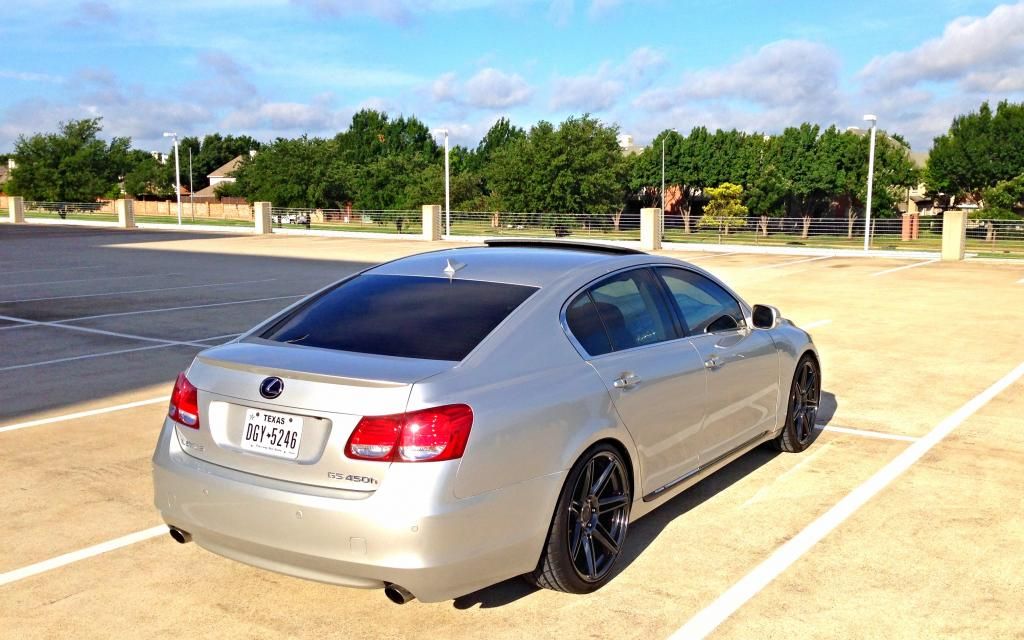
Thanks alchemist, PB Blaster did the trick, wish I would've thought of that sooner. Anyway here's a few pics of the finished product. I still have some adjusting to do with the dampness and will most likely be raising the rear a tiny bit to have a uniform wheel gap on all four corners. I went with Megan EZ streets, as this is just a daily driver, so don't want to tuck, go super low, and rework/roll fenders like many of the crew on here. My weekend toy is the '67 Scout 800 in one of the pics below. Even with the bigger wheels and lower profile tires, it feels like much smoother of a ride compared to stock, with some added firmness in the corners. I think I'll be doing a rear camber kit soon, the outside of the rear tires don't even have any dust on them ffrom driving to work this morning so I'll want to correct that soon and get another alignment (definitely suggest the 1 or 2 year alignment at NTB).


Last edited by sjt0017; Jun 4, 2014 at 09:36 AM.

Driver School Candidate
Joined: Apr 2014
Posts: 5
Likes: 0
From: Texas
Thanks alchemist, PB Blaster did the trick, wish I would've thought of that sooner. Anyway here's a few pics of the finished product. I still have some adjusting to do with the dampness and will most likely be raising the rear a tiny bit to have a uniform wheel gap on all four corners. I went with Megan EZ streets, as this is just a daily driver, so don't want to tuck, go super low, and rework/roll fenders like many of the crew on here. My weekend toy is the '67 Scout 800 in one of the pics below. Even with the bigger wheels and lower profile tires, it feels like much smoother of a ride compared to stock, with some added firmness in the corners. I think I'll be doing a rear camber kit soon, the outside of the rear tires don't even have any dust on them ffrom driving to work this morning so I'll want to correct that soon and get another alignment (definitely suggest the 1 or 2 year alignment at NTB).
Thread Starter
Driver School Candidate
Joined: Jul 2012
Posts: 20
Likes: 0
From: TX
Yes jsnbrn definitely, even with the PB Blaster it was still very difficult to loosen those bolts. I had both feet pushing the inner wheel well and pulling the wrench with both hands and still couldn't get them loose until I went through a couple pulls, trying to tighten, then reloosen them. Nightmare! Definitely worth it in the end though, especially with what local shops were looking to charge for the install. Now I just need to "tint" the chrome trim (the wheels are black chrome, tinting will match the black chrome look) and wrap the roof in gloss black and I'll be done with her for a while. Long term goals are to get rid of the red wood trim through the interior, I know the pieces on the doors are part of the entire door panel so no telling how it's going to work.

Thread
Thread Starter
Forum
Replies
Last Post
nthach
LS - 1st and 2nd Gen (1990-2000)
13
Sep 13, 2012 11:52 PM