When you click on links to various merchants on this site and make a purchase, this can result in this site earning a commission. Affiliate programs and affiliations include, but are not limited to, the eBay Partner Network.
Good progress news: I pulled out the radio and nav screen today. Also ran am amp turn-on wire, a power cable, plus 4 channels of RCA cables from trunk up to the passenger side kick panel. Oh, and I pulled out the ML woofer and replaced it with a shallow mount 8" Pioneer woofer. Not the greatest woofer in the world, but should be enough for the interior size of the SC (and I'm guessing an actual small upgrade from the OEM speakers). Was able to reuse the OEM plastic woofer mount to the rear "firewall (?)". Had to quit to take one of my kids to the airport.
Bad news: cracked the plastic climate control cover when removing it to get to the top bolts on the radio.I used some CA glue to repair the crack but it remains visible. Anybody with experience in a color match to that silver?
Today I found some time and got my high-brightness monitor set up in the nav cage. Unfortunately, not enough time to get it installed. Was enough room to leave the nav board that other forum members have written about to retain door functions. I'll go the khong route if this doesn't work for a complete system delete.
Also got the Xtrons Android mounted up in the radio cage. Used a Metra 99-8161S kit for the wings to fill in on the sides. Since the depth of the unit is less than the OEM, I will have room to store the SWC box behind the new headunit.
Anybody have advice about a good place to mount a WiFi antenna? It's about 4"x1"x1/4" thick and the backside has 3M mounting tape. I would much prefer not having it visible, but don't know the impact of hiding it say under the dash. Maybe impossible to tell, but would it make a difference if it was horizonal vice vertical?
I'm going to reach out to Xtrons to ask, but sometimes Chinese manufacturers answers aren't so clear for me -- that and I would prefer some one with real world experience.
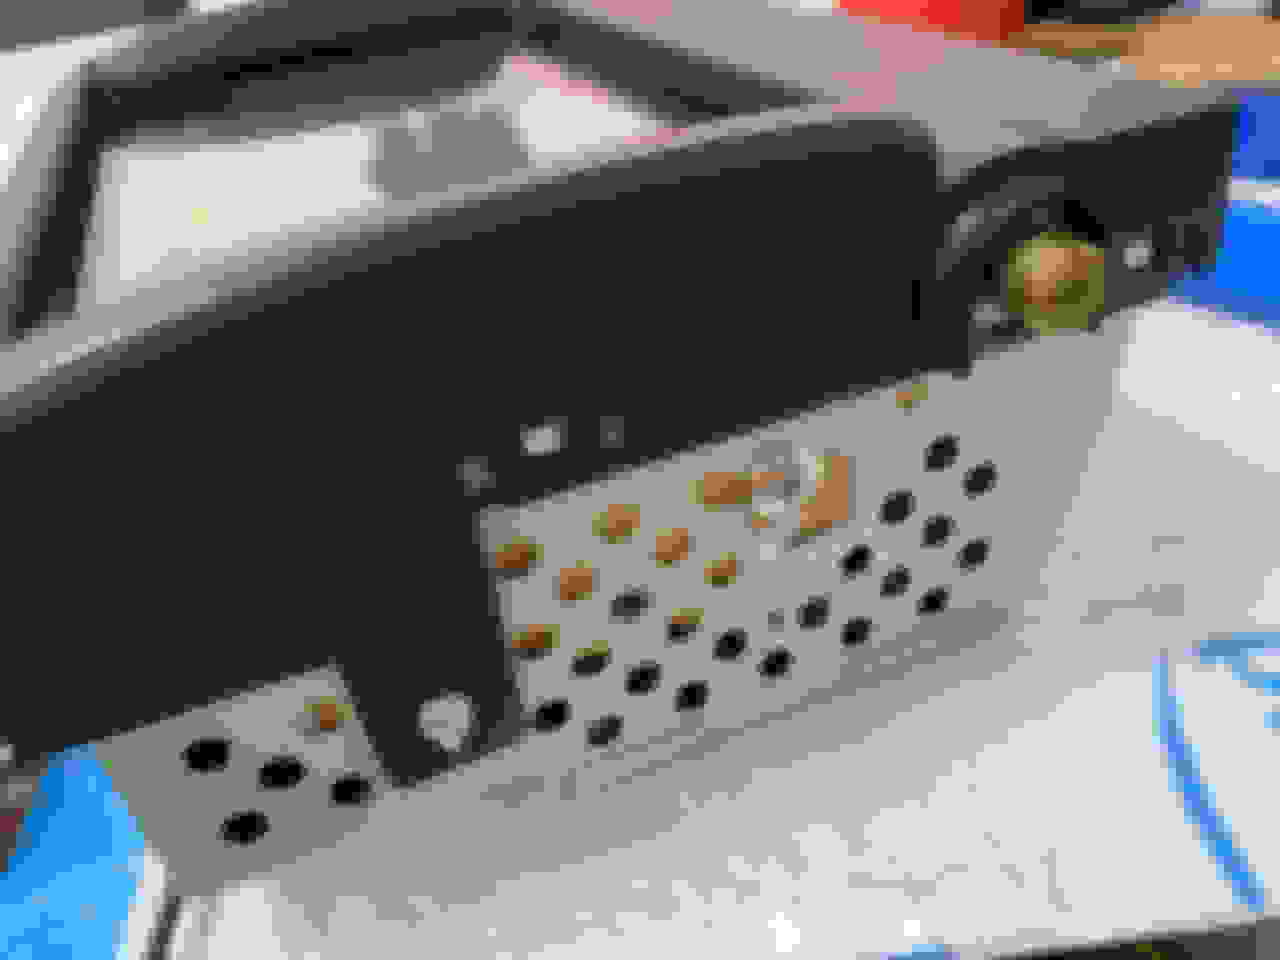
Almost there ran into a snag, can't figure out how to attach the front case/bezel (with the tilt wheel) to the body now.. Read the other threads, looks like they extended made some bracket, can't seem to do the same. Might epoxy it.. LOL
Are you asking about how to get the tilt part hooked up so the door can open/close? If yes, and it's like a 2002 then:
At the top of the screen's metal cage there is a rubber wiper that attaches with 3 screws. In the middle of the metal frame that holds the wiper there are two holes about 1-1/2" apart just behind the wiper frame. On the larger body of the assembly there is a metal part that sticks out in front (tilt extension arm for lack of a better term) with a small spring loaded piece of metal. Lift the spring loaded metal part. Tilt the screen enclosure part back enough to match the tilt extension arm and the spring loaded piece. Insert two screws and you're done. Have fun putting the plastic side pieces back on and getting the door in the proper tracks.
Hope that helps
The resistance from the Axxess box will not let it act like a master, it's basically for it to decode the CANBUS for their use - I tested it heavily before I butchered it -- because I have a few lol.
But I've managed to get it all installed -- and the exact same issue as before - only recognizes about 2-4 buttons.
But for some reason doesn't retain it after programming - going to call PAC and see if they can help. I made my own little thing to retain nav (which works)
Are you asking about how to get the tilt part hooked up so the door can open/close? If yes, and it's like a 2002 then:
At the top of the screen's metal cage there is a rubber wiper that attaches with 3 screws. In the middle of the metal frame that holds the wiper there are two holes about 1-1/2" apart just behind the wiper frame. On the larger body of the assembly there is a metal part that sticks out in front (tilt extension arm for lack of a better term) with a small spring loaded piece of metal. Lift the spring loaded metal part. Tilt the screen enclosure part back enough to match the tilt extension arm and the spring loaded piece. Insert two screws and you're done. Have fun putting the plastic side pieces back on and getting the door in the proper tracks.
Hope that helps
Yeah I was talking bout the front bracket (Big Black Frame) attaching to the cage that holds the PCBS + Screen... I modified it, and cut out all the attachments / mount points -- so I epoxied it - got it all closed up now. Just need to do the wiring.
Basically going to have 2 Android Units in the car now... with the Bottom as the Main unit that connects into the ML Amp - and the top L/R will be AUX into the Main Radio.. with FRONT Audio going directly to those speakers (through the TYTO-01) for NAV -- Maybe..
Top unit will only be used for Videos / Rear Camera / Front DVR (Camera) -- and maybe a small RPI Input for some Games or something.
@khuong Got my audio overhaul done (I'll make a separate post with my install notes). With respect to the CAN bus, here's where I landed. I have the 2002 SC430, which is a little different than the later models. I successfully used the ASWC-TOY-LEX adapter. In *my* configuration, it works great and all the buttons do what they need.
Step 1) got the ASWC-TOY-LEX adapter working with the new head unit by just plugging into the 7-pin connector. Worked perfectly.
Step 2) bridged the busses as shown, including the resistor network. Both the ASWC-TOY-LEX and top nav unit stopped working.
Step 3) Unplugged the ASWC-TOY-LEX and the built-in nav bus started working again.
Step 4) Clipped the wires from ASWC-TOY-LEX bridge to the other bus and it started working again (but the Nav stopped) I've concluded that something in the bus isn't quite right still, so I'm giving up. The steering wheel controls work great and they're much more important than the old Nav screen.
So, basically I can't get top nav bus to work with the ASWC-TOY-LEX added to the can bus this way.
I gave up on the bridge of the network. The top nav is dead and I guess I'm OK with that since my new head unit is lightyears better than my 2002 Lexus nav.
@oneround Sounds very similar. I'm good with mechanical and electrical stuff so I have a hard time paying someone else to do something like this - plus the $$ to do it would be high. It took me 4 evenings to get the entire system done (new head unit, new amp in trunk, etc...). I'd guess ~16 hours. That doesn't include the time I spent replacing the speakers last spring - probably another 2-3 hours.
As with any project, I've learned a bunch that would speed up doing it again. If there's any learning I can pass along to help, don't hesitate to reach out.
Worked some more on the car audio system today - like usual some good, some bad.
Good: High brightness monitor in place and functional (by seat of the pants) about twice as bright as the Xtrons Android headunit screen.
Bad: the Multi-display door isn't responding. I too tried jumping the pins, with a 68 Ohm resistor. No go. I really hate to trash a working OEM radio for the board. So, will live with this for a while since I would only use the new monitor for Navigation.
Good: Got the headunit installed. ASWC-Toy-Lex did it's self programing thing - no idea if it works, don't want to try sending any sound to OEM speakers in case they are internally shorted and could blow the amp.
Bad: Somehow I tucked away the wires to the cigarette lighter while bundling up the spaghetti mess of wires. So, no working cigarette lighter but don't care enough to pull radio out. Also, the Metra install kit wings would not allow the radio to install -- to wide. So right now the sides are pretty ugly. Would like to hear if this is likely something I did, or if others have faced problems with the Metra kit.
Good: Got a Kicker A/B class 4-channel amp installed. I'm going to use it like a 2.1 system with channels 3 and 4 are bridged for the sub.
Bad: Out of time to work on door speakers. Have some lightly used old-school Pioneer Premier speakers (TS-C720PRS) that I will use in the doors.
Also no time to test or program anything into the Android headunit. Maybe I can find some time this evening.
Would really like to find a place to put the 3 USB connectors the headunit provides (ashtray? others?).
 07-17-21, 09:31 PM


 I used some CA glue to repair the crack but it remains visible. Anybody with experience in a color match to that silver?
 ran into a snag, can't figure out how to attach the front case/bezel (with the tilt wheel) to the body now.. Read the other threads, looks like they extended made some bracket, can't seem to do the same. Might epoxy it.. LOL