When you click on links to various merchants on this site and make a purchase, this can result in this site earning a commission. Affiliate programs and affiliations include, but are not limited to, the eBay Partner Network.
Red - One wire connecting those 3 points in the connectors.
Orange - One wire connecting those 3 points in the connectors.
Blue - Put 1 - 68 Ohm Resistor between both the Red and Orange Wire.
This will retain the NAV Functions - Door Open/Close. Had a tornado warning here earlier today, so I haven't had a chance to test it with the Axxess TYTO Module with aftermarket Radio - I'm certain it'll work but that'll be tomorrow or weekend.
RED Connect the 3 pins ORANGE Connect the 3 Pins 1 68 Ohm Resistor between the two wires.
Thanks. I do have the Axxess module but was hoping to return it to save the $50
Also, on the 66 ohm jumpers, since there are three each of TX+ and TX-, did you put a resistor between each set? Can you sketch a simple diagram of where the resistors went?
You'll definitely need something to turn on the ML/JBL Amp and do the audio conversion - as well if you want to retain SWC, you'll have to have something as well - Something I'll be looking into the coming days, as well as oneround is testing too - we have both the same modules to test.
I removed my ASWC-TOY-LEX since it wasn't really working anyways.
Tested the following.
Axxess TYTO-01 - Amp Turn on for Aftermarket HU - Connected as per manual - working.
6 Pin and 12 Pin - Connected as per the diagram earlier with 68 Ohm Resistor (Removed connections from the 20 Pin since that is being used for the TYTO and requires the connection to the ECU for Volume/Fader Control)
HU Works as before - Volume Works/Fade Works etc etc.
Nav Functions (Door/Motor) I believe the actual Nav works -- but mine is flakey due to dirty/bad DVD.
I will be attempting SWC stuff later - would like it to work. However this is secondary for me, since I will be replacing the NAV screen similar to what others have done with another Android HU I have (slim HU) and strictly use it for NAV / Reverse / Front Camera.
I may wire the audio out to driver side for this, or might splice it into all the outputs -- have not decided on that yet.
Thanks again oneround for starting me on this replacement journey... again.
I haven't installed the ASWC-toy-lex yet, but I thought the instructions say to use the six pin connector - so how are you bridging across - or did I not read the instructions good enough yet?
And your post #25 - without the radio in the cage, where does the radio door cover get it's power?
My brain is getting dizzy with trying to figure this thing out and keep it straight in my head. I need to find time to test things like you have, but I'm baby sitting contractors coming in and out all day.
"I haven't installed the ASWC-toy-lex yet, but I thought the instructions say to use the six pin connector - so how are you bridging across - or did I not read the instructions good enough yet?"
Our SC430's are different unfortunately, something was changed in 2005-2006 between the connectors - for your year you'll only be using the 6 pin (I had to use both 6 and 12 pin to complete the AVCLAN communications) - with that being said, if you look at the wiring harness for the ASWC-TOY-LEX you can see the Pink/Blue wires are spliced together from both connectors - but if you feel the splice joints and further down, you can somewhat feel a resistor (I never cut it off to see but I can safely assume there is one)
I tried with the ASWC-TOY-LEX + TYTO-01 and bridging the connections -- this will not work and actually cause the amp to freak out randomly and mute everything. I tested this and sniffed around, and the circuit internally for the ASWC/TYTO measures different resistances on the network - so the car doesn't know if the master is hooked up and won't complete the circuit.
And your post #25 - without the radio in the cage, where does the radio door cover get it's power?
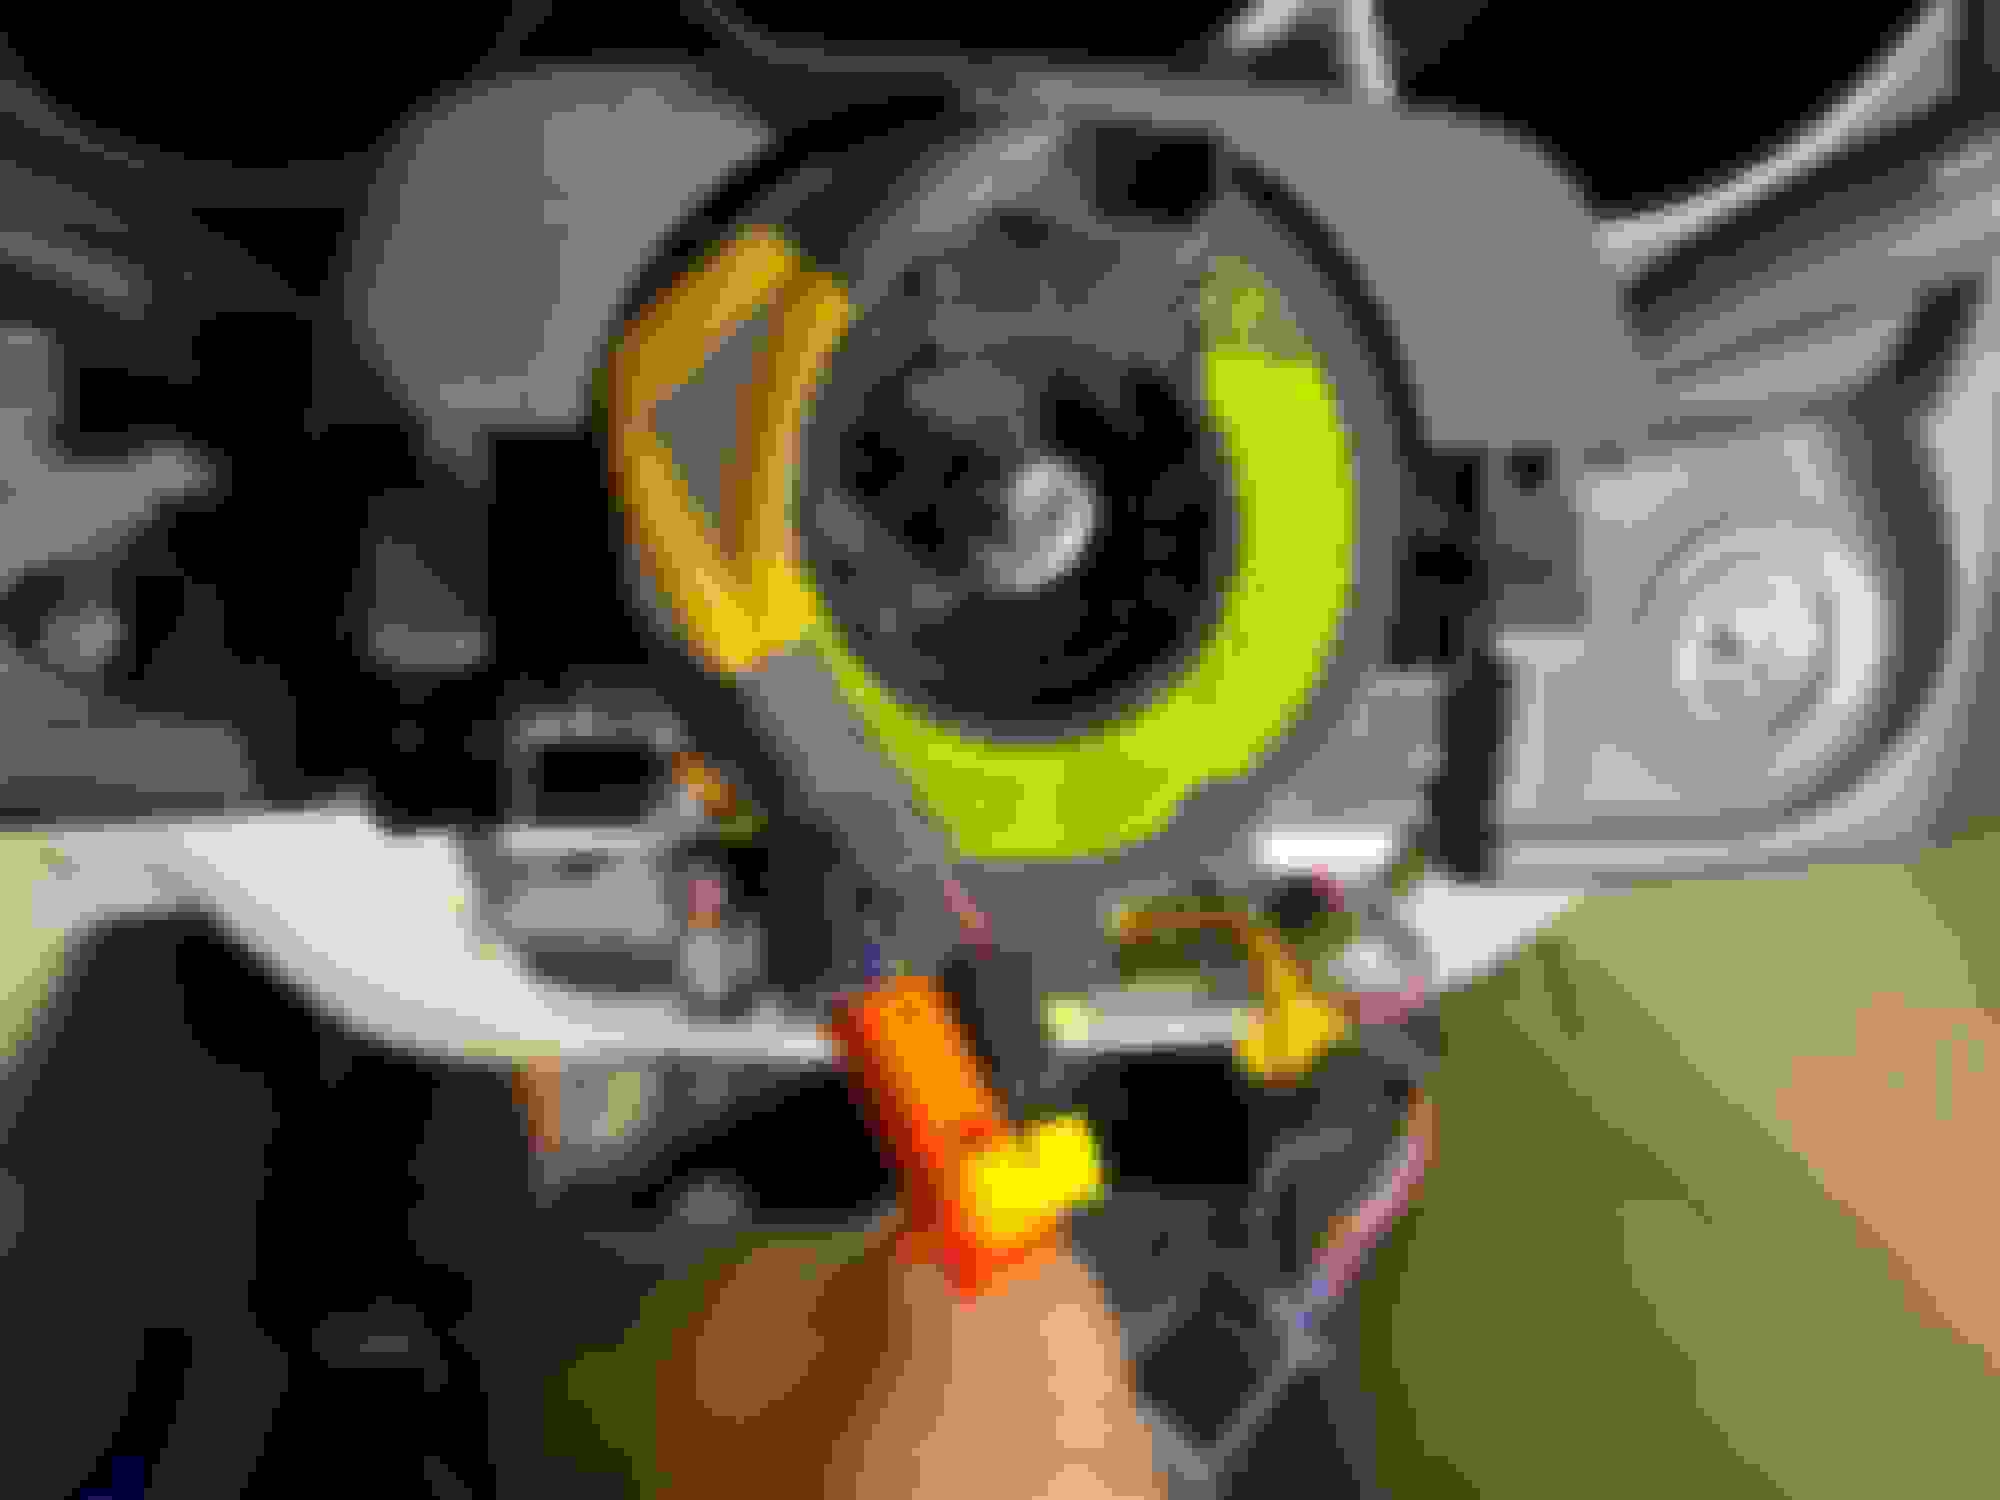
There is a connector at the back of the Radio Door Cage/Box It's white that has a separate connection to the car - not part of the 3 connectors that go into the radio - that controls the motor/radio door (see image) - this is from a 2002 I believe because it's missing the 12pin connector.
Our SC430's are different unfortunately, something was changed in 2005-2006 between the connectors - for your year you'll only be using the 6 pin (I had to use both 6 and 12 pin to complete the AVCLAN communications) - with that being said, if you look at the wiring harness for the ASWC-TOY-LEX you can see the Pink/Blue wires are spliced together from both connectors - but if you feel the splice joints and further down, you can somewhat feel a resistor (I never cut it off to see but I can safely assume there is one) radio door connector
If I understand the AVC-LAN at all, that resistor would be there to let their black box act like a master - a trait of the AVC-LAN is that the master has a 60Ohm value. I'm guessing that's why your trick of jumping the transmit/receive lines with an inserted resistor works.
The resistance from the Axxess box will not let it act like a master, it's basically for it to decode the CANBUS for their use - I tested it heavily before I butchered it -- because I have a few lol.
But I've managed to get it all installed -- and the exact same issue as before - only recognizes about 2-4 buttons.
But for some reason doesn't retain it after programming - going to call PAC and see if they can help. I made my own little thing to retain nav (which works)
The reason I'm undertaking a complete overhaul is that my ML amp died. Instead of putting $475 into fixing it, I decided to put the $ into a new amp. So when I'm done, there won't be anything left of the original audio system except the tweeters on the doors. I'll be manually wiring up everything to the new head unit and running new wiring to a new Rockford Fosgate amp in the trunk, and from the new amp to the speakers. (The ML amp and nav amp will be removed from the car)
I'll be making a separate post on the install and I'll check back with you on my luck with the Axxess module. I'm hoping it works OK and that I get all the buttons to work - based on your milage, I'm not optimistic though.
Thanks for sharing your learning on the busses. Saved me a bunch of work in a cramped car!
NP, I've lived with SWC on this car for so long - it's nice to at least get 4 buttons working.
I managed to get VOL+/-, SET, PHONE buttons to work, the rest won't be recognized, after I get rid of the NAV, I may mess around with the SWC via the retrofit hack (add resistors).
If someone has the wiring diagram for the steering/swc/clock spring it'd make my life easier.
I'd like to add a new AMP but my ML is still working, so I'll wait until that ****s out. Here's a pic of it all hooked up.
CarPlay
Android HU
PAC SWI-PS-1
AXXESS TYTO-01
Front and Rear Cameras
I also have NAVIKS in the Rear but not hooked up.
The reason I'm undertaking a complete overhaul is that my ML amp died. Instead of putting $475 into fixing it, I decided to put the $ into a new amp. So when I'm done, there won't be anything left of the original audio system except the tweeters on the doors. I'll be manually wiring up everything to the new head unit and running new wiring to a new Rockford Fosgate amp in the trunk, and from the new amp to the speakers. (The ML amp and nav amp will be removed from the car)
I'll be making a separate post on the install and I'll check back with you on my luck with the Axxess module. I'm hoping it works OK and that I get all the buttons to work - based on your milage, I'm not optimistic though.
Thanks for sharing your learning on the busses. Saved me a bunch of work in a cramped car!
I'm in pretty much the same shape. The Amp was dead, the LCD screen for Nav was working but VERY poorly. And to top it off, when I got in the trunk to pull the amp I could see the surround was gone on the woofer. Rather than throw money at every piece and part just to stay OEM and have an old-school system, I'm updating with some I have on hand, some newly purchased.
The frustrating part for me is too much other stuff going on in life to tackle this like I would like to do. The good part is that the SC430 isn't my daily driver so when I do get around to tearing into it there's no issue with leaving it apart until I can get back to it.
Good progress news: I pulled out the radio and nav screen today. Also ran am amp turn-on wire, a power cable, plus 4 channels of RCA cables from trunk up to the passenger side kick panel. Oh, and I pulled out the ML woofer and replaced it with a shallow mount 8" Pioneer woofer. Not the greatest woofer in the world, but should be enough for the interior size of the SC (and I'm guessing an actual small upgrade from the OEM speakers). Was able to reuse the OEM plastic woofer mount to the rear "firewall (?)". Had to quit to take one of my kids to the airport.
Bad news: cracked the plastic climate control cover when removing it to get to the top bolts on the radio.I used some CA glue to repair the crack but it remains visible. Anybody with experience in a color match to that silver?
 07-15-21, 07:08 PM


 I used some CA glue to repair the crack but it remains visible. Anybody with experience in a color match to that silver?