
DIY-Grom USB Adapter + Bluetooth Dongle Installation

Thread Starter
Lexus Test Driver


Joined: Aug 2009
Posts: 5,724
Likes: 114
From: NJ
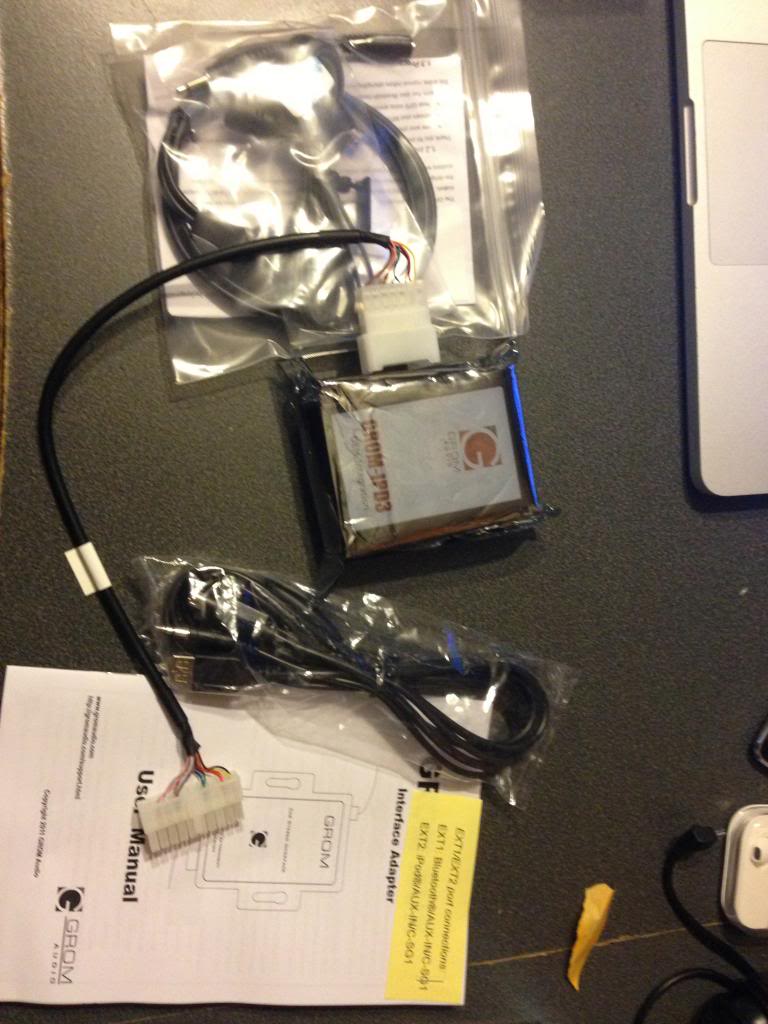
Hey everyone, today I installed the GROM USB adapter in to my RX300. I bought the Bluetooth dongle as well, as that�s the main thing I was looking for. The installation is very straightforward and only takes around 15-20 minutes. Everything is plug and play.
Included is the Included is the GROM Adapter (TOYA3), �TOYF� Harness Cable, 3.5mm input cable w/ USB female, (optional � Bluetooth Dongle ($50), iPod Cable with Charge & Control ($24.99), and I believe they sell a flush mount for the AUX ($10).
I only purchased the additional Bluetooth dongle.
Included is the Included is the GROM Adapter (TOYA3), �TOYF� Harness Cable, 3.5mm input cable w/ USB female, (optional � Bluetooth Dongle ($50), iPod Cable with Charge & Control ($24.99), and I believe they sell a flush mount for the AUX ($10).
I only purchased the additional Bluetooth dongle.
Thread Starter
Lexus Test Driver
Joined: Aug 2009
Posts: 5,724
Likes: 114
From: NJ
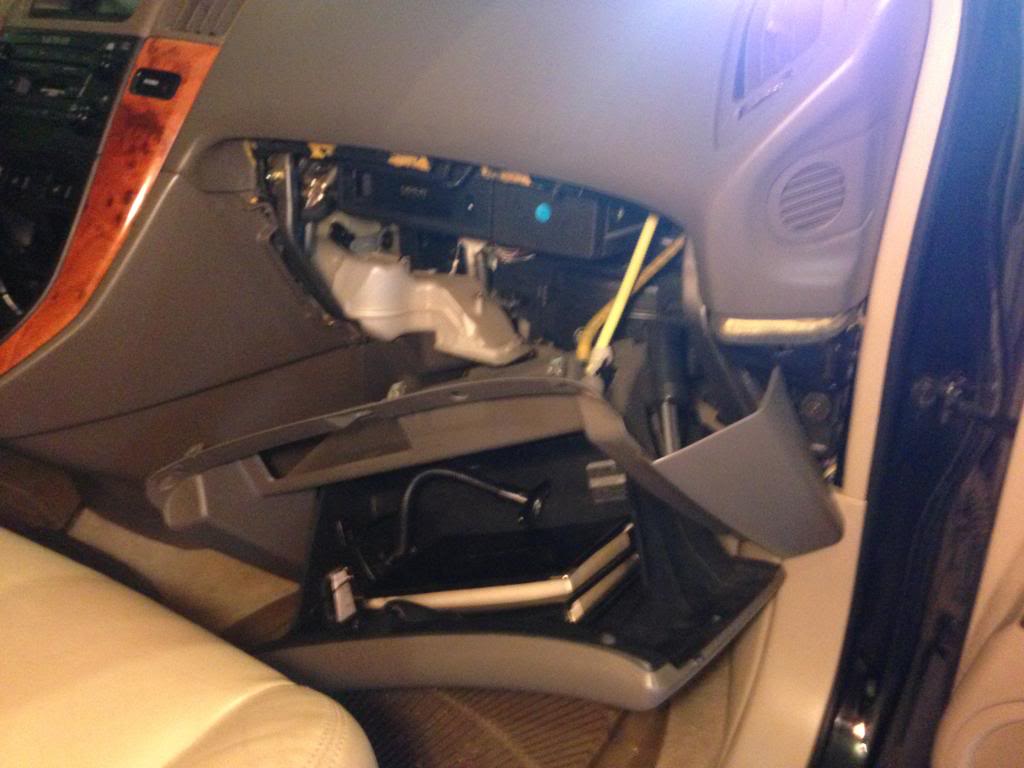
Start by removing the (2) 10mm bolts at the bottom of the glovebox.
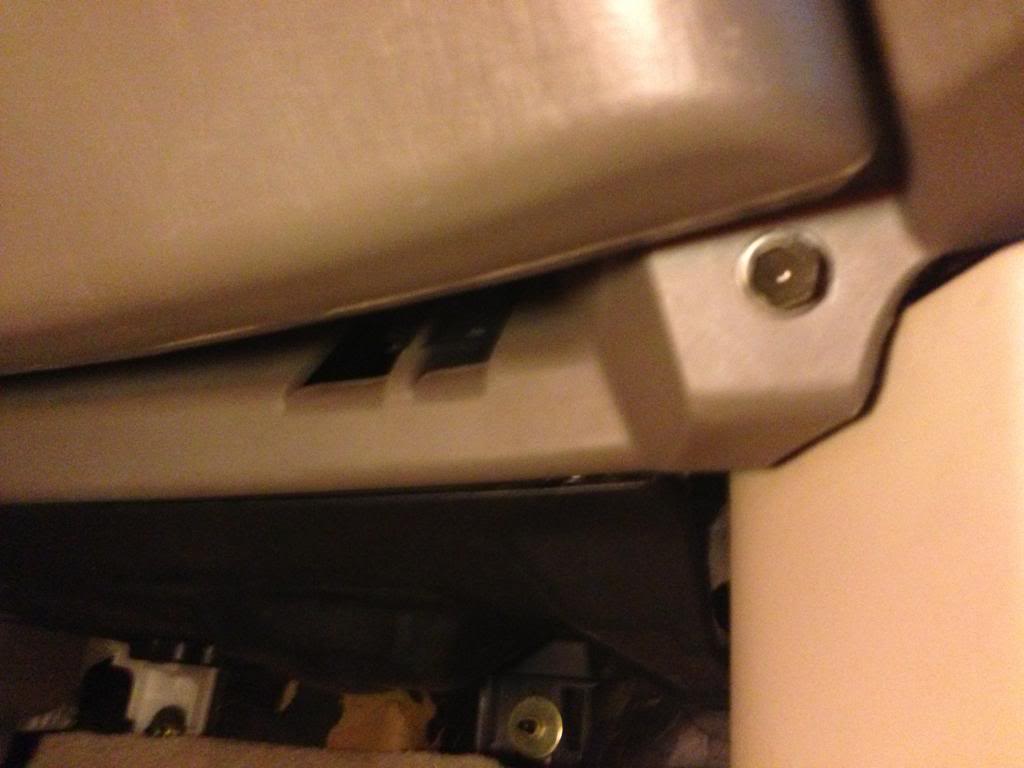
Now, remove the two Philip head screws at the top of the glovebox.
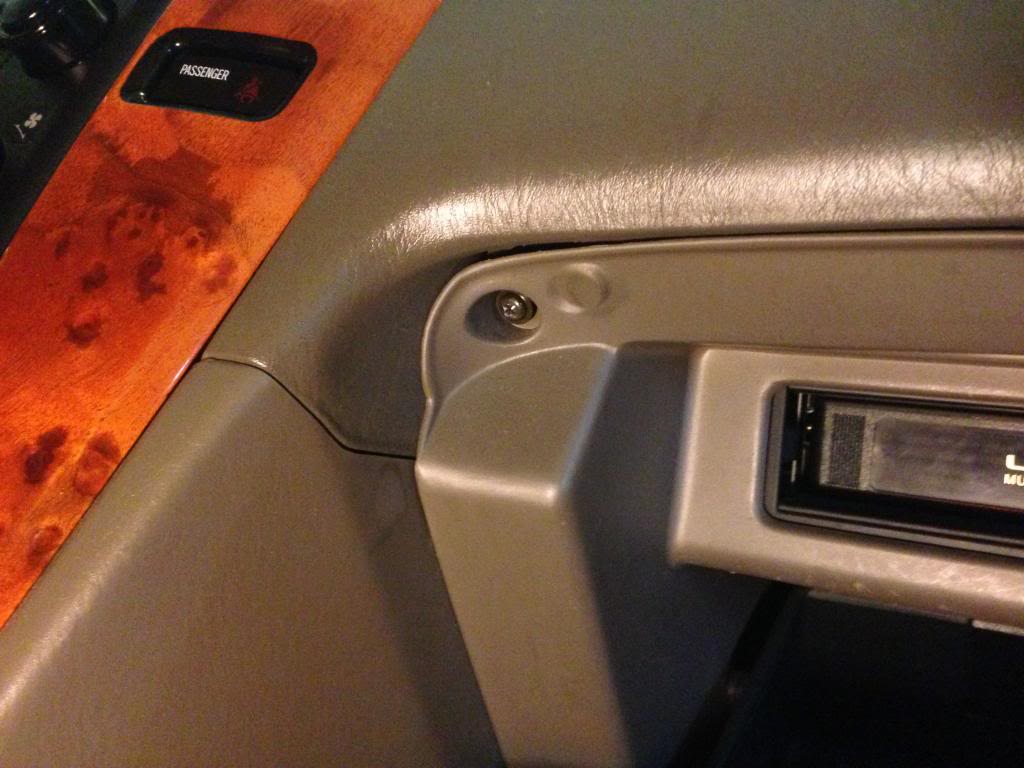
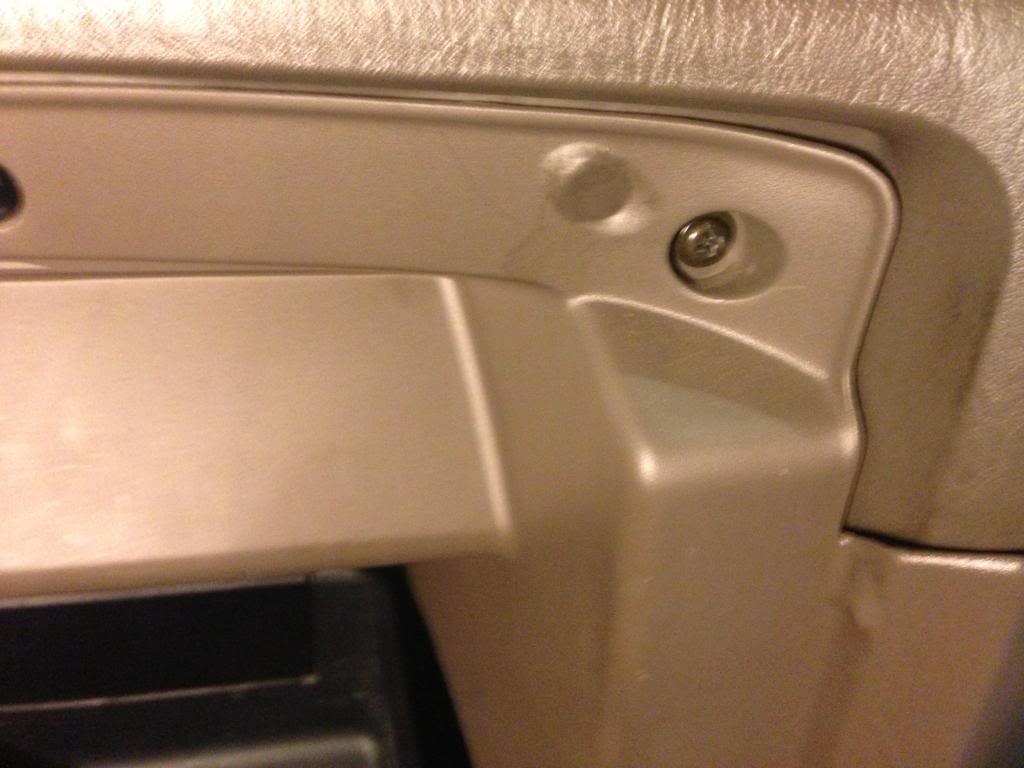
The glovebox should now be able to pull out. Give it a slight tug at all the edges and the clips should let the glovebox free.
I did not disconnect the cables on the glovebox. I believe I read somewhere that the cable was something for the airbag (don�t quote me on this). I didn�t mess with it, and there�s no need to.
Now, remove the two Philip head screws at the top of the glovebox.
The glovebox should now be able to pull out. Give it a slight tug at all the edges and the clips should let the glovebox free.
I did not disconnect the cables on the glovebox. I believe I read somewhere that the cable was something for the airbag (don�t quote me on this). I didn�t mess with it, and there�s no need to.
Thread Starter
Lexus Test Driver
Joined: Aug 2009
Posts: 5,724
Likes: 114
From: NJ
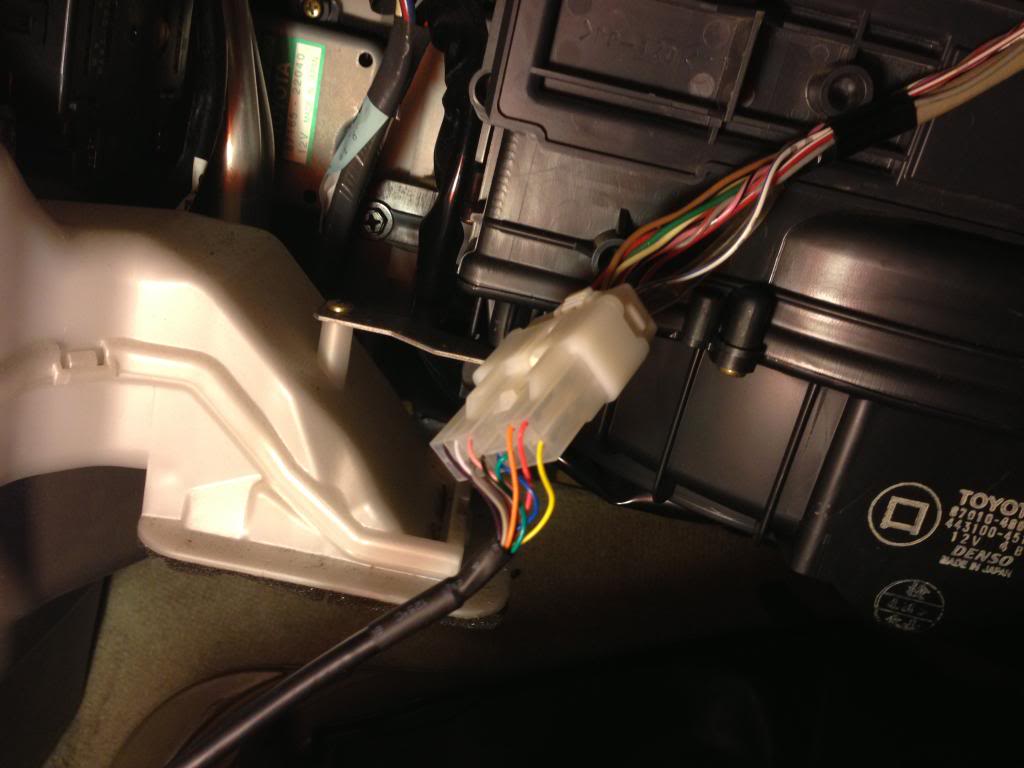
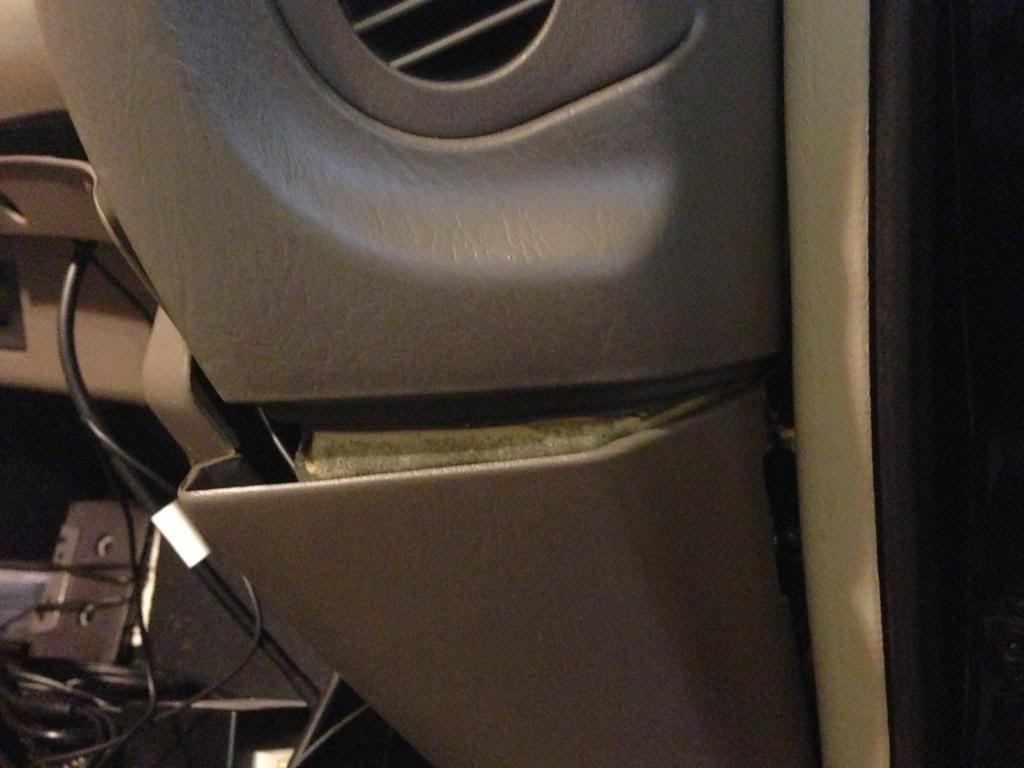
At this point, I reached behind the CD changer and pulled the harness cable out. I was able to do this, and I have small hands but large fingers.
You may have more difficulty doing so, and may prefer to remove the CD changer to disconnect the harness. If that�s the case, remove these (4) 10 mm screws. Two on each side.
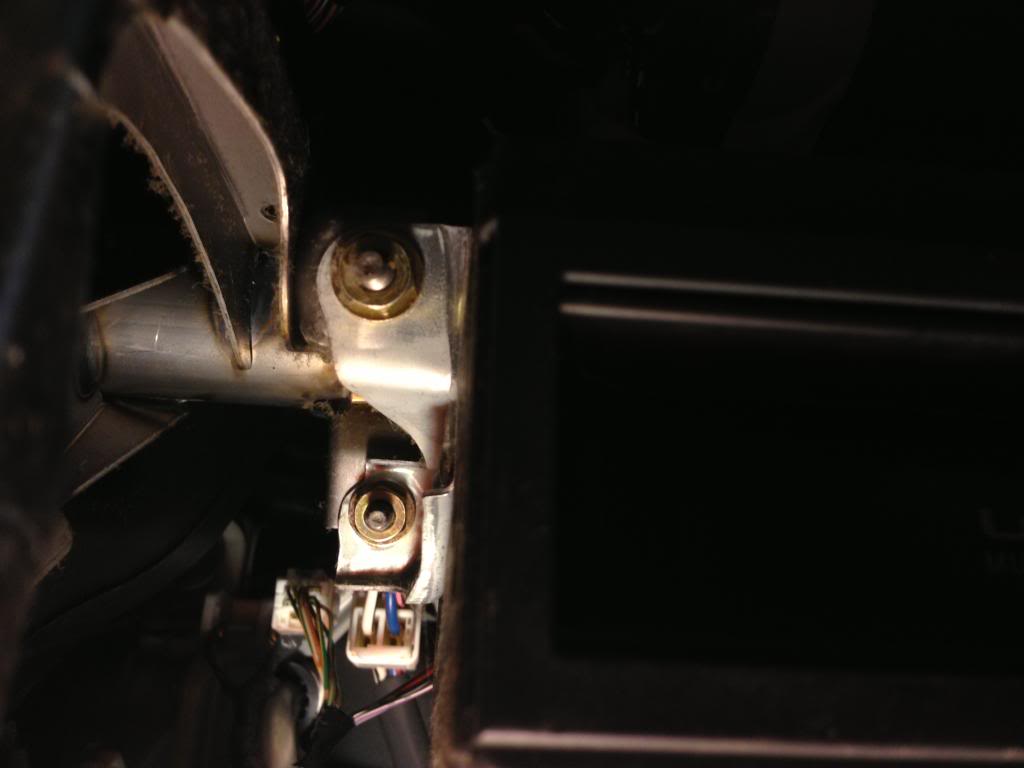
You may have more difficulty doing so, and may prefer to remove the CD changer to disconnect the harness. If that�s the case, remove these (4) 10 mm screws. Two on each side.
Thread Starter
Lexus Test Driver
Joined: Aug 2009
Posts: 5,724
Likes: 114
From: NJ
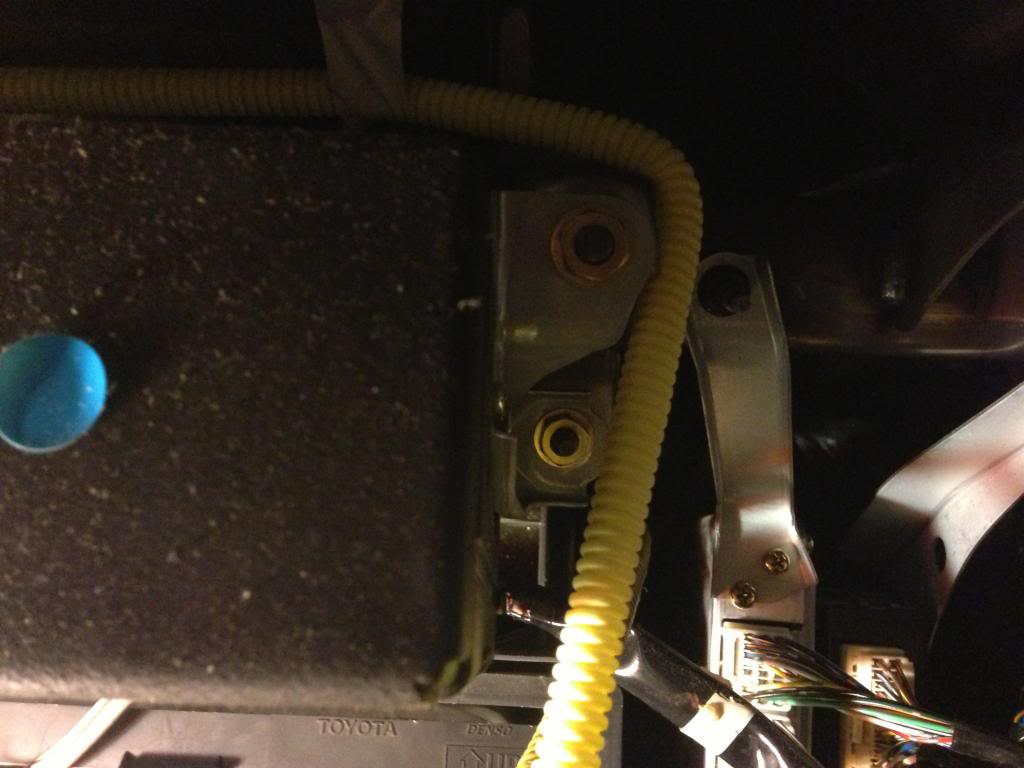
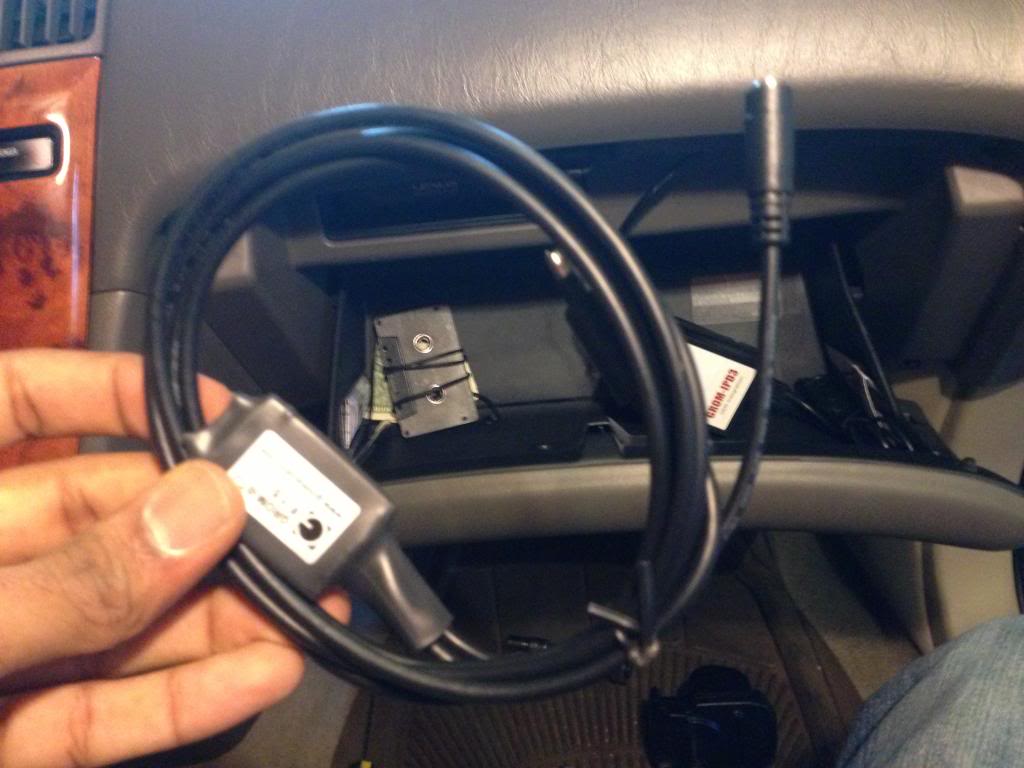
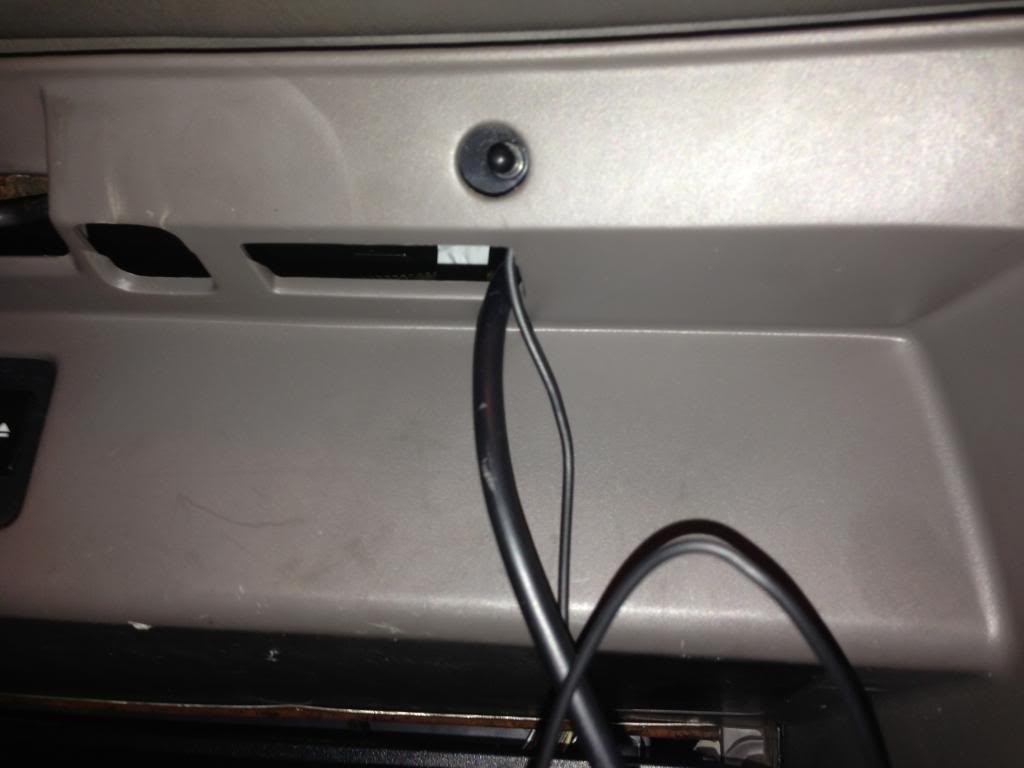
Feed the GROM cable thru the slit in the glovebox. Only do this if you plan on installing the GROM unit in the glovebox itself.
If you don’t want the GROM unit in your glovebox, you can find a place to mount it behind there somewhere.
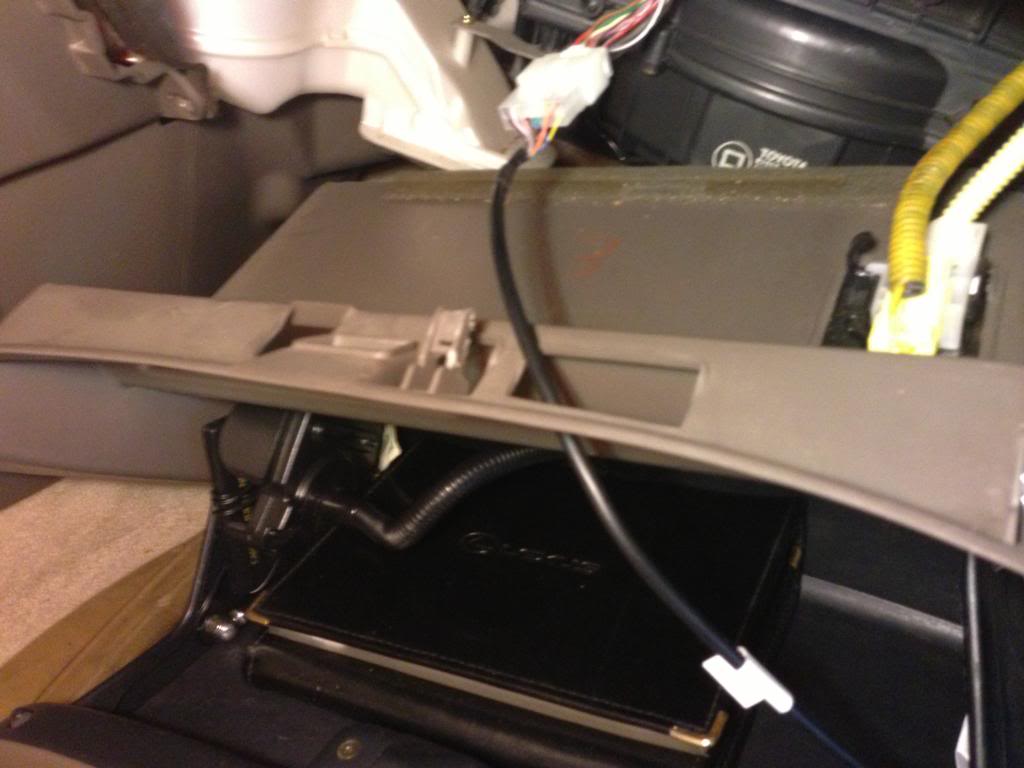
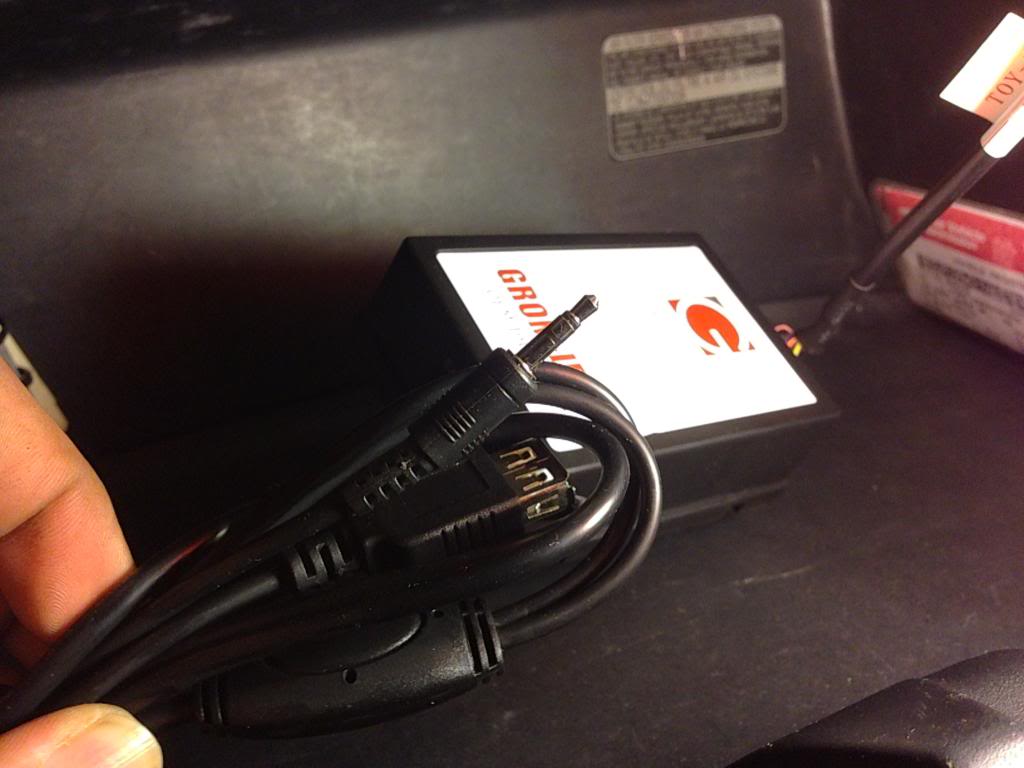
You can now plug in the GROM unit:
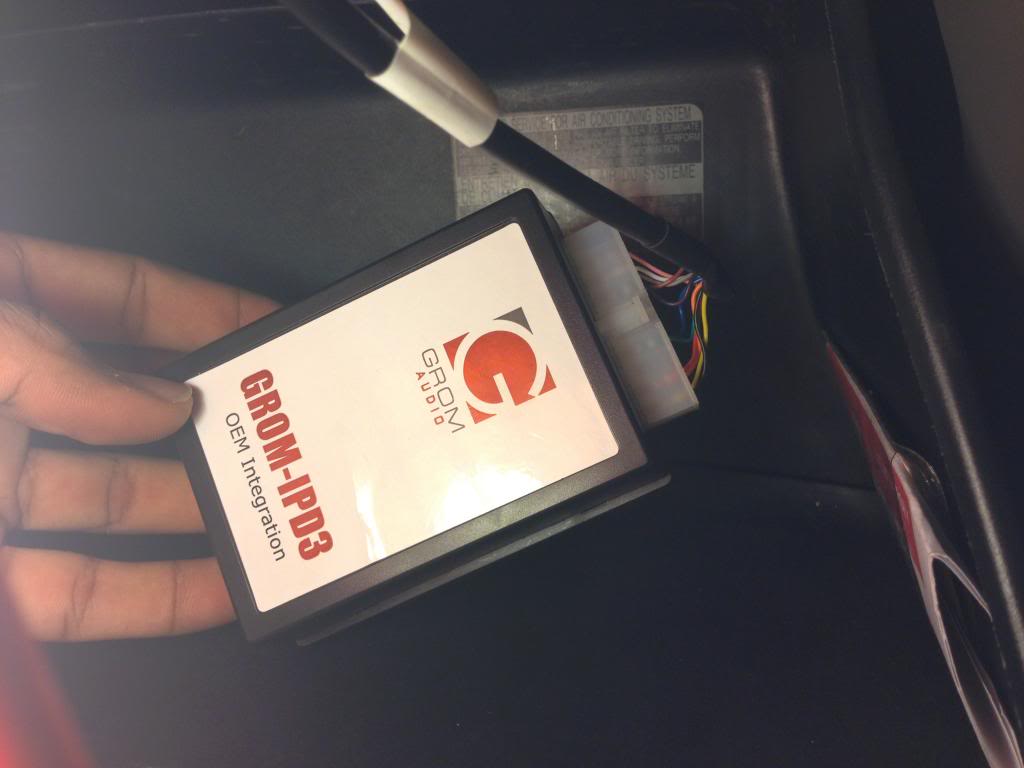
If you don’t want the GROM unit in your glovebox, you can find a place to mount it behind there somewhere.
You can now plug in the GROM unit:
Thread Starter
Lexus Test Driver
Joined: Aug 2009
Posts: 5,724
Likes: 114
From: NJ
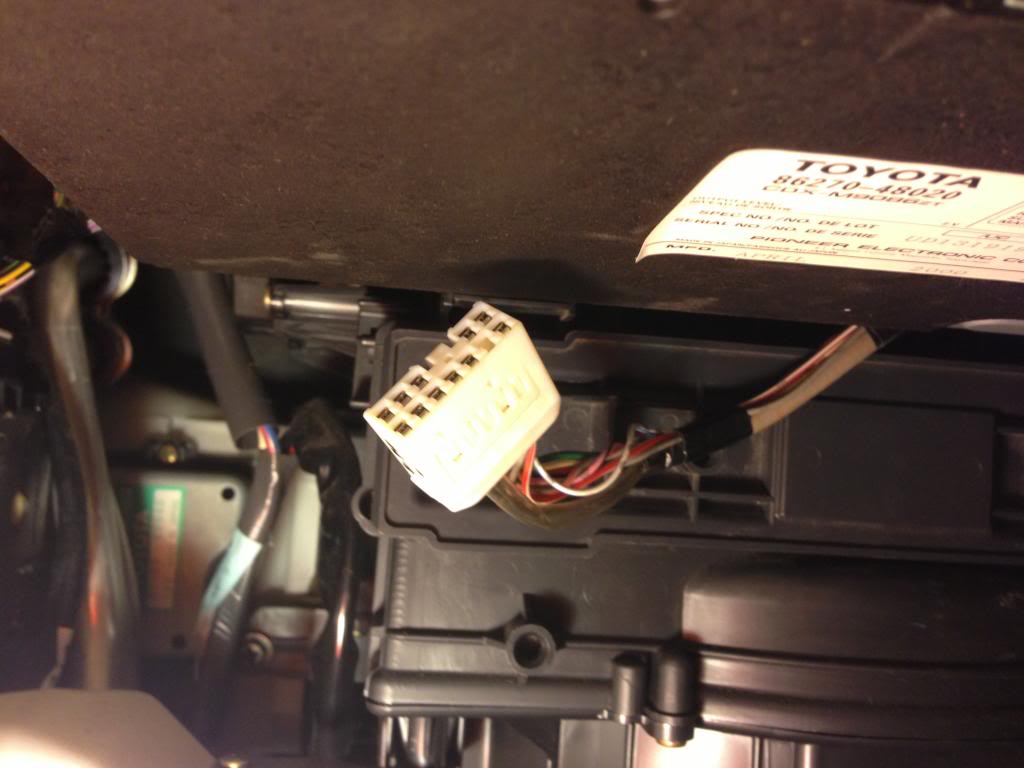
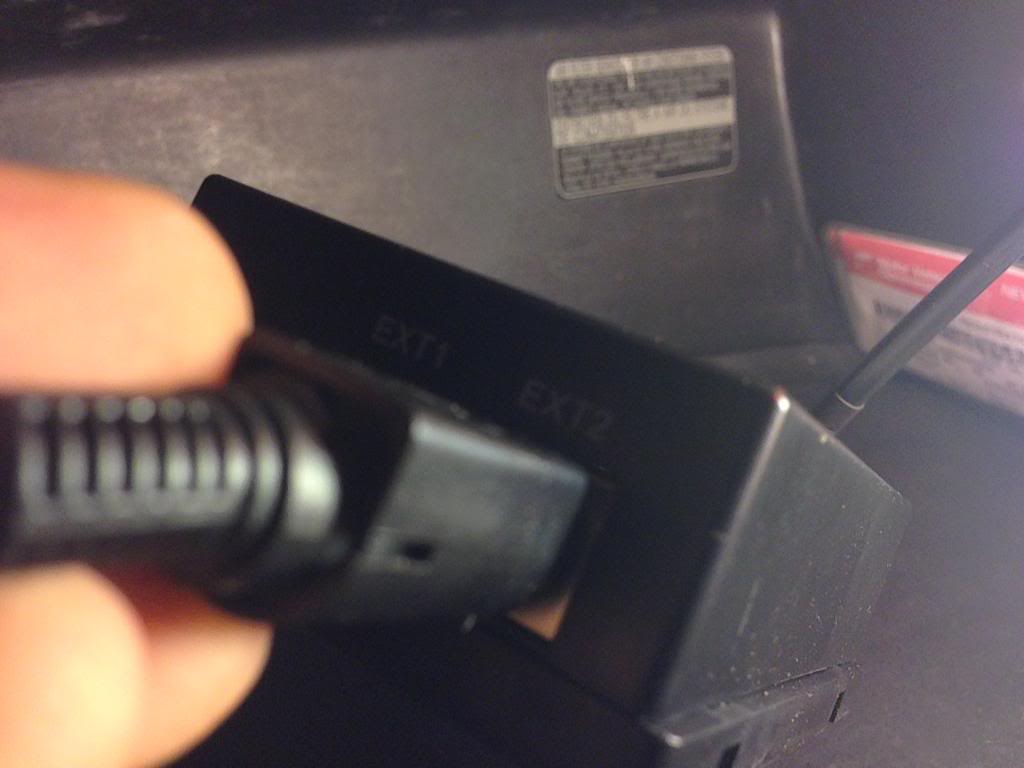
Now plug in the 3.5mm/ USB female charger cable into “EXT2”.
You can now test the GROM unit, and make sure it works before moving on futher.
This is what the screen should look like:
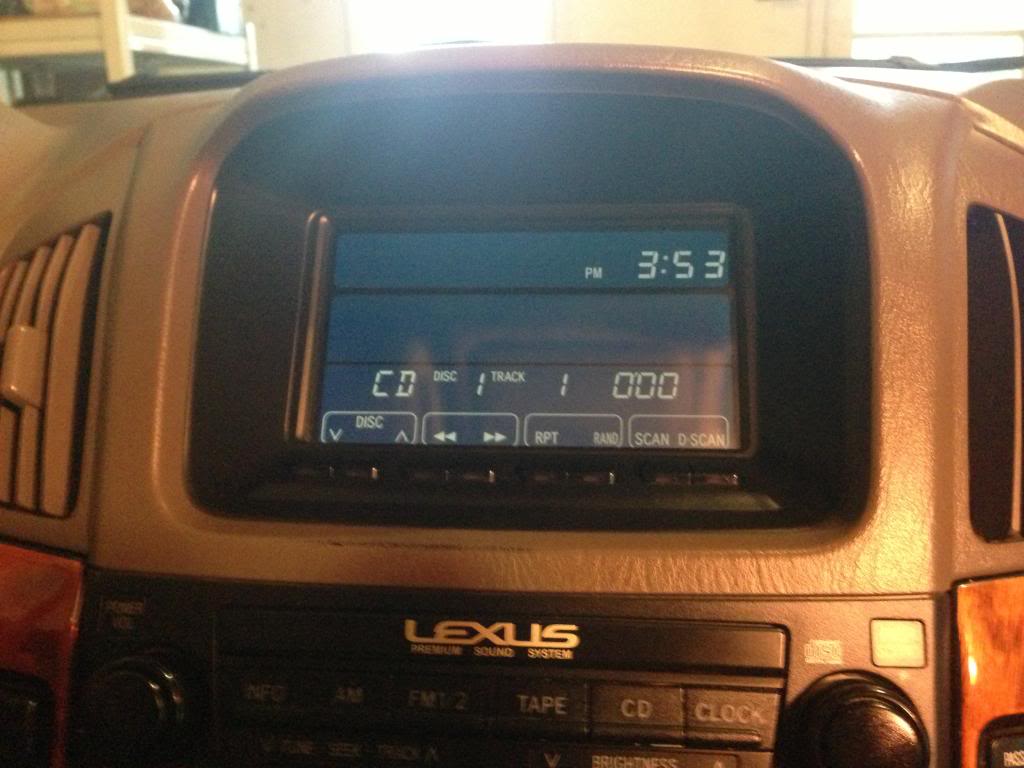
You can now test the GROM unit, and make sure it works before moving on futher.
This is what the screen should look like:

Trending Topics

Thread Starter
Lexus Test Driver
Joined: Aug 2009
Posts: 5,724
Likes: 114
From: NJ
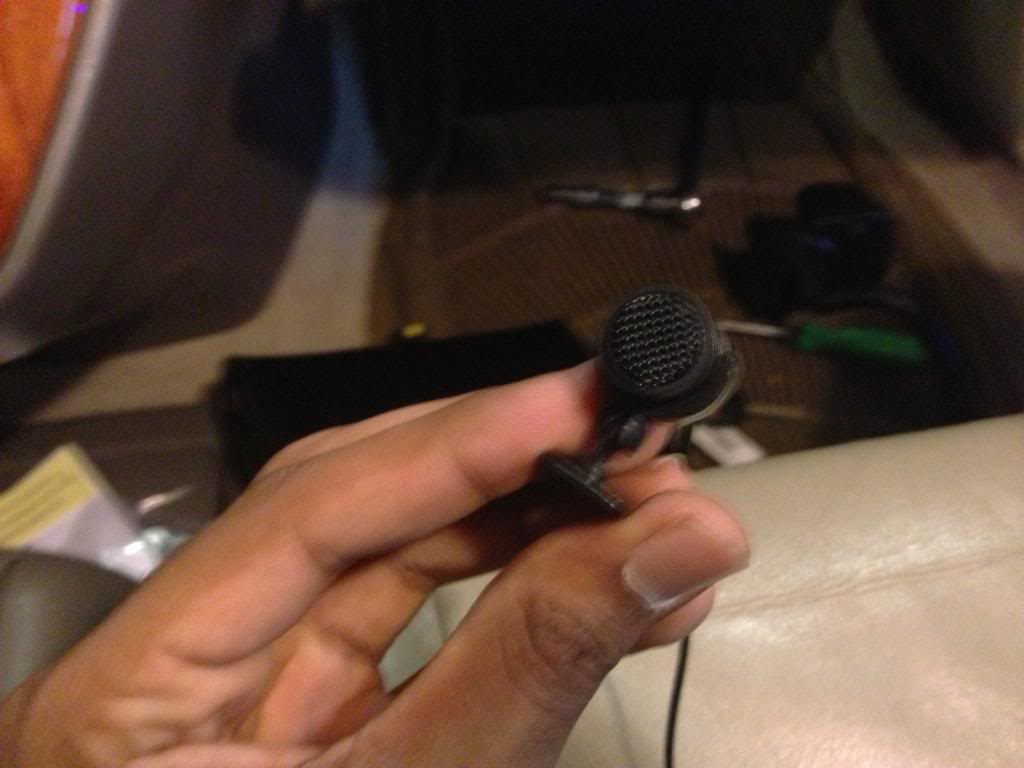
Now choose where you want to mount the microphone. I choose to mount it behind the rear view mirror, as it’s easiest to run the wire from there.

Now run the wire underneath the headliner.
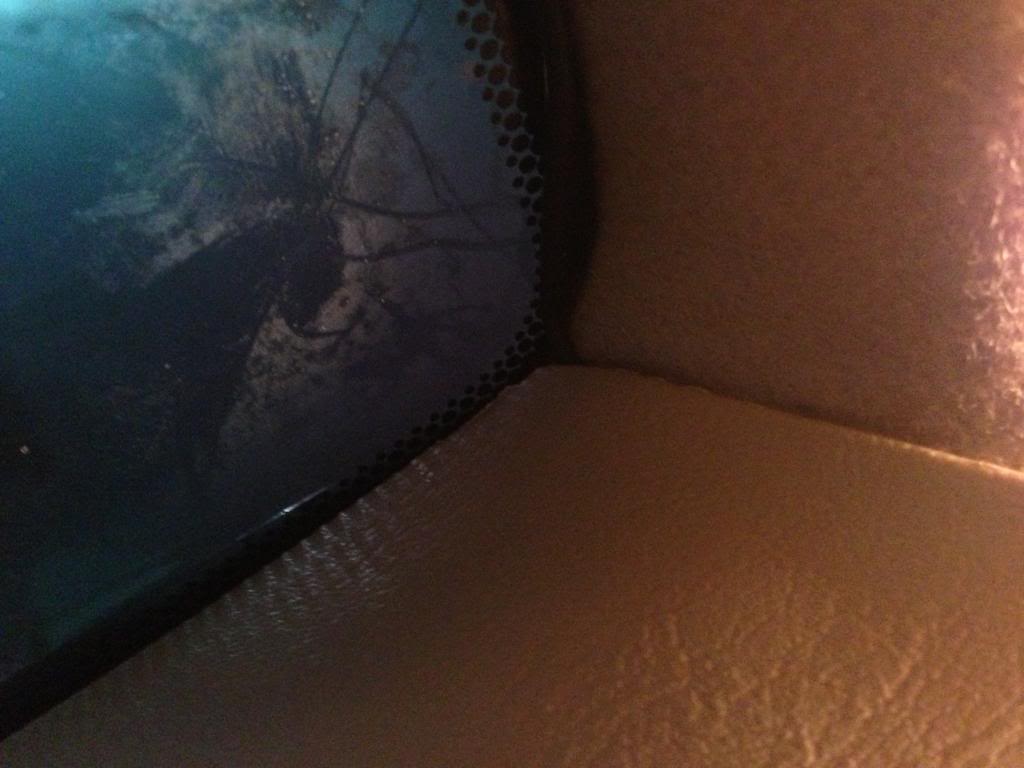
And, peel back the weather-stripping and run the microphone cable into it.
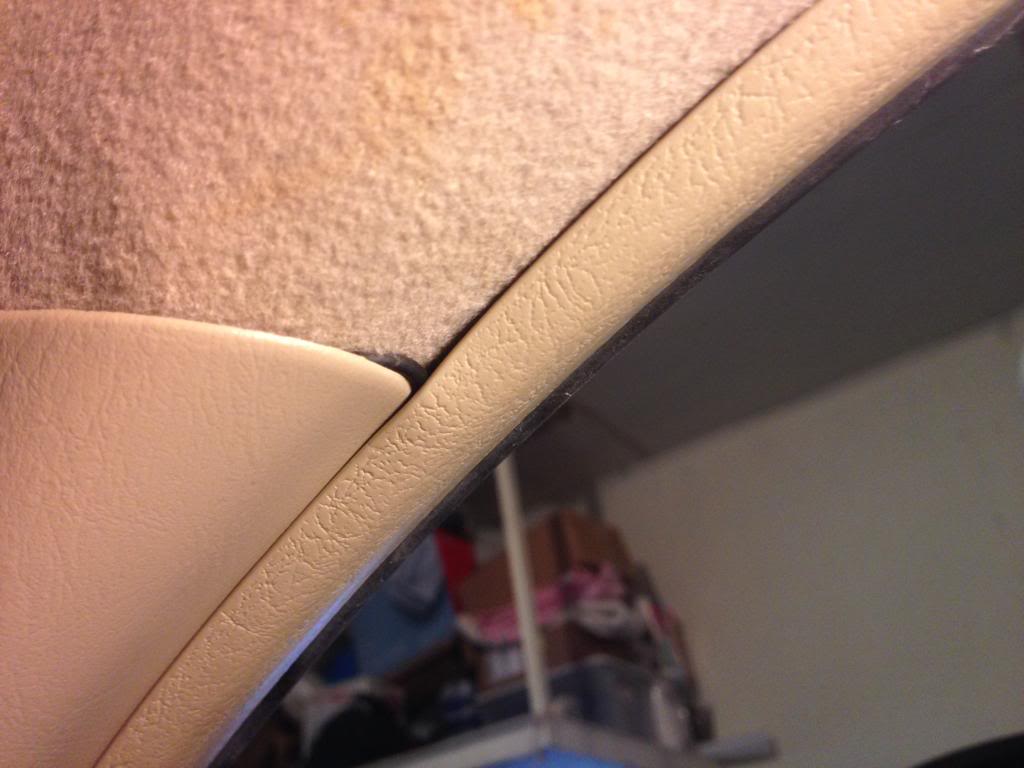
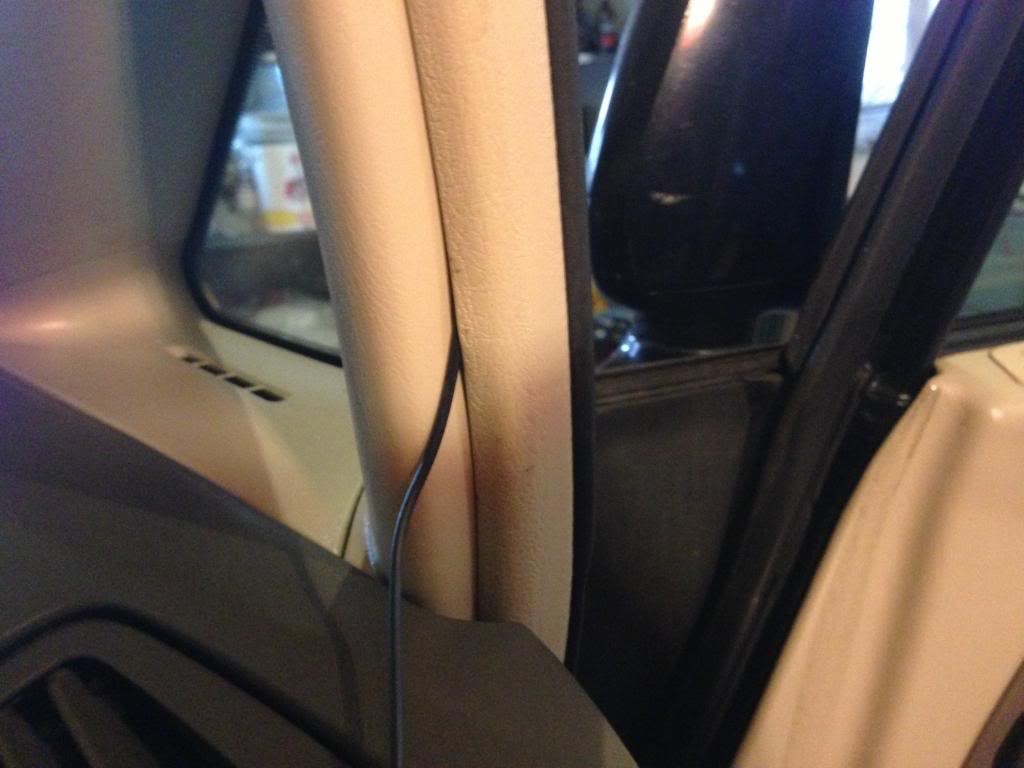
Now insert the wire into the gap of the glovebox and where it meets the dashboard.
Then pull it through the same hole that we pulled the GROM harness cable through.
Now run the wire underneath the headliner.
And, peel back the weather-stripping and run the microphone cable into it.
Now insert the wire into the gap of the glovebox and where it meets the dashboard.
Then pull it through the same hole that we pulled the GROM harness cable through.
Thread Starter
Lexus Test Driver
Joined: Aug 2009
Posts: 5,724
Likes: 114
From: NJ
Connect the microphone into the Bluetooth dongle.
Be aware that you have to press the cable very hard to get to make a perfect connection and leave no gap between the two connections.
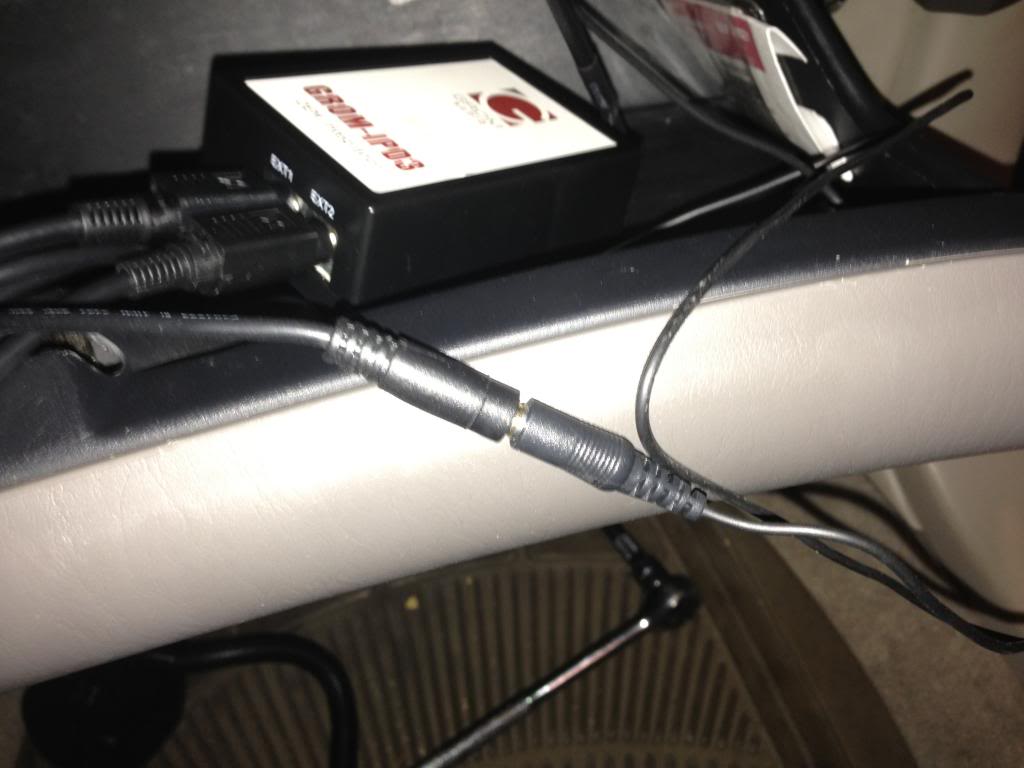
The final product:
Be aware that you have to press the cable very hard to get to make a perfect connection and leave no gap between the two connections.
The final product:
Thread Starter
Lexus Test Driver
Joined: Aug 2009
Posts: 5,724
Likes: 114
From: NJ
I plan on eventually moving the GROM unit somewhere behind the glovebox. But, first I want to use it for a few days and see how I like it before I mount it somewhere permanently.
As of now, I love it! The audio quality is amazing! It’s unbelievable how great it sounds! It’s definitely better than playing a CD. I’ll keep everyone updated as to where I move the GROM unit to, and how I like the GROM.
If you have any questions, or comments feel free to leave them below.
As of now, I love it! The audio quality is amazing! It’s unbelievable how great it sounds! It’s definitely better than playing a CD. I’ll keep everyone updated as to where I move the GROM unit to, and how I like the GROM.
If you have any questions, or comments feel free to leave them below.

Driver School Candidate
Joined: Dec 2012
Posts: 44
Likes: 0
From: Tennessee
I have a 2005 ES330. Do you know if make a kit for that? Also where did you purchase yours. i have used the iSimple products in my previous GM vehicles, but i cant seem to find anything for mine. Thanks in advance!
Thread Starter
Lexus Test Driver
Joined: Aug 2009
Posts: 5,724
Likes: 114
From: NJ
Link to purchase: http://www.gromaudio.com/store/aux_a...e_adapter.html
I have an iSimple IS77 installed in my RX300 as well, which I used prior to this GROM unit. And, the GROM is way better in terms of audio quality.
You're welcome!
