Scratched up Interior door switch bezels- DIY touch-up
#1
Driver School Candidate
Thread Starter

Hobby Lobby: $1.79 each

I played around with a few ratios before finding the 3:1 looked tight


This was a piece of sponge I had around- you may find a better way to apply

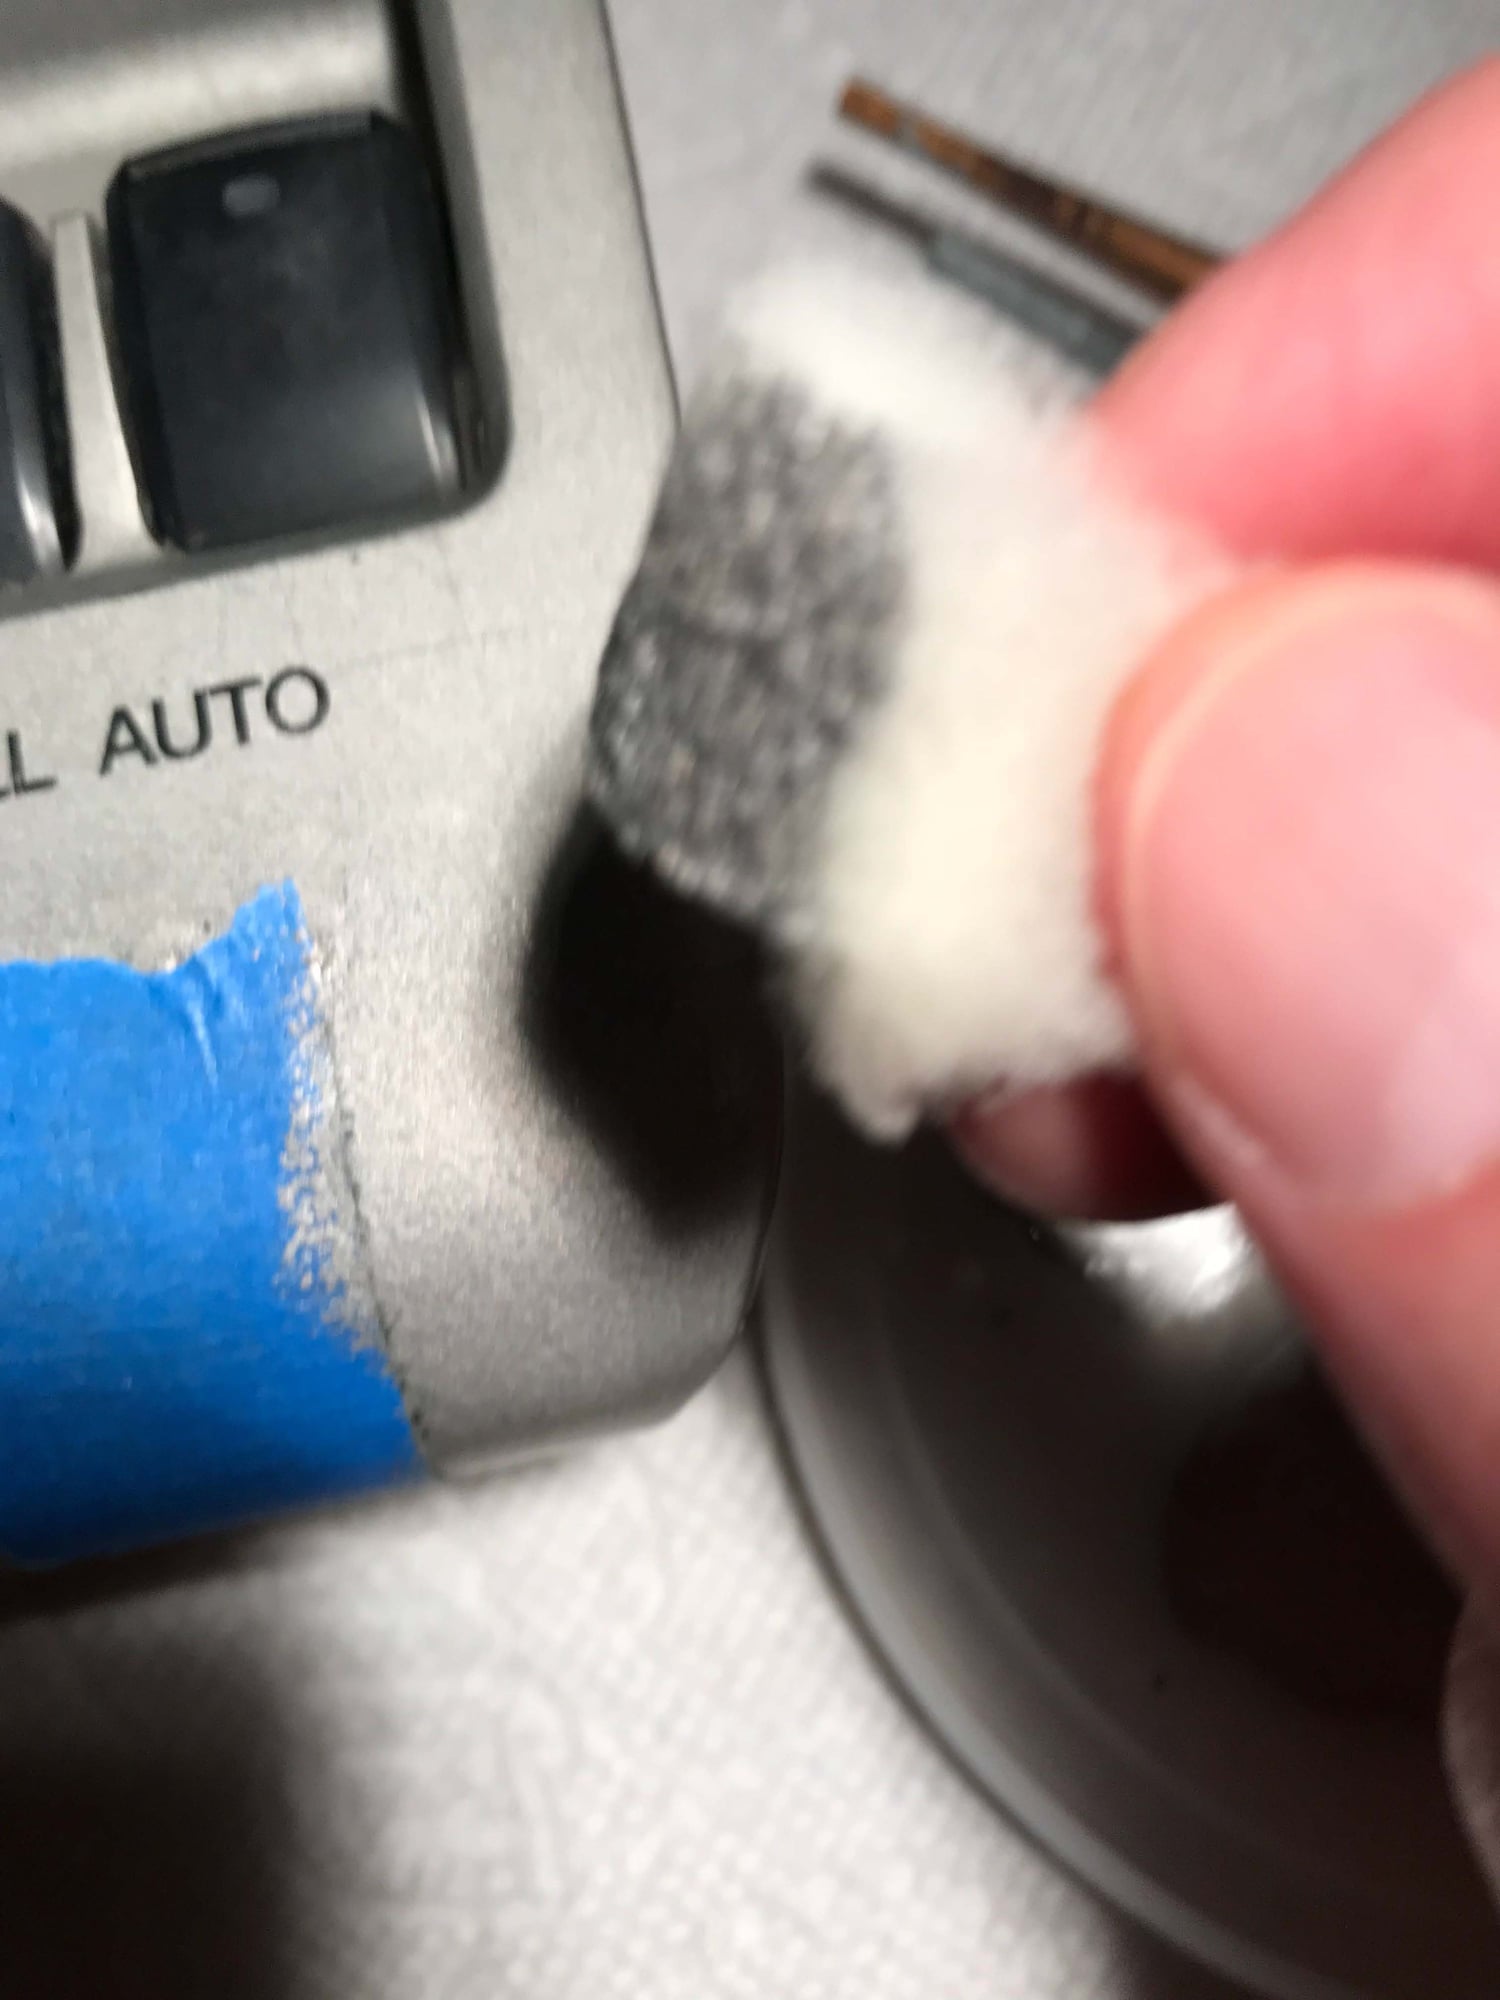
Pretty good match! As mentioned- I did this one quite quickly and was not using it in my RX 330. I only touched up small narrow scratches in my vehicle and it blended in well
Scratched up Interior door switch bezels- Someone else may want to improve upon this but thought I would post. While not perfect- for me it was satisfactory.
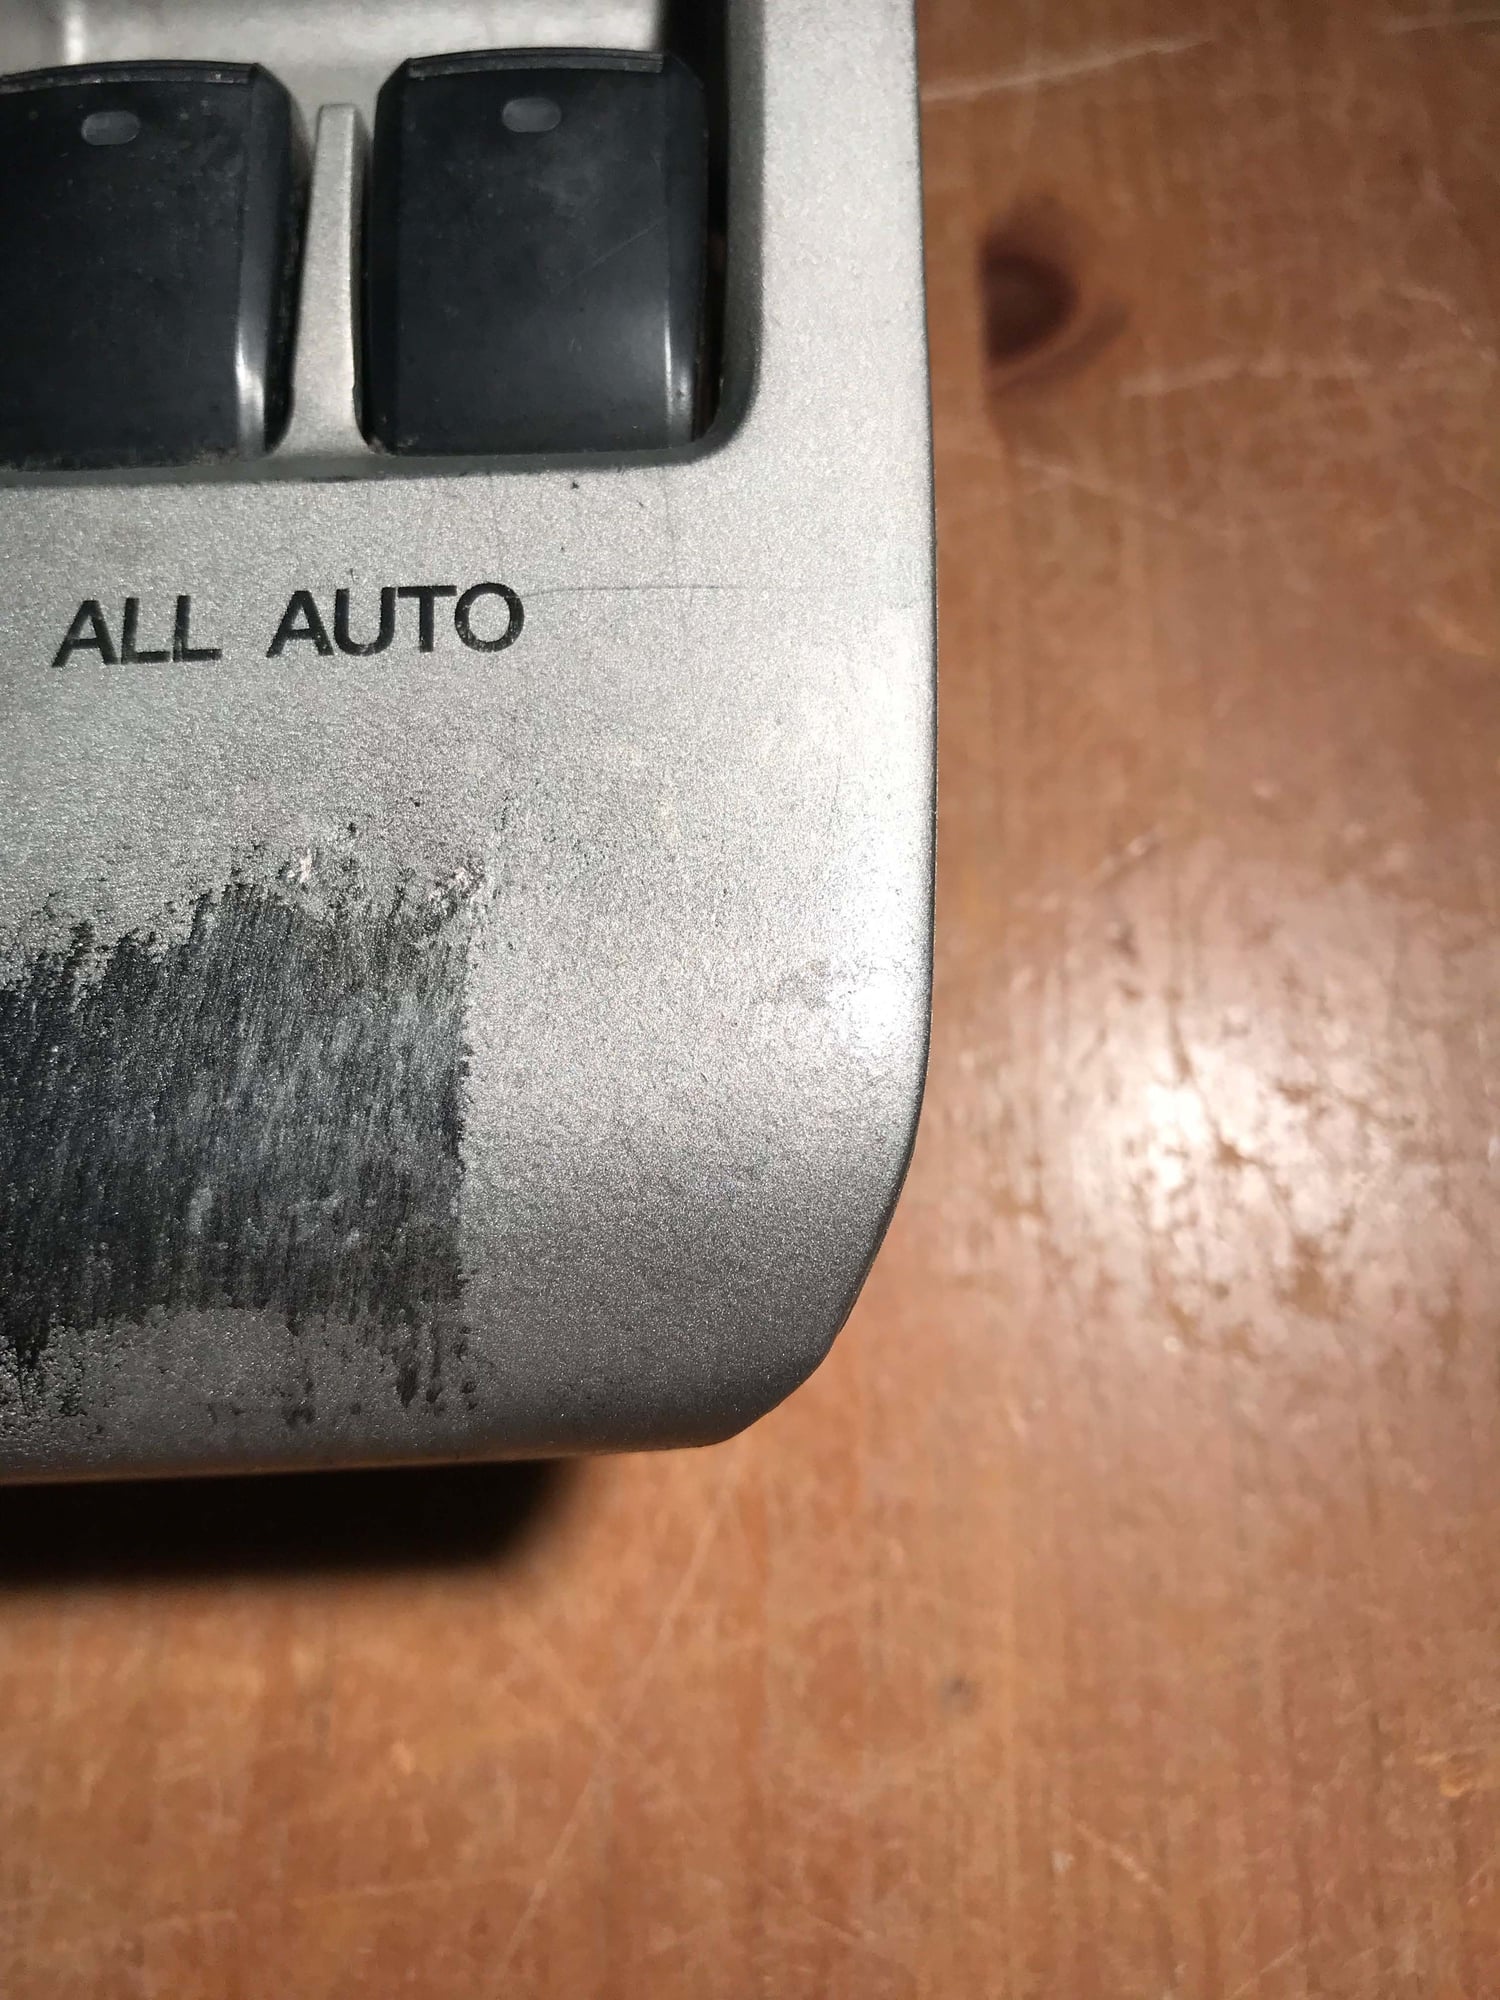
As you may have noticed, many of these from 2004-2006 RX 330’s (and maybe other years) get scratched up or worn from use when the thin layer of paint gets removed. Unfortunately the black plastic underneath is all the more apparent as its set off by the remaining aluminum-bronze type finish.
The plastic bezel can be purchased separately from the VERY expensive door switch and I found them as low as $45 (delivered) for the driver’s side front door (Lexus part # 74240-48140). That’s not too horrible actually- so you may just go that route. Most of the used ones on eBay have scratches of their own
If you just have a few scratched areas however that are eyesores you want to touch up, I found a paint mix that is really cheap, easily done, and with a little patience will give you acceptable results.. Here are the basics and pics are attached
* First, purchase Testor’s enamel Model paint, 1 bottle Flat Aluminum and 1 bottle Flat Brass. (this will cost you about $1.79 each from Hobby Lobby). See pic for exact specs.
*Shake each well
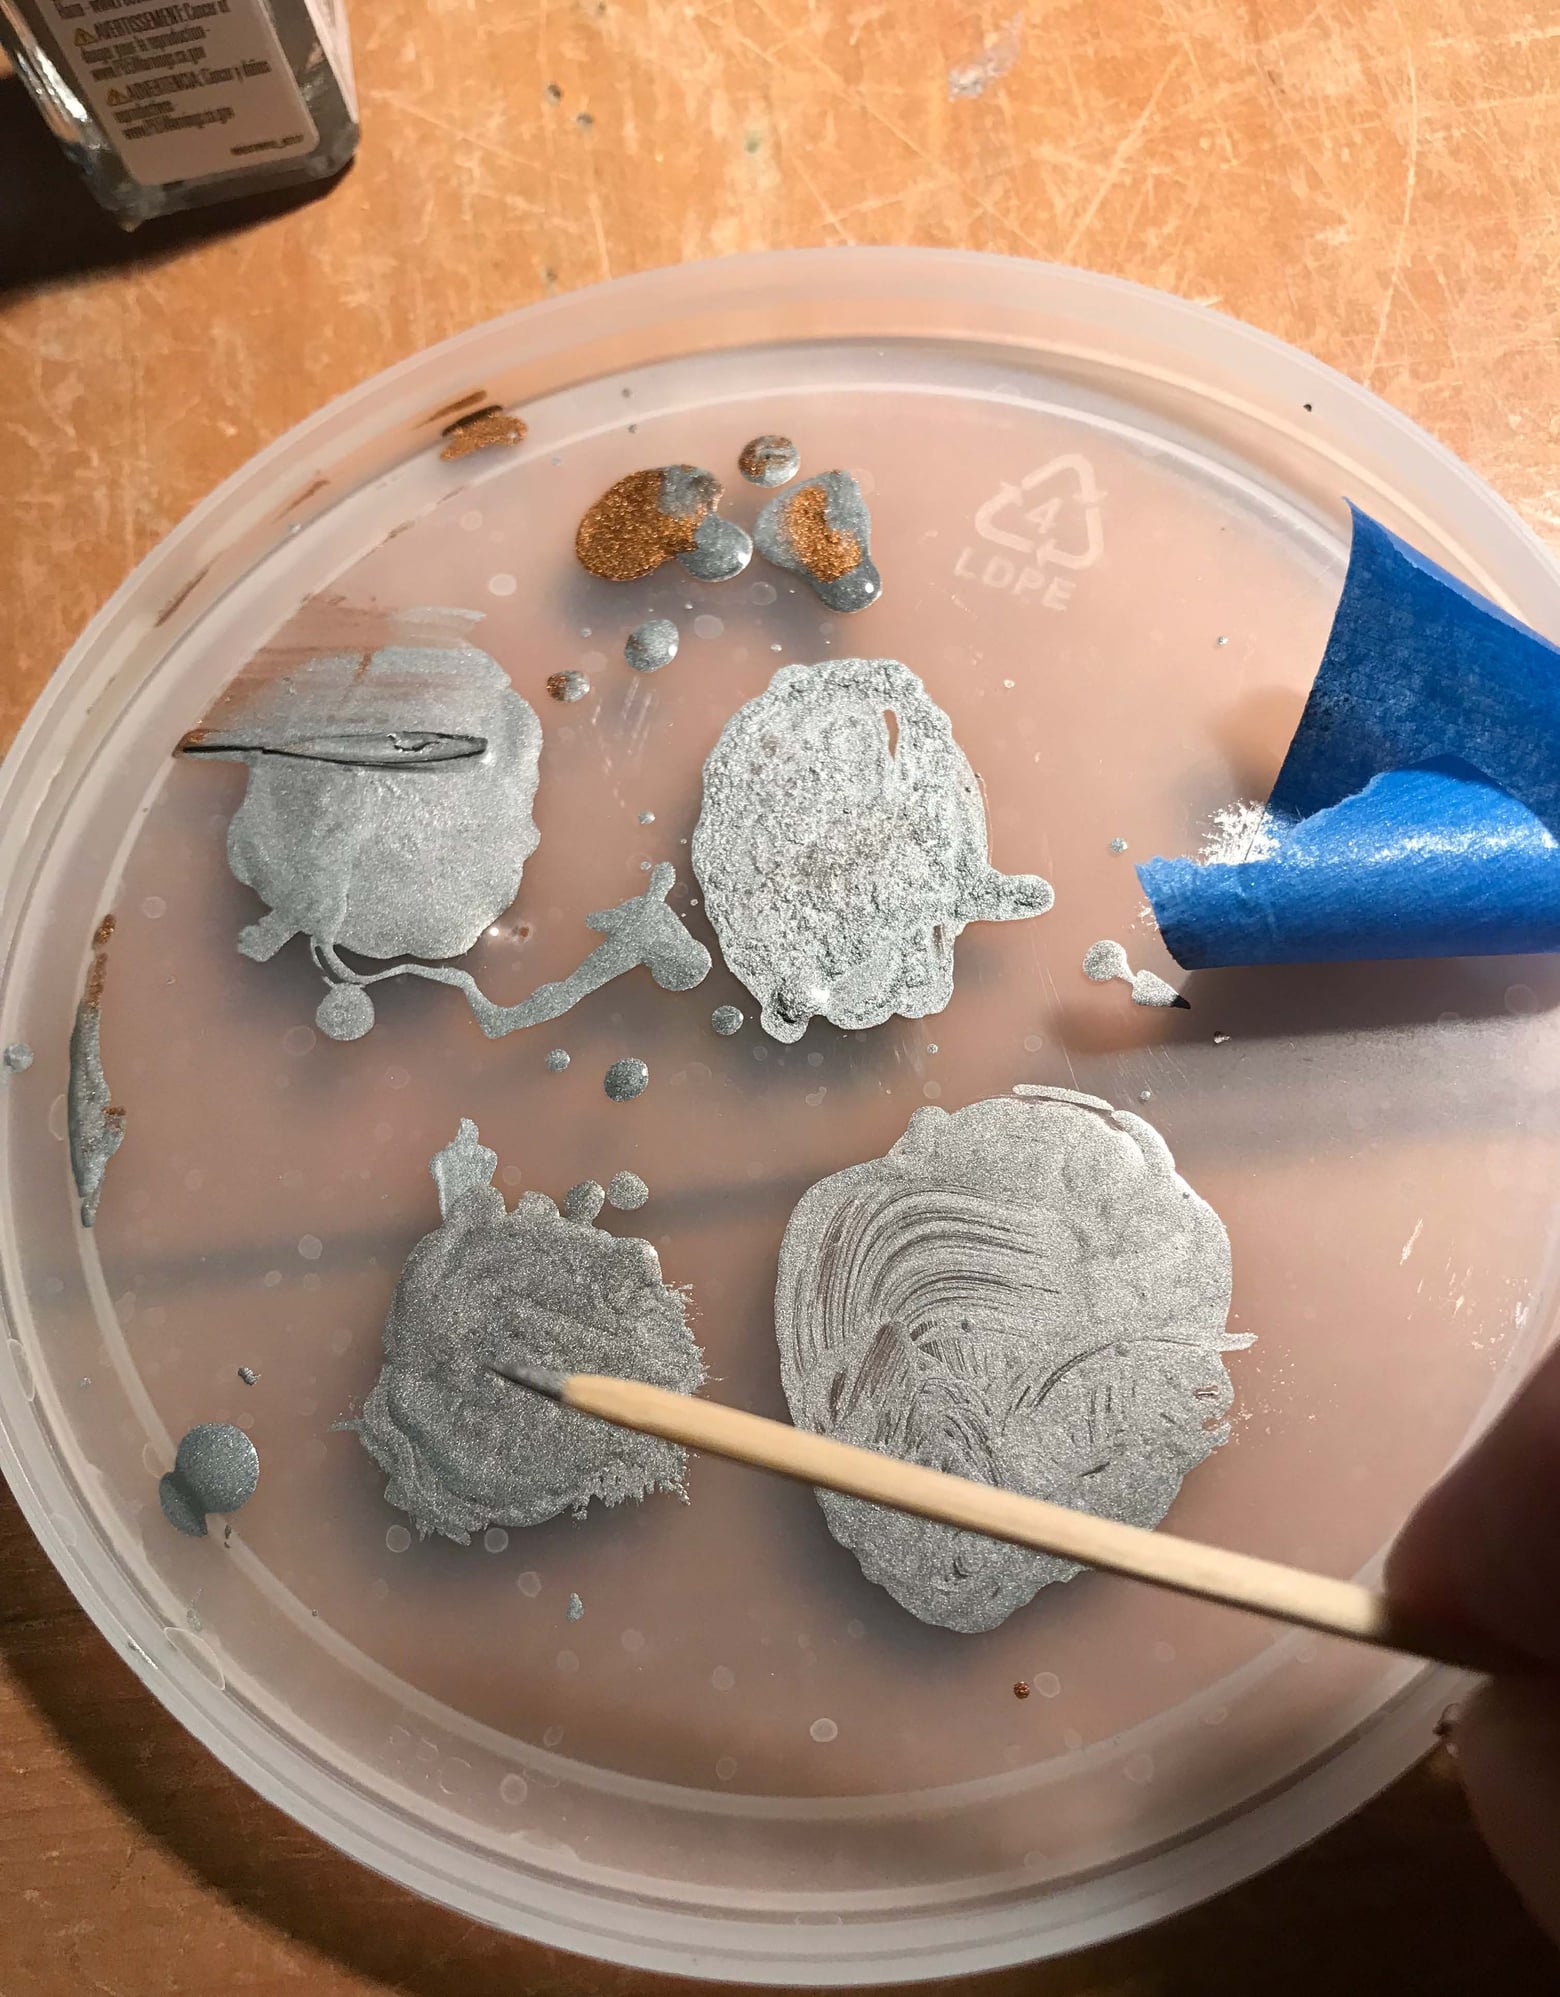
* Mix the paint 3:1 Aluminum:Brass color. I just used some disposable plastic pipettes I had and made it 3 drops Aluminum paint to 1 drop Brass paint. I used a plastic lid as a pallet and recommend small wooden kabob skewers or toothpicks to mix thoroughly (helpful later as well).
* Once mixed, you can test small areas underneath the switch if you remove it (easily done) to make sure your color is a good match but I found the 3:1 to be awfully close. See attached pics.
* Once a satisfactory match is made the wooden toothpick or skewer pointed end and be used to apply the paint in a thin line to fine scratches down to the black plastic. For larger areas you can dab on with something like a piece of fine sponge. I put some painter’s tape on the switch bezel to show the difference- again, I was not using this one on my vehicle and did this fairly quickly (one Coat)
* Note, the switch I used for demo pics had a very large bad area as well as some cigarette burns so was ultimately not used in my vehicle but does give you a sense of the match up. This all worked well on the switches in my car that had annoying scratches on them.
****WARNING!!***: DO NOT USE PAINT THINNER OR “GOOF OFF” type solvents to clean up or re-do areas- it will easily remove the factory finish on the switches along with any paint you apply!!
Hope some of you find this useful. It is cheap and easy enough to try. Go for it and let me know!
Thread
Thread Starter
Forum
Replies
Last Post
a11179a
IS - 3rd Gen (2014-present)
16
11-28-17 06:10 PM
Sodium
GS - 3rd Gen (2006-2011)
3
05-24-17 07:11 PM


