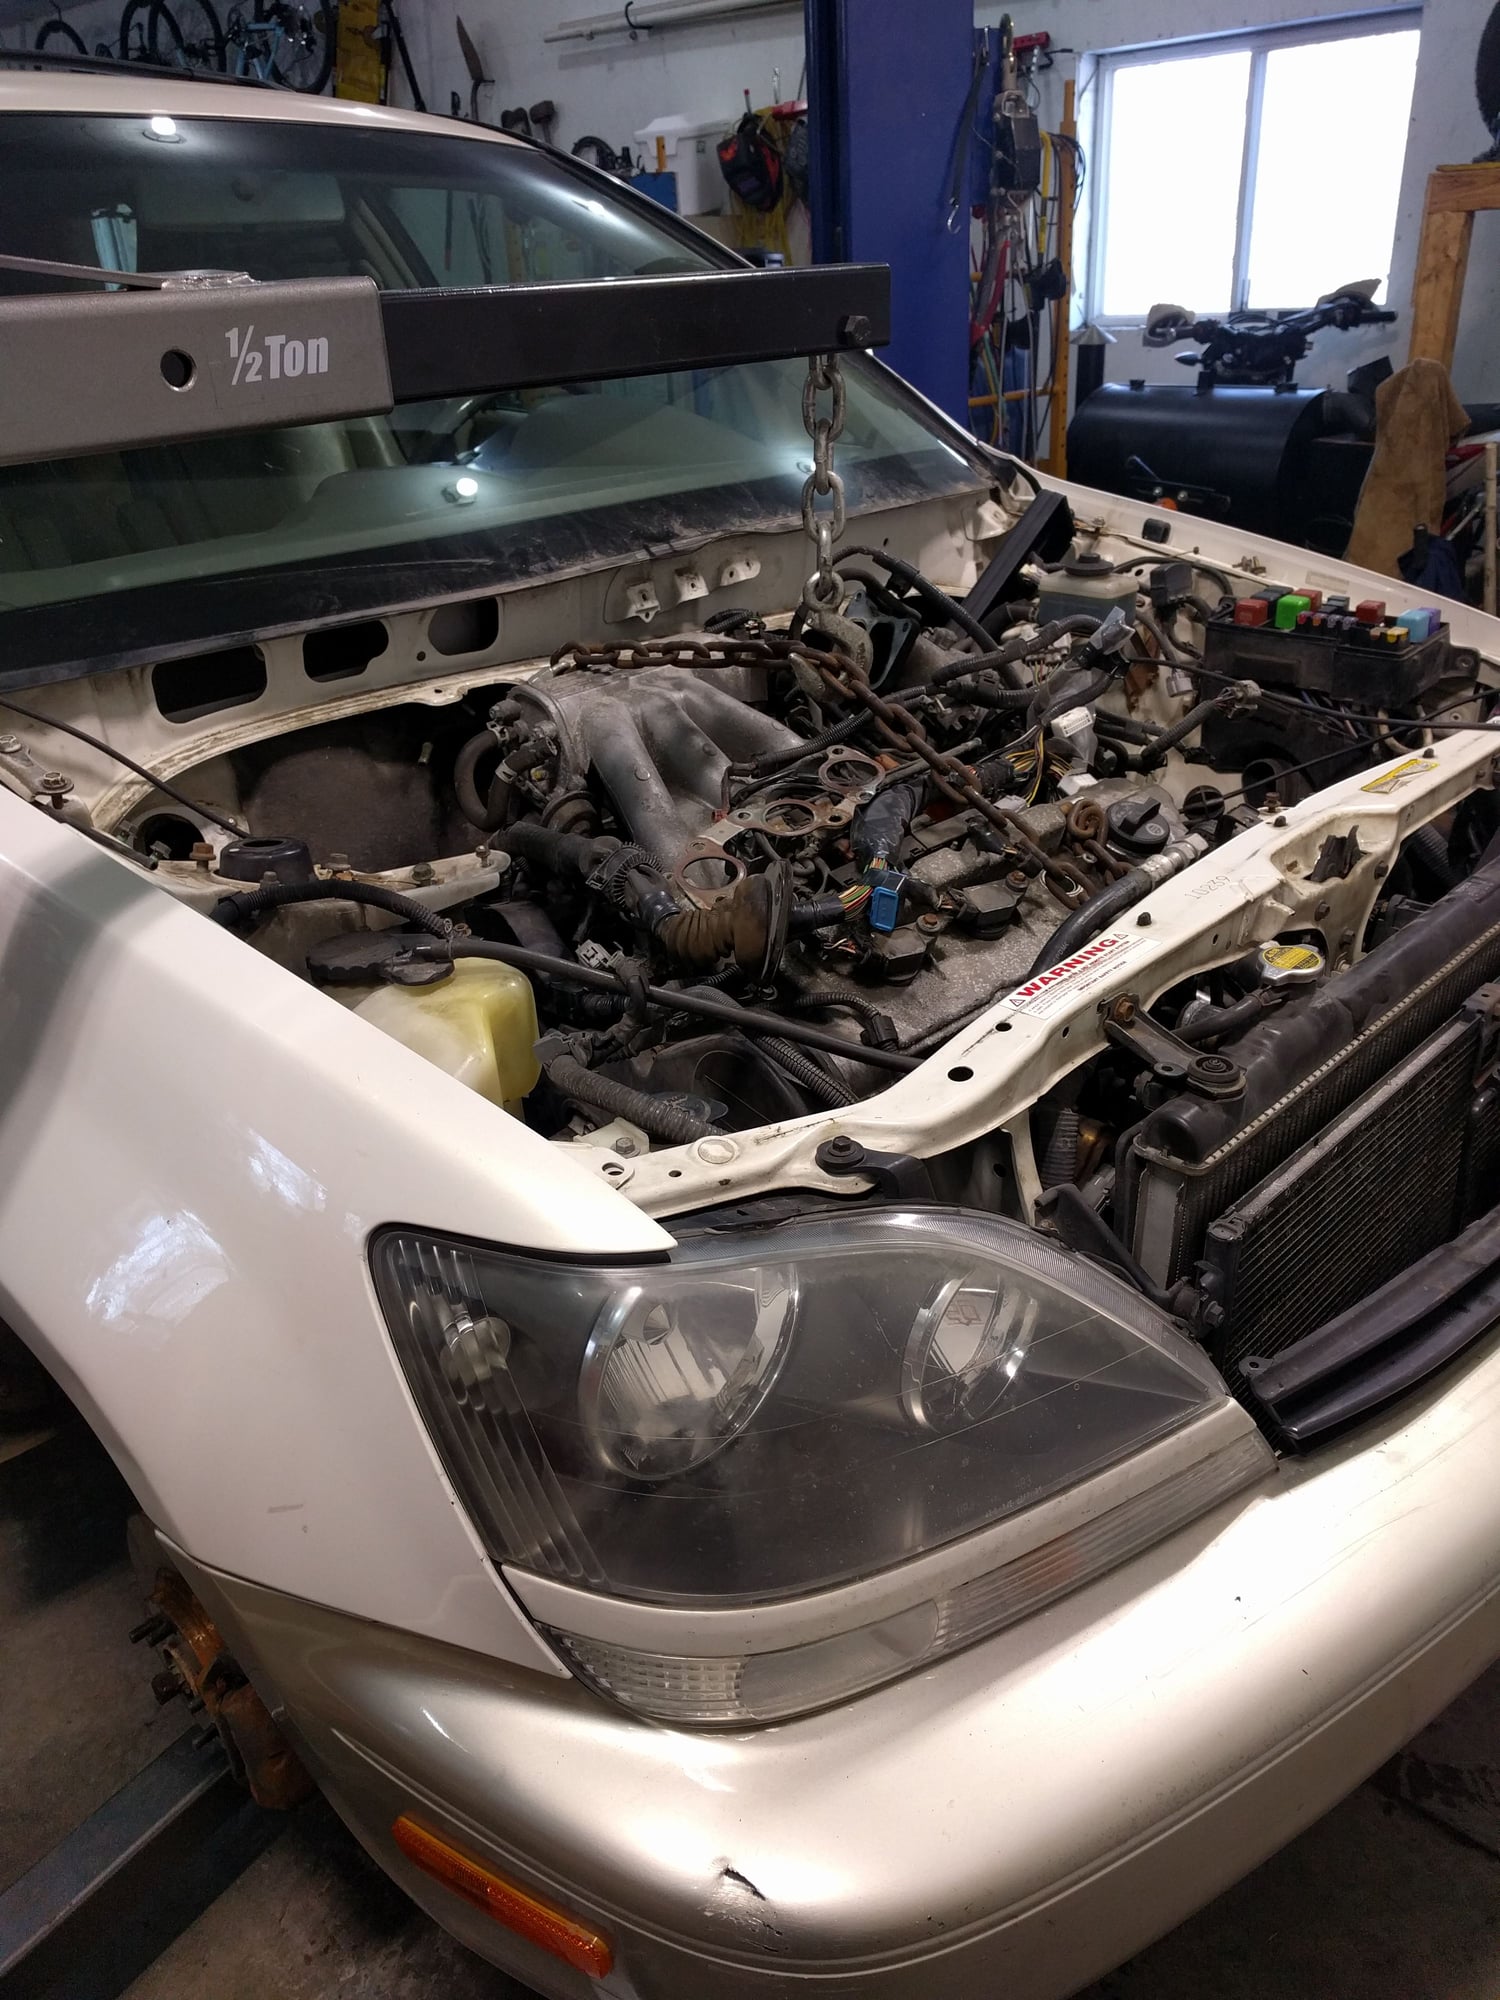
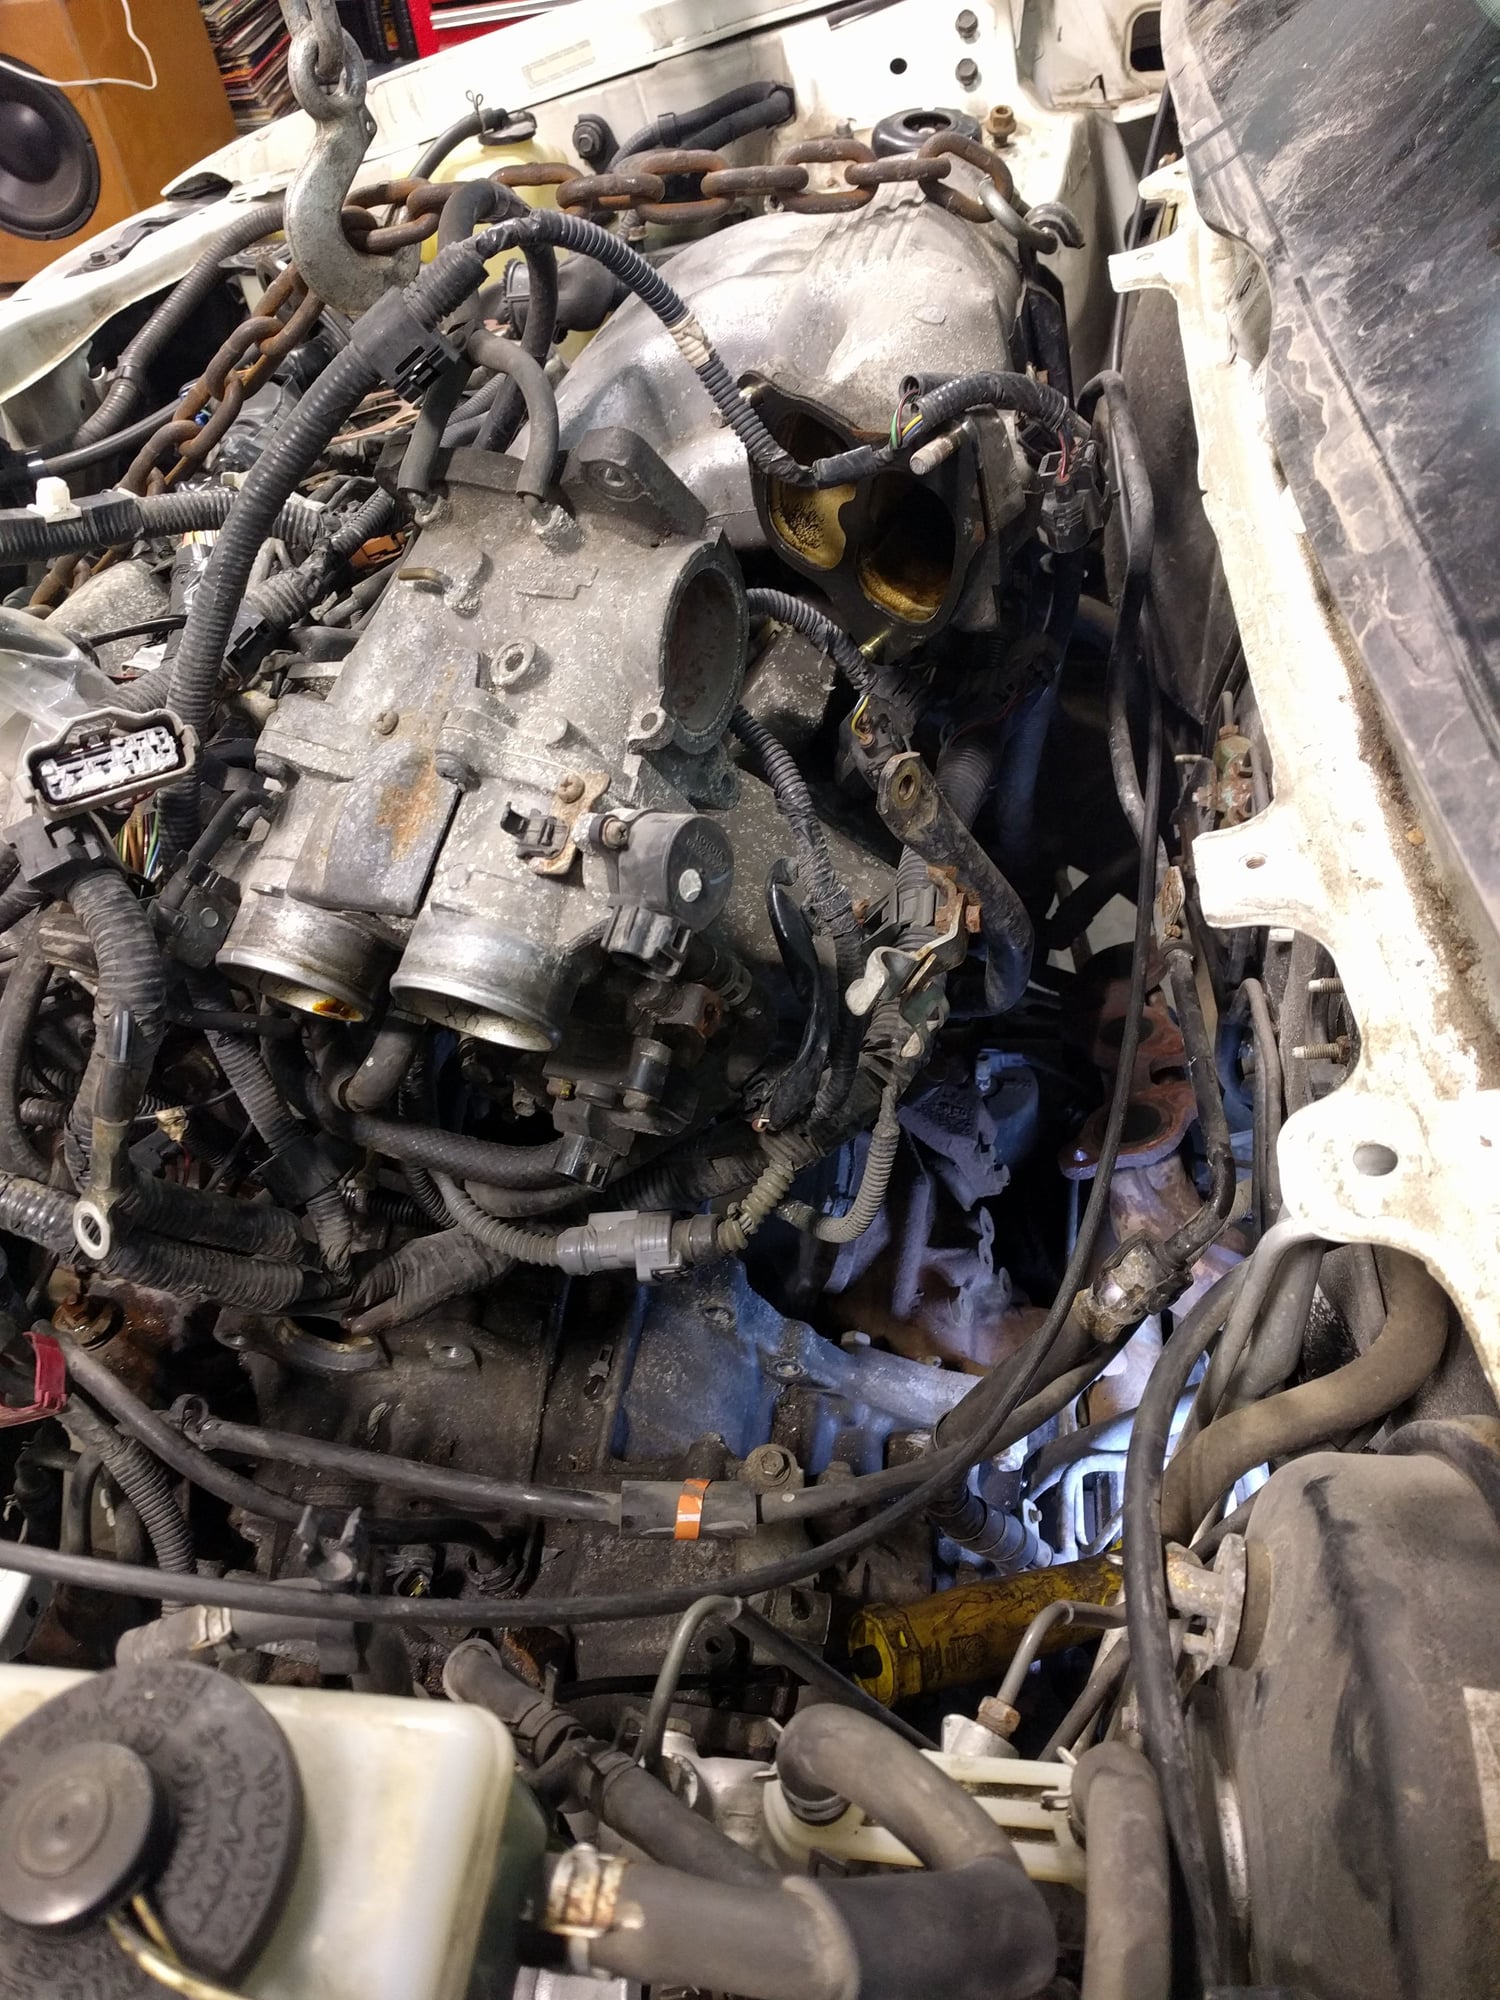
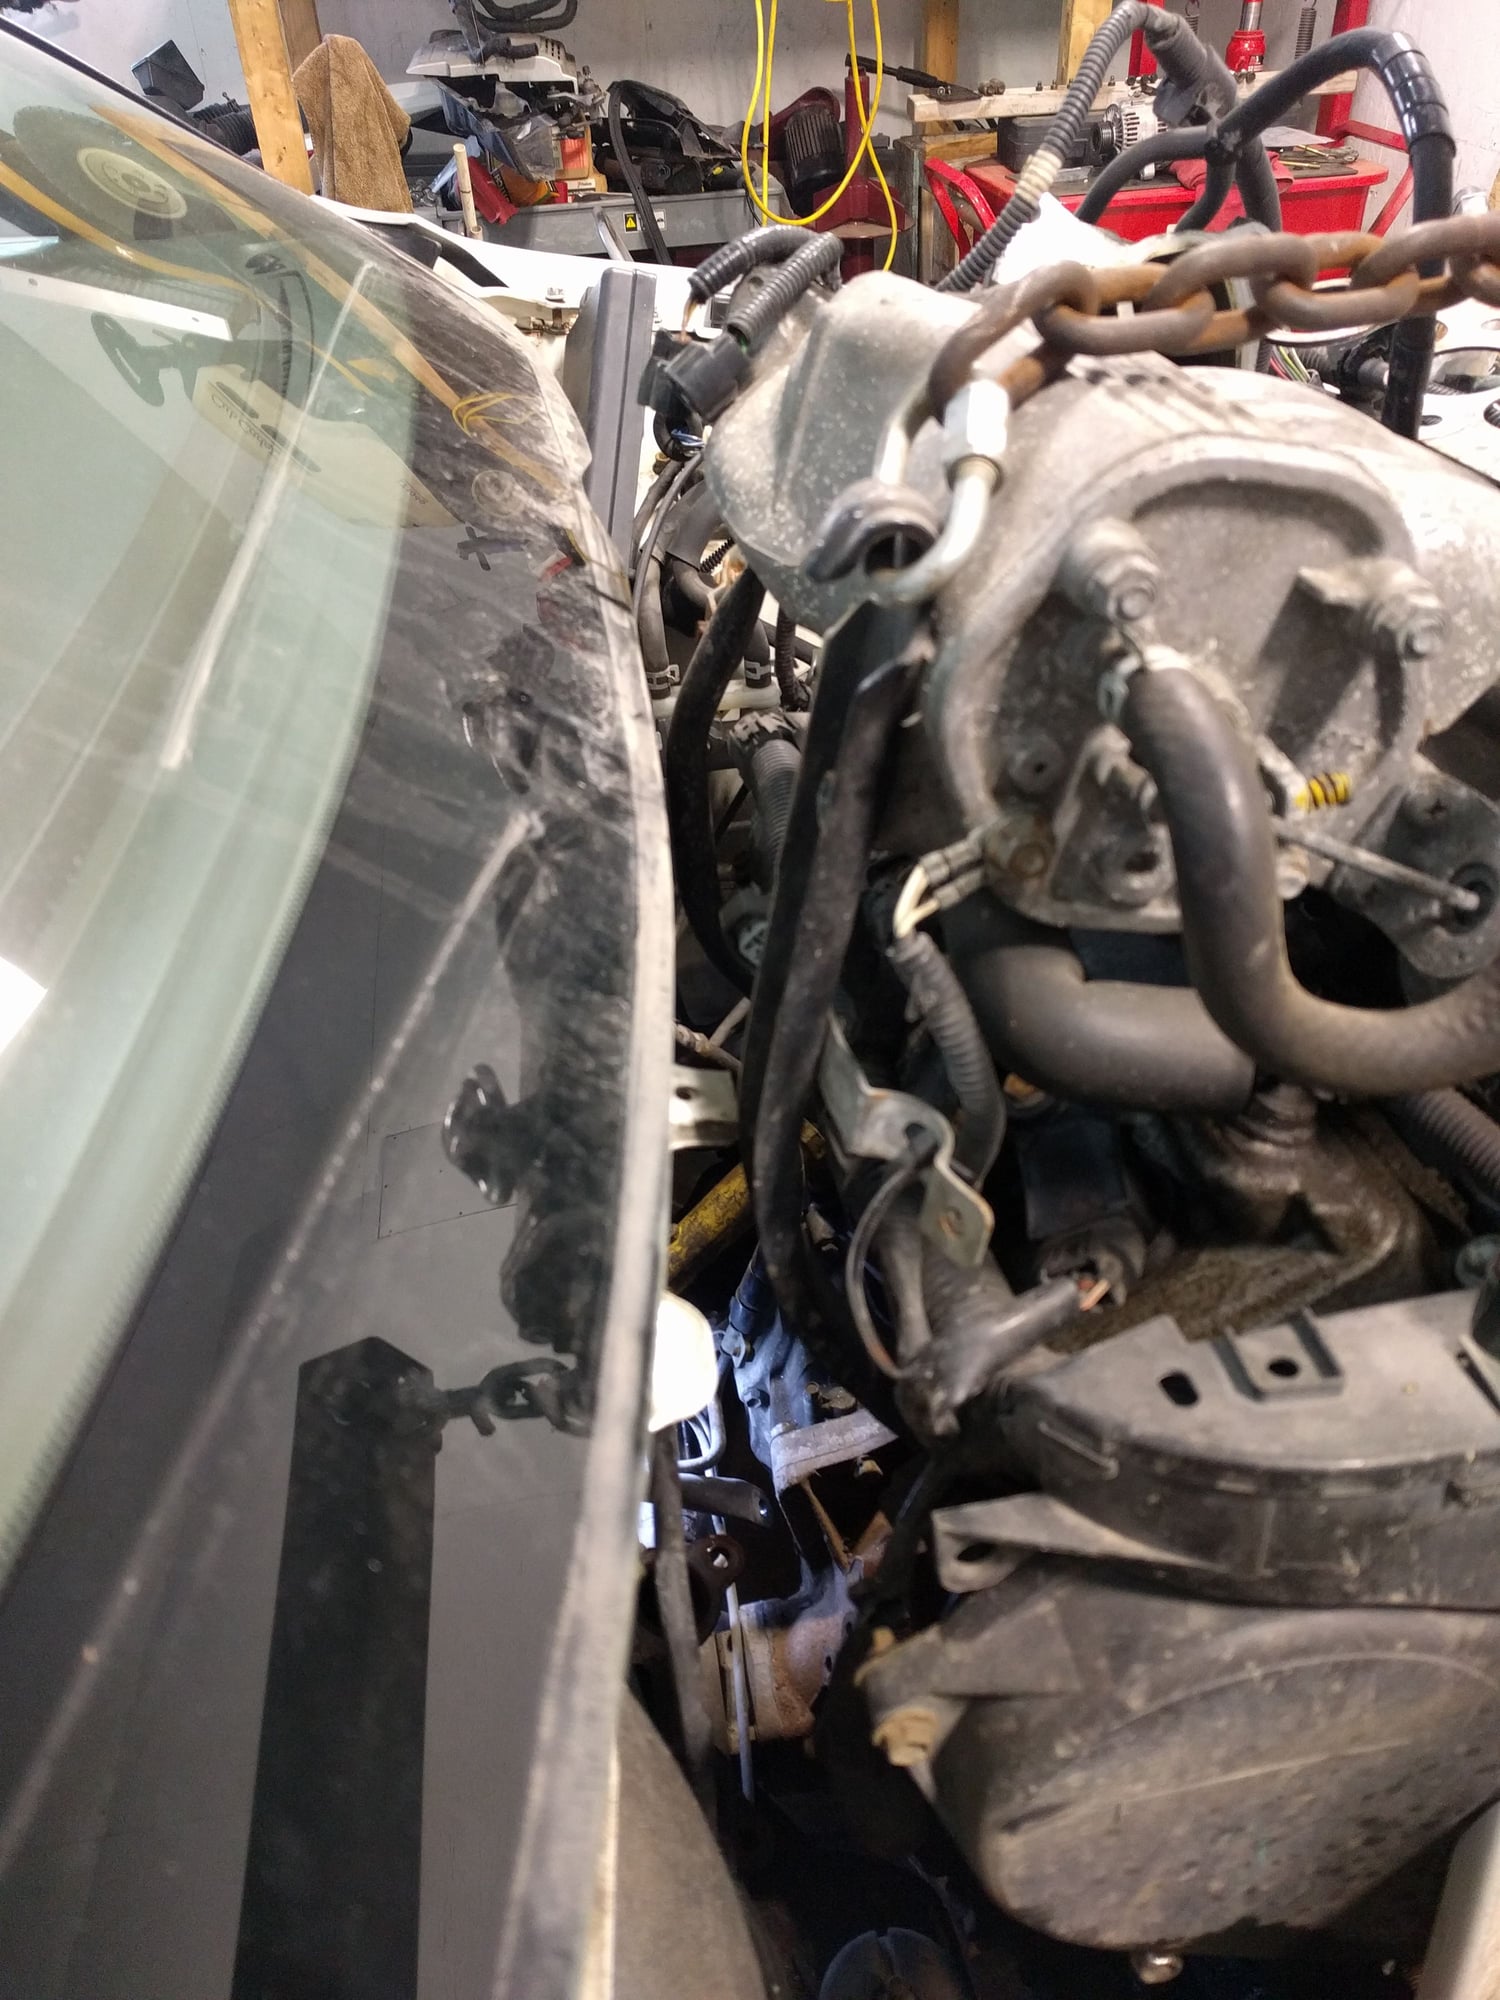
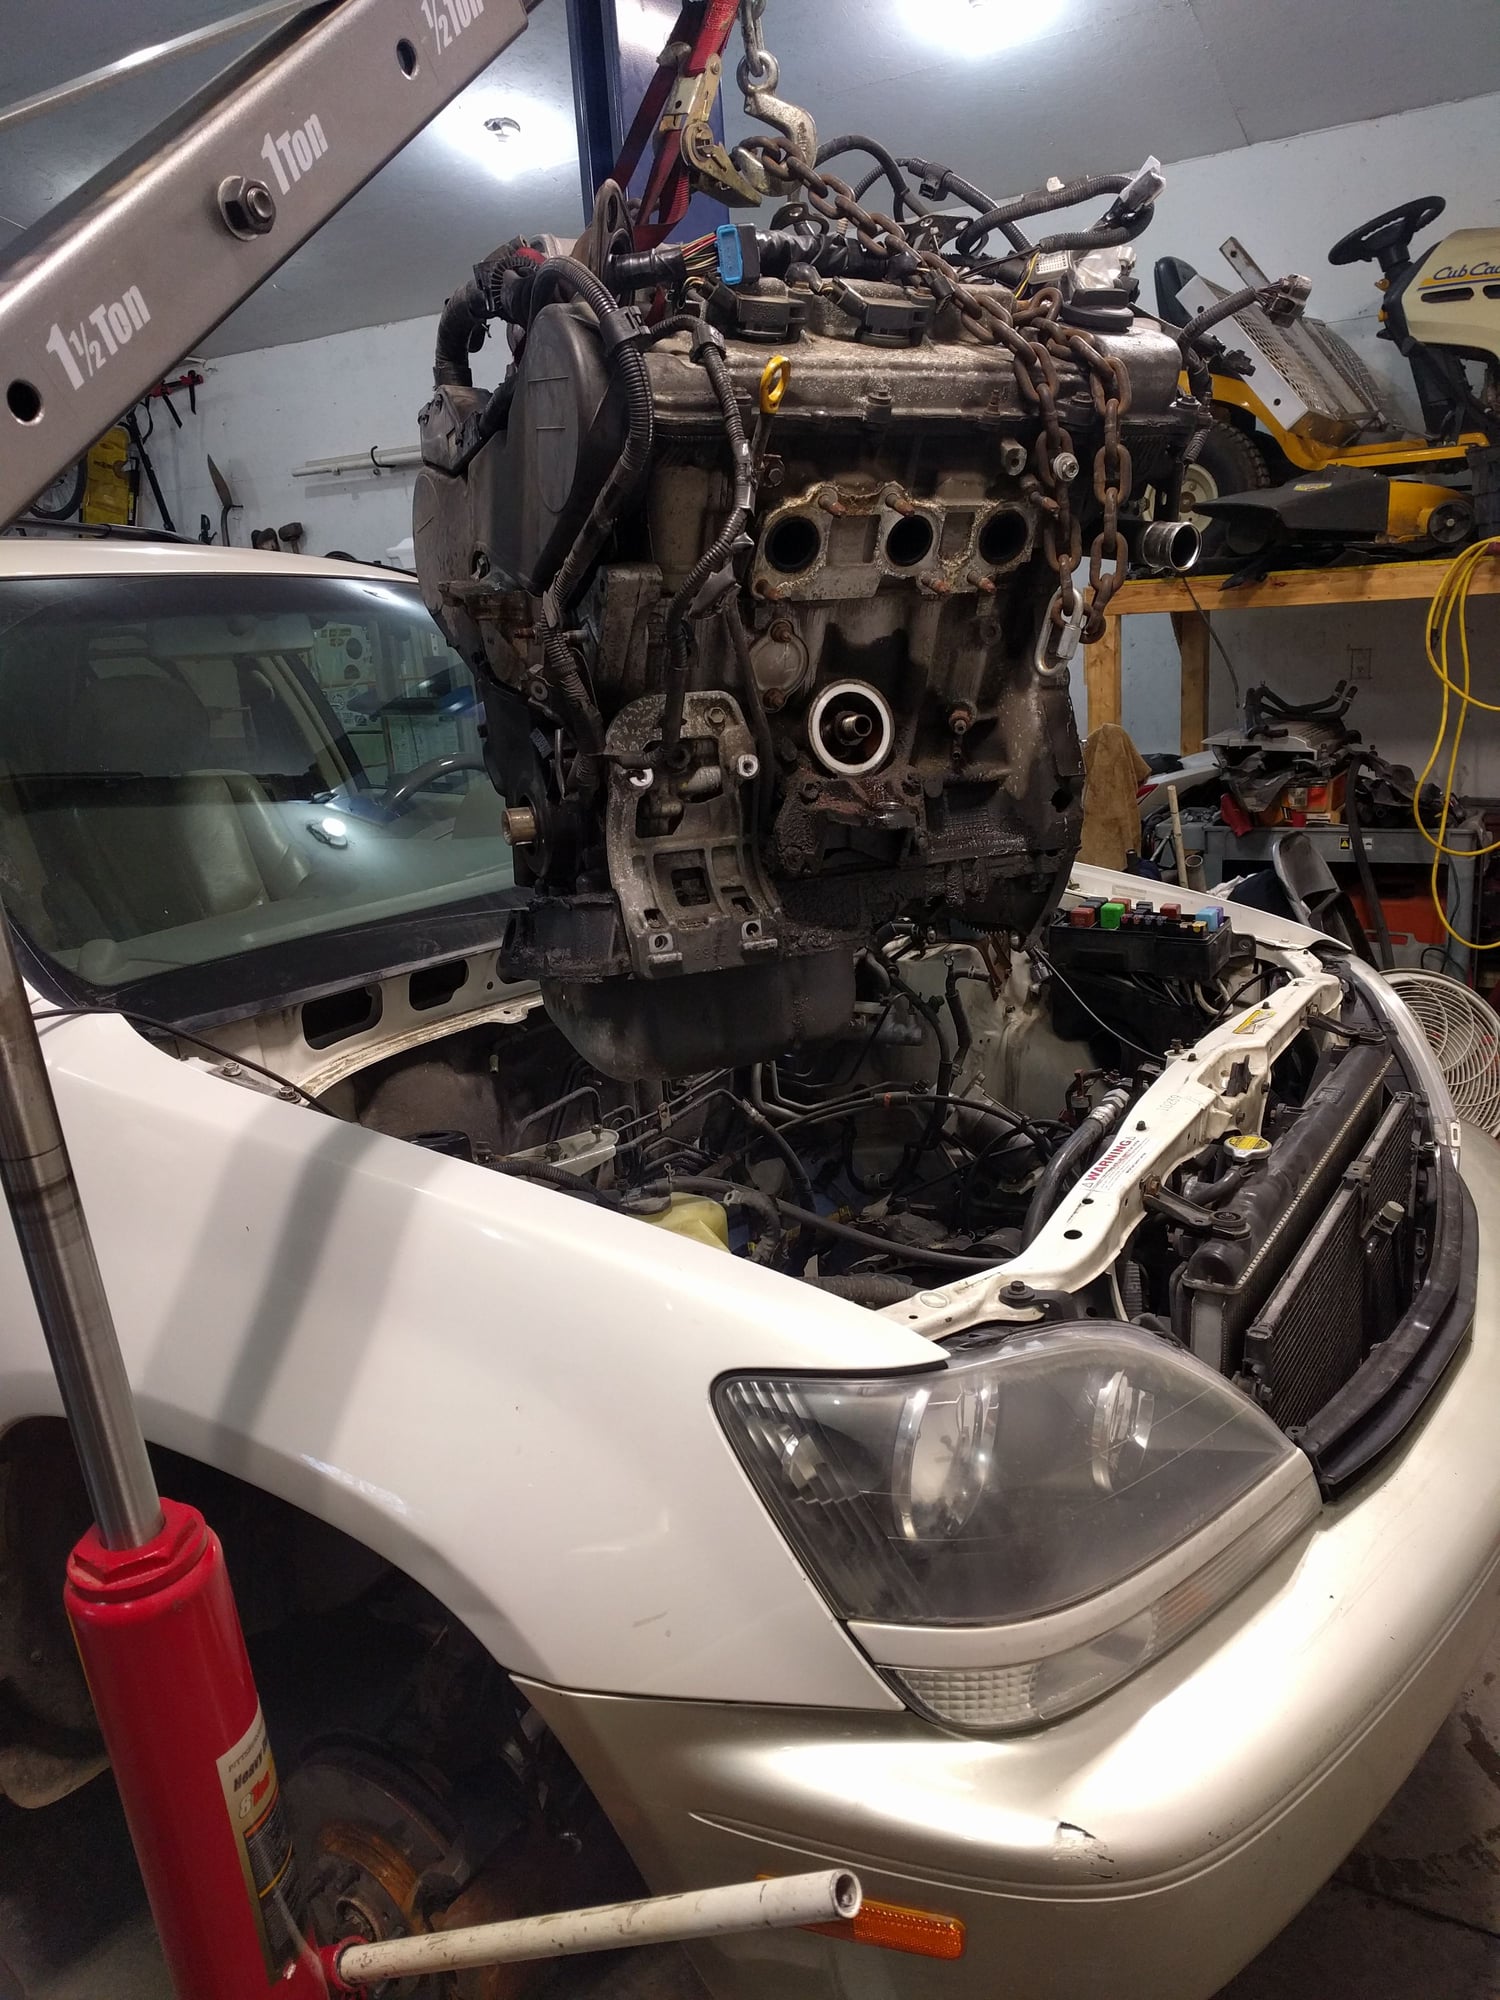
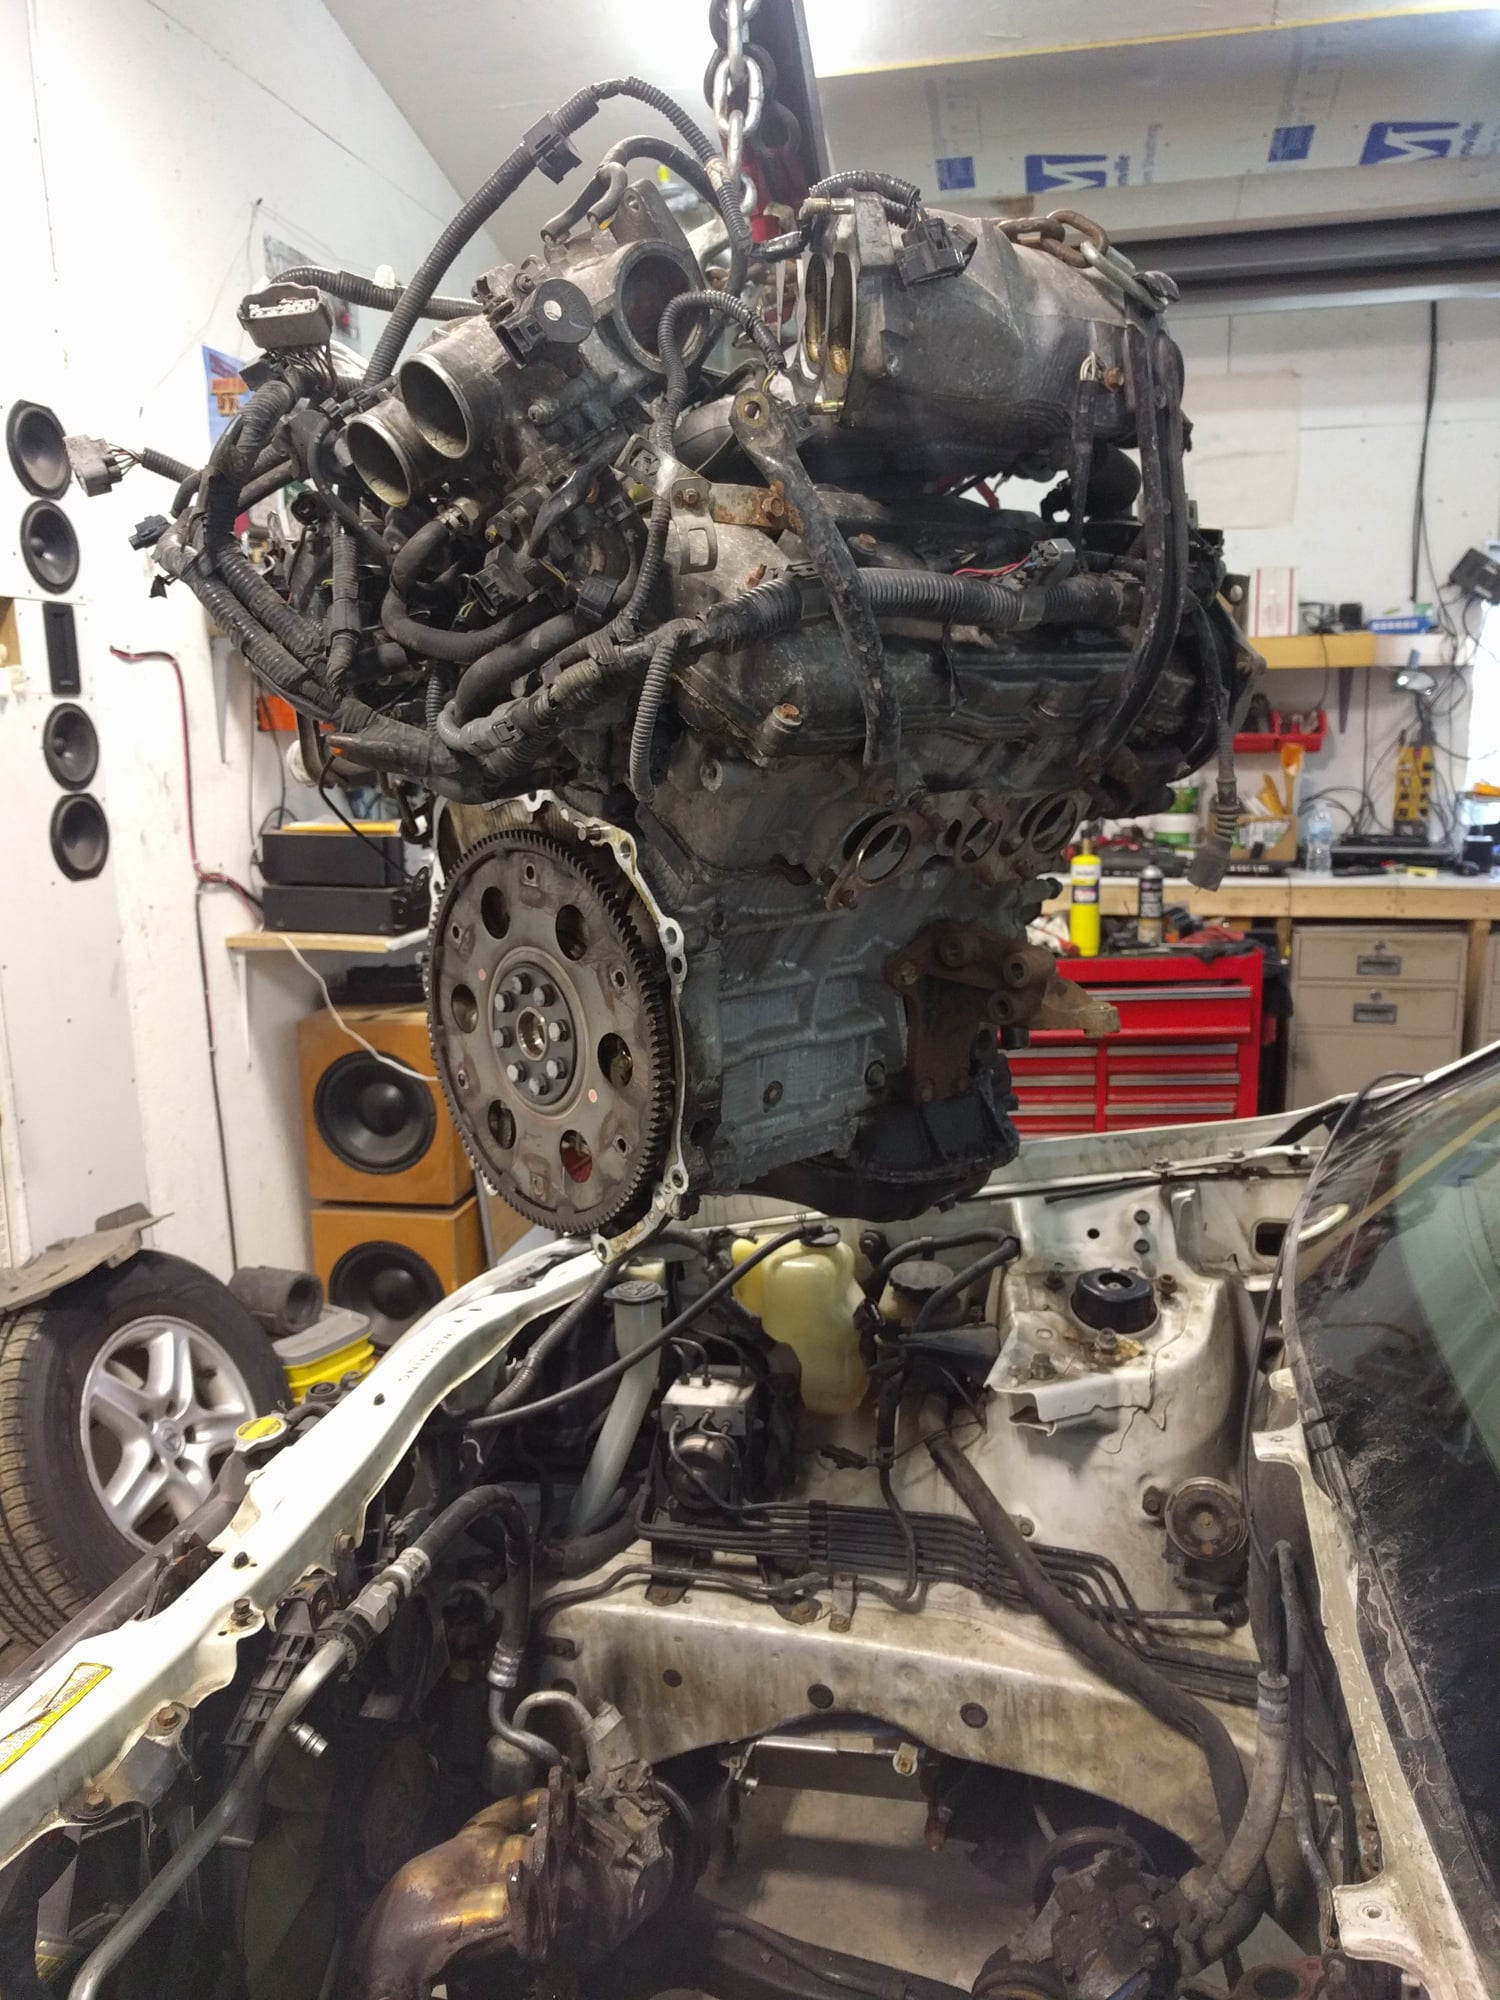
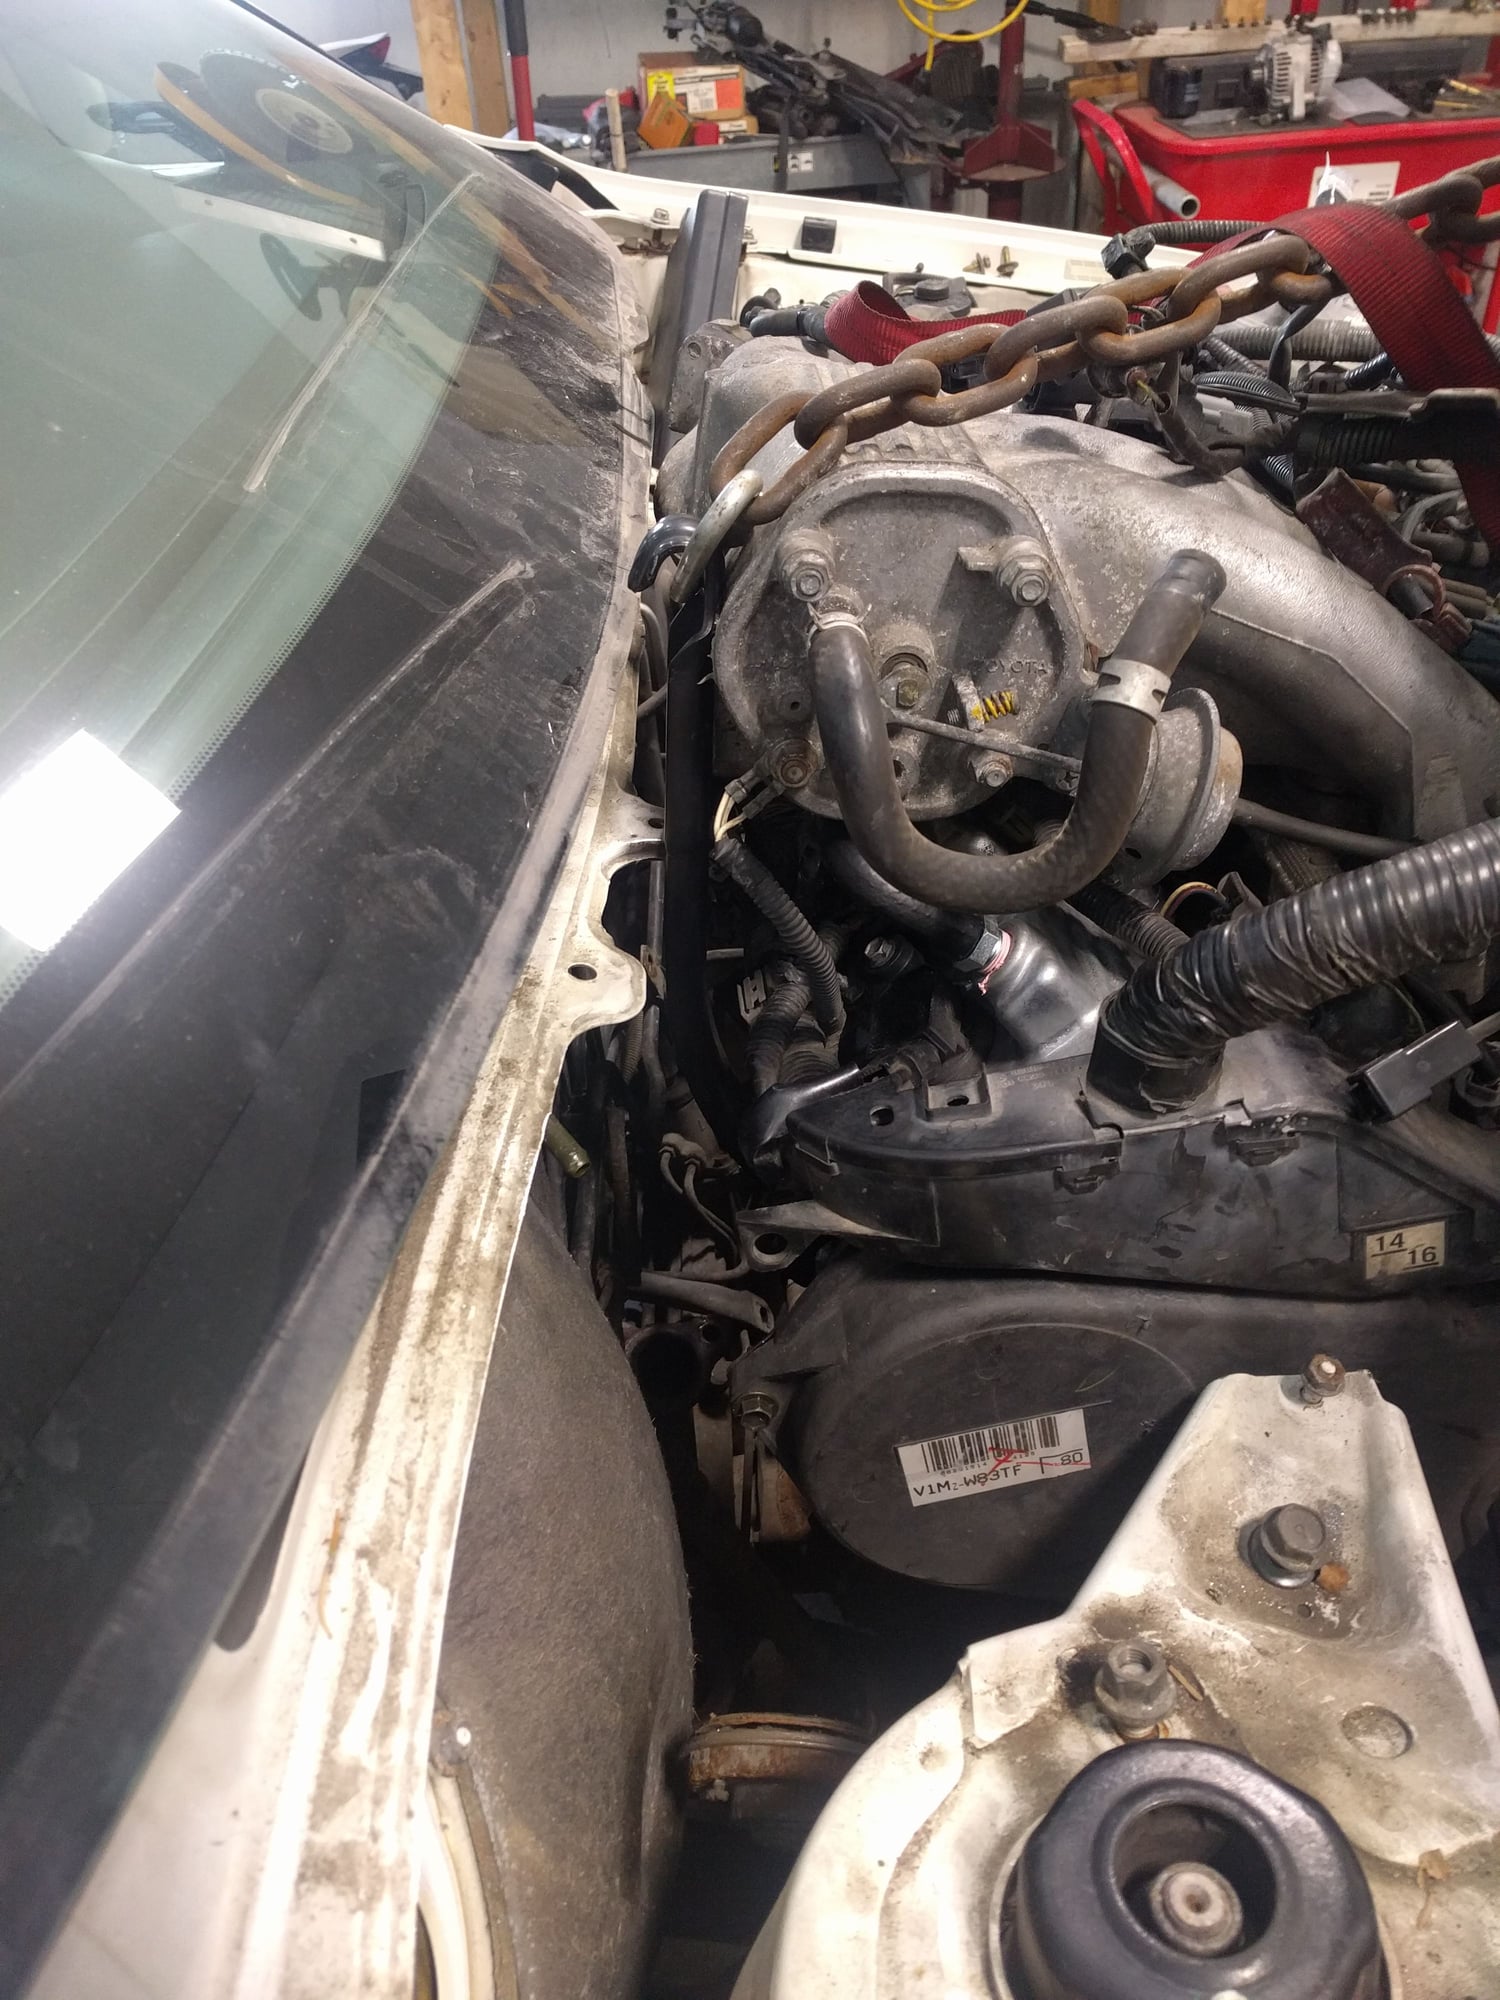
Successful engine pull from top
#1
Rookie
Thread Starter
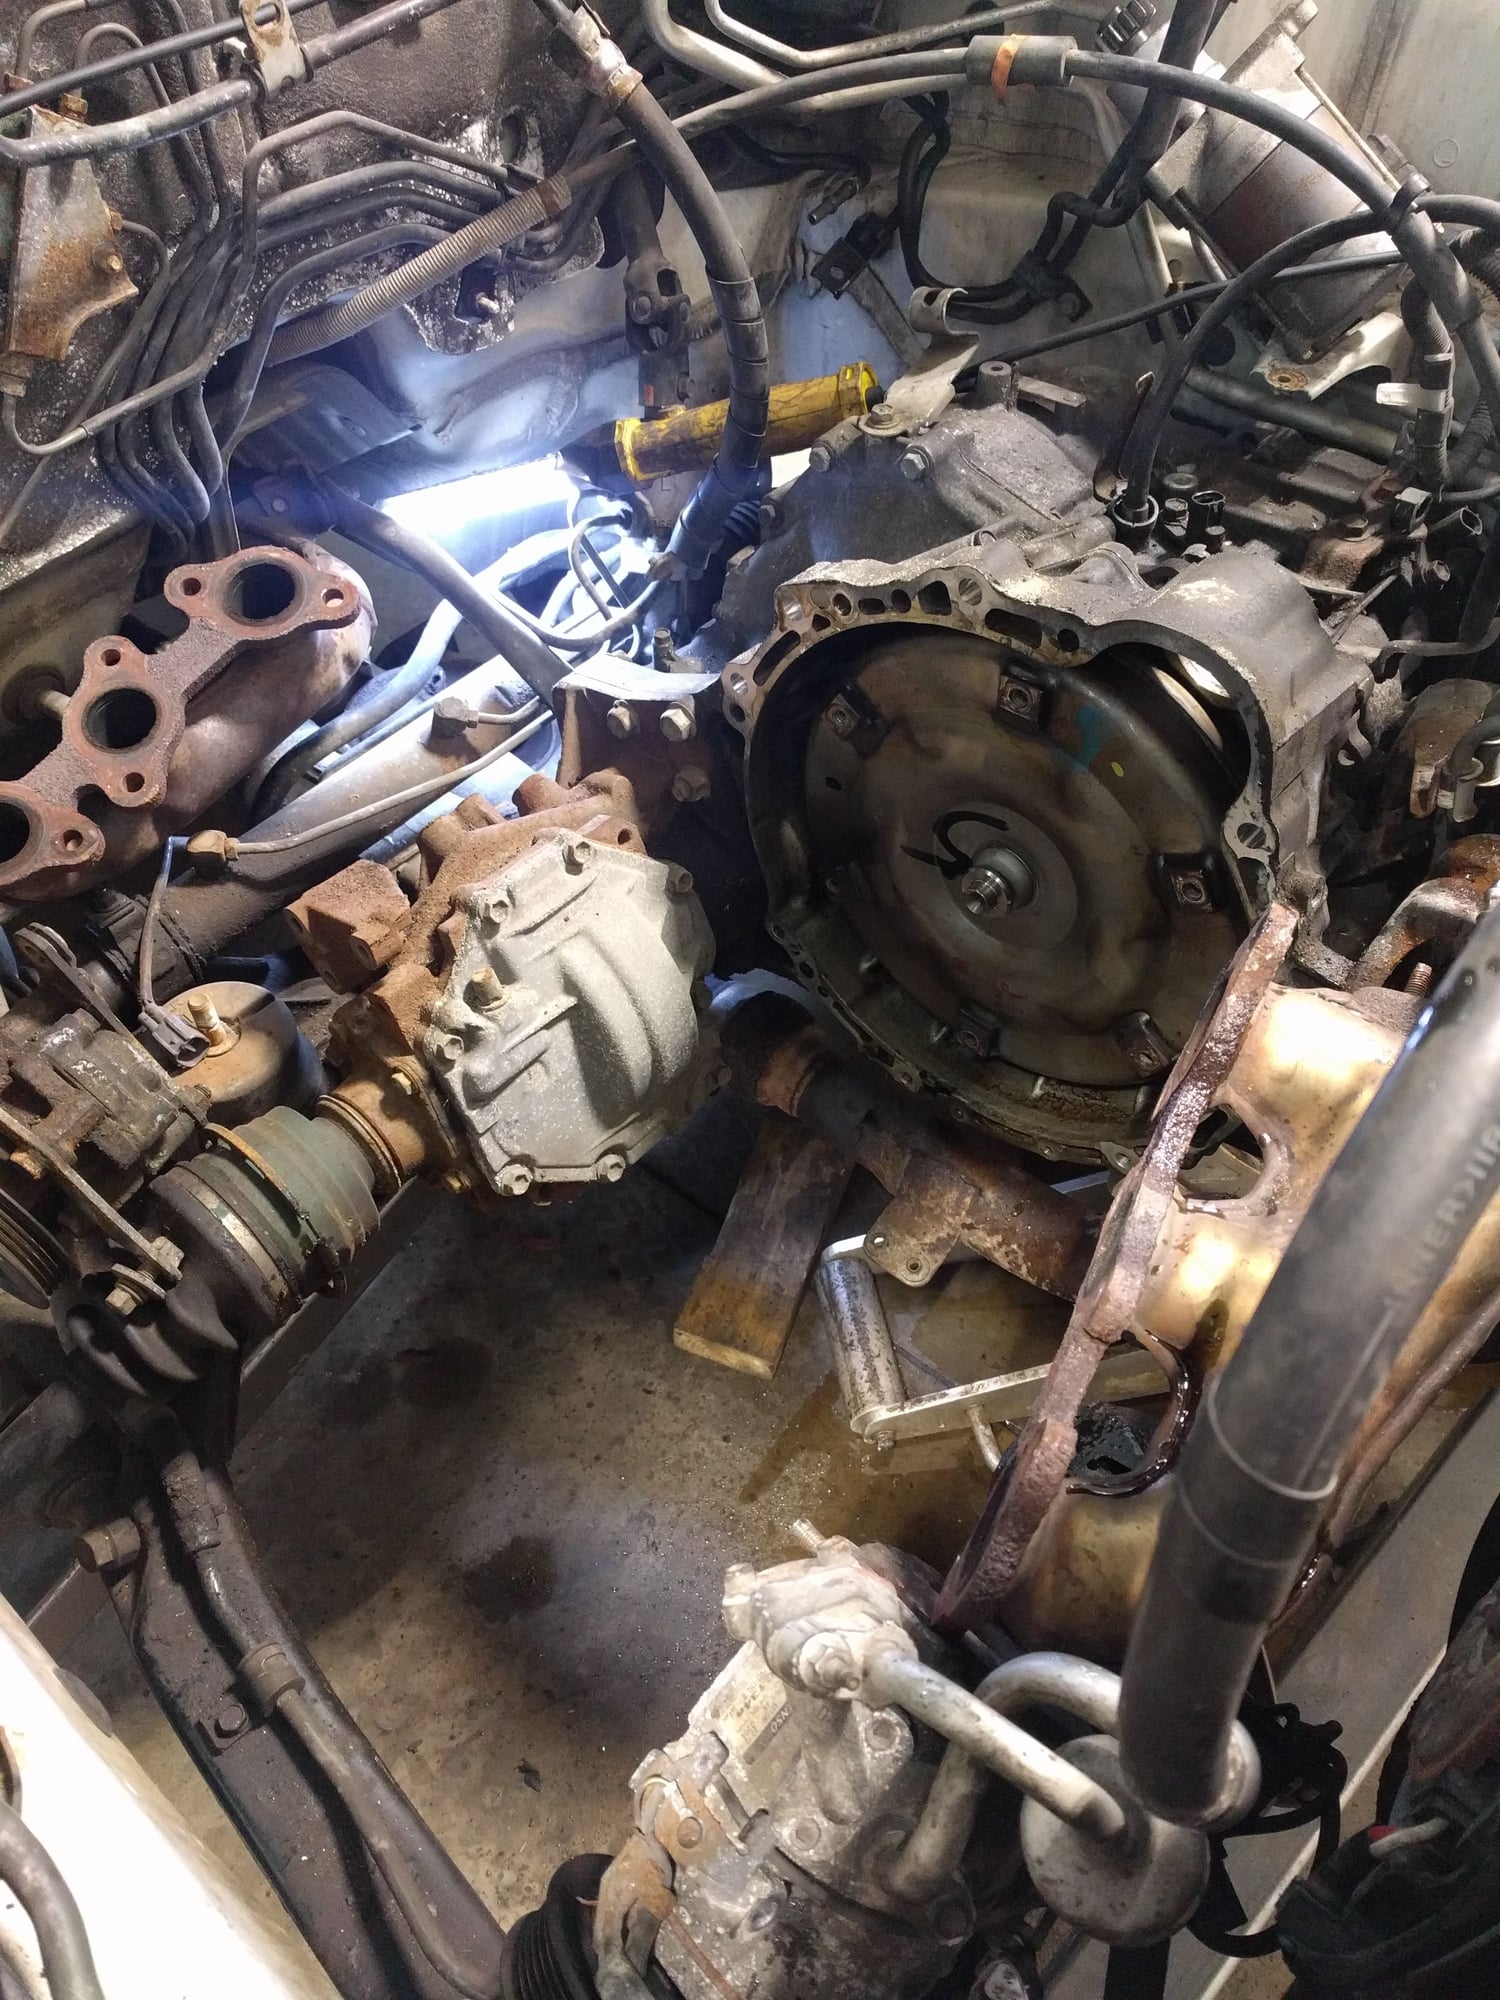
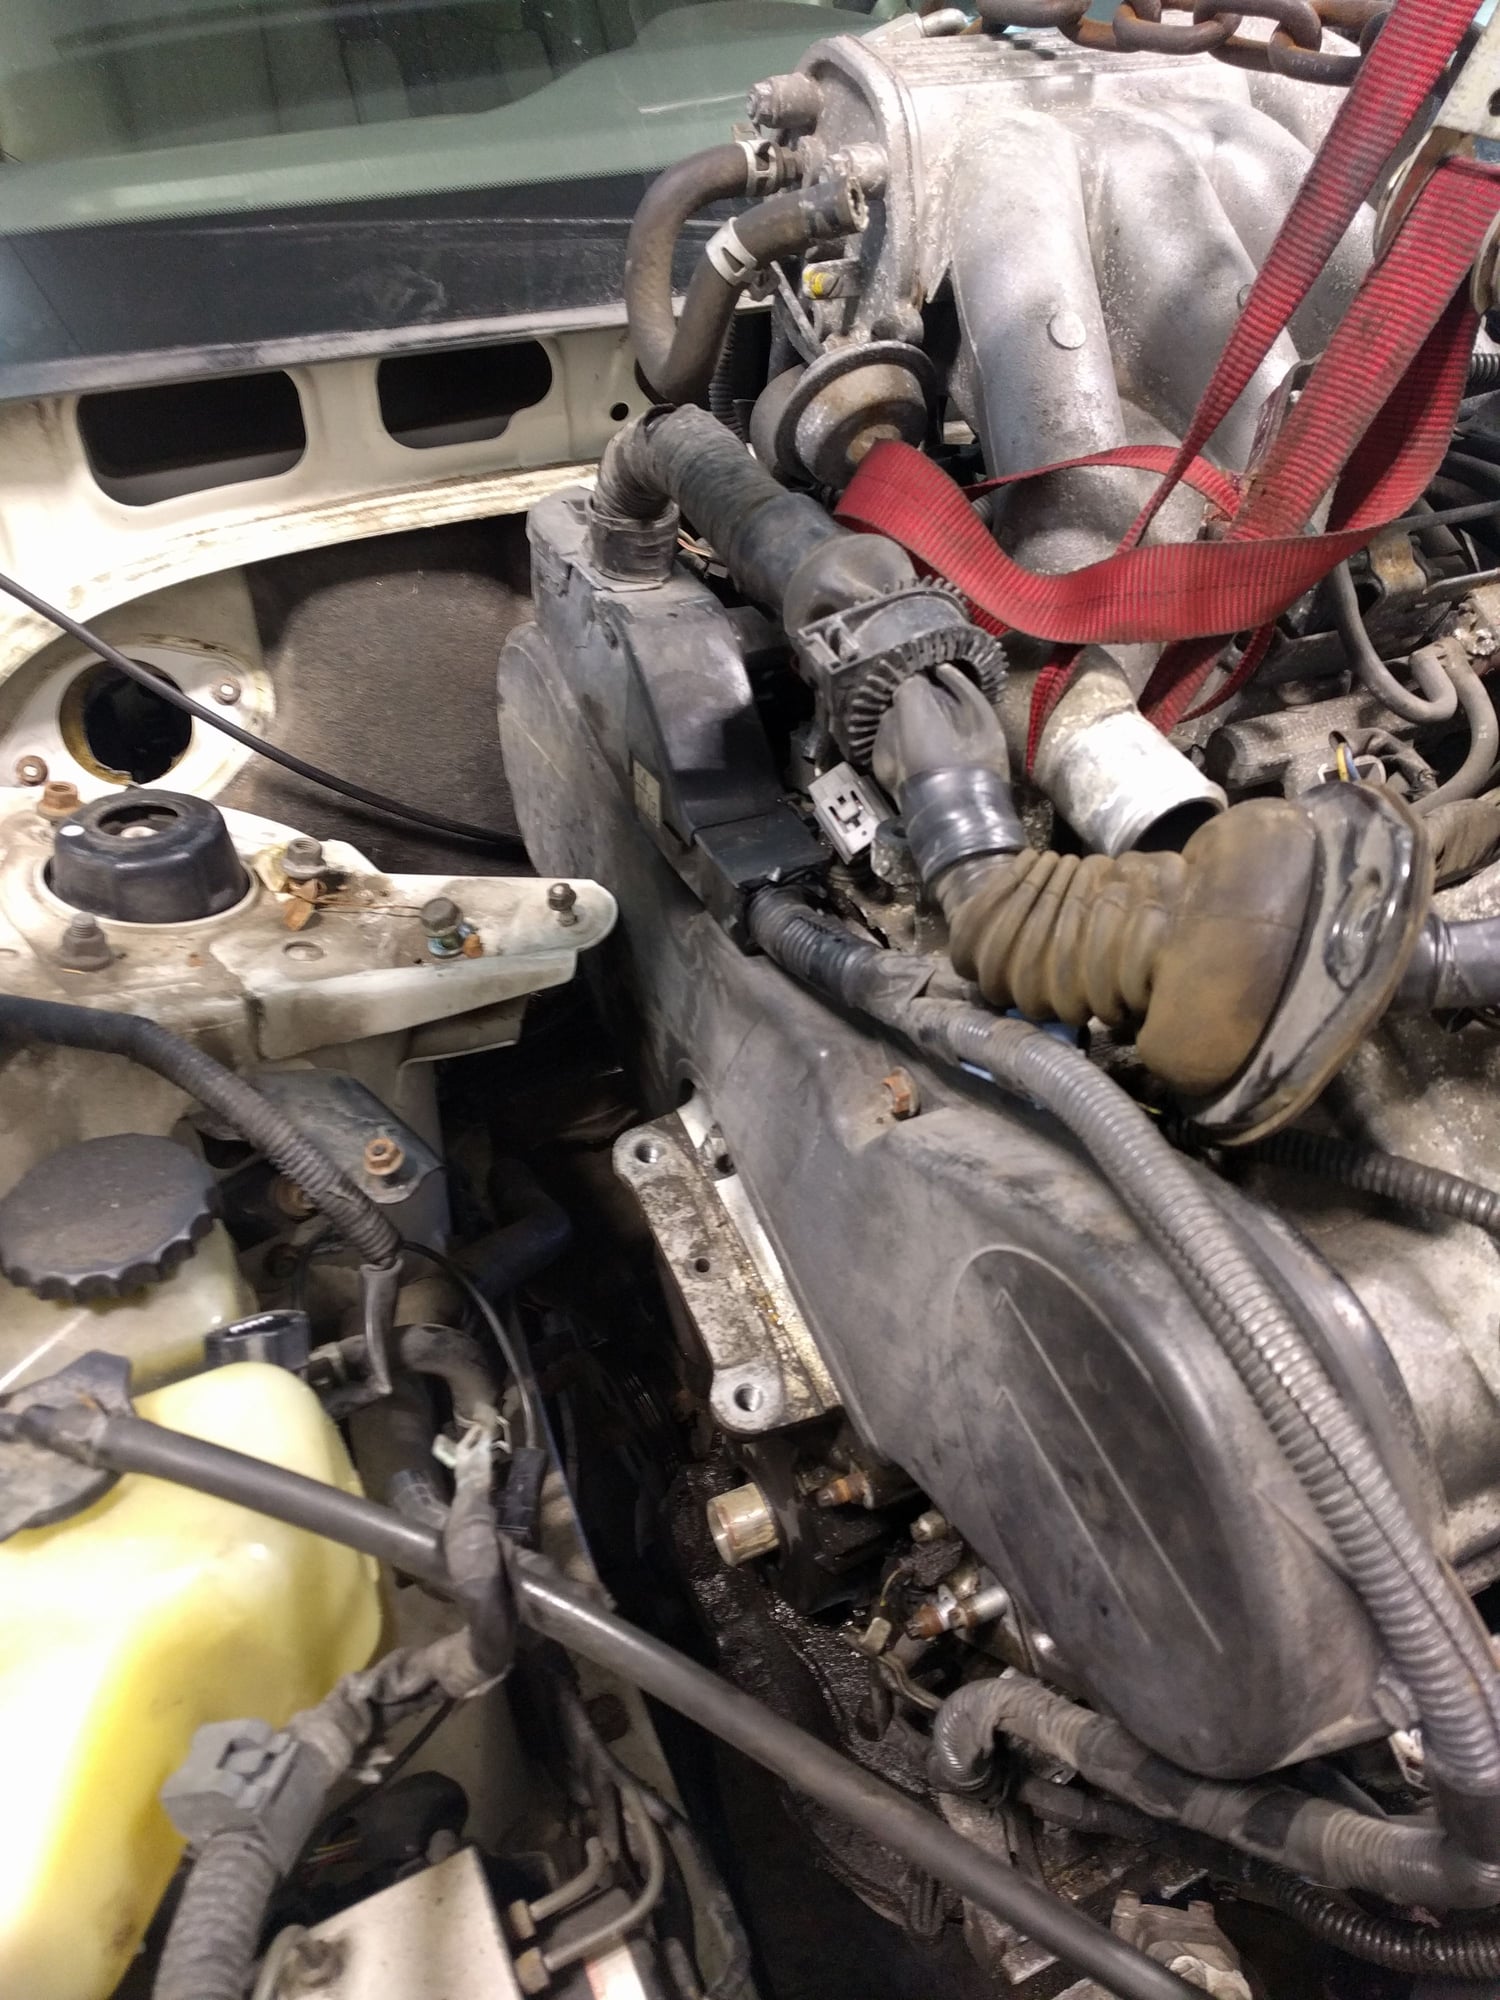
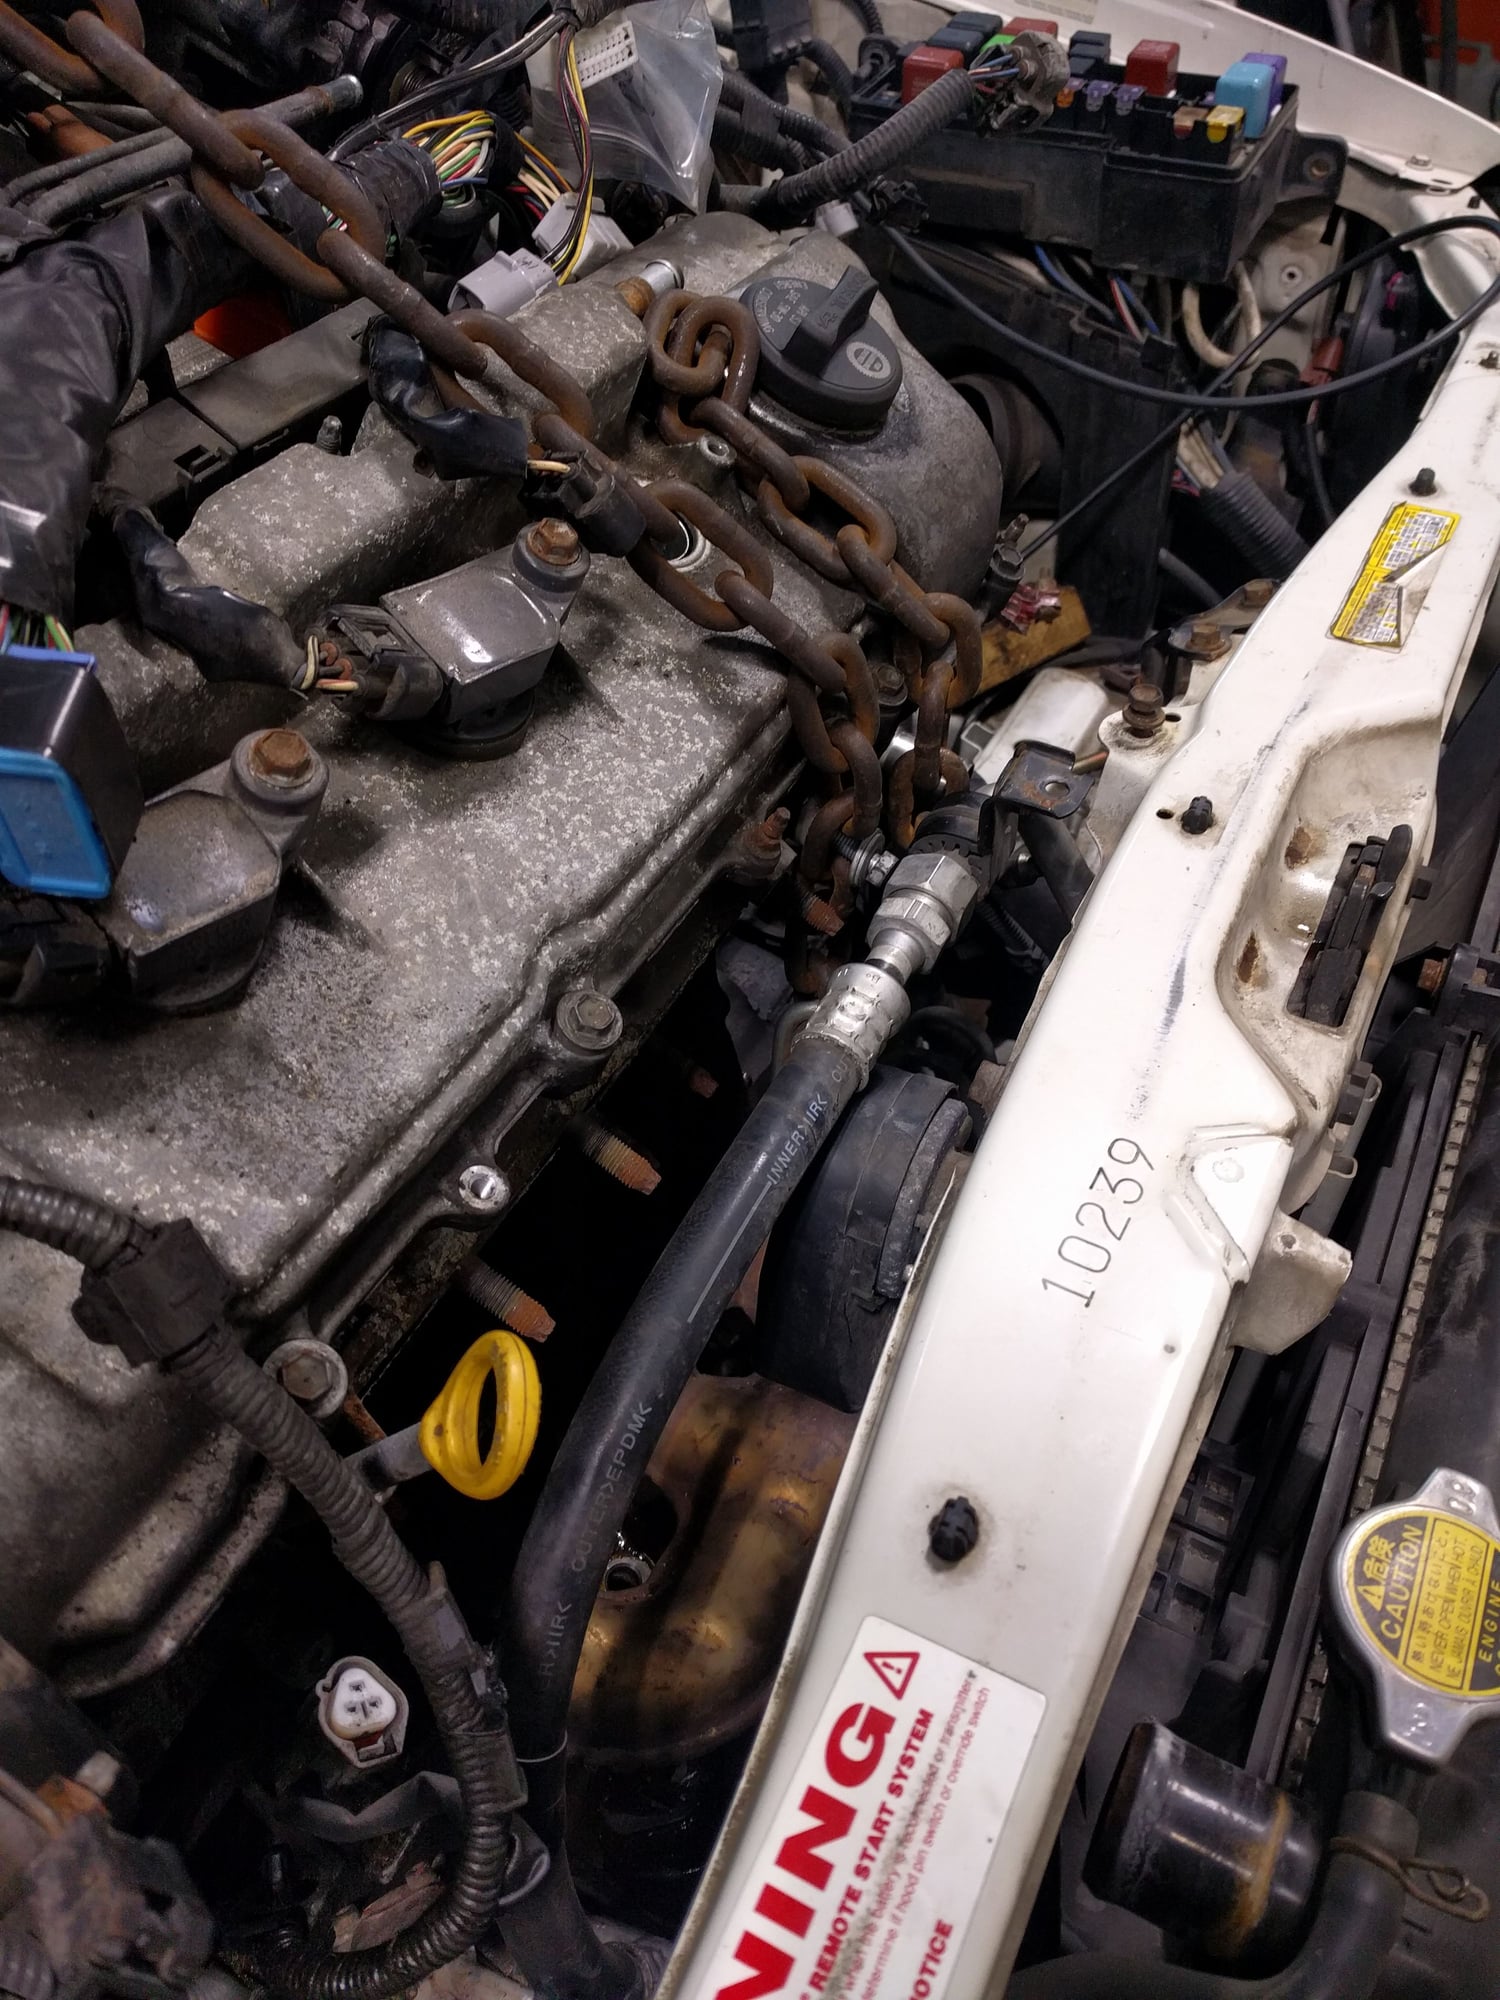
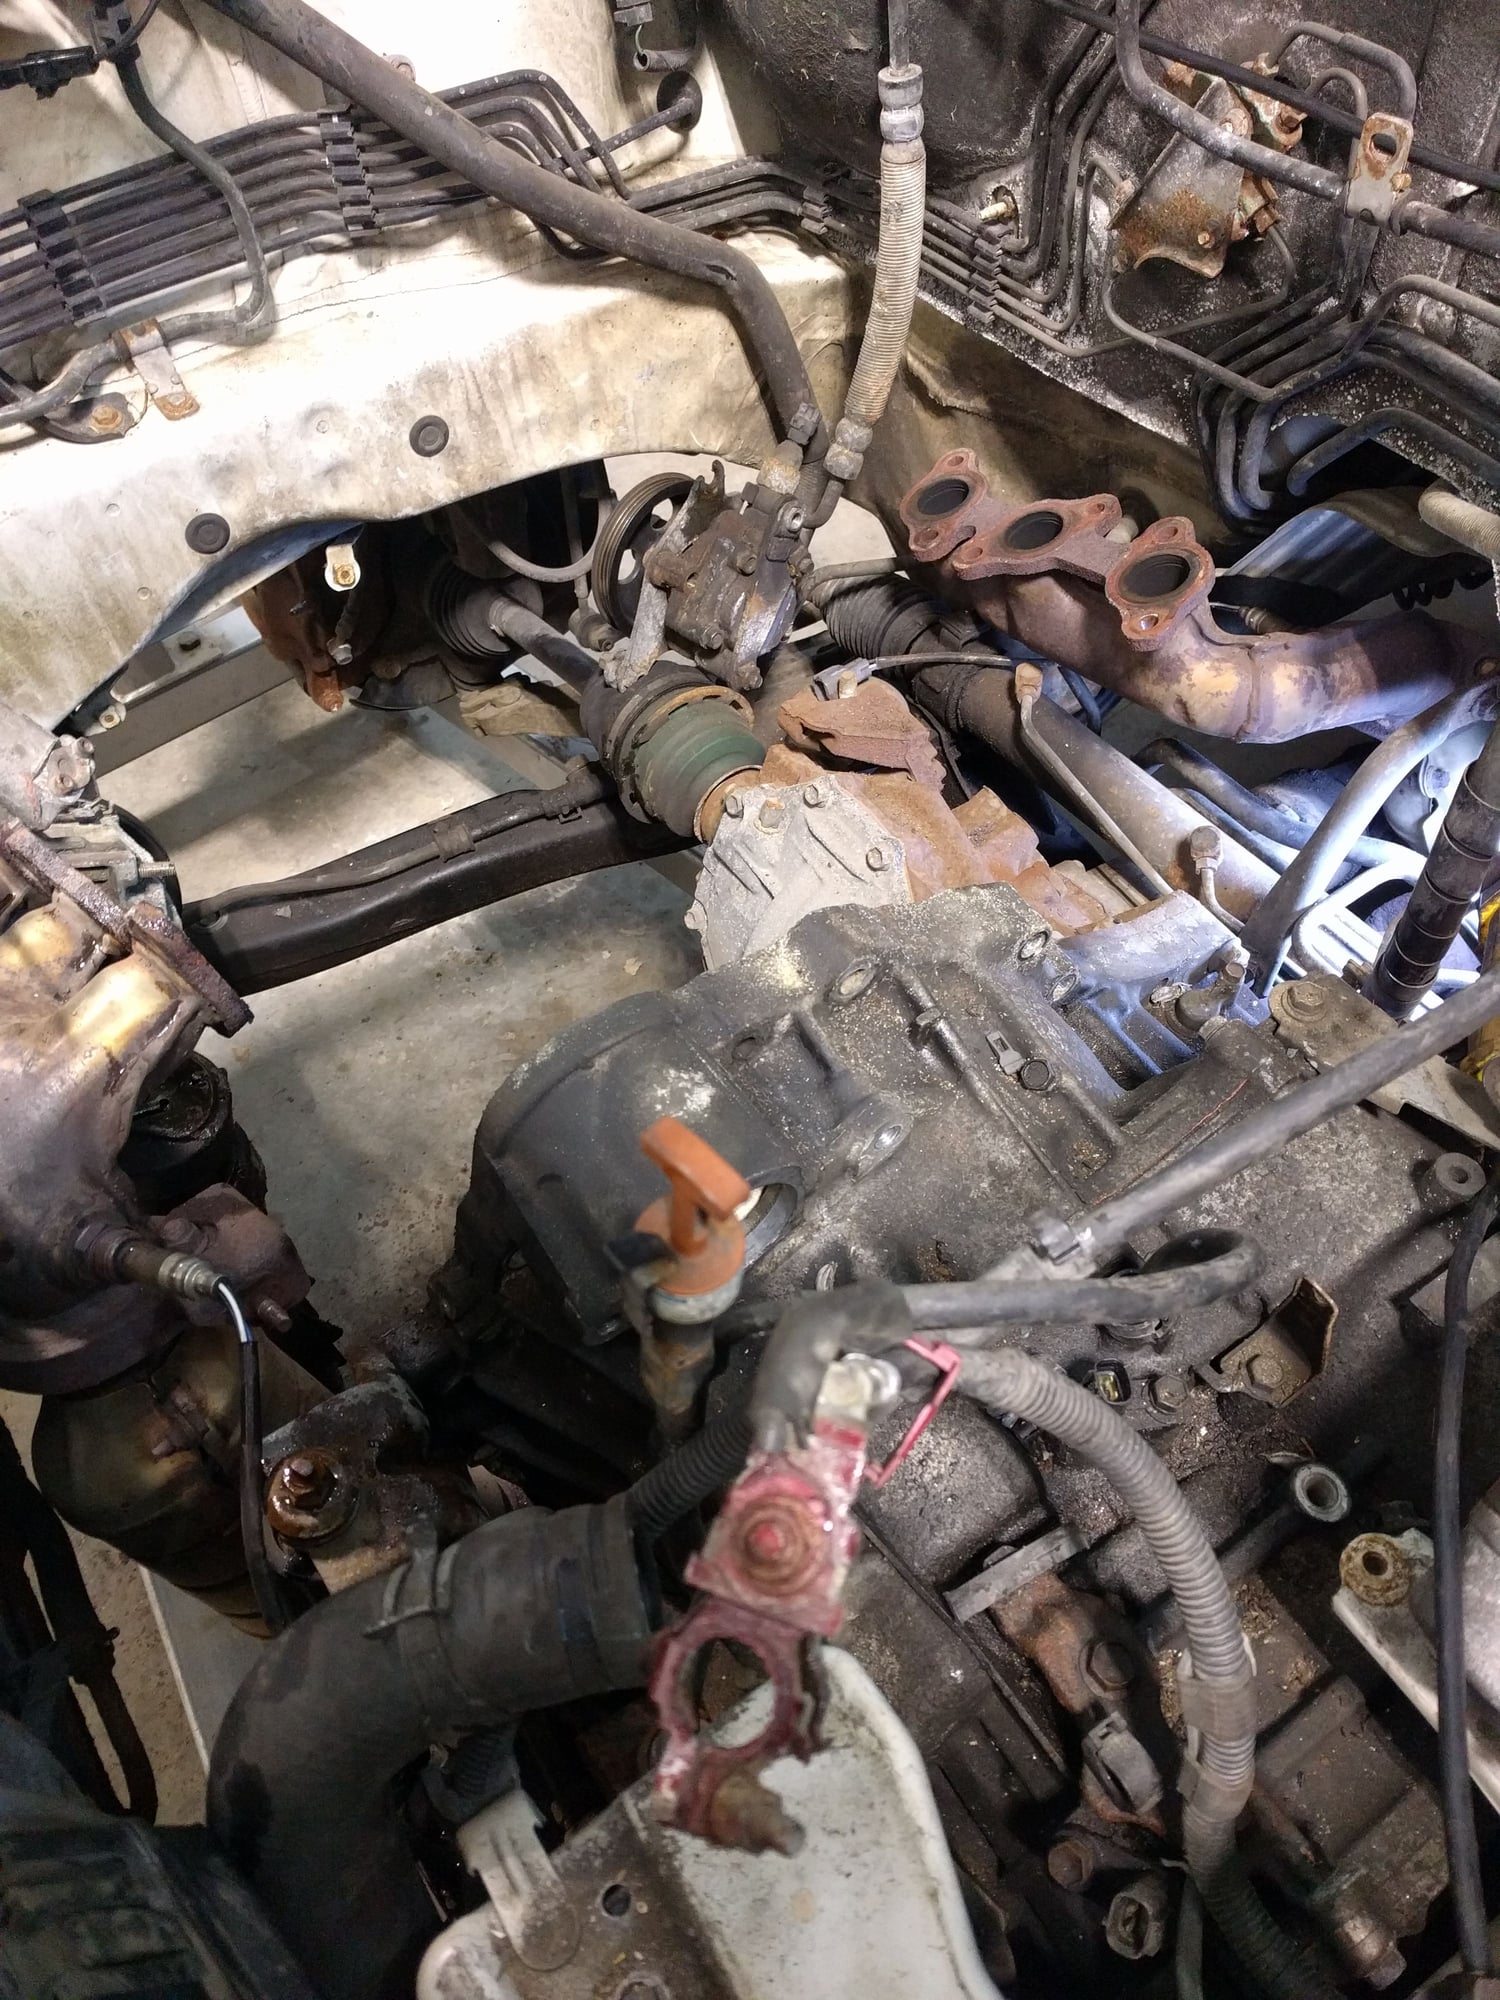
I recently finished a JDM engine swap on a 2000 RX300. I picked it in February with a severe engine knock. On a previous post of tim73 I mentioned trying this on my next RX300 project. Everything went ok when I pulled the engine from the top. I will probably stick to this method in the future as it seems alittle simpler overall. Even with my two post lift!!. I have a list steps written down that I will share here when I get a little more time. I also have a bunch of pics to share. Here's one to get started!
The following 3 users liked this post by trbolvr:
#3
Rookie
Thread Starter
Top side
1 Remove Hood
2 Wiper arms, plastic cover, wiper motor assembly(pull wires out of pan), metal pan
3 Cross brace
4 Cruise control motor and cable
5 Upper passenger side motor mount
6 Battery
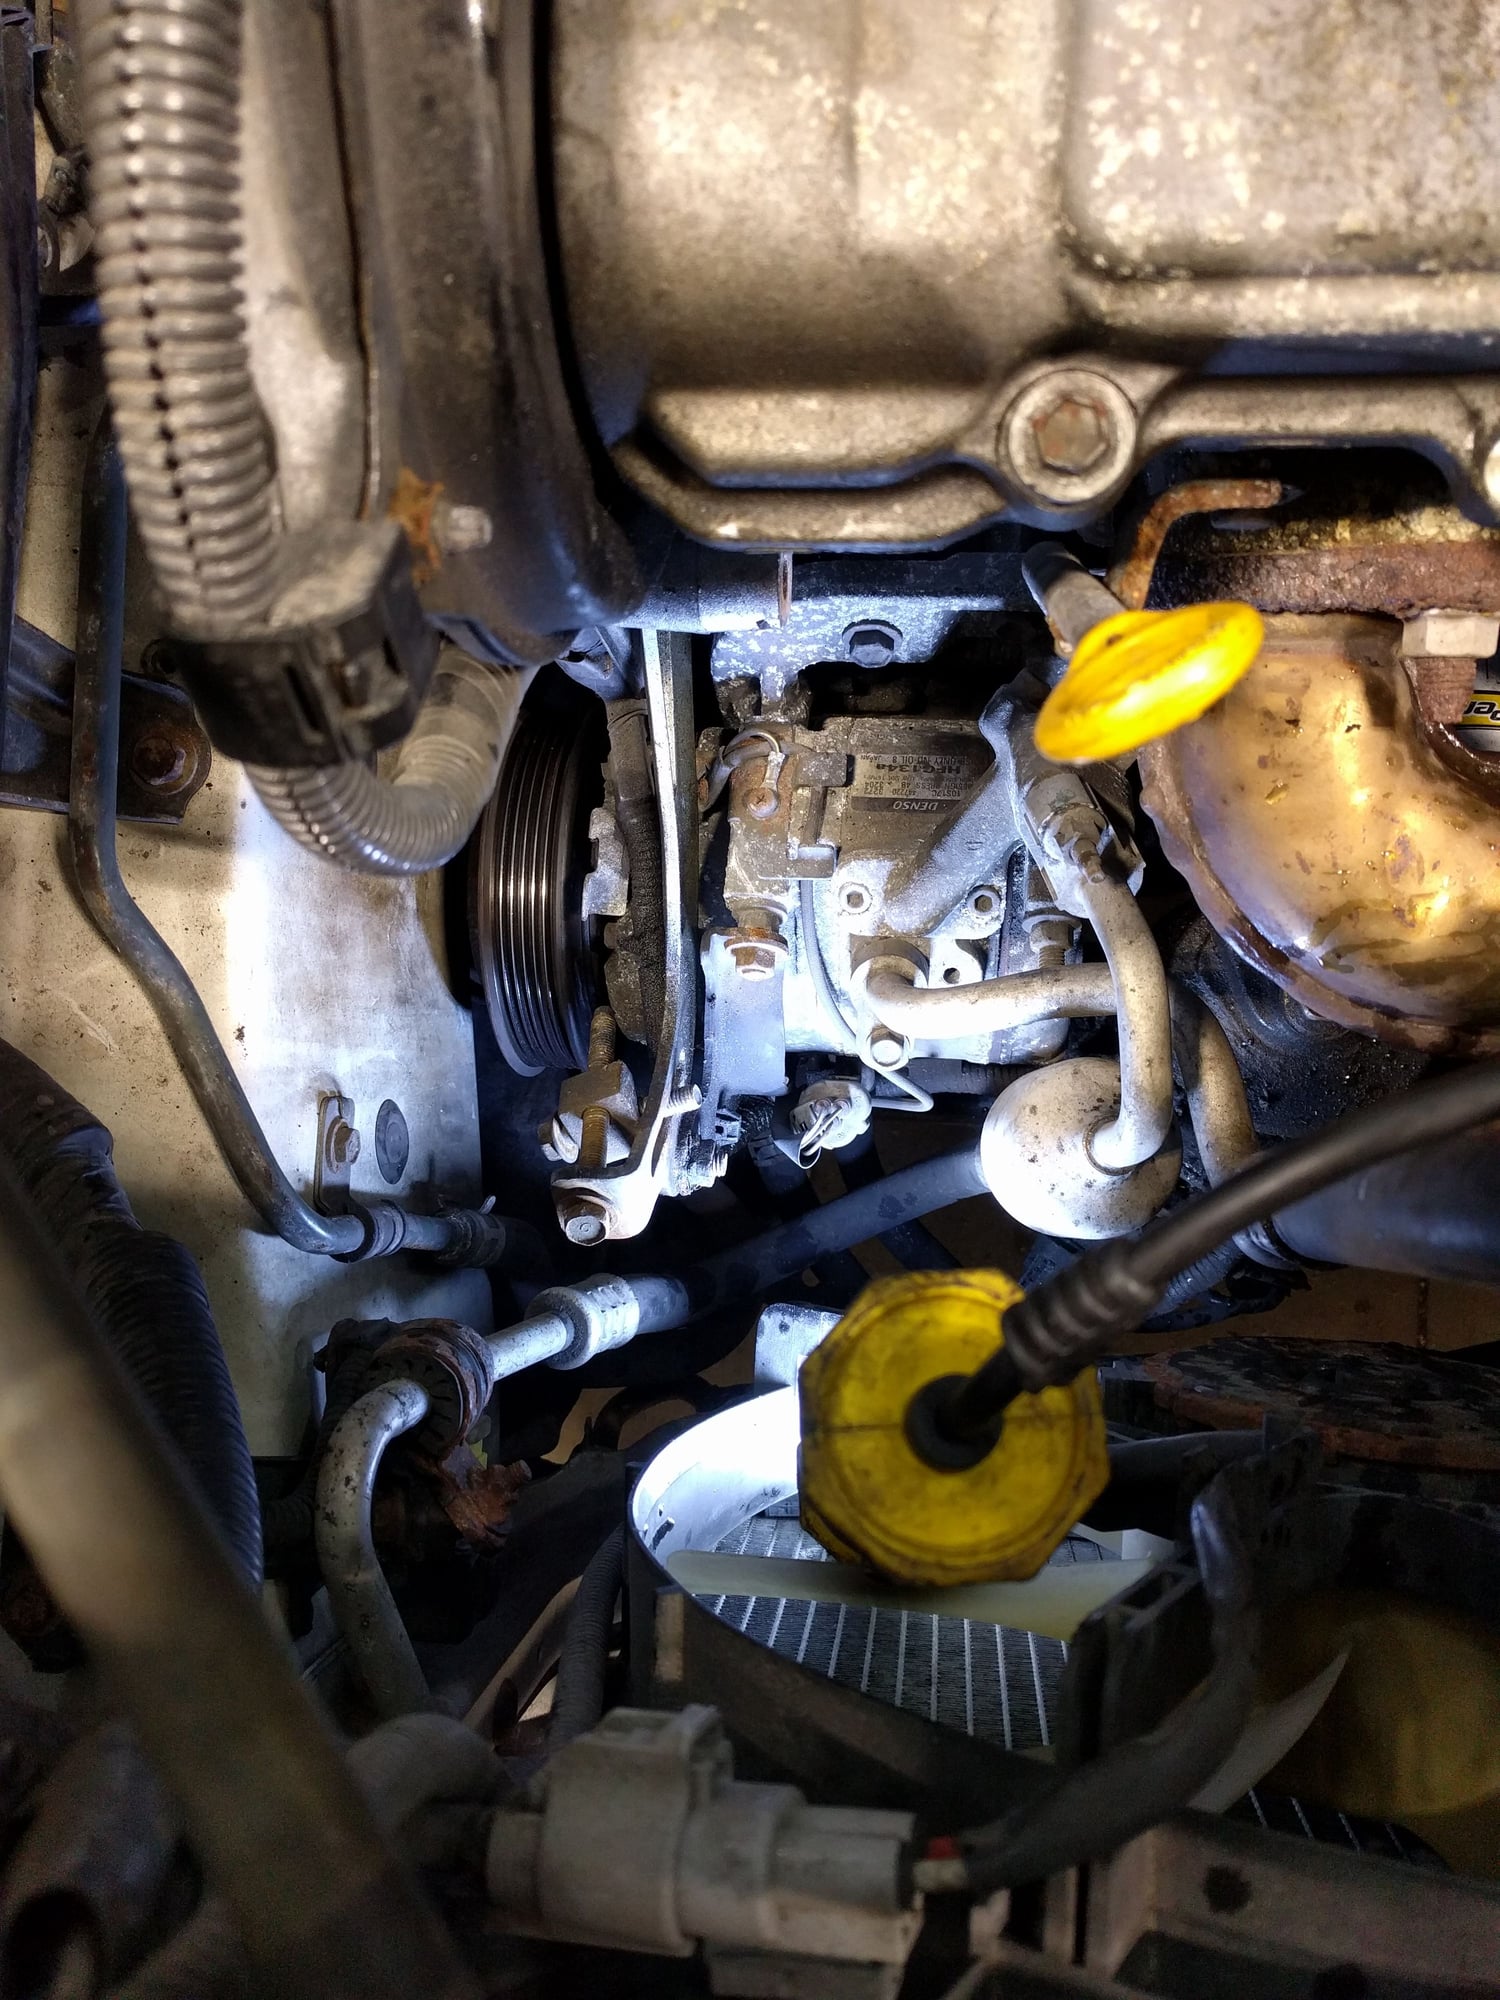
7 Intake box and hoses
8 Radiator hoses (Drain radiator and block first) and heater hoses
9 3 small vacuum lines (throttle body, resonator box, and evap valves (at the "T")
10 Throttle cable
11 EVAP line (green cap)
12 Ground wire on drivers strut tower
13 Take a break!
14 Power steering line from back of intake
15 Alternator and lower bracket arm
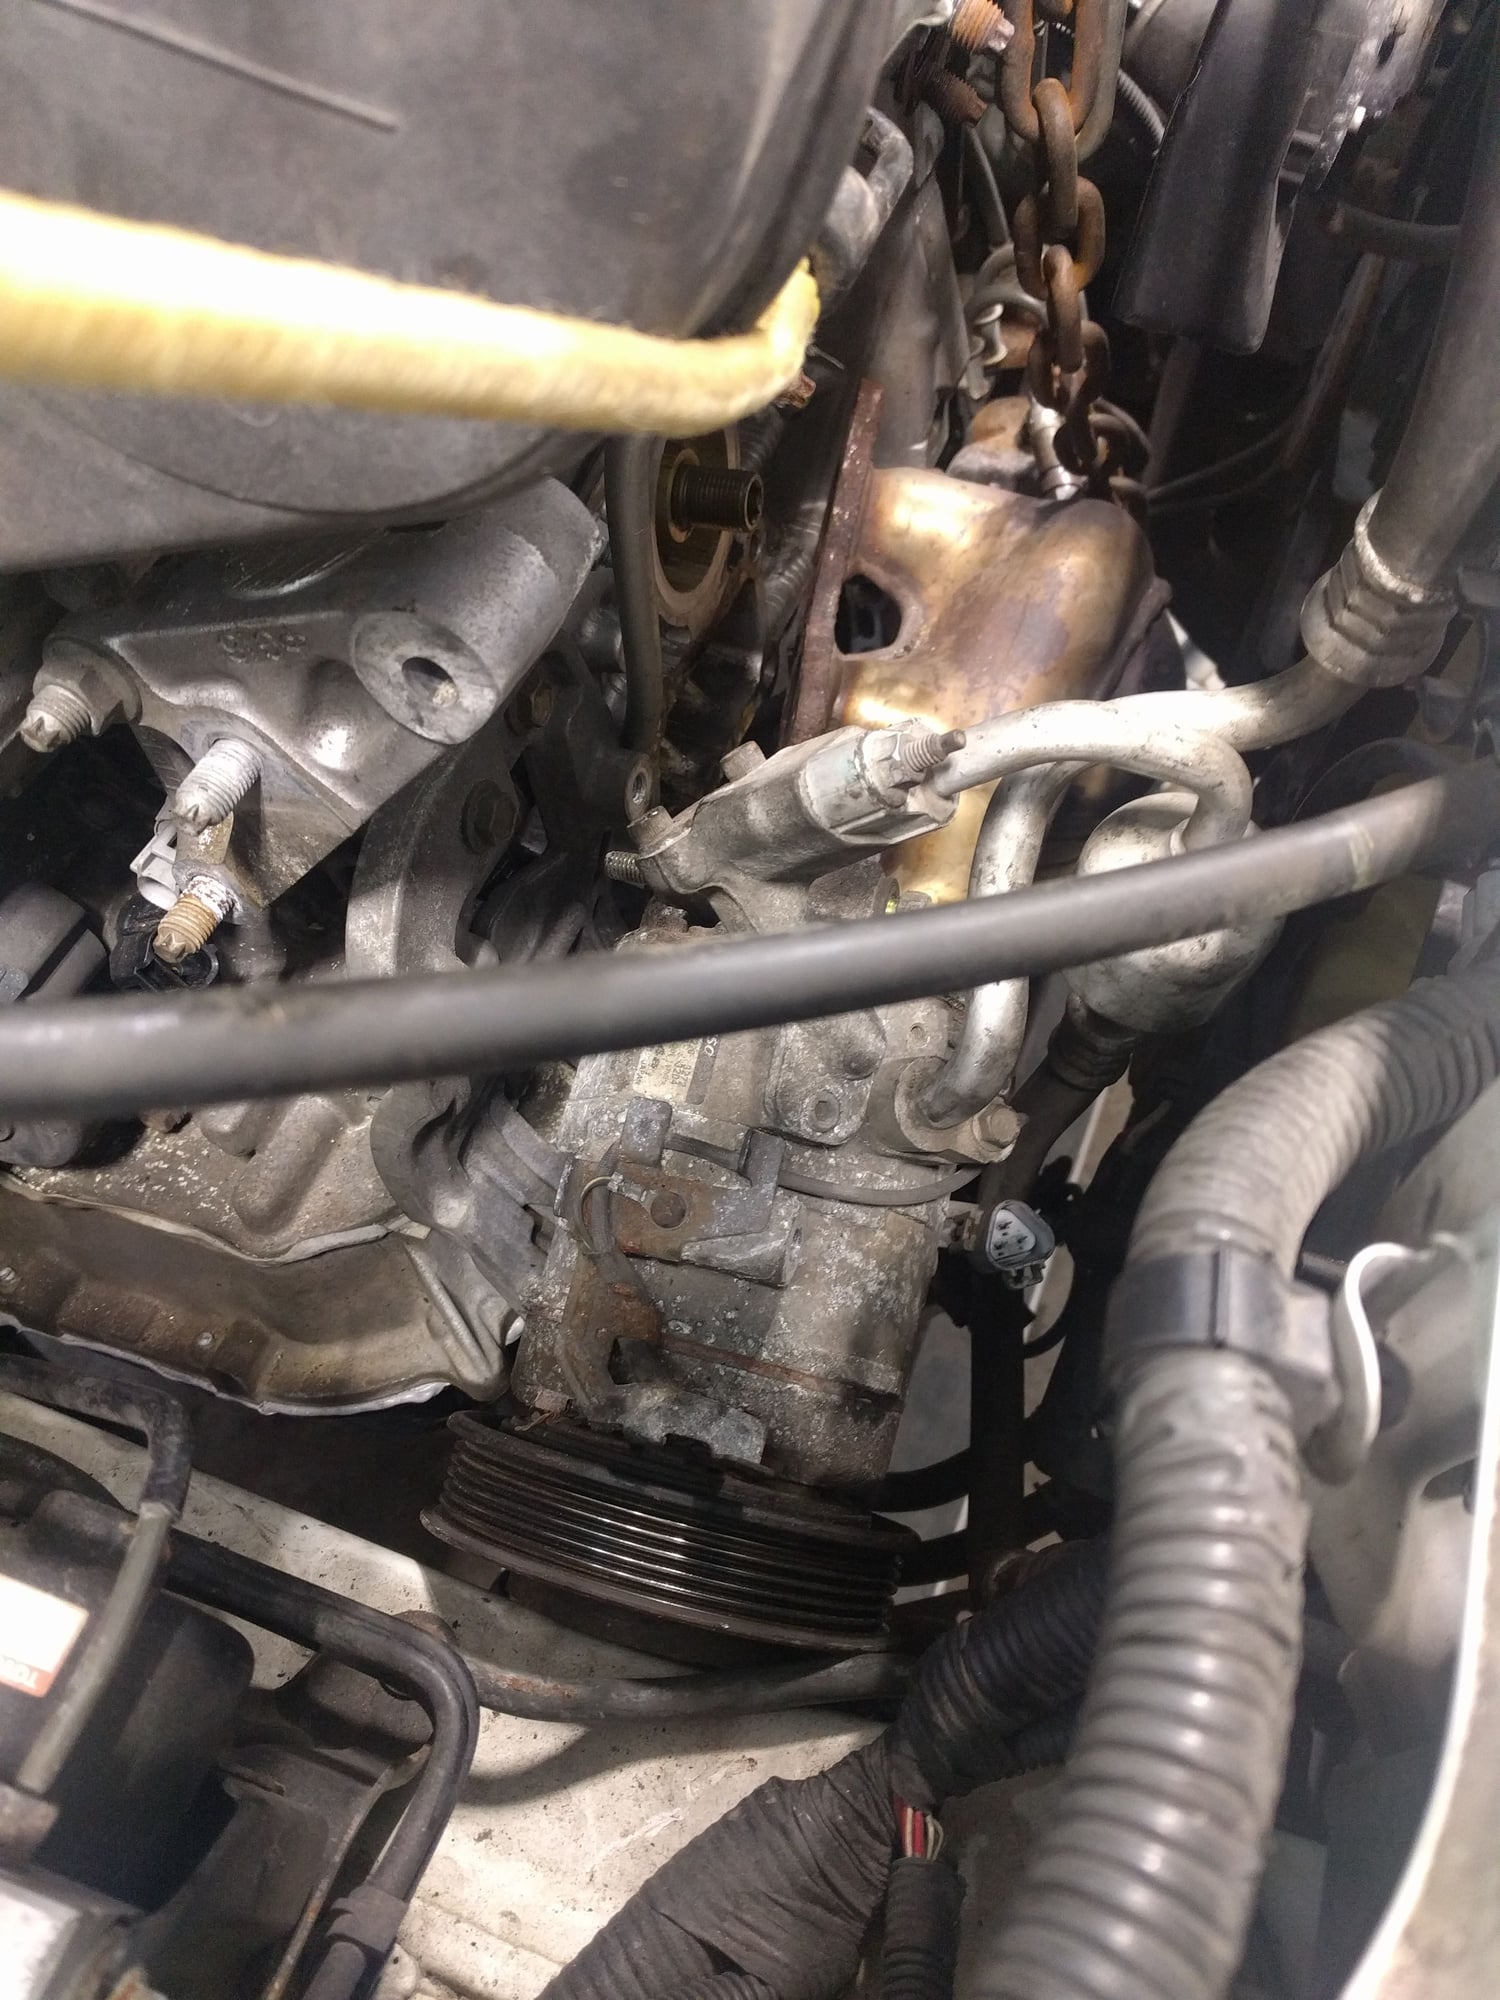
16 AC compressor (unbolt from block, leave lines attached)
17 Wire harness from computer (3 plugs), feed cable through fire wall
18 Front O2 sensor wire
19 Front exhaust manifolt nuts (6).
20 Oil filter
21 Front engine mount bolt
22 disconnect fuel line (bag the end)
23 Wires from harness that run to battery and fuse box (2 plugs below fuse box)
24 Wires from harness that connect to transmission
25 Starter (lay off to side)
26 Top bell housin bolts
Bottom
1 Torque converter bolts
2 Power steering pump (I ended up using the jdm pump due to different mounting brackets)
3 Harmonic balancer
4 Exhaust connection between rear cat and Y pipe
5 Exhaust connection between Y pipe and third cat. (springs and bolts)
6 Bolt that attaches exhaust brace to front diff
7 6 rear exhaust manifold nuts (these are a bugger to get to. Wobble extentions help)
8 3 bolts (1 long and 2 short) that connect engine rear engine mount bracket to front diff
9 Large nut on rear mount
10 3 Lower bell housing bolts (one is tucked up near front diff)
Note: When engine is spilt from trans and starting to raise, remove the front mount bracket from block (4 bolts)
the bracket is hard to get past the front exhaust manifold.
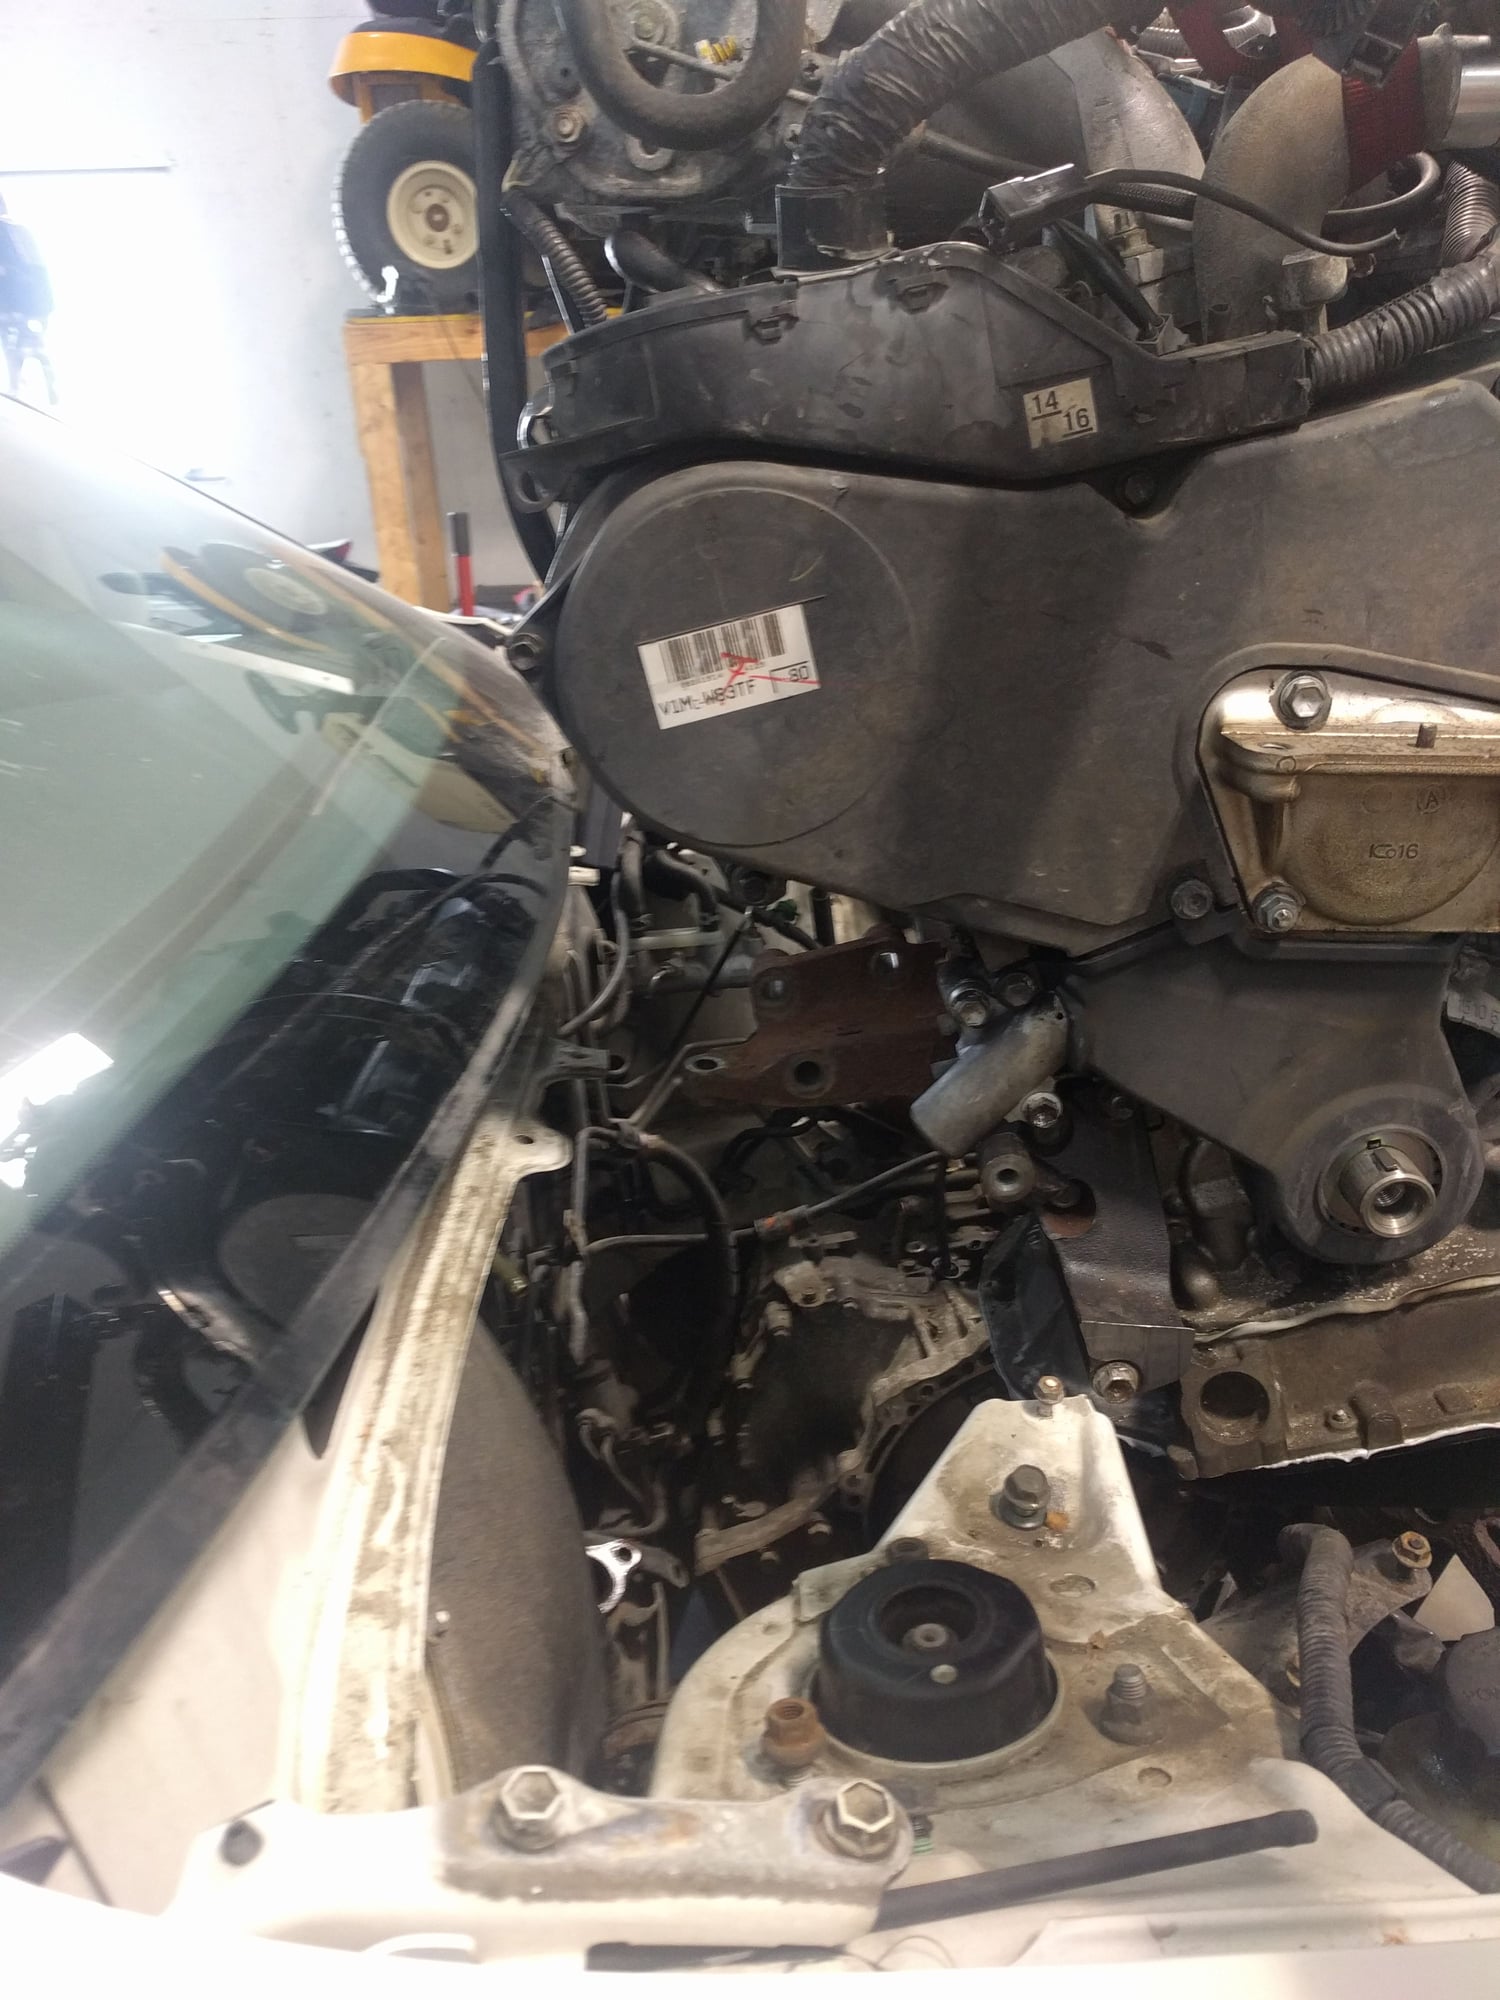
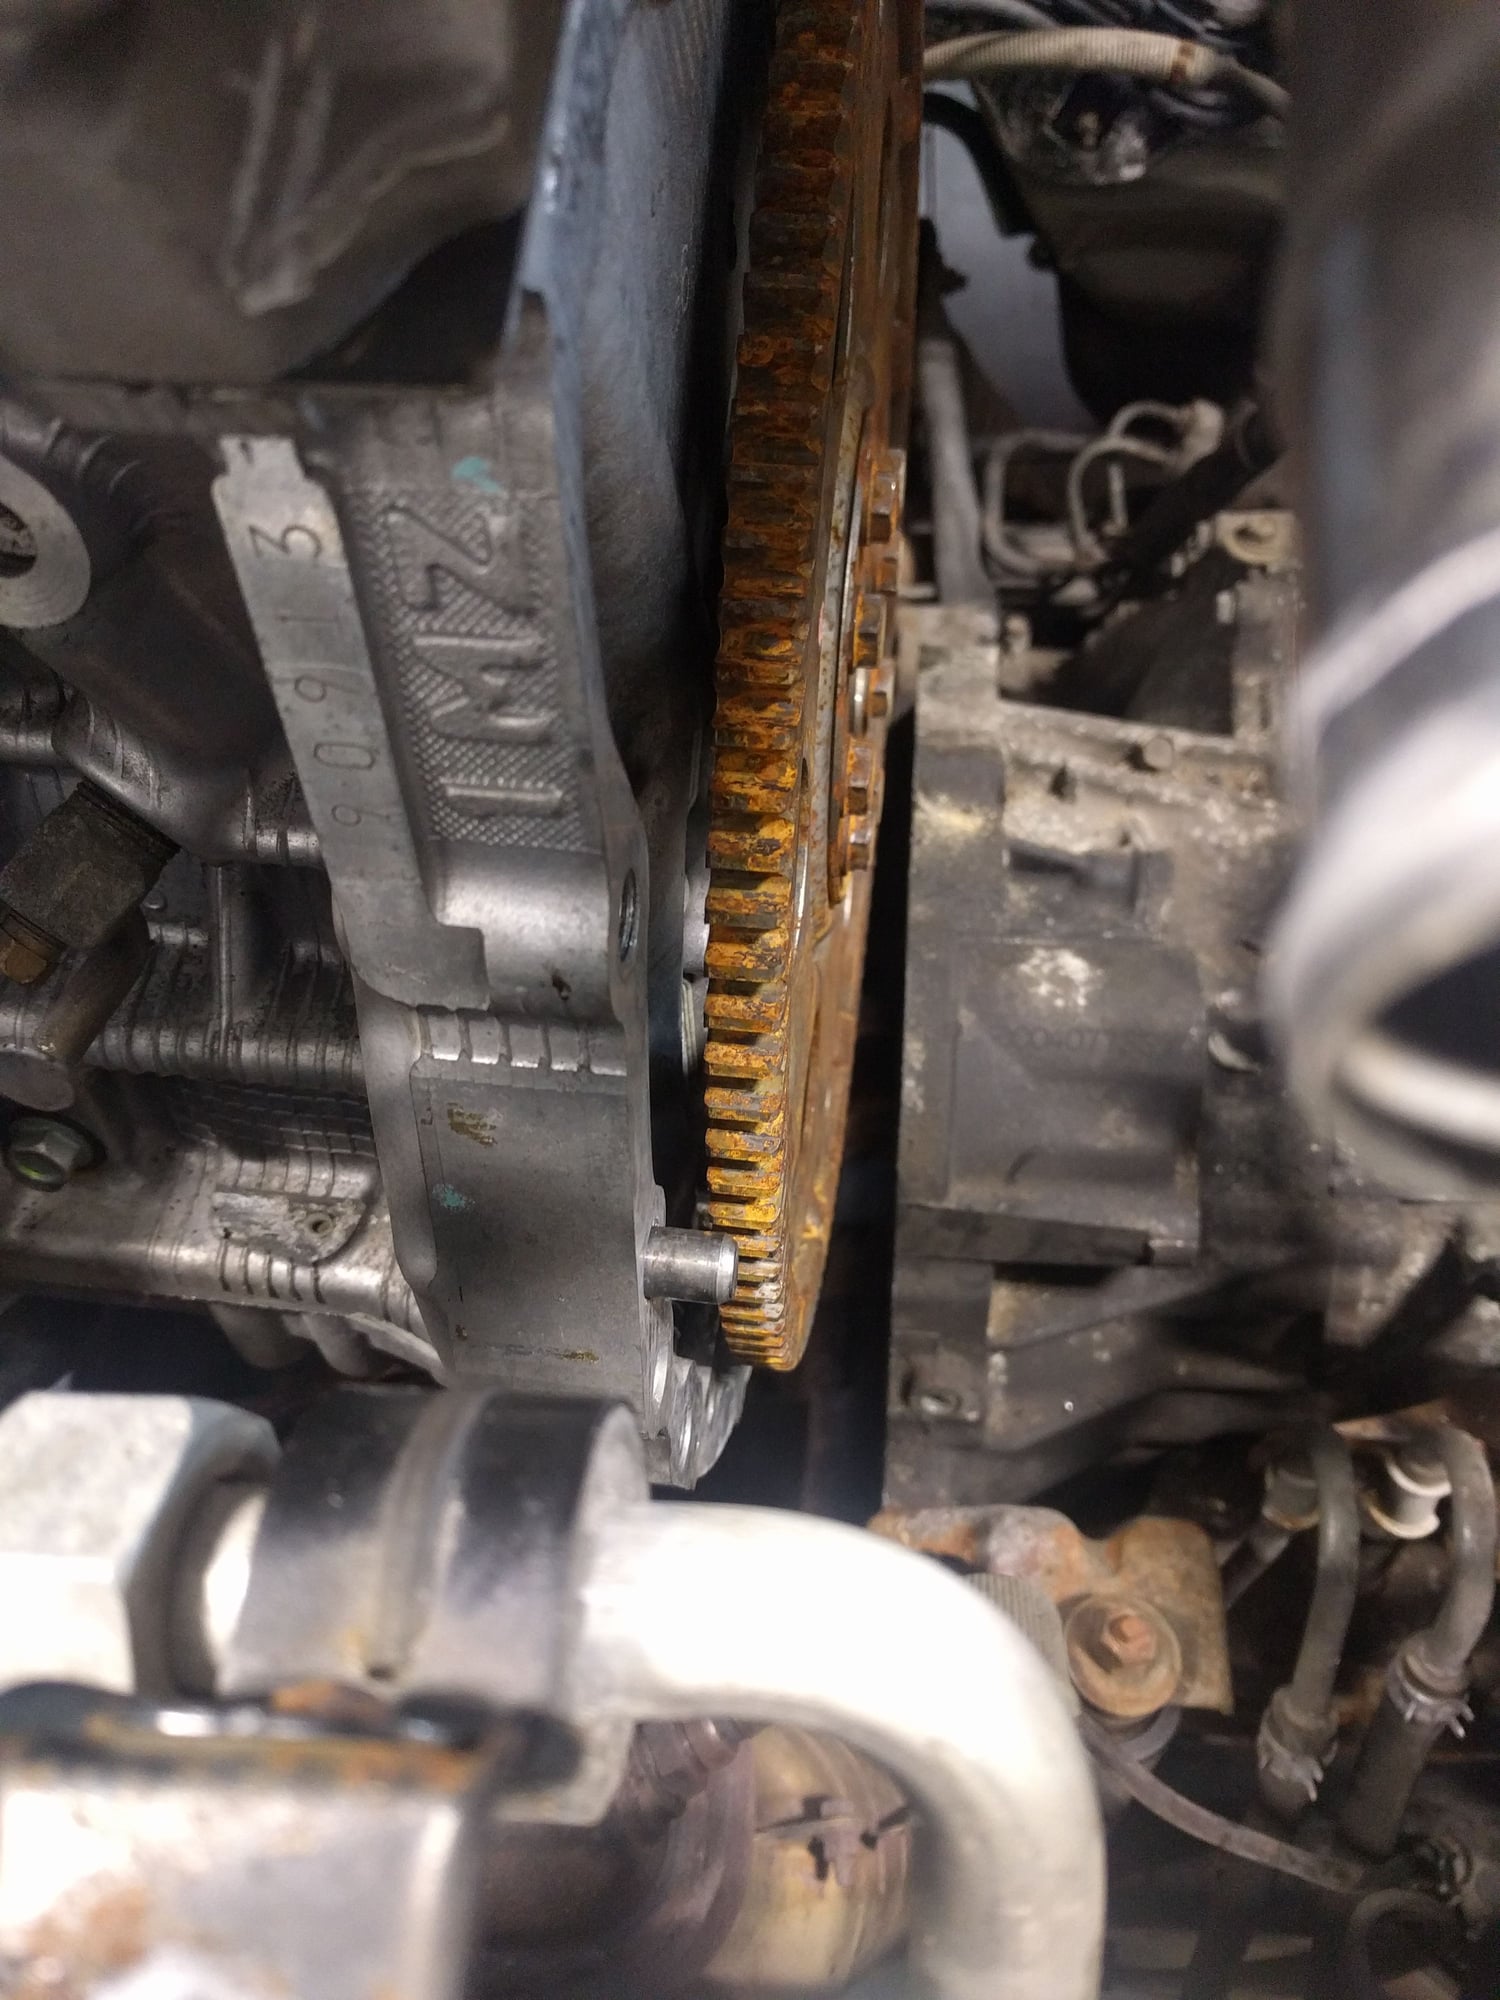
The JDM engines I have bought use a slightly different oil pump, belt tensioner, power steering pump and mount, and have a steel bracket sticking out by the harmonic balancer.
This is what is found on the 2001ish Toyota Highlander. If your doing a timing belt on your new jdm engine, get the kit for the 2001 Highlander.
Last edited by trbolvr; 04-21-18 at 02:25 PM. Reason: add on
#6
Rookie
Thread Starter
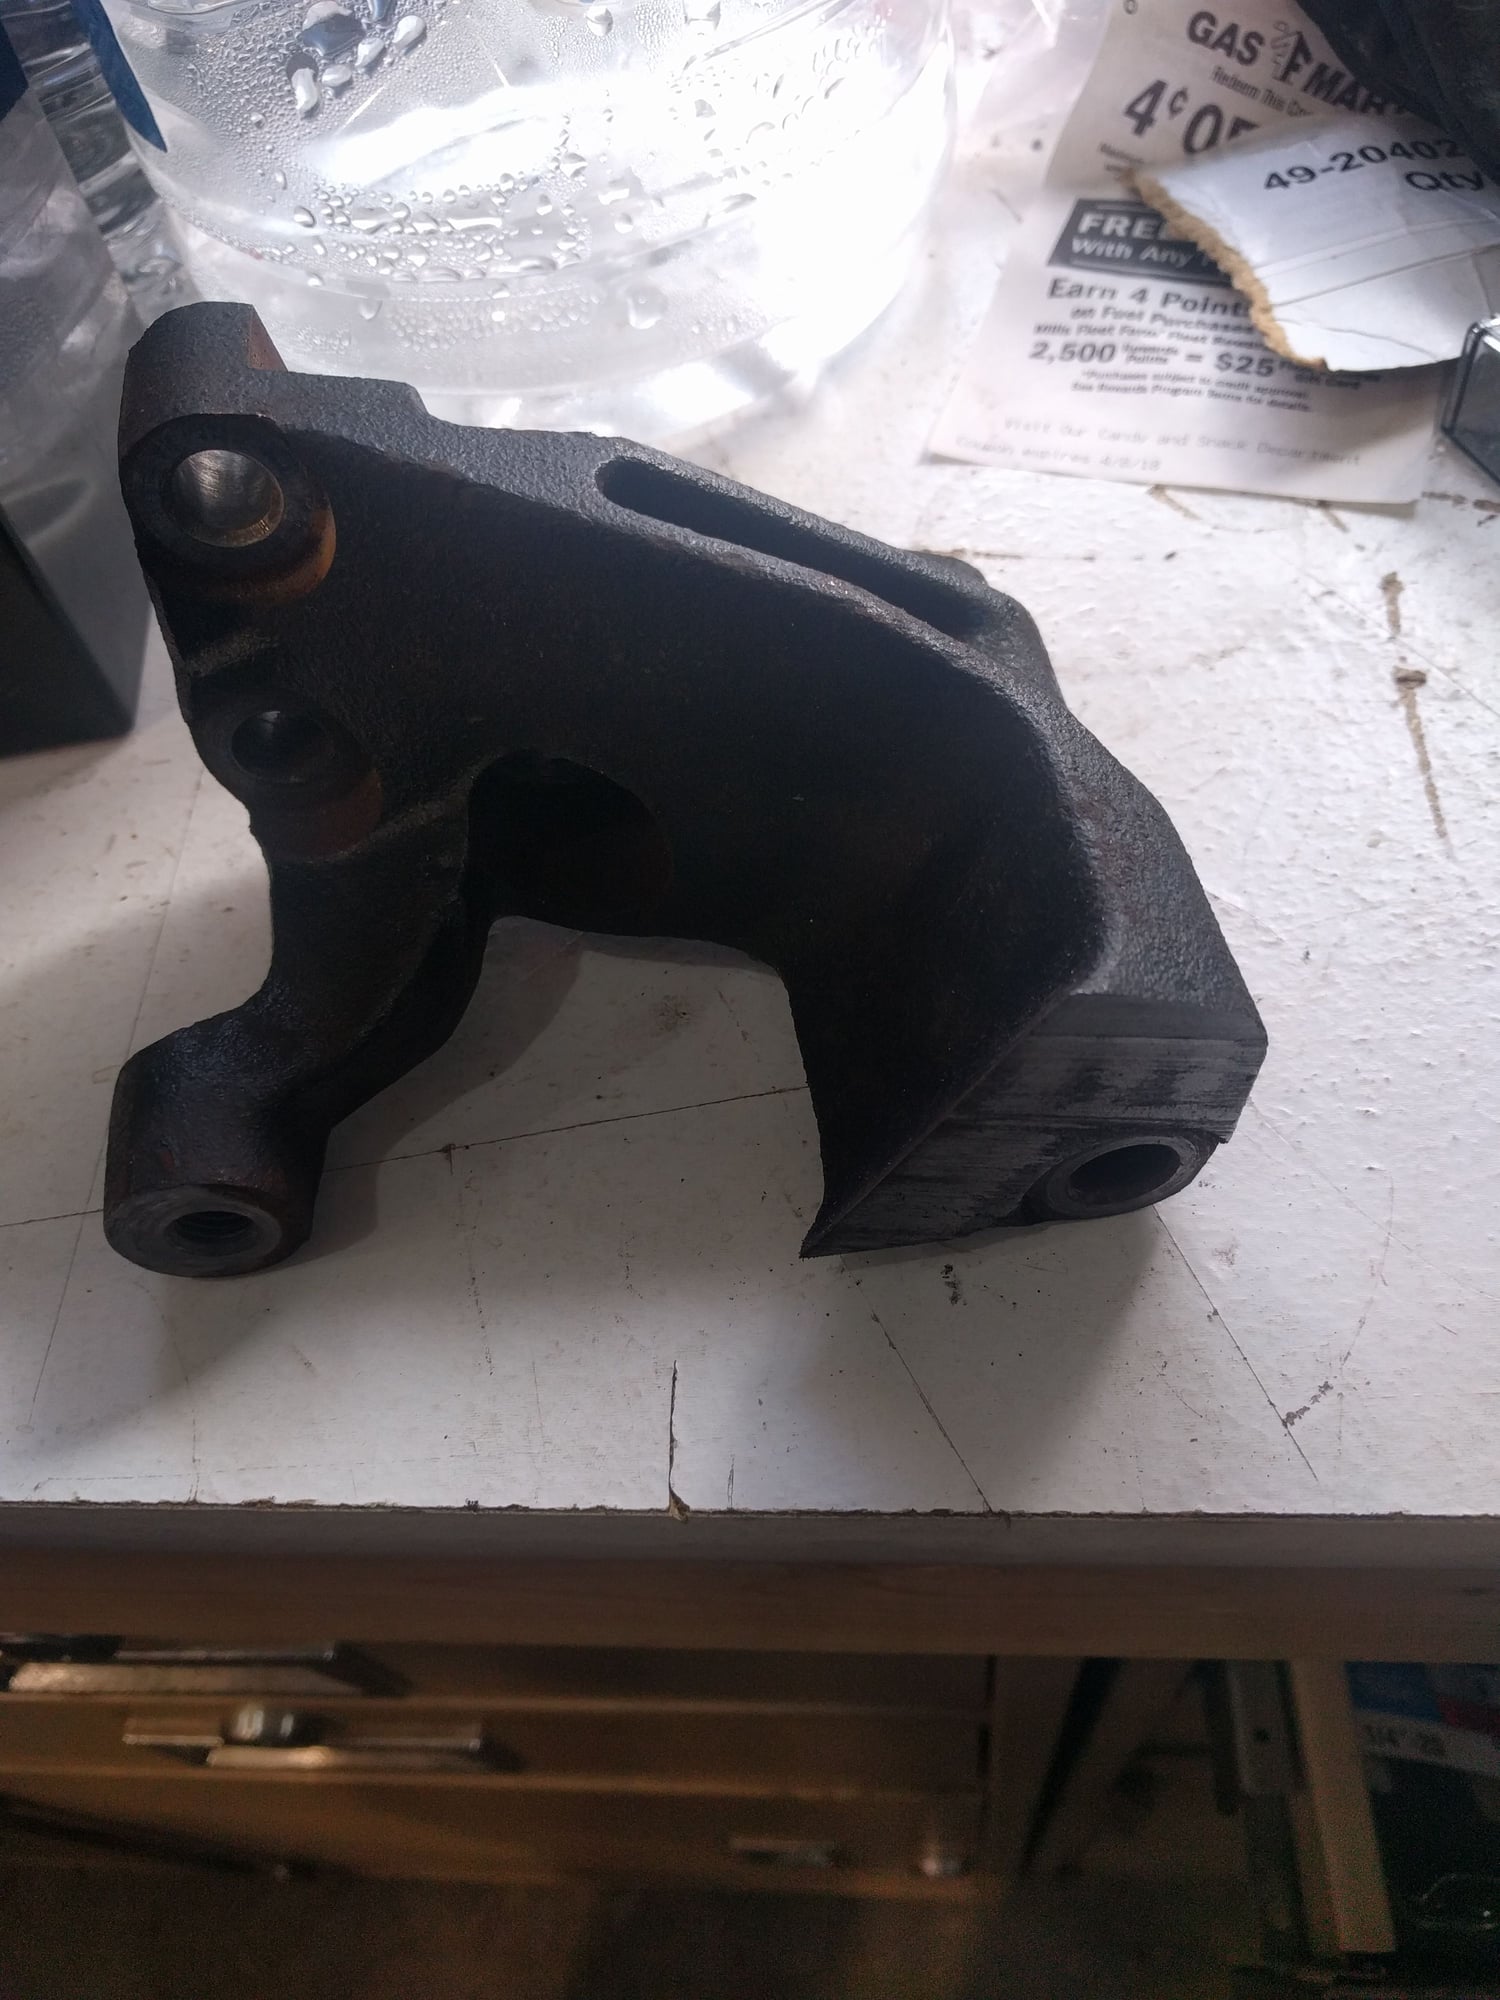
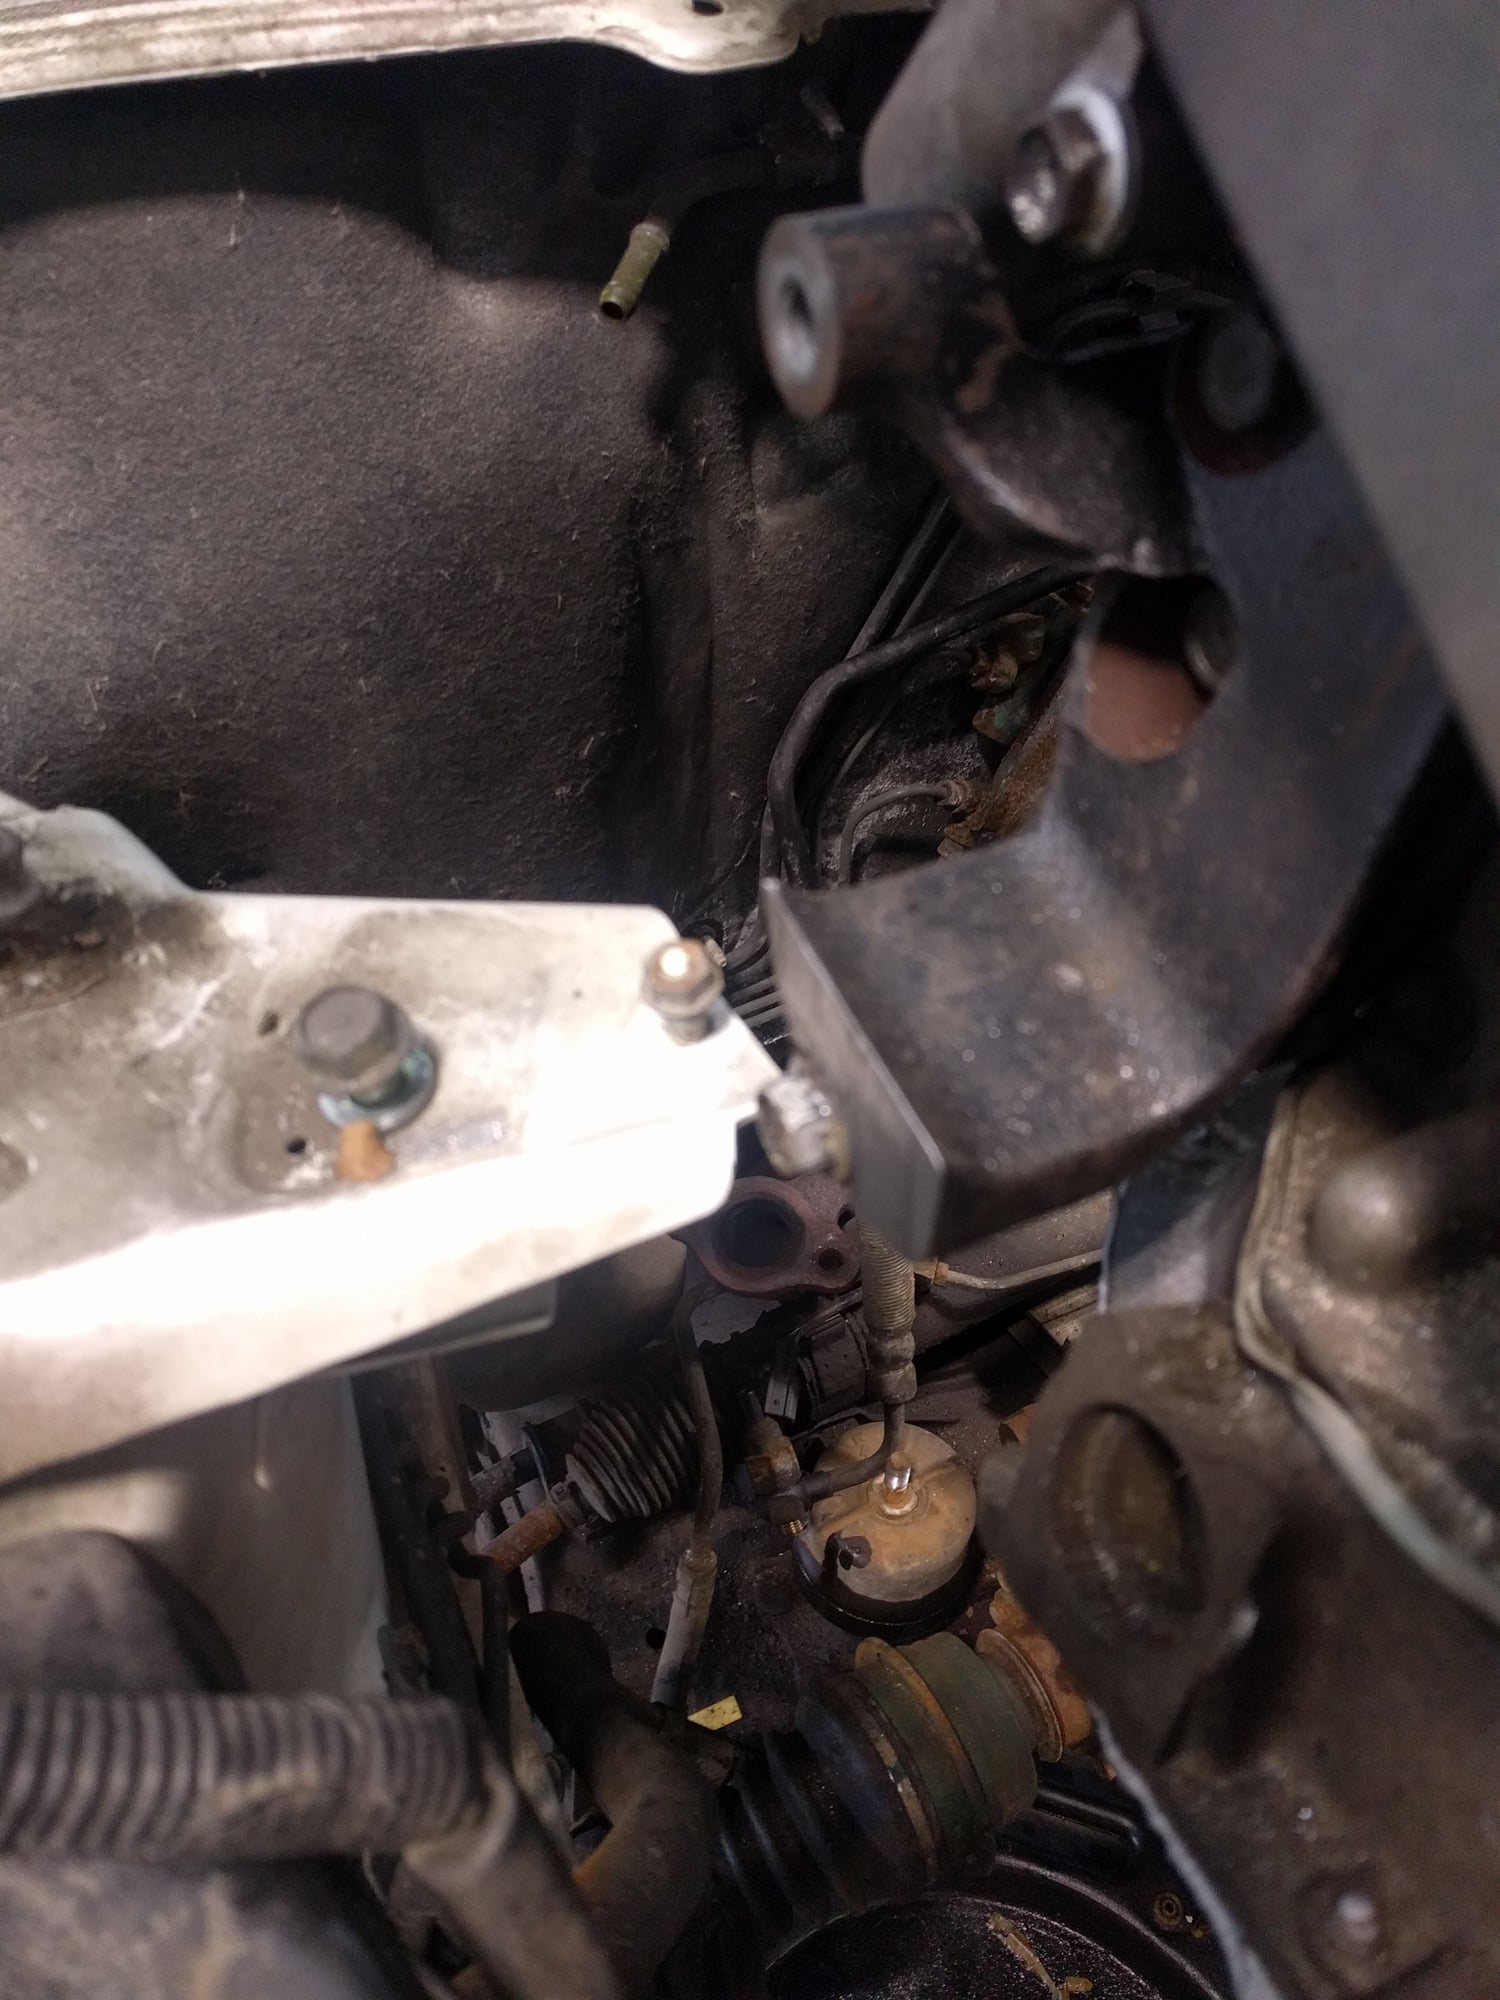
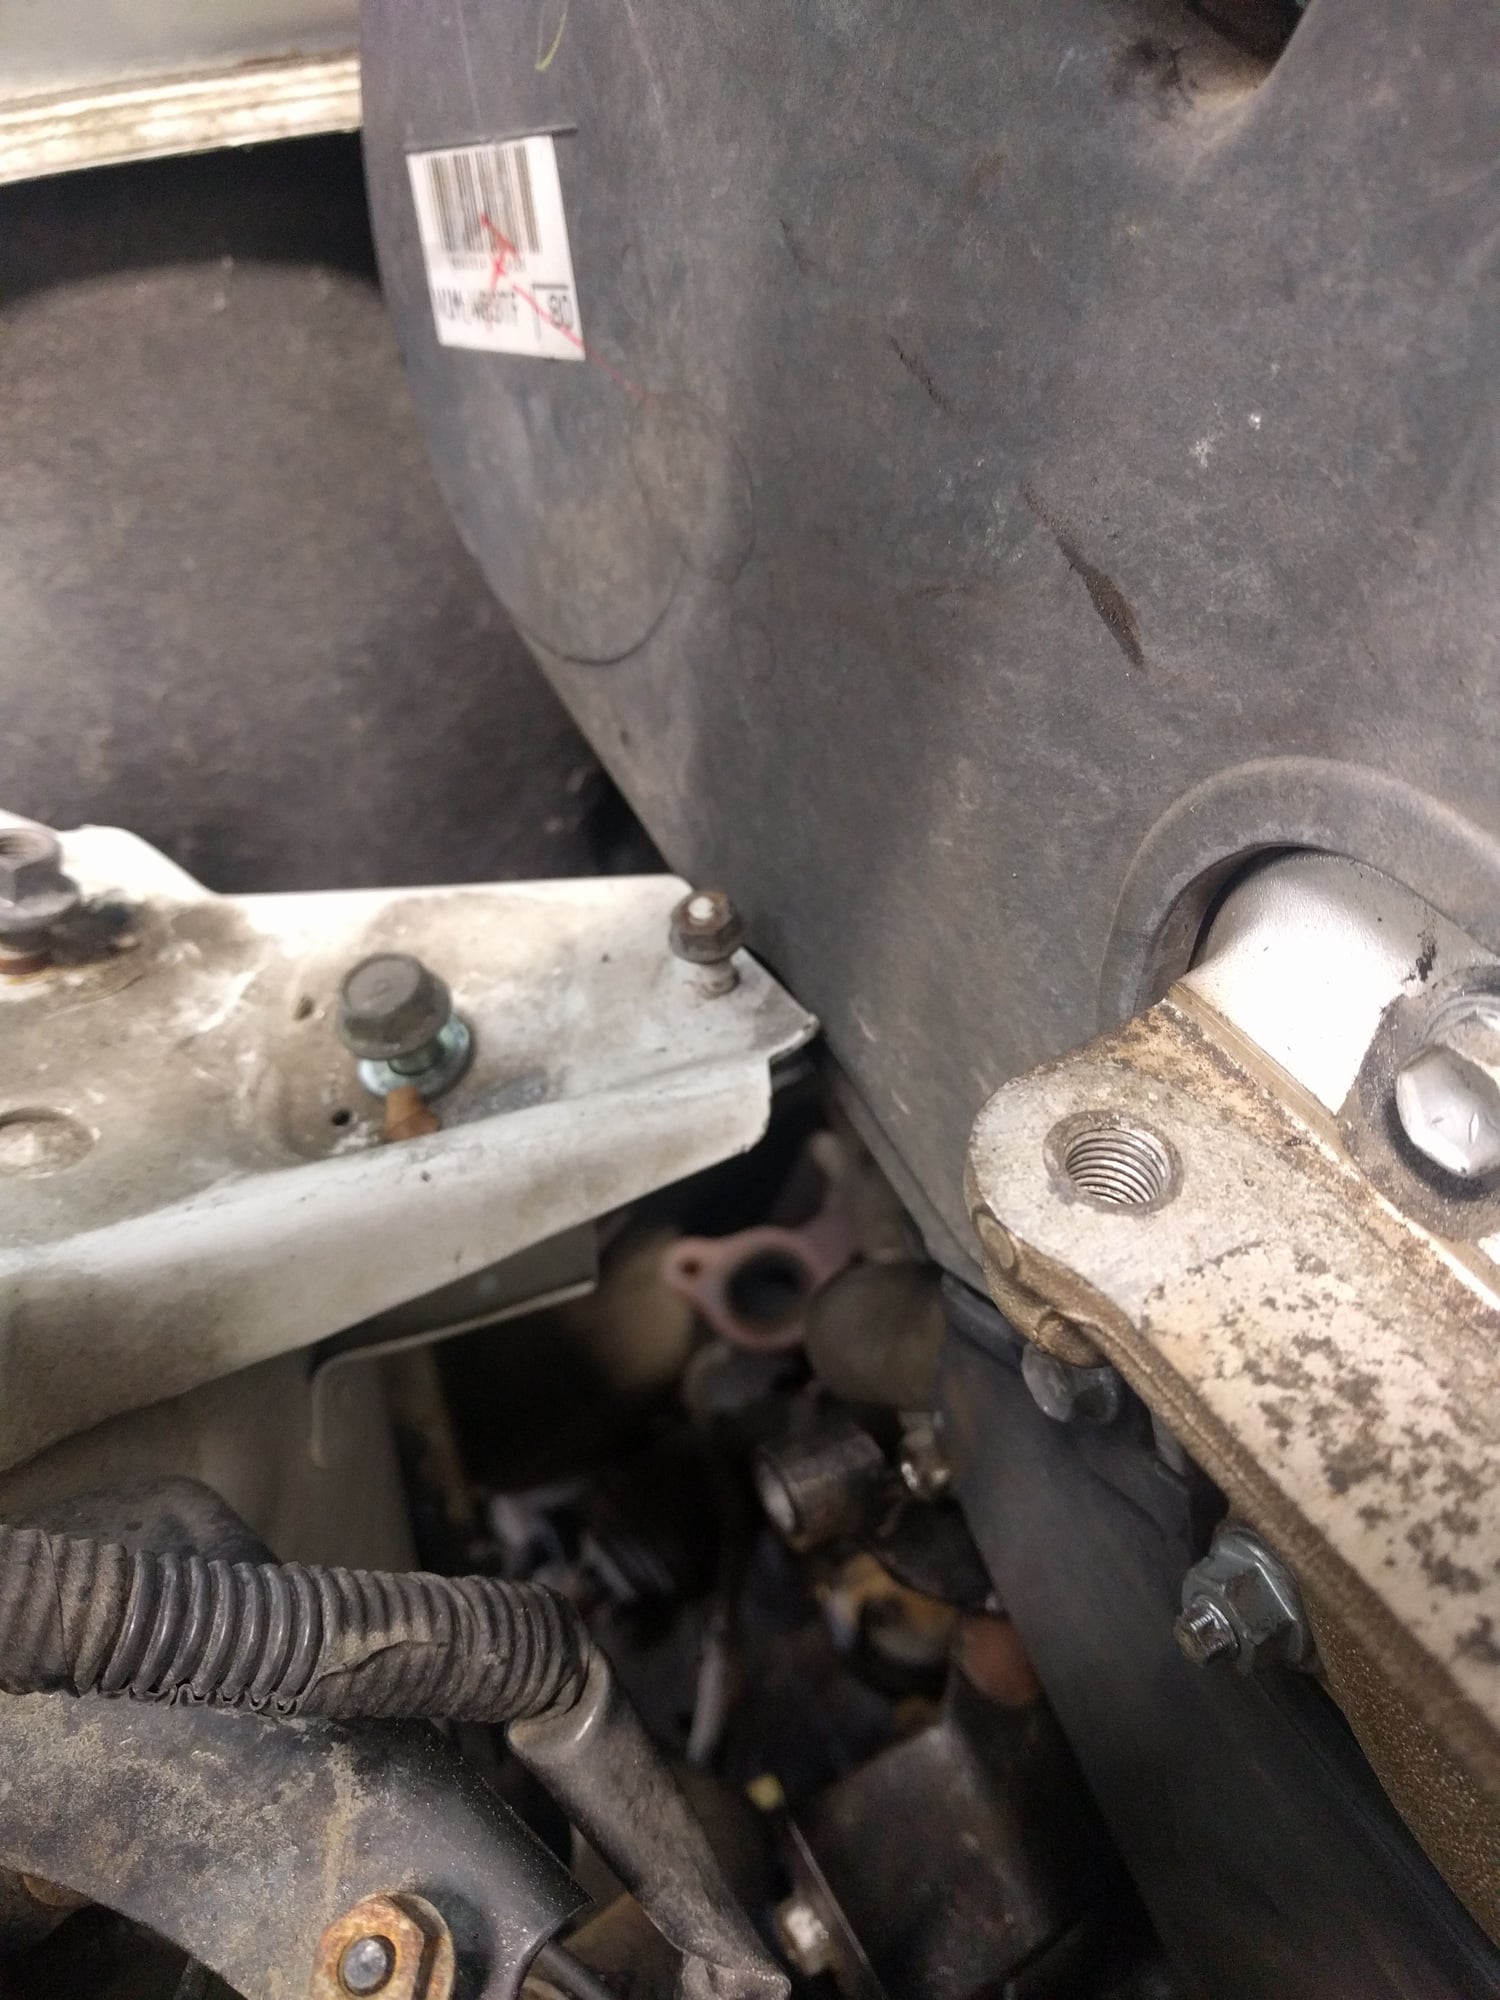
This is the engine mount that is not used on the RX. (still need the power steering bolt hole however) I cut off tip with a band saw. You can also leave it and cut a hole in the splash guard.
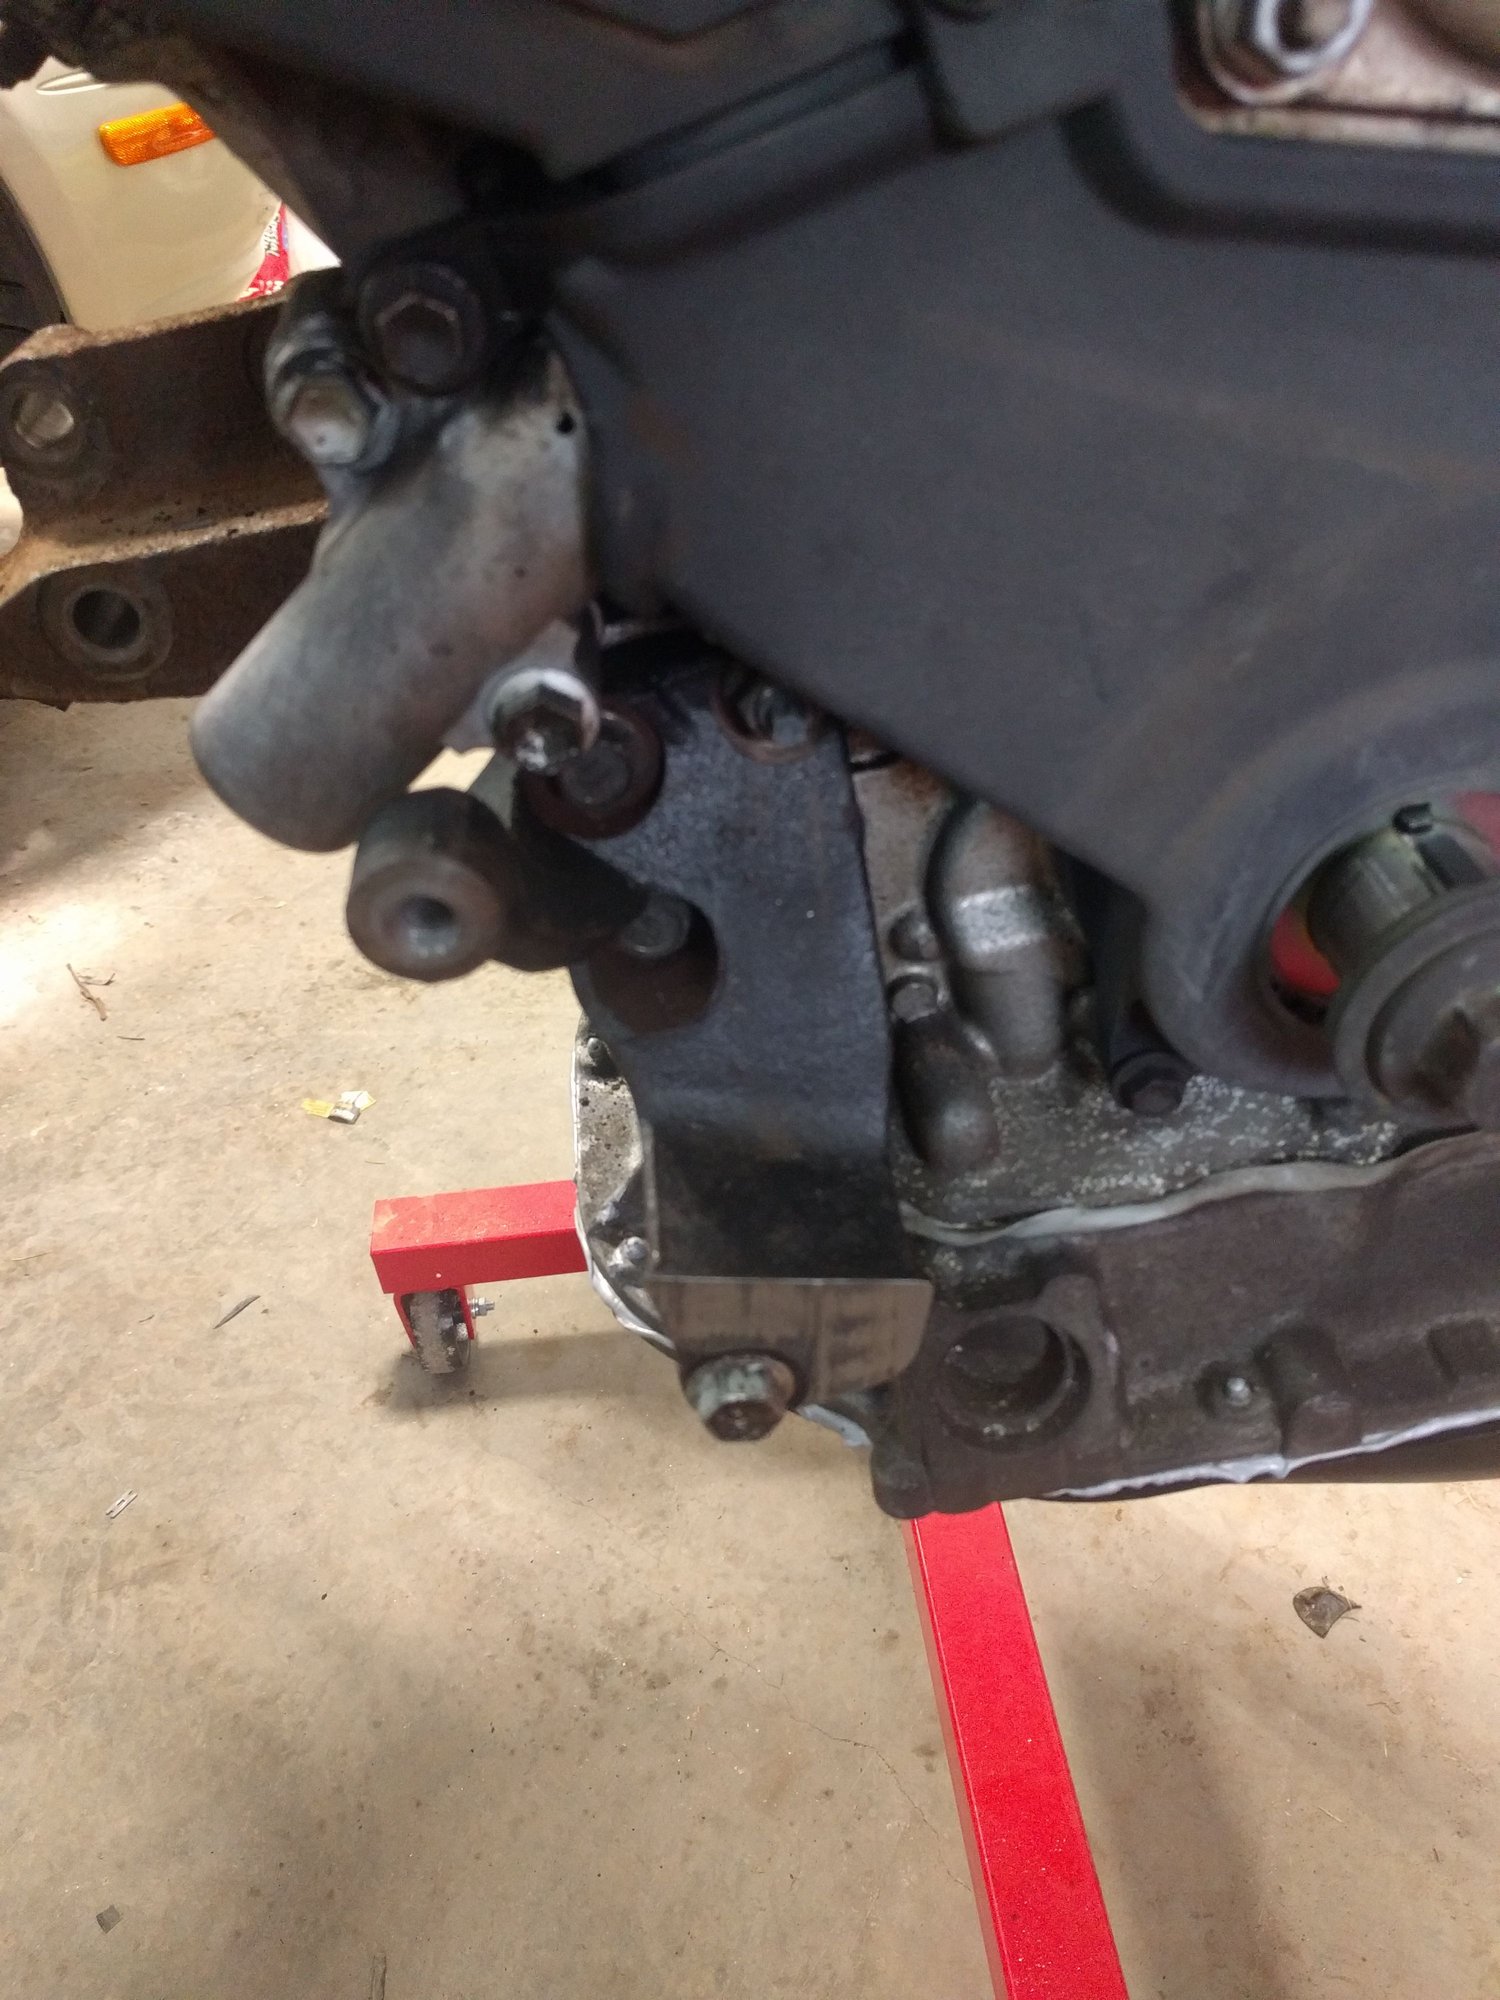
mount back on engine
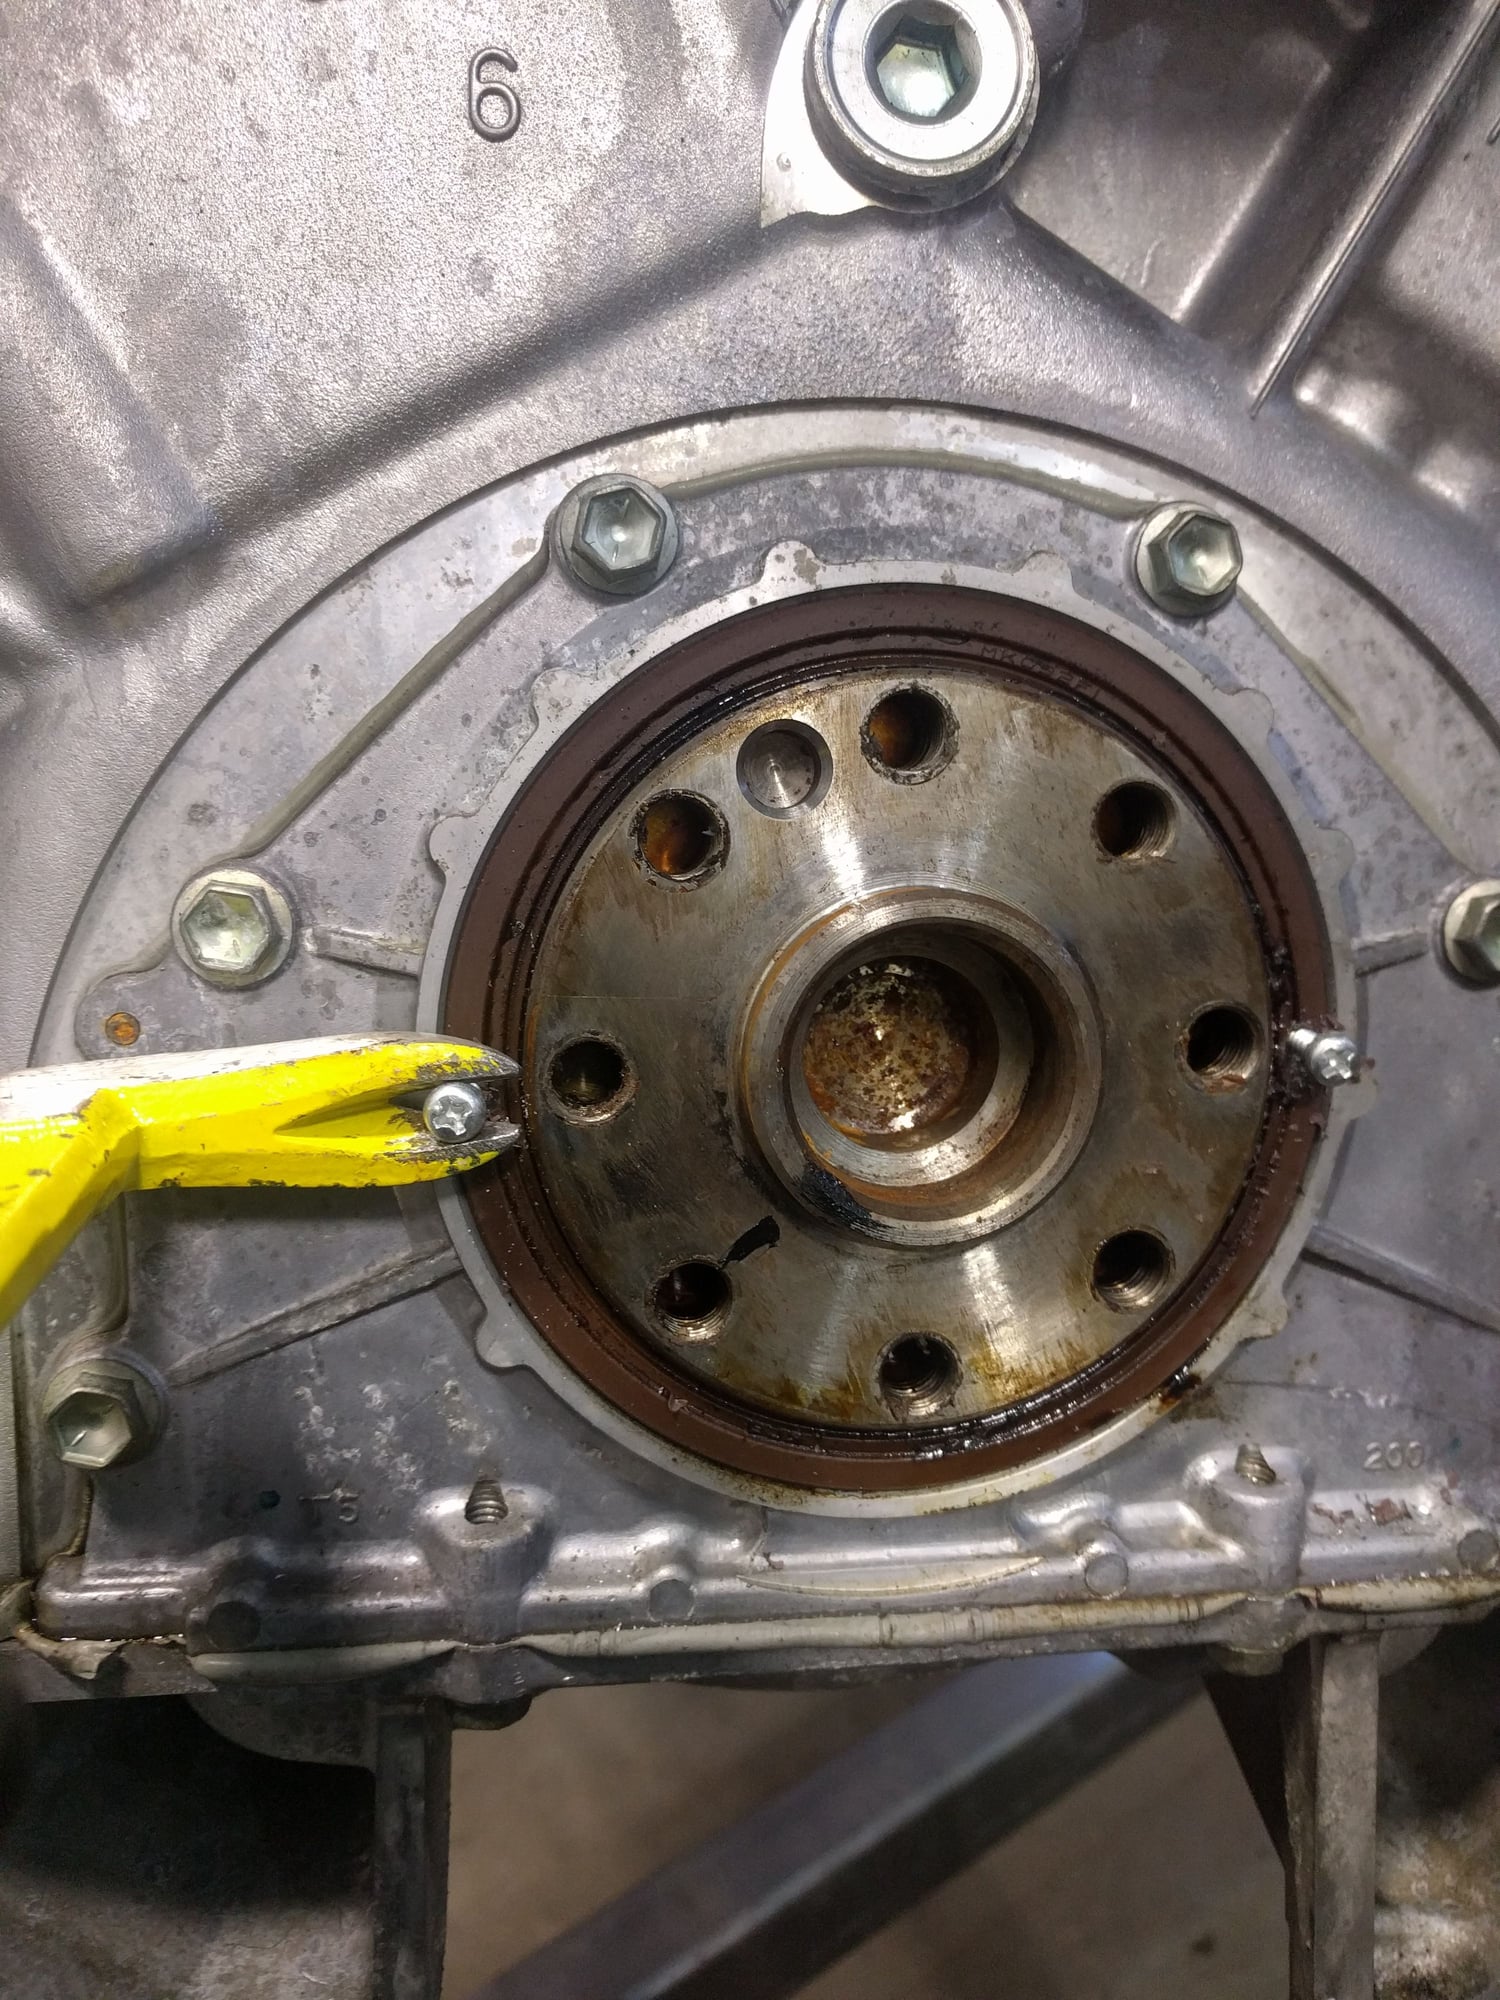
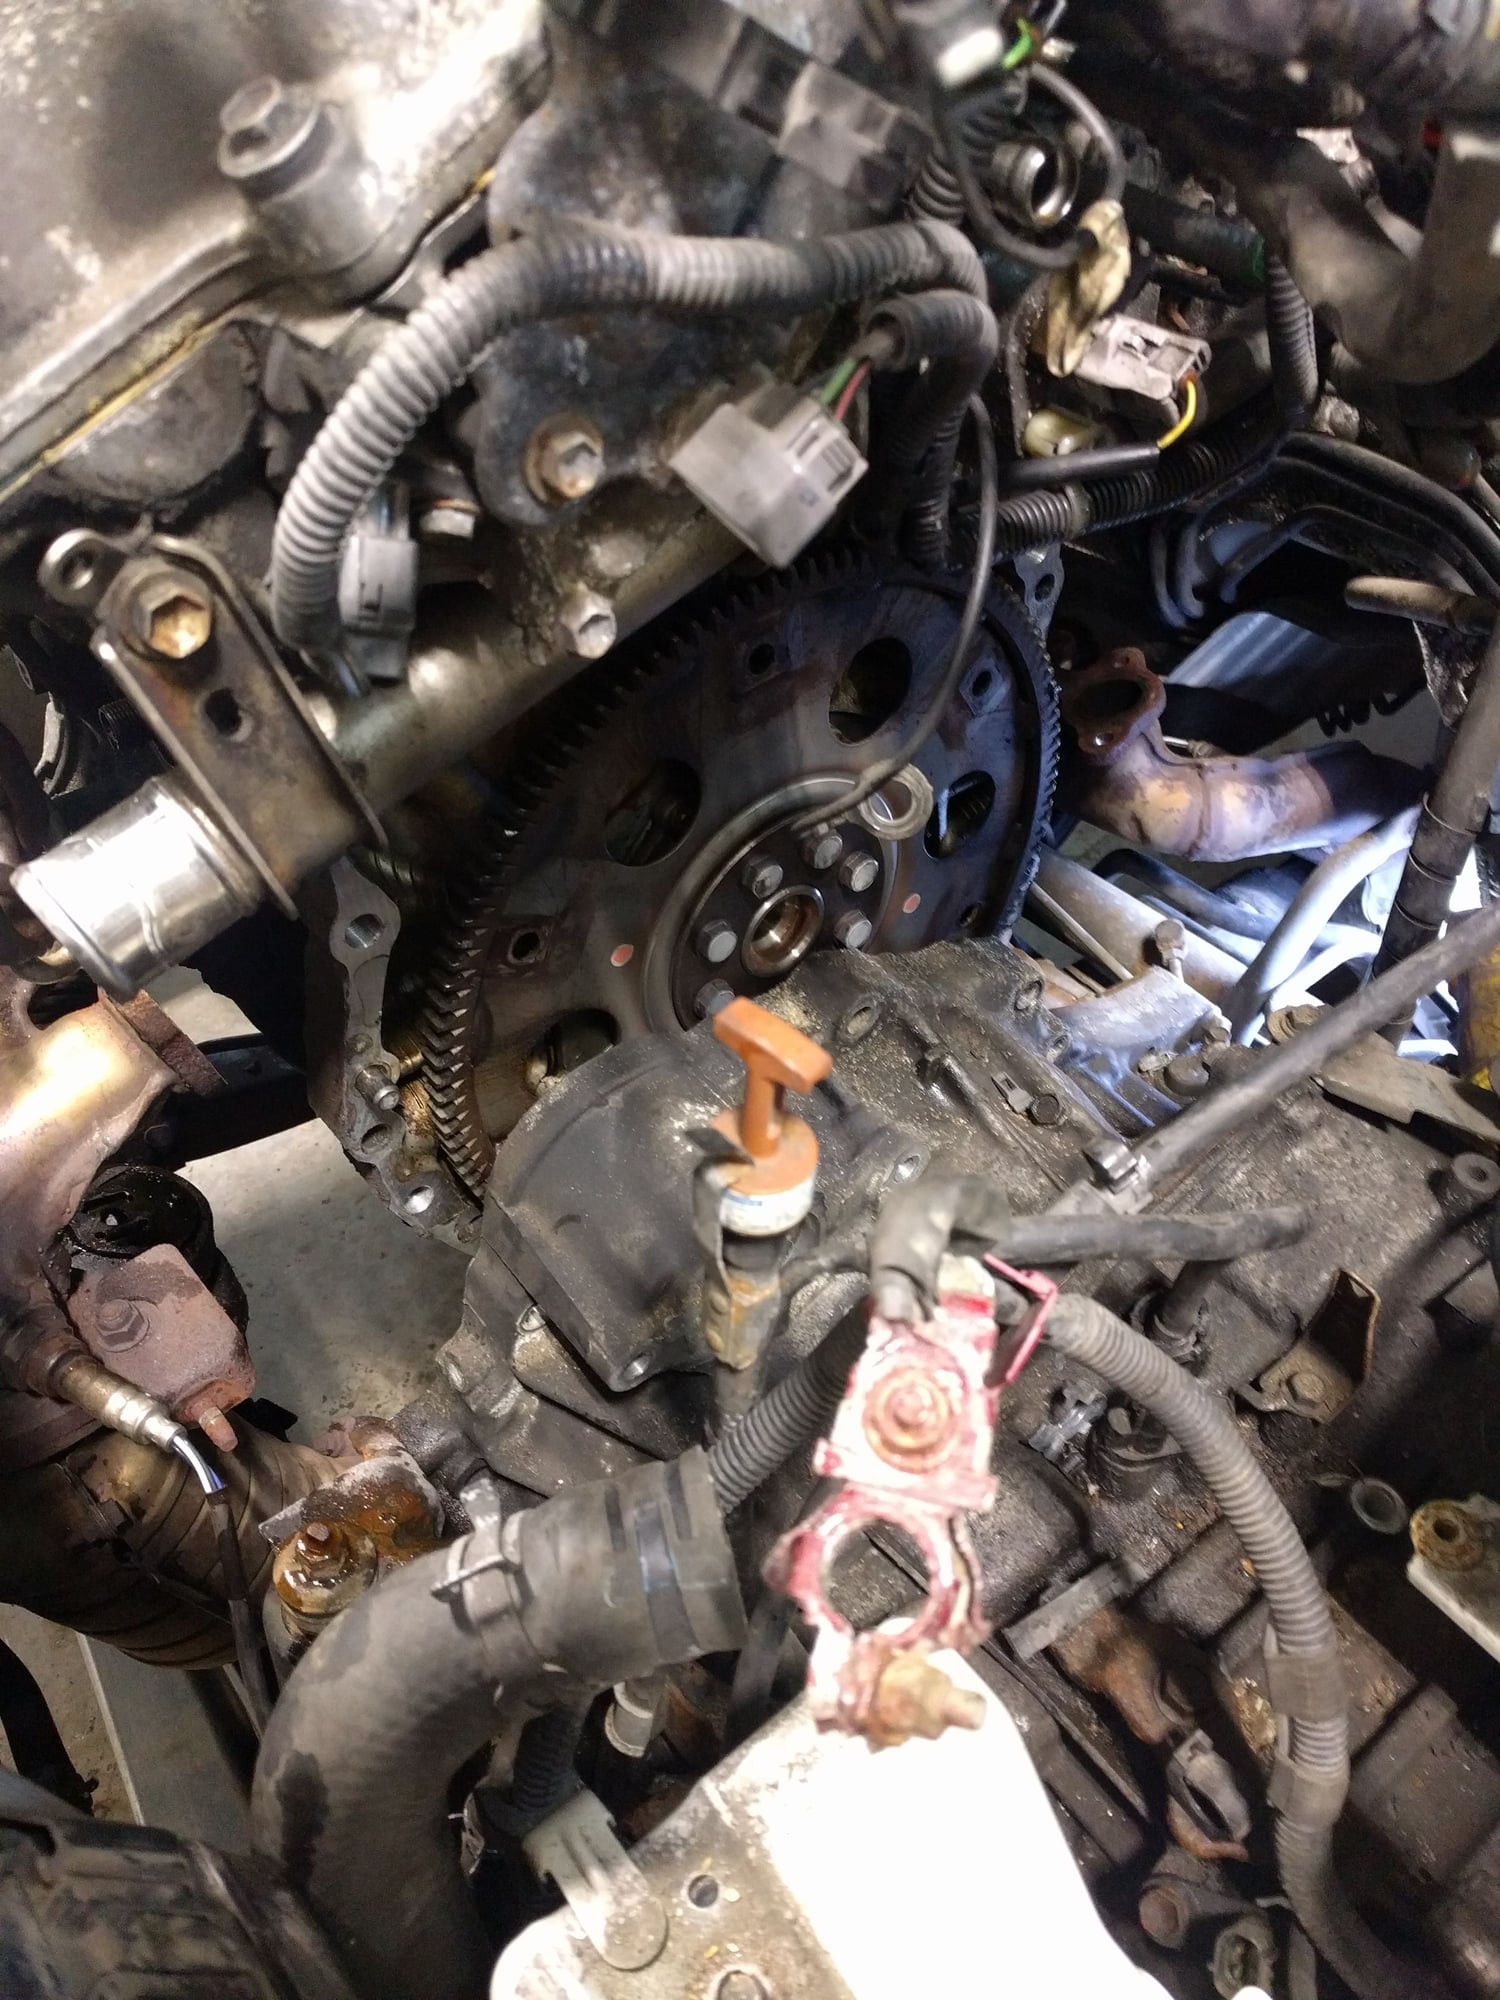
New rear main seal. Old one was leaking slightly. Make sure to use thread sealer on flex plate bolts, the holes in crankshaft are open to the inside of the crankcase
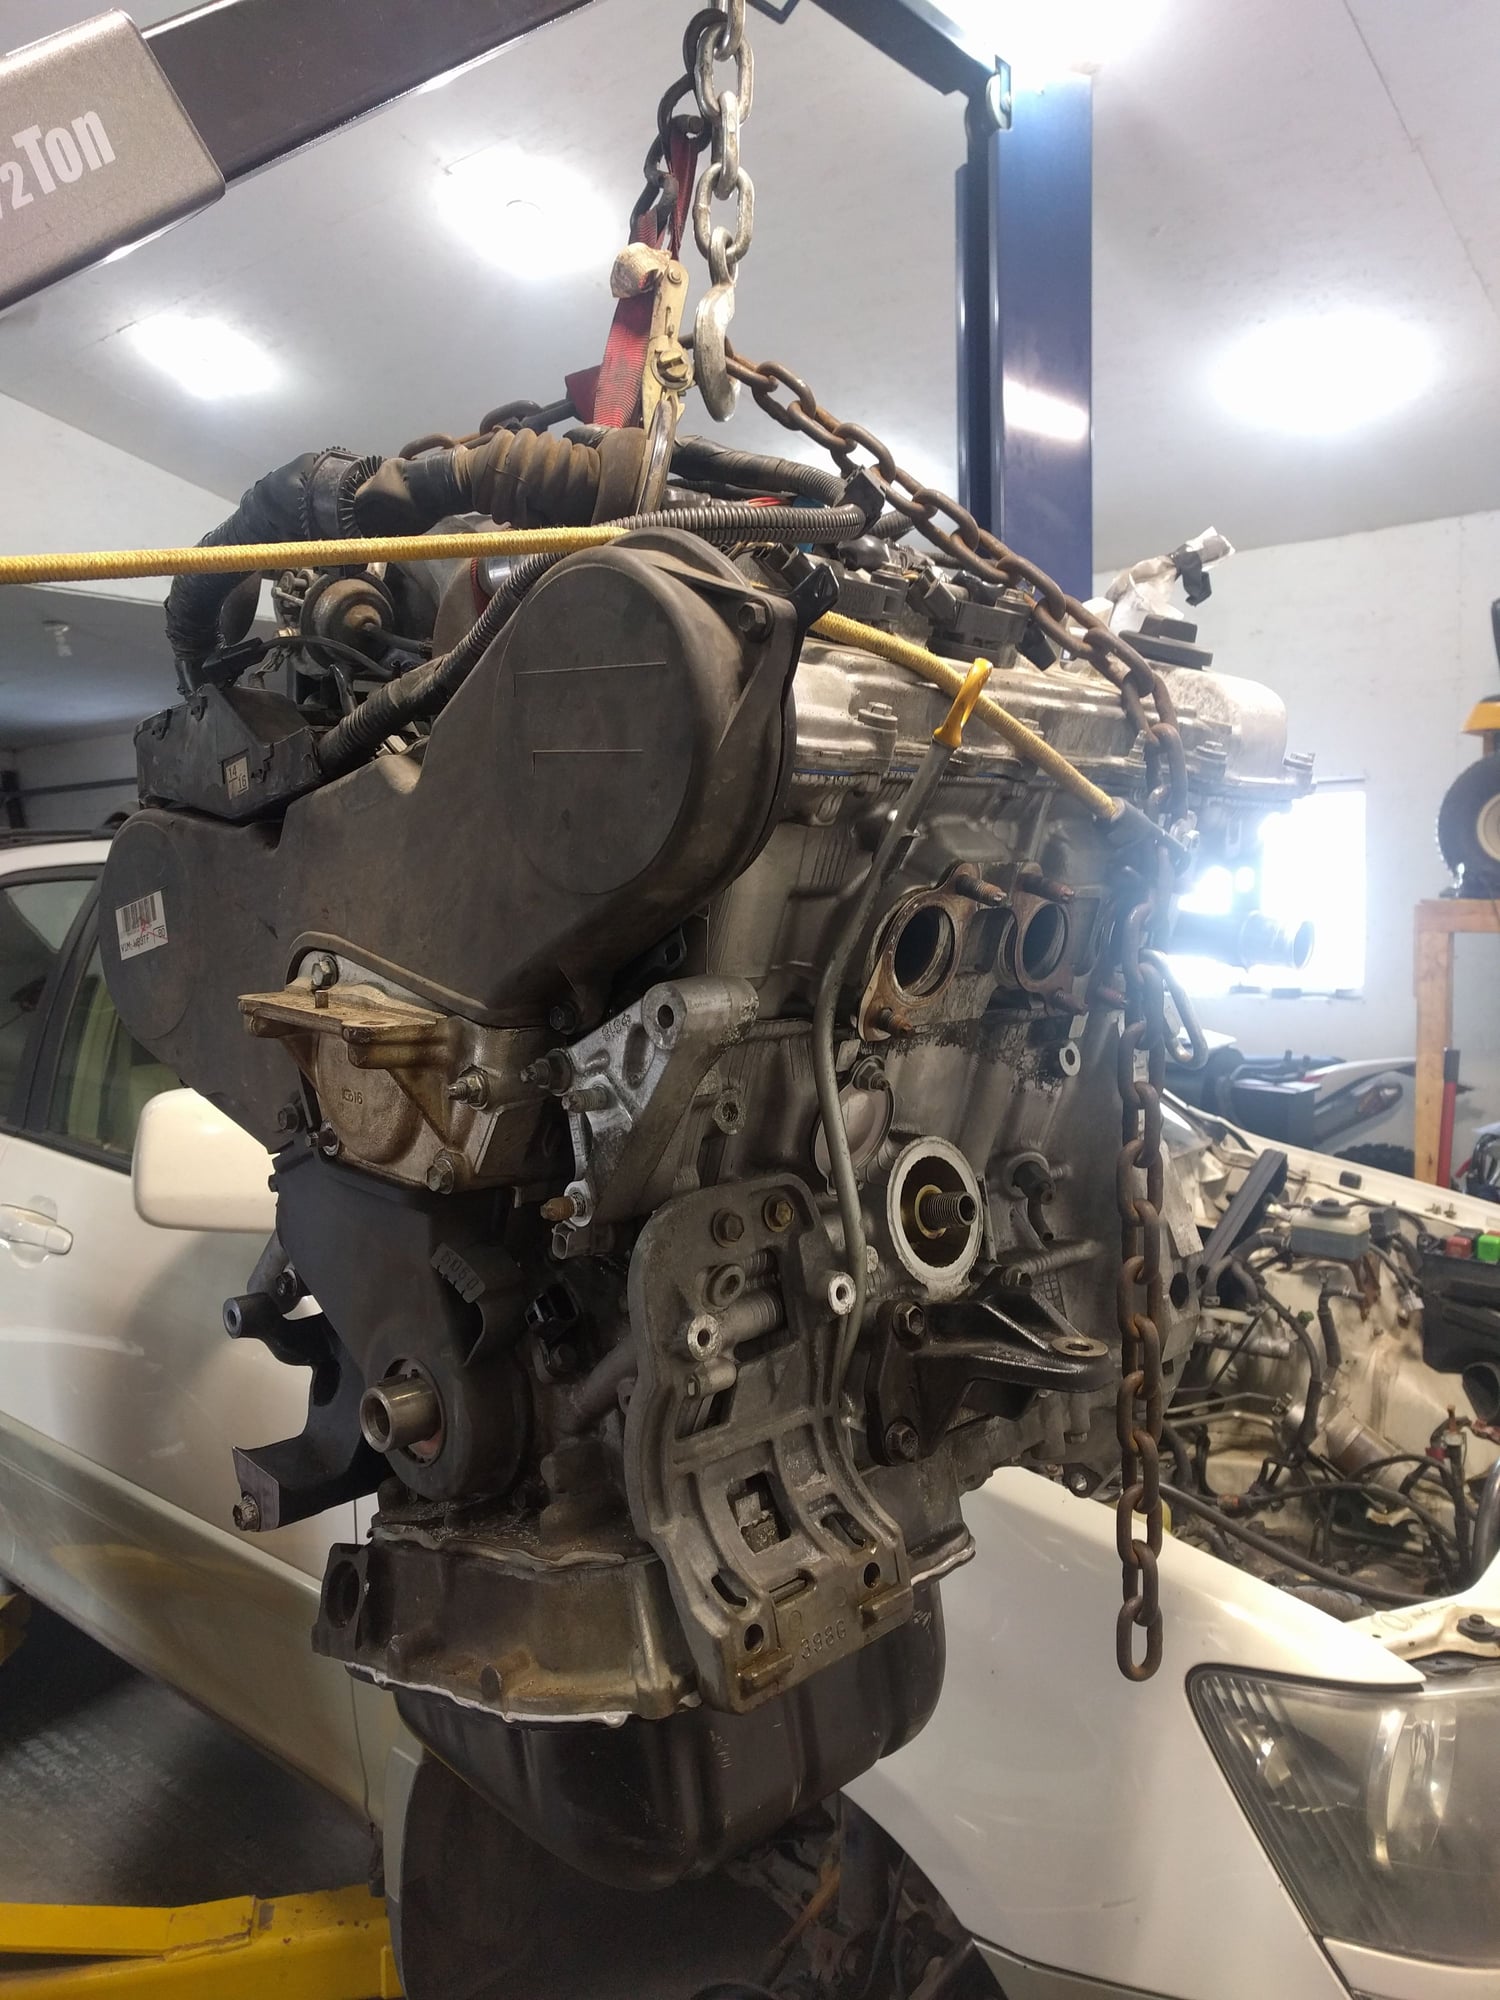
ratchet strap to adjust angle of engine
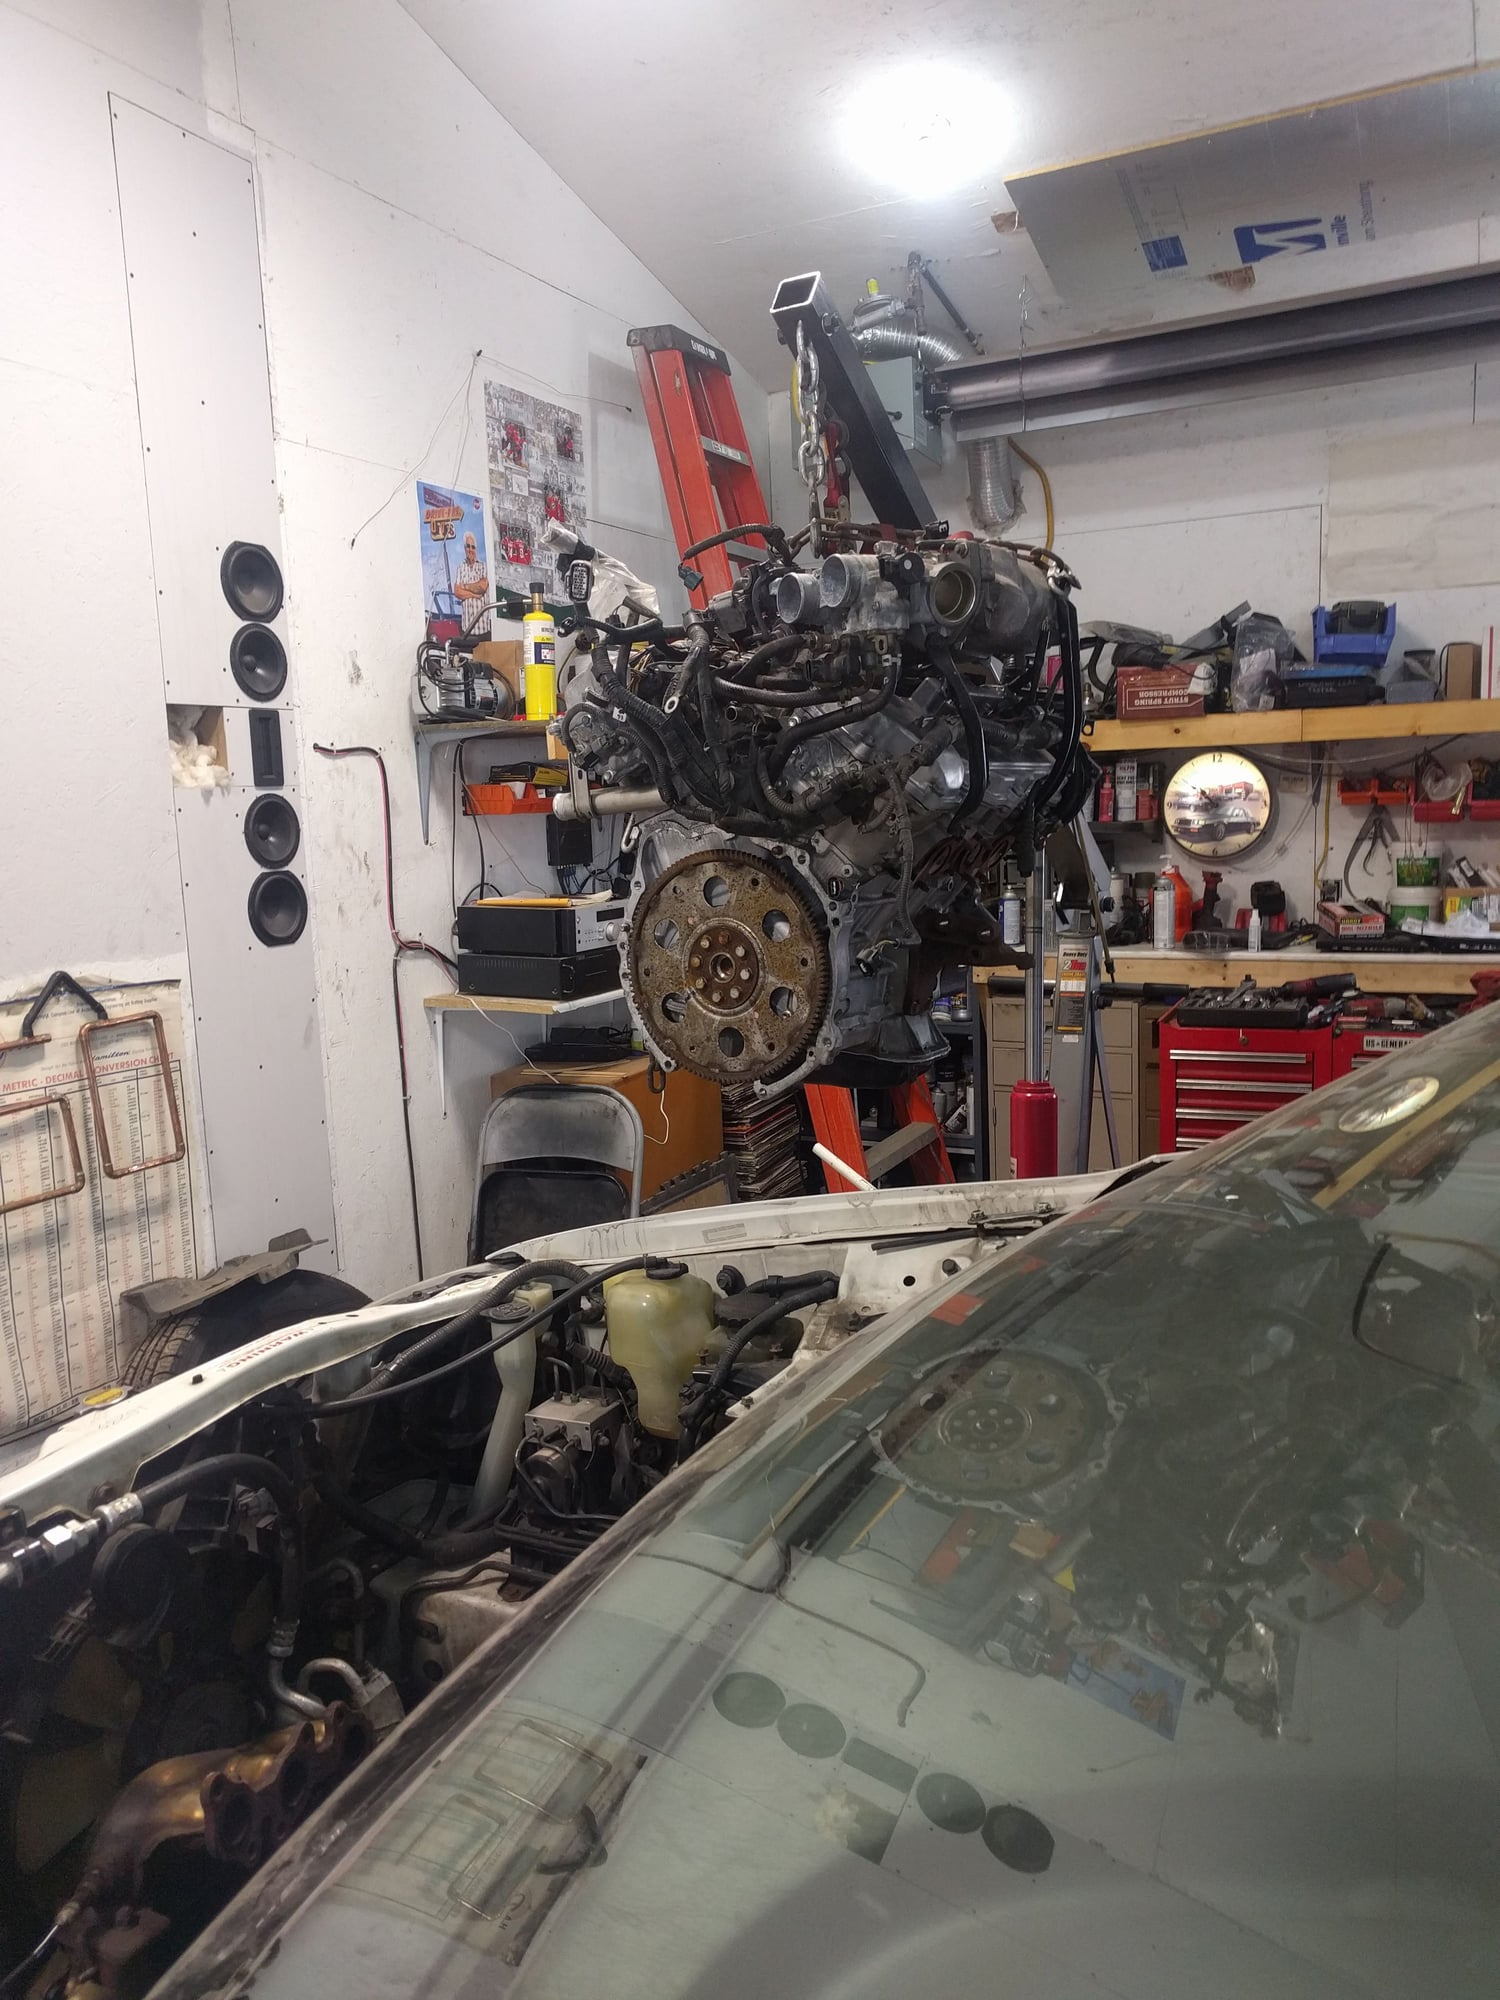
Trending Topics
The following users liked this post:
davidsboss (12-09-23)
#9
Moderator

Hmm ... I was under the impression that the recommended method is to pull engine from top.
Thanks for the details.
Salim
Thanks for the details.
Salim
Thread
Thread Starter
Forum
Replies
Last Post


