When you click on links to various merchants on this site and make a purchase, this can result in this site earning a commission. Affiliate programs and affiliations include, but are not limited to, the eBay Partner Network.
Do what you want. I had this debate years back when I first got it. For some reason, for it to give correct reading, the formula I gave is what works.
"-40 is the 'standard' minimum temperature for any OBD sensor. Link: -> OBD-II PIDs - Wikipedia, the free encyclopedia
Coolant, Air Intake, Engine Oil, Ambient Temp all use A-40 as their equation"
Got all the parts in for the brakes, pre-painted the calipers yesterday but had to wait for the brackets to come off today. Holy cow! They were coated in grease. Had to take them to the local self wash and spray them down before even starting the paint prep. There was no way I could have just brushed off the rust. These brackets were nasty, so I tossed them into the blasting box and stripped them down to white steel and coated them in 2 coats of paint. After 3 hours they were ready to go.
So here is the finished project.
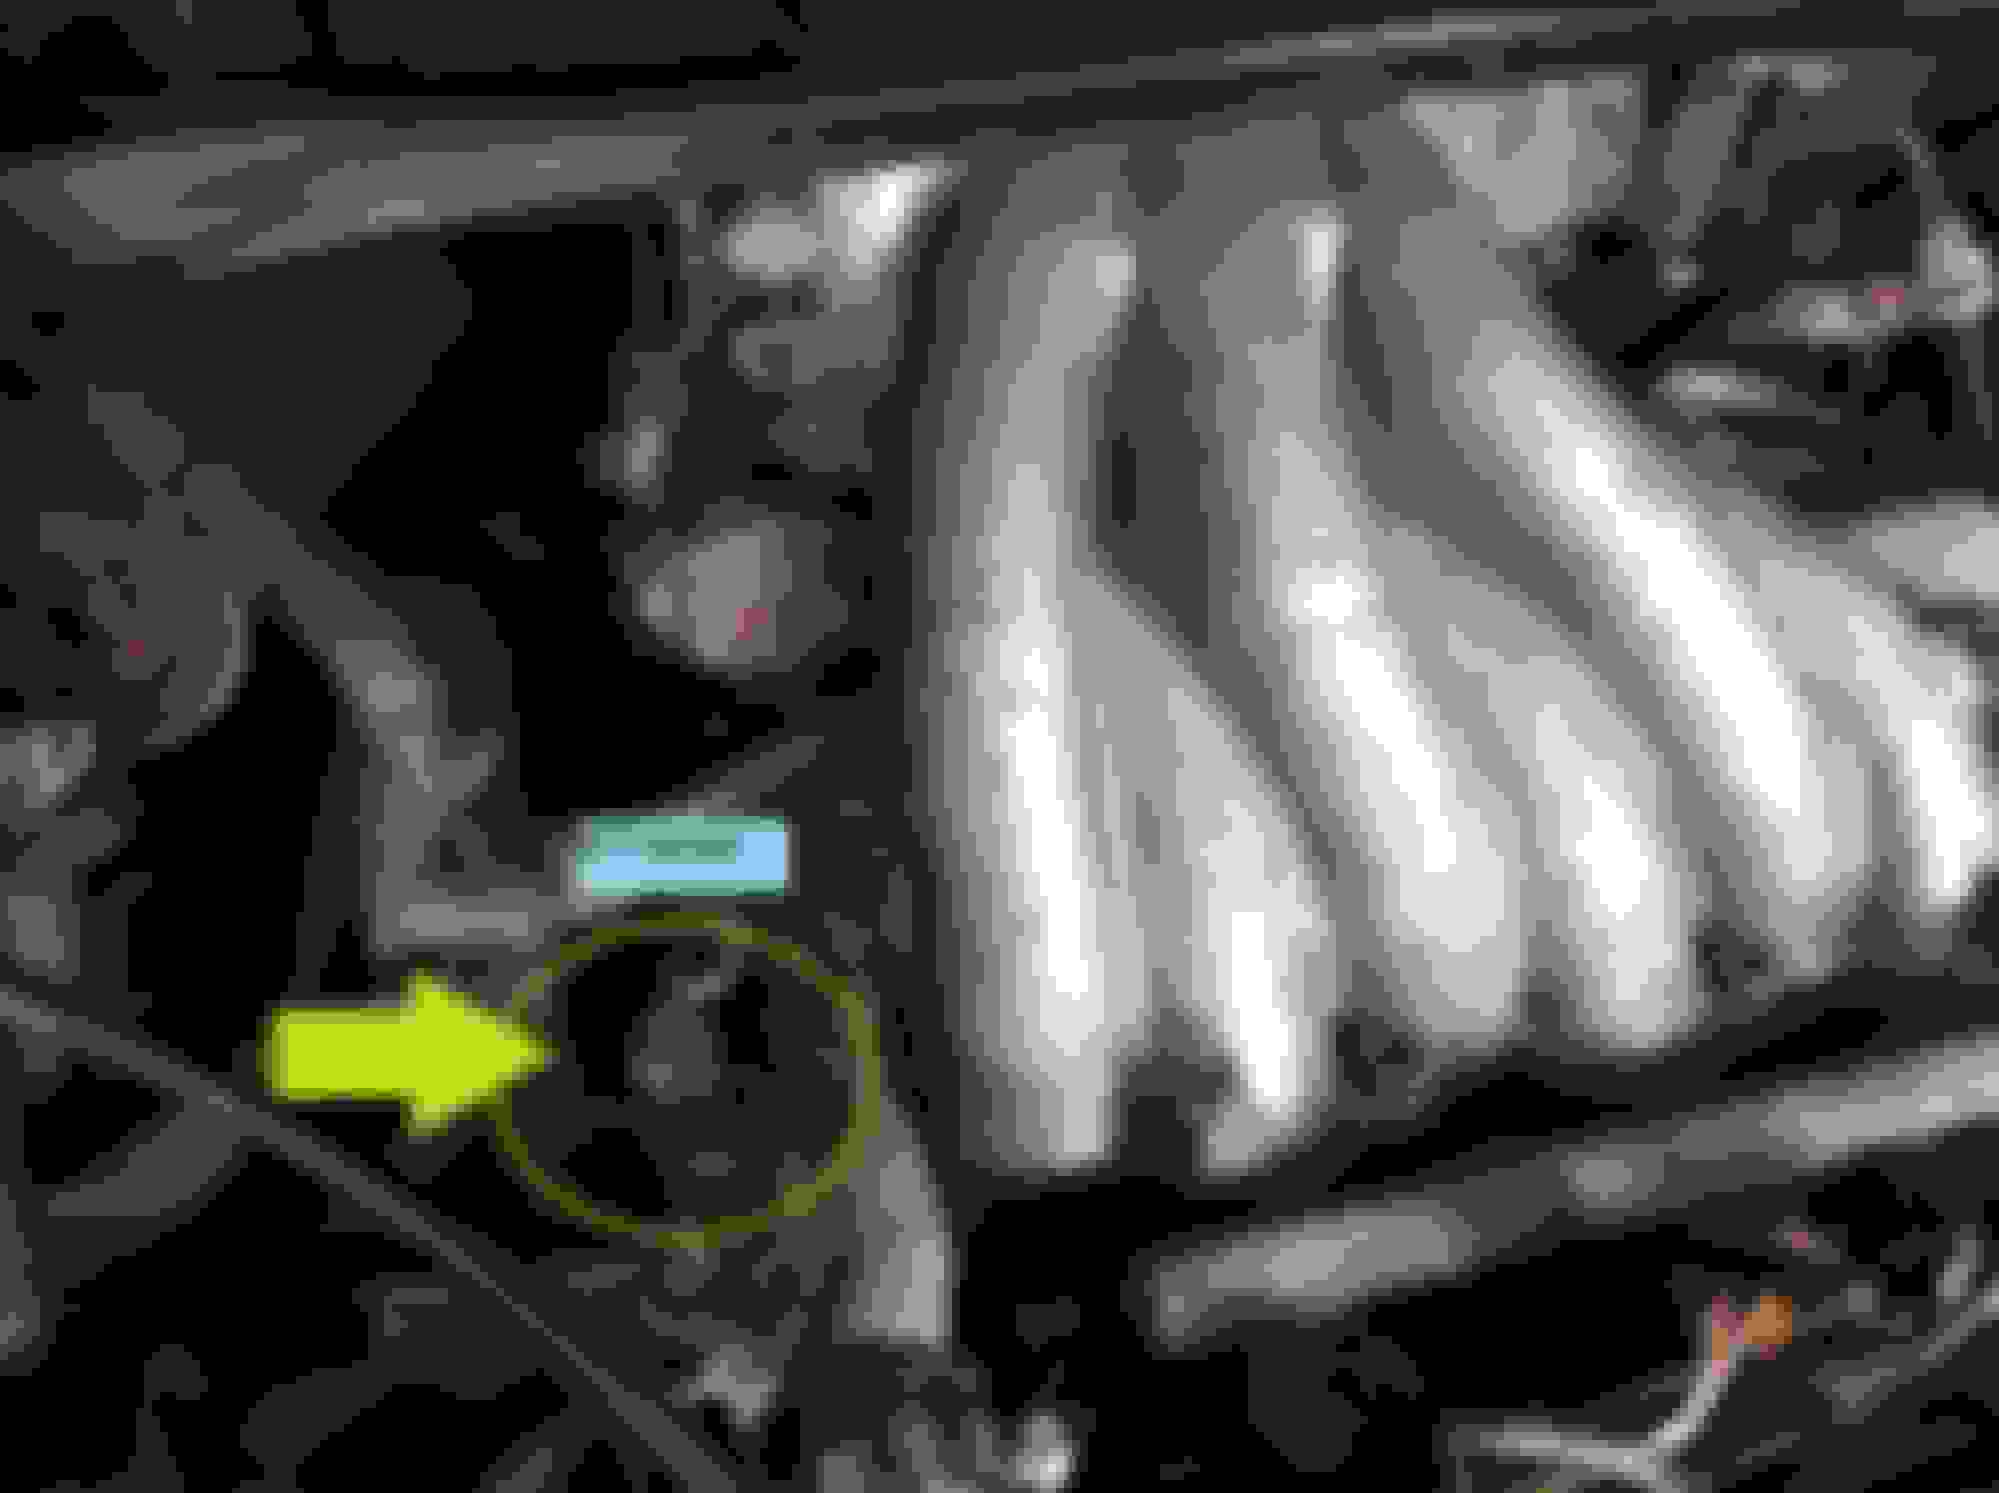
So to touch back on a previous discussion regarding the engine temp. Not only was the thermostat failed but the ECT sensor by the coolant exit by the front of the engine was not functioning well either. I couldnt understand why my reading was 174* when the thermostat was a 180*. I bought an OEM sensor and tossed it in today. Now it displays correctly at 185*-190* while driving. Hopefully this will help the computer lean out the fuel trims and save a few mpg.
So like my Lexus IS300, the ventilation servomotors are making that annoying chattering sound like they are hunting for the correct position. Since I had done this before on my IS300, doing it one more time on the rx300 was a snap. You will need to remove the glovebox by removing the two screws up top and two bolts below. The air bag wires are clipped to the top of the glovebox so be gentle when pulling it out. Don't disconnect the yellow wire's plug, just carefully release it from the glovebox clip with a flat screwdriver. Then remove the center consoles kick panel closest to the floorboard. Its held in by one plastic clip. Then you should see this.
You need to remove the white duct blocking the servomotor which is held in place with 3 screws. Unplug the two servomotors and then remove the 3 screws holding each of the servomotors in place.
*Take a picture of each servomotor now, so you know where the white armature should be positioned when its time to reassemble it.
Before you go and pop open the case, the locking tabs keeping it closed are brittle and will snap off if you jab a screwdriver under it. What I did was cut the points off of some toothpicks and used them as wedges. Gently push a toothpick under the clip just enough to clear the lock. Do this all the way around until each tab is open. Then with a screwdriver, split the case open at the seam line.
Be careful that the contents don't go flying everywhere. Set the case with the armature aside for now. Before you pop out the motor, check for play in the screw gear. see the video below. If the gear on the motor can move on the motors shaft, thats too much play and its enough to confuse the position sensor on the big gear from getting to the precise position it needs to be.
Take another picture to make sure you get everything back in the way it came out. Pop the motor out and remove the plastic screw gear. That brass lug on the shaft needs to move out ever so slightly. I used wire snips and needlenose pliers to get under the brass lug and move it about 1mm. You need to put the gear back on and insert the motor to see if the gear still has play. I moved mine too far and had to push it back. If you have a vice, you can put the motor in with the jaws on the back of the case and end of axle to keep from leveraging against the axle bearings. Then use a screwdriver and lever against the motor housing to shift the brass lug. Be creative. Its important to get it snug but not tight. Once its right, this is a good time to relube the gears with white Lithium grease and close it back up. Make sure to get the arm in the approximate same position it was in when you removed it from the truck. It does not need to be back exactly in the same place. It will relearn its position once you plug it in. You just want to make sure the blend door levers can connect the servomotor when you reinstall them.
The last project I will tackle before handing the truck off to my daughter is the drivers door lock actuator. You can watch the lock from the passenger side and it half locks with the key fob. Hit it a few more times and it works its way to lock.
Last edited by Drcoffee; Jul 18, 2016 at 06:00 AM.
In order to be helpful to members on CL I will post a parts list and price paid and source. Labor was free.
(posted price is total for all parts combined)
The first thing you should notice is the price difference between Lexus dealerships and alternate sources. For the record, I bought Nothing from Lexus. The same part number for the diff drain plug was $14 at Lexus and $5 at Toyota.
Think of all the tools you could buy with what you didn't pay the dealership for all these repairs.
I can finally say "It drives like new"
If you started adding it all up, its a lot just in parts. Roughly $1,100
If you translate all this work into dealership charges, I come up with a guestimate of $5,700-$6,200 in total work and I am probably on the low side.
Last edited by Drcoffee; Jul 27, 2016 at 08:25 PM.
I'm starting to get optimistic about my mpg. The first tank of gas only gave me 17mpg. I'm not even half way through the 2nd tank and I'm already at 145 miles which should translate into 20-21 mpg. I'm leaning towards the OCVs, T-stat, ECT sensor and non-seized new brakes for the improvement. LOL
I'm starting to get optimistic about my mpg. The first tank of gas only gave me 17mpg. I'm not even half way through the 2nd tank and I'm already at 145 miles which should translate into 20-21 mpg. I'm leaning towards the OCVs, T-stat, ECT sensor and non-seized new brakes for the improvement. LOL
Hard to pin it down.
T-stat and ECT can make a huge difference in mpg. If they are not operating correctly, the ecu may think it's in perpetual warm up cycle for fueling.
T-stat and ECT can make a huge difference in mpg. If they are not operating correctly, the ecu may think it's in perpetual warm up cycle for fueling.
I agree. Before the brake job though, it felt like there was some kind of drag on the truck when I would let off the gas pedal. I dont feel that drag anymore.
UPDATE: 7/20/2016
So I had a chance to drive the freeway today for an hour and a half each way at 75 mph. No oil consuption whatsoever. What a relief. A longer test like 5,000 miles will be more definitive.
The transmission cooler mod has exceeded my expectations. In Chicago, the weather is hot and muggy, 93*F and high humidity. Freeway driving gave me 176*F trans temp. Suburban driving brought the transmission temp down to 170*F.
This cooler is rated at 20,000 BTU and is a dual pass cooler
Last edited by Drcoffee; Jul 20, 2016 at 02:12 PM.
The fun never ends. While driving home at night, I noticed the headlights dim and then brighten again and it happened over and over. When I got home I started testing with the multimeter. With the highbeams and ac on sitting at idle the voltage was 13.57. When I blipped the throttle the voltage dropped to 12.7 as if it was running off the battery, and then the voltage would rise again to 13.57vDC. I tested the battery with the engine off and sure enough, the battery was 12.75vDC. This confirmed the fact the alternator was randomly dropping out entirely. I ordered a new TYC 100amp alternator from rockauto.com and installed it tonight. The voltage is now steady at 14.40vDC at all rpms. I searched the forums high and low for dimming headlights and it sounds like its common on these trucks. Assuming the OEM alternators may have had design flaws, I stayed away from remanufactured alternators and went with a brand new unit. I have used TYC on other cars and really liked them. Never had a problem.
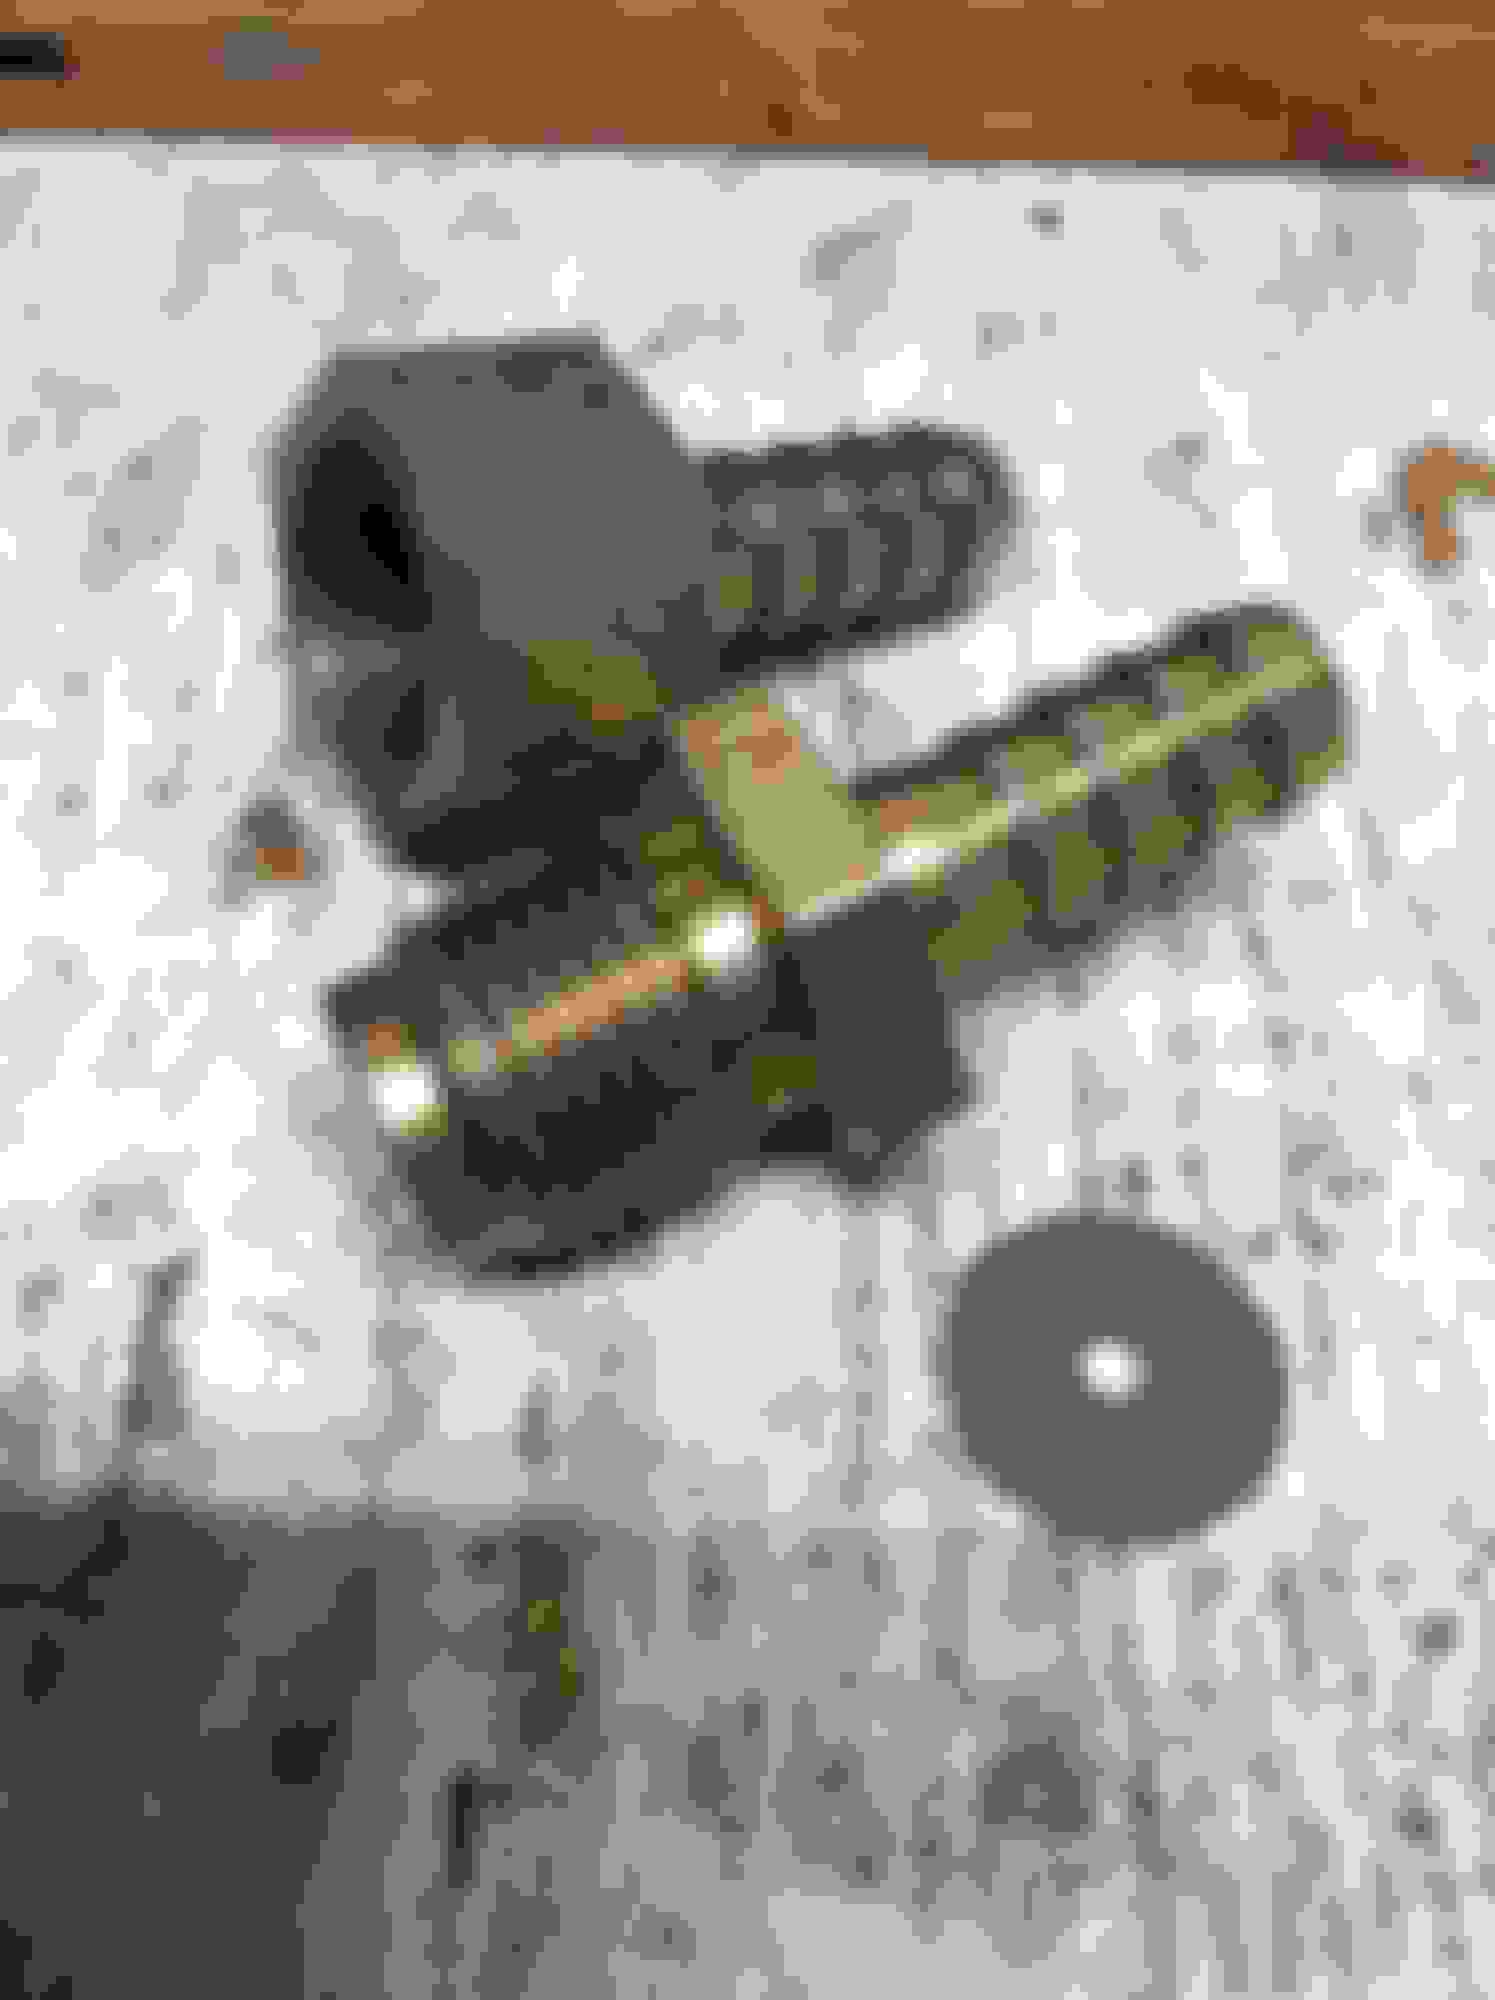
The install was fairly straight forward except that the tensioner bolt was rusted in place. If you have this problem, this is what I did. I removed the pivot bolt and tensioner lockdown bolt. The alternator was now free to be removed once the wires were disconnected. The tensioner bolt was left hanging on the bracket. The old bolt is going to shear off anyway so dont waste time trying to save it.
I used a pair of bolt cutters and cut the bolt between the bracket and lockdown block. It measured 3.5" long and the bolt is 8mm x 1.25. I made a quick trip to Menards to buy a new bolt 90mm long and a washer and I was back on track. So the old bolt was still seized in the lockdown block and you will need that part for the new alternator. Back to the workbecnh to remove the old bolt. I clamped the threaded shaft in the bench vice and had the block hanging off the end. Using a plumbers propane torch, I heated the threaded shaft and block until it smoked and turned red. This takes about 10 minutes. With a monkey wrench, I was able to work the block back and forth until the block could be turned off the old bolt. Heat is essential to break the bond of rust. Dont try it cold or the bolt will break off inside the block.
once the old bolt was out, I used the new bolt with lubricant to restore the threads by running it in and out 5 or 6 times until it turned freely. Nfortunately I dont have metric taps to clean the threads. Its so much easier if you use a cordless drill with a socket. The install was much easier. The larger pivot bolt is torqued to 41 lbs/ft and the lock down bolt is torqued to 14 lbs/ft.
So if your headlights are dimming, its probably time to replace the alternator. It can be a DIY project and you can save some money. You will get a reman unit for $250 plus labor or buy a new unit for $111 and do it yourself.
This should be the final chapter on this project thread. After replacing the alternator I noticed the front axles had slung out all the lube on their inner joints so I sourced a pair of front axles from a 2001 rx300 on ebay. I was able to get them for $35 each shipped. Sure beats the price of new axles at $1100 each. Sorry no pictures on this one but the job was so very easy. Raise both front wheels off the ground, remove the wheels, pop out the center cap of the wheel, remove thr cotter pin and star cap off the axle nut, re-install the wheels and lower the rx back down, with a long breaker bar, break the axle nuts free, but dont go beyond that. The bearings cannot support the weight of the truck when loose. Raise the rx back up and support with jack stands. Remove the abs sensor, remove the 3 lower ball joint nuts and bolt off the lower control arm. Pull axle out of the hub Then use a rope or strap to pull and restrain the hub to the rear. I used a nylon tiedown and secured to the the spokes of the rear wheel. Put a oil pan below the transmission and pull out the axle. Just reverse to install.
the last issue was oil consuption above 70 mph. The Gen2 cam cover was not the solution unfortunately. You can read the complete trials in the thread https://www.clublexus.com/forums/rx-...ml#post9592730 . In short my conclusion is this. The intake manifold has too much vacuum and the pcv valve does not restrict flow enough. Taking a page from the GM LSx oil consuption problems and their solution, I created a fixed orifice adapter to install in the pcv hose. The hose was approximately 20" long with a custom restrictor with a 2mm hole installed just 6" from the intake manifold port. This seems to have stopped the loss of oil without preventing the the pcv from doing its job of evacuating the crankcase.
The hose is actually reversed so that the brass restrictor is on the backside. But you get the idea.
Last edited by Drcoffee; Aug 23, 2016 at 08:30 AM.
So the oil consumption was not corrected by the above post. I ended up buying a 3rd gen valve cover and that has stopped the oil lose. The latest version has a baffle that make the air flow pass thru a second baffle with a diffuser which scrubs out the oil before reaching the pcv.
Oil loss:
The 3rd gen valve cover did significantly slow the oil loss but the camshaft seals were leaking, so its hard to say if its still sucking oil or not.
Transmission:
After 20,000 miles since doing all this work to the RX300 I had to do the timing belt and water pump. I also changed the camshaft seals which were leaking and the crankshaft seal. I took the opportunity to remove the Magnefine transmission filter and replace it with a new one. I am not happy with what I saw. There are shards of steel stuck to the magnet. The PO had a independant shop rebuild the tranny. I just wonder how much time we have left. That said, I am thrilled the Magnefine filter caught this crud before is could recirculate thru the transmission and tear up other components. There should be some gray grime, but nothing that would look like slivers. Here is what I saw:
The paper element looks clean, but all that stuck to the magnet is steel filings. I will swap filters again in 20,000 miles and see if it looks equally bad. If it does, it will get sold.
Last edited by Drcoffee; Aug 27, 2017 at 05:46 AM.
Hoping you are still lurking around the forums. I was looking at my front engine mount and there is oil build up on it. I noticed yours looked similar in the photo. did you remove yours at the time to check it was ok and not leaking as the source of the oil? Also, what was the condition was your top dogbone mount? My top mount is definitely damaged and I am going to replace. but I though maybe the front mount could be damaged also and is contributing to the top mount getting stressed.