When you click on links to various merchants on this site and make a purchase, this can result in this site earning a commission. Affiliate programs and affiliations include, but are not limited to, the eBay Partner Network.
Here goes. I bought a 1999 RX300 for my daughter who lives in OK where extreme heat is the norm. So before I hand her the keys, I plan to do a few maintenance items. I will do my best to document the project with video and photos.
Project list:
Radiator and hoses
AC Condenser
Delete factory Fender transmission cooler
Add B&M 70264 Transmission cooler
Flush transmission R&R trans pan filter
Add Magnefine inline trans filter
Add Magnefine inlne filter to power steering
Replce VVT control valves and clean filters
Thermostat
R&R rear valve cover with used gen2 2004 version
Vacuum hoses
LED dome lights
replace alternator
replace all 4 brake calipers and pads
First up is the transmission:
The service records at Lexus went right up to 135,000 miles. A year after the 2nd owner bought the RX300 the transmission failed. He had it rebuilt at a local mechanic who removed it, farmed out the rebuild to a tranny shop and re-installed it. Its been running 20,000 miles since the service work. So I feel better that the service guy didn't actually do the tranny. But there is always that nagging thought that its going to fail again. Before I start the other projects, I need to drop the pan, replace the filter with OEM parts and refill with Type-IV ATF. There are plenty of how to DIY on CL for the procedure so I wont bore you here with the same old. What I haven't seen is how to do the fluid exchange or flush in a video. Here is what I did to pump out the old ATF after replacing the trans pan and filter.
Now that the transmission has been refreshed and disconnected from the radiator, I have drained the radiator in prep to remove it and the AC condensor. While the radiator drains, I took the opportunity to remove the old Transmission cooler and rusted lines.
There is nothing less fun that replacing a power steering pump or steering rack, so I always install a Magnefine filter in the line just before the reservoir. The RX300 has a short hose between the steel line and res. so it will require some modification to shoehorn it in. The steel line is held in by 2 bolts on the frame, both 10mm. We'll start by sucking out the reservoir and removing as much fluid as possible. I was able to get 95% of the so called PS fluid out. It was thick and looked like honey. Who knows if anyone ever changed it. I think the factory uses a clear fluid but then recommends Mercon for refills. After the fluid was removed, I disconnected the inlet hose from the reservoir and press a smaller hose into the return line and put the other end in a jug. So here is how you flush your power steering. You cap the open port on the reservoir and fill it with new ATF. Jack up the front end from the frame rail in the front under the radiator until the wheels are just off the ground. With the engine, off but key on, turn the steering wheel all the way Left and all the way Right until the old fluid is completely expelled. You will see a color change of the fluid if you used clear tubing. You may have to add more ATF to the Res until the new fluid is coming out of the system. Plan on using 2 qts of ATF. Then reconnect the inlet hose to the Res and top off the tank. Again, turn the wheels from lock to lock until you have the correct amount of fluid in the Reservoir. Only then should you start the engine and continue to purge the air from the system. If you want to replace your steering pump, the fastest way is to run it dry. Never run the engine without fluid in the steering system. The simple bearings in the pump will grind down so fast you will curse the day you flushed your steering.
Back to the subject at hand. Once the fluid is out and the lines empty, I removed the steel line from the frame rail and cut it right about where the ABS pump sits. I did not use a hack saw because I wanted clean edges so I used a plumbers tube cutter you can find at any hardware store. It cleanly cuts the tube and leaves no burrs. I trimmed about an inch from each end of the 90* hose off the reservoir to give clearance for the filter. Then cut the 3/8" transmission hose to fit to the steel line. Hose clamp it all together and refill the reservoir. Done and done.
So the biggest killer of transmissions is heat and poor engineering. I hope the rebuild used better updated parts. But the heat issue still exists. While I was monitoring the transmission temp, I notice the coolant was only reaching 165*. I recall the PO saying the gas mileage wasnt very good. Somewhere near 13-15 mpg. It makes sense now knowing that the thermostat was weak and was keeping the engine in choke mode. My RX came with a cooler mounted in the right bumper in hopes that airflow would cool the ATF. The simple fact is that in order for the cooler to work, you need a lot of air flow. Blowing air over the cooler is the least efficient way to cool it. Putting a fan in front and pushing air over the cooler is only 70% as efficient as pulling air from behind. So rather than installing a fan on the old cooler, I plan to install a new B&M 70264 rated at 20,000 BTU in front of the condenser. There is room for a cooler 1.5" thick on the passenger side if you bend the AC line forward. The cooler will then benefit from the electric fans drawing air over it even in stop and go traffic.
The install: pre-planning. Before I removed the condenser fron the vehicle, I positioned the new B&M cooler on the old condenser to find the best location. Then while holding it in place with one hand, I used black spray paint around the perimeter at the bottom of the cooler, which leaves a nice shadow. When the condenser is out of the truck, I will measure the shadow image and transfer the measurements to the new condenser. Now I can pre-install the cooler while its off the truck. There is a thin aluminum AC tube that needs to be carefully bent forward and then protected from the cooler. For this I used a short section of 3/8" cooler hose, spiral cut the hose and wrapped it around the aluminum tubing.
The radiator and condenser are next to be removed. While they are out, it will be a great time to replace the vacuum hoses. You will notice the new gray silicone hose in these pictures. The hose is 3mm and you will need about 20'. Its best to do one at a time to keep it all organized. Also, there are restrictors, small plastic splices, in some of the hoses. Don't forget to transfer them to the new hose. Its a good idea to take pictures before you start. The radiator is held in with only two bolts up top and same for the condenser. Plus the high presure lines to the condenser. Make sure you evacuate the refrigerant first.
With the condenser out, we'll take measurements from the painted image and place the new trans cooler on the new condenser. Push the included zip ties through from the back side. I do it this way so I can tighten it down in the future. Over time the foam pads compress and it can get loose. A quick grab with the needle nose pliers can add a click or two.
While the radiator was out, I also ran the cooler hose and anchored it in two places behind the bumper bar.
I prepped the radiator by transferring the fans and coolant sensor to the new unit. The coolant sensor needs a 19mm wrench and 22mm wrench to hold the base nut from moving. I also added a strip of foam 1" thick to both sides of the front of the radiator using silicone adhesive to hold it in place. This will seal the condenser to the radiator to improve air flow thru both units. The passenger side radiator trans cooler port has been clocked to 2 o'clock in prep for the new transmission cooler. I painted the ports so it wont corrode as fast this time. If you are interested, I used the TYC radiator with a 1" core and Denso condenser from rockauto.com with new upper and lower radiator hoses.
Now to install the condenser and reconnect the AC lines. Because the condenser has the dessicant in a side tank, you will want to vacuum the AC system as soon as you open the seals on the condenser. So be prepared with a vac pump handy to draw a vacuum. I have done this so many times over the past year on all our cars that I should just own the pump, but its cheaper to rent it for free from Autozone. You buy it and when you return it they refund you the full amount. Its their tool rental program. You don't have to recharge it right away but you will need the vacuum pump to draw vaccum again before you recharge. They suggest adding 1.5oz ND-8 oil (PAG 46 equivalent) if you replace the condenser. You will also want to replace the O-rings. And while you are at it, think about changing the schrader valves in the high and low ports while the system is open. Its a common place for leaks and they are 17 years old. When you look for the parts, There are several sizes of valves. Some kits at the big box stores have a kit on the shelf, but the valves are too small. lexus used a larger valve and O'reilys has a kit for $13 with both sizes and new caps. Lube the o-ring with PAG oil before installing them.
The condenser is in and now to connect the transmission cooler to the tranny.
Next up is the thermostat and VVT-i Control valves. Start by removing the air box. You will need to disconnect a few hoses to gain access to the valves. Take a picture with your phone so you can restore the hoses to the original config.
But here is what I found when doing mine. The bolt that holds the valve down is 66 in lbs. its best to use a torque wrench because its deceiving when doing by hand. The bolt continued about half a turn beyond what I felt was tight enough. The bolt was probably seating the valve deeper when torqued correctly. When removing the valve, I sprayed the stem at the head surface with a little wd40. Over time the o-ring will bond to the metal cavity of the head. Twisting the valve only breaks the bond between valve stem and the seal. A little wd40 will help lubricate the seal when you lift it out. Also, instead of pulling on the body of the valve, use a small flat screwdriver, twist the valve left and right, then work the screwdriver between the valve and cyl head and twist the screwdriver until the valve rises. Then again with the screwdriver, gently pry the valve up until the o-ring is clear. Mine were somewhat stuck but popped out with persuasion from the screwdriver. Oil the new valves and re-install.
The VVT-i filters should be cleaned. Unless damaged they dont need to be replaced. The oil was gelled on my filters which was disappointing but its good thing they are being cleaned. Spray the filters with non-chlorinated brake cleaner to remove the liquid oil. Then in a small container, let the filter soak for 5 minutes in brake cleaner to disolve the carbon build up. Spray it again and dry it off with a clean towel. Be careful not to rub or squeeze the screens to hard. INSTALL OIL CONTROL VALVE FILTER (a) Assemble the valve filter and plug.
(b) Install the plug with new gasket. Torque: 45 N�m (460 kgf�cm, 33 ft�lbf)
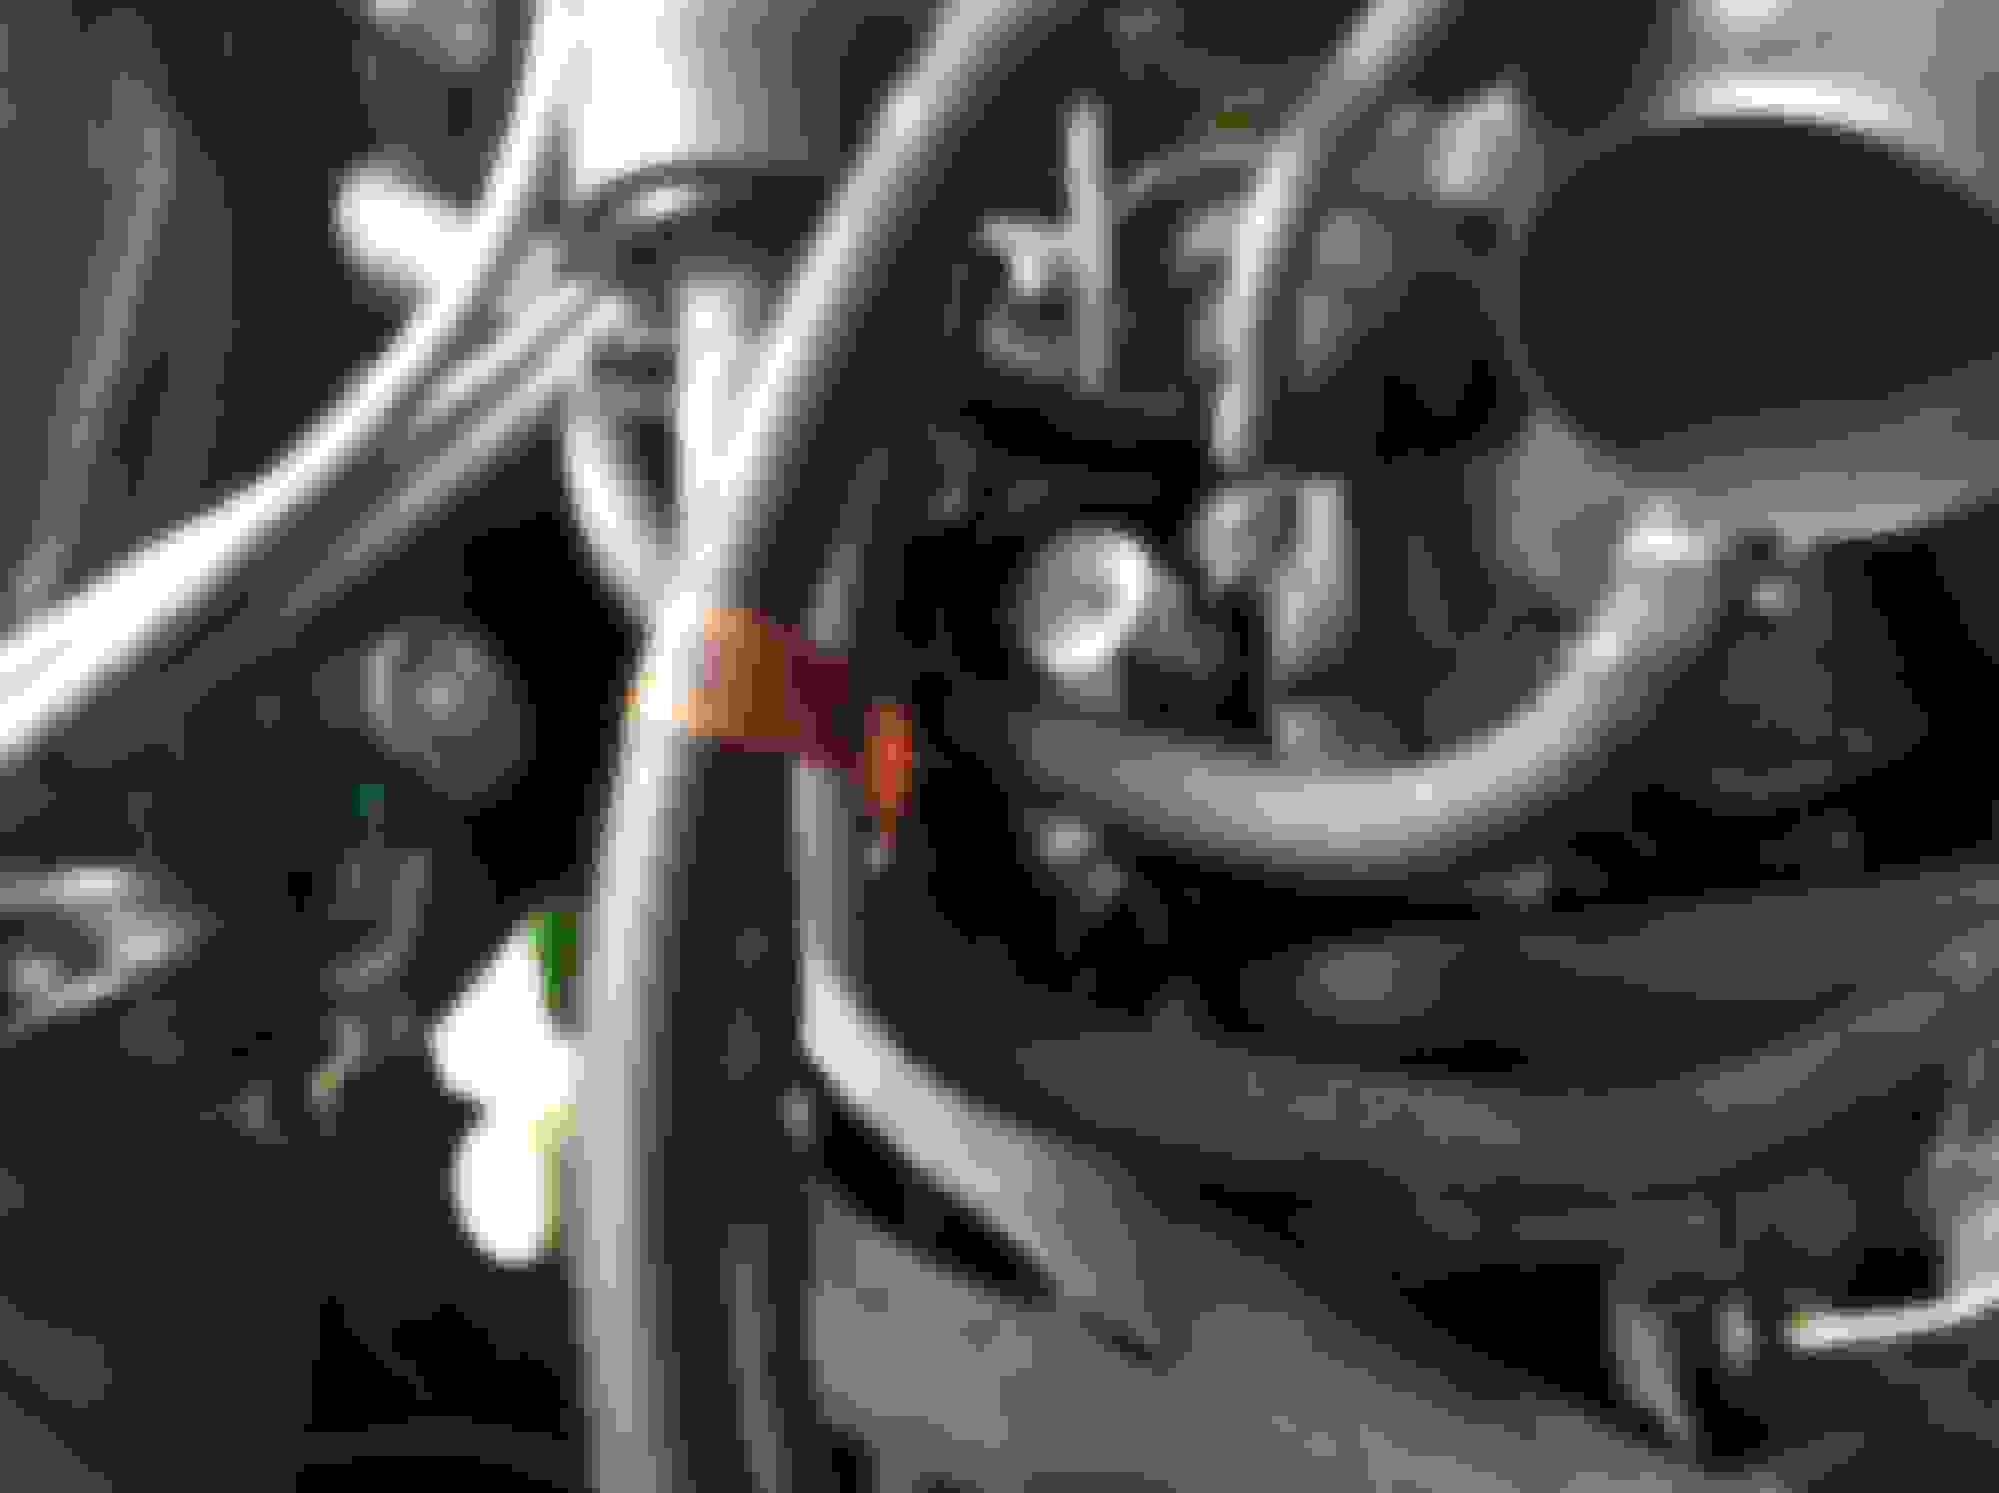
Replacing the thermostat was straight forward. I found it helpful to drain the block of coolant before starting. There is a pecock on both sides of the engine block. It looks like a brass hex bolt with a small pipe pointing down. With the airbox out you can reach the (3) 10mm nuts with a 6" extension. You will need to remove the lower radiator hose and a 12mm bolt on the side of the head which supports the coolant tube. Forget about extracting the t-stat housing. There is just enough room to twist the housing clockwise and move it forward to gain access to the T-stat. Using a long screwdriver, carefully pry out the old thermostat. Be sure to remove the old t-stat gasket, mine stayed in the housing when I removed the t-stat. Note: I had some coolant spillage when it popped out so be ready with a catch pan. The new T-stat will fit snug in the opening. Be sure to push the t-stat in all the way with your fingers before closing it up with the nuts. The jiggler should be at 12 o'clock +/- 15 degrees.
I tested the old T-stat on the stove top in water. It opend at 165* which means its failing. Just an FYI. The dashboard coolant temp gauge is not reliable, its not really a gauge. Once the engine reaches 130, the needle will stay in the middle of the gauge until it overheats at 220* there about. It wasnt until I monitored the actual temp through my Engine Link app via the OBD2 port that I discovered the low coolant temp while driving.
(Thermostat housing is illuminated in the cener of the picture to the right of the starter)
Success! Just fired up the engine and topped off all fluids. No leaks and the engine is running at 185* again.
I have added more pics to the thread. The beauty of this vehicle is the lack of modern technology. Its like working on a an old school car with the help of the OBD2 system to diagnosis failed sensors. Anyone with moderate mech skills can do their own repairs. The trick is having the tools to do the work. So look at it this way. How many tools could you buy with the money you would save by not going to the dealership? With every repair, I just added to my tool box. Today, I have just about every tool I will ever need. Be bold. There are plenty of helpful people on the forums to help you out.
So the fun comes to an end. I just finished up the rear valve cover and rear spark plugs. It really wasn't as bad as I had imagined. In fact I was able to do it without removing the wipers and strut tower brace as you will see in the pictures. The plugs and valve cover had been done once before at 110,000 IIRC. But all things considered, since the intake had to come off to replace the gen 1 rear valve cover and gaskets which were leaking something fierce the cost of new plugs was nominal.
The throttle body has 3 bolts that get torqued to 14 ft/lbs and has a reusable gasket. The passenger side 14mm bolt on the back of the intake was difficult, but a slim 3/8" ratchet and short socket made it possible. Remove the 4 bolts holding the intake down ( torque 33 lbs ft). The Gasket on the intake plenum is reusable but I saw signs of oil leaking at the gasket, so I replaced mine. The intake between the heads is very exposed, I placed a towel over it to catch anything from dropping down. Then as you can see, the entire intake just slips out from under the strut brace. Don't forget to remove the ground wires on the back of the intake before you move it too far. There was plenty of room to work on the valve cover with the strut brace there, but it helped to zip tie some wires out of the way.
Looking at the valvetrain, it doesnt look too bad. No crust, crud or sludge. The intake runners had just a slight amount of oil residue. But there was a real mess down the back of the engine where oil was leaking over by the timing gear end of the cam. Hopefully that will will be sealed now. The bolts on the low side of the valve cover were all loose and I would bet the last mechanic did not torque them down to the correct amount. I was able to get my in/lbs torque wrench on all the bolts except for the one by the timing gear low side. But comparing the resistance of the others, I was able to get it tight enough.
It took a mirror to see what was going on on the back side of the camshaft. And when all the cud was cleaned out, I wet a towel with acetone to prep the surface of the head. Dabbed FIPG on the seam lines and corners by the camshaft and started reassembly.
I was driving around yesterday in 90* heat, humid weather in the midwest and this was the readings I got. The trans cooler is working great. I believe Adding foam between the condenser and radiator sides helped draw more air over the cooler.
Not really. Just clean it up and re-protect the exposed wires. I do plan to leave the plastic engine cover off. The more air that can cool the engine, the better it will run.
I will be adding to this thread this week with replacing all 4 brake calipers. Once I got into changing pads yesterday, I found the calipers were frozen, either at the piston or guide pins. $165 in parts have been ordered. That includes 4 Cardone rebuilt calipers and guide pin kits. I wasnt expecting this repair but that would explain the touchy grabby brake response.
My daughter requested the calipers be painted copper color. That means the the brackets will have come off as well.
With all the work I was doing, especially with the condenser and radiator being out, it was a perfect opportunity to update the vacuum hoses to silicone. I chose gray so it wasnt blingy but clean looking. It wasnt essential but over time bad vacuum hoses can cause a bunch of mystery symptoms. But in just a few years, vacuum hoses tend to harden. I had a silicone hose on the pcv and then realized oil may weaken silicone so I replaced it this morning. Same for the transmission vent hose.
I will paint just the caliper and bracket. Thats whats nice about getting new calipers. You can paint them at the work bench and get all the surfaces. Im not a fan of painting the rotor tophats.
 06-16-16, 06:44 PM