


Fog Lamp Replacement Install w/Pix
Thread Starter
Racer

Joined: Apr 2007
Posts: 1,321
Likes: 15
From: Washington
Here is another show and tell from yours truly on how to do replace a fog lamp bulb. From inspiration from Tee's post on getting yellow fogs, I wanted to do it too. This install if for my 2004 LS430 though I would believe it would be similar in all years. This tutorial, if you can call it that as its super simple, should also work for replacing with xenon fogs too. Here we go......
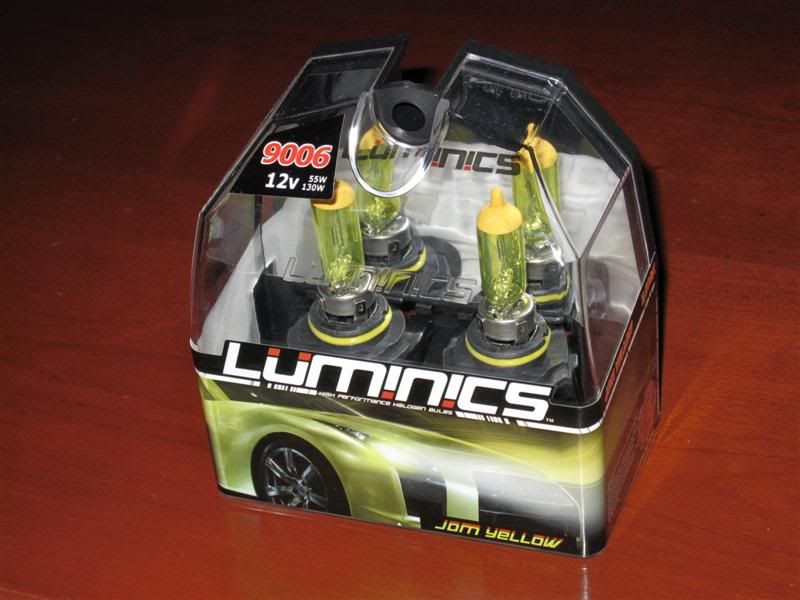
The LS uses 9006 bulbs for the fogs so I too ordered these from a seller on eBay for $26 shipped.
Here is the before shot in daytime.
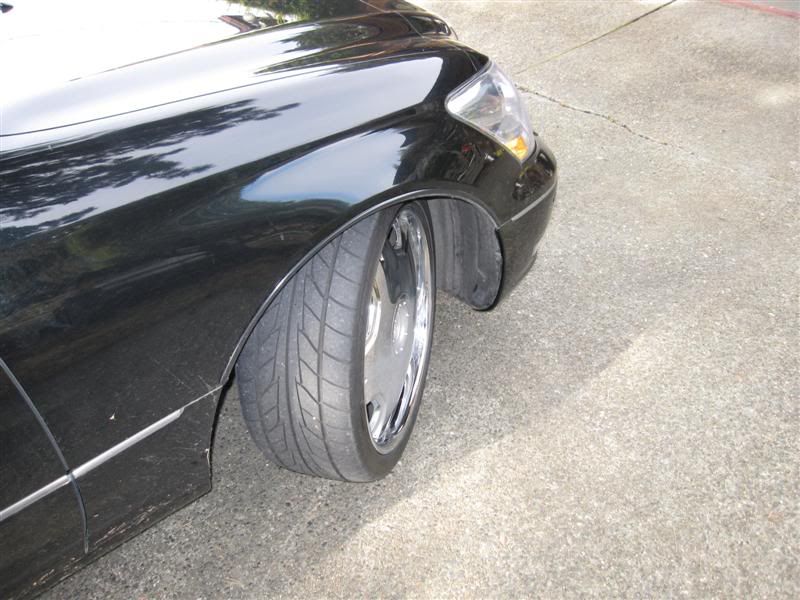
The install is super easy, not much tool required, just a screwdriver. Start by turning steering wheel to give you access to the wheel well.
There are 2 plastic plug screw holding the wheel well liner. Turning is 90 degrees will unlock it.
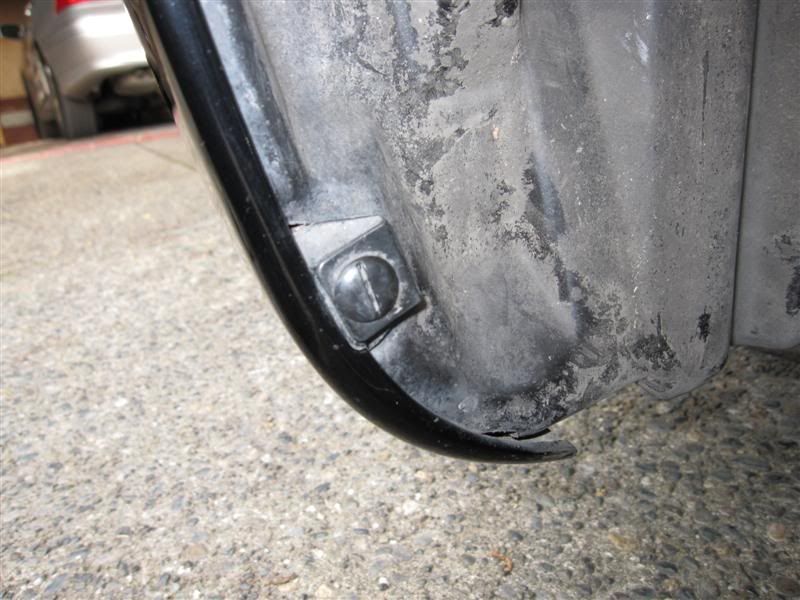
I used a screw driver to pry the liner off those tabs where the plastic screws were.
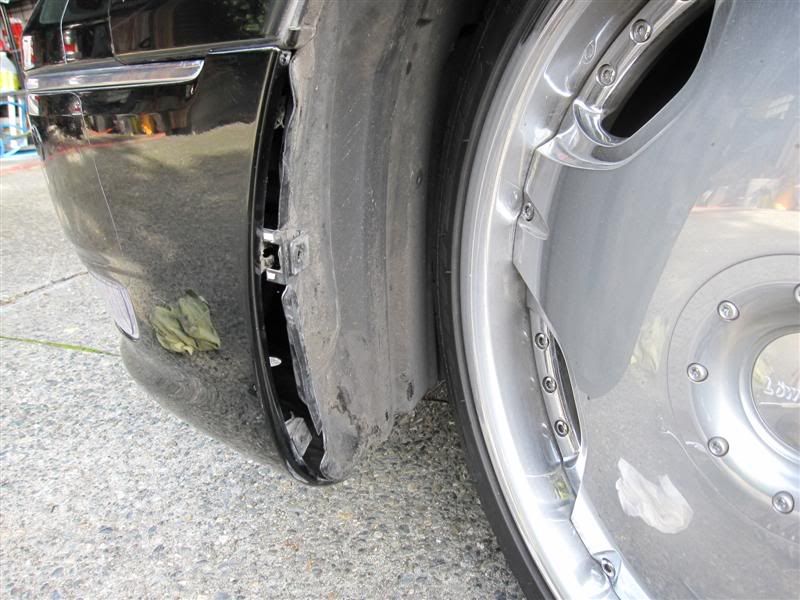
Then peel back a bit with your hand.

Looking inside, you should see a brown plug holding the fog bulb. Unless you are Arnold Schwarzenegger, you arm should be able to slide in.
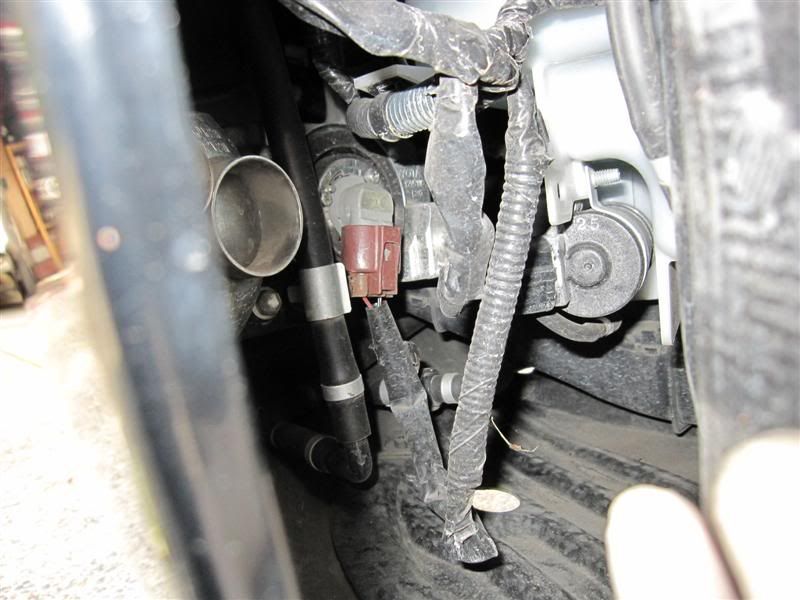
Turn the brown plug assemble counter clockwise to remove. It should not come out with plenty of wire lead.
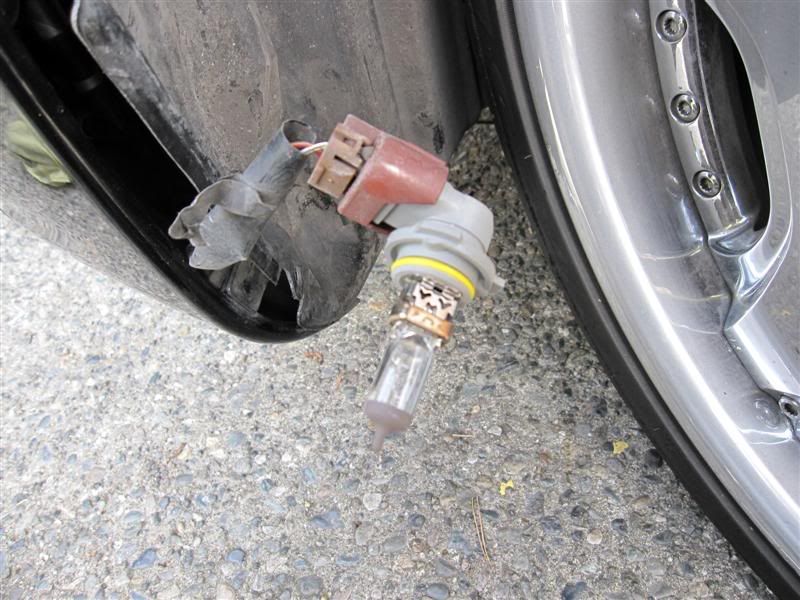
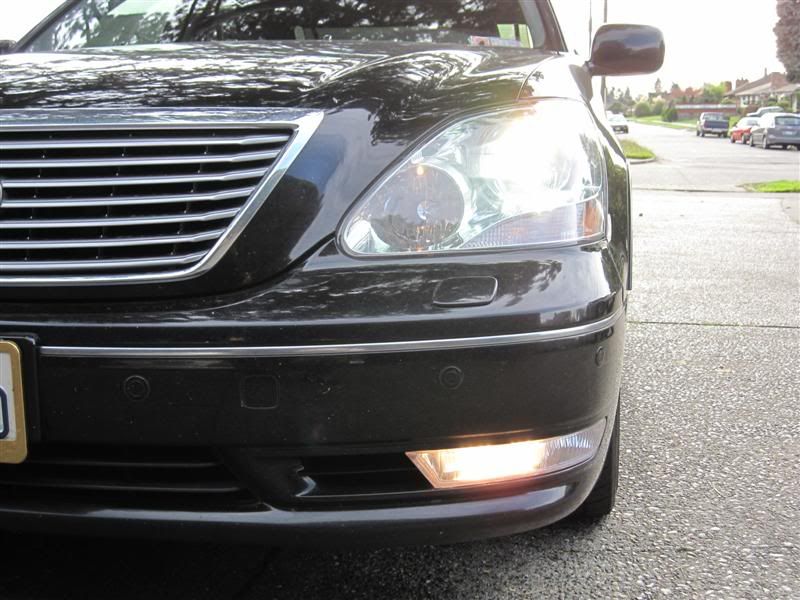
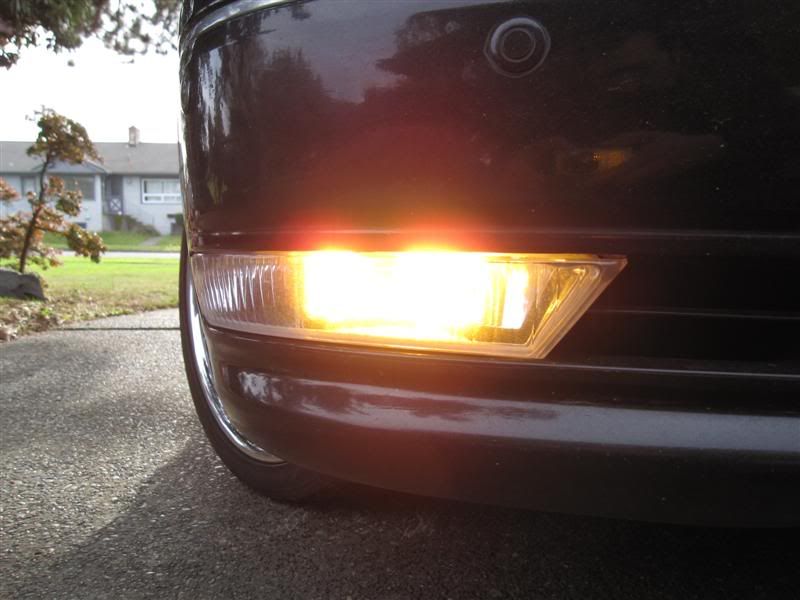
Replace with new bulb and reverse the direction above. The first side took 10 minutes, the second side took less than 5. Here is the result.
I feel this is not much of a writeup as there is nothing to it, but I'm sure it'll help someone out there.
The LS uses 9006 bulbs for the fogs so I too ordered these from a seller on eBay for $26 shipped.
Here is the before shot in daytime.
The install is super easy, not much tool required, just a screwdriver. Start by turning steering wheel to give you access to the wheel well.
There are 2 plastic plug screw holding the wheel well liner. Turning is 90 degrees will unlock it.
I used a screw driver to pry the liner off those tabs where the plastic screws were.
Then peel back a bit with your hand.
Looking inside, you should see a brown plug holding the fog bulb. Unless you are Arnold Schwarzenegger, you arm should be able to slide in.
Turn the brown plug assemble counter clockwise to remove. It should not come out with plenty of wire lead.
Replace with new bulb and reverse the direction above. The first side took 10 minutes, the second side took less than 5. Here is the result.
I feel this is not much of a writeup as there is nothing to it, but I'm sure it'll help someone out there.
Lead Lap


Joined: Mar 2006
Posts: 4,189
Likes: 16
From: NY/NJ
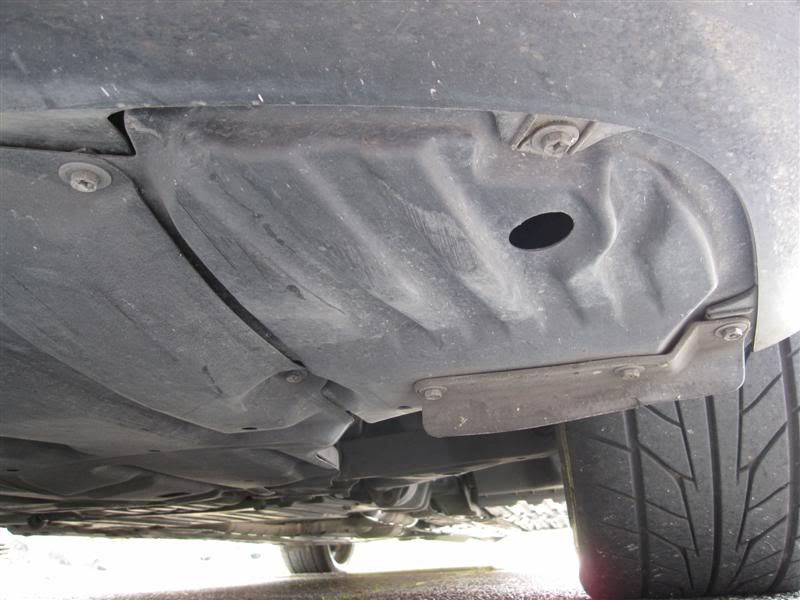
is it possible to get to the fogs from the bottom, instead of through the wheel well? 5 min. ain't much, so it's easy enough, but if we can get from bottom through the under cover, then it might be even easier. Say 3 min. 
Moderator
Joined: May 2008
Posts: 3,761
Likes: 72
From: Atlanta, GA

BTW how bout some night shot pics too?
Thread Starter
Racer
Joined: Apr 2007
Posts: 1,321
Likes: 15
From: Washington
See image...
Trending Topics
ClubLexus Stories
Celebrating Lexus & Toyota from Around the Globe

Top 10 Most Confusing Things Lexus Has Ever Done!
Joe Kucinski
2026 Lexus ES Review: Lexus Re-Embraces Founding Principles
Michael S. Palmer
10 Lexus Bargains That are Cheaper Than a New Toyota RAV4
Joe Kucinski
8 Weirdest Things Lexus Has Ever Built
Verdad Gallardo
10 Lexus Designs That Have Aged Like Fine Wine
Verdad Gallardo
8 Tips for Improving Your Hybrid or Plug-in Hybrid's Efficiency!
Michael S. Palmer
10 Best Lexus Models No One Remembers
Joe Kucinski
TRD Off-Road Premium: Best 2026 4Runner, Except This One Thing
Michael S. Palmer
Top 10 Lexus & Toyotas to Drive Before You Die!
Joe KucinskiLead Lap
Joined: Mar 2006
Posts: 4,189
Likes: 16
From: NY/NJ
Yeah, looks like could be rough, but with a ratchet, the 6 bolts shouldn't be too tough. I'd just rather approach from somewhere where I don't have to bend plastic and start curling things.
Anyway, thanks for great write-up. You've inspired many to do this MOD now...
Lead Lap
Joined: Mar 2006
Posts: 4,189
Likes: 16
From: NY/NJ
Sorry to bring this up from the dead... although nice write-up with pictures, I tried removing the bulb from the sidewall today and there are two little screws on the housing (you can see in Airtimes photo of the unit before removing) are those two screws to be loosened or should the light bulb fitting turn without touching the screws? I tried my darnest to turn counter-clockwise, but maybe you have to be AH-nold to turn that thing...
Lead Lap
Joined: Apr 2005
Posts: 491
Likes: 0
From: CA
Sorry to bring this up from the dead... although nice write-up with pictures, I tried removing the bulb from the sidewall today and there are two little screws on the housing (you can see in Airtimes photo of the unit before removing) are those two screws to be loosened or should the light bulb fitting turn without touching the screws? I tried my darnest to turn counter-clockwise, but maybe you have to be AH-nold to turn that thing...
what he said.
^same thing with me, i tried doing this and it seems as you may need to remove them small screws and with my big hands im gonna need to remove all the plastic covers. so, no hid till it gets warmer.
Moderator
Joined: May 2008
Posts: 3,761
Likes: 72
From: Atlanta, GA