When you click on links to various merchants on this site and make a purchase, this can result in this site earning a commission. Affiliate programs and affiliations include, but are not limited to, the eBay Partner Network.
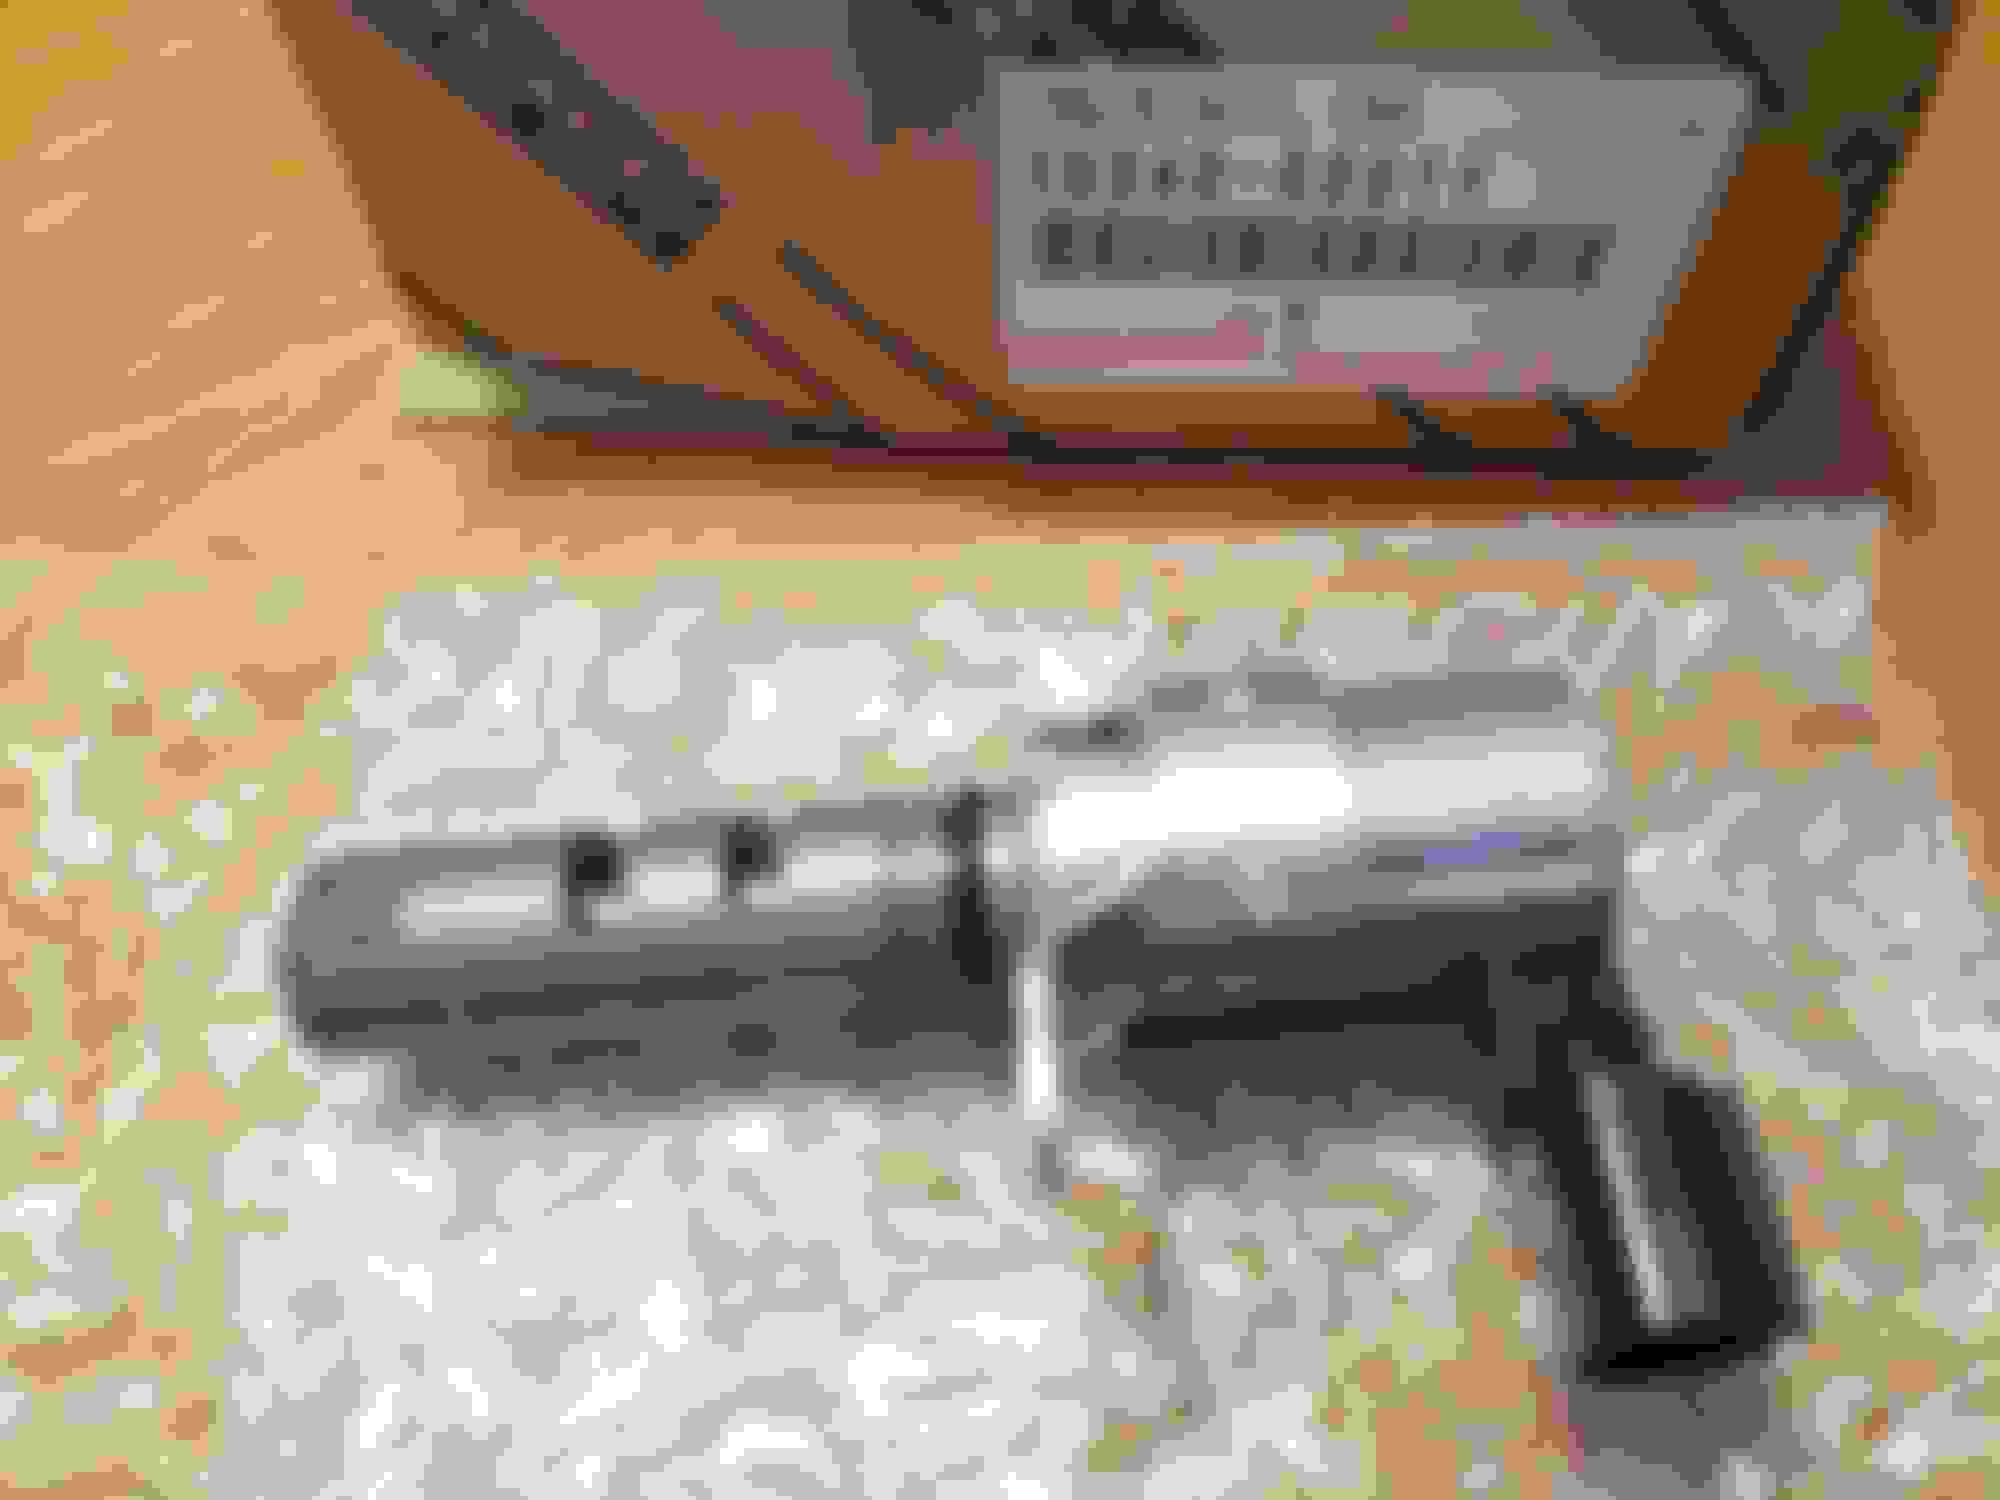
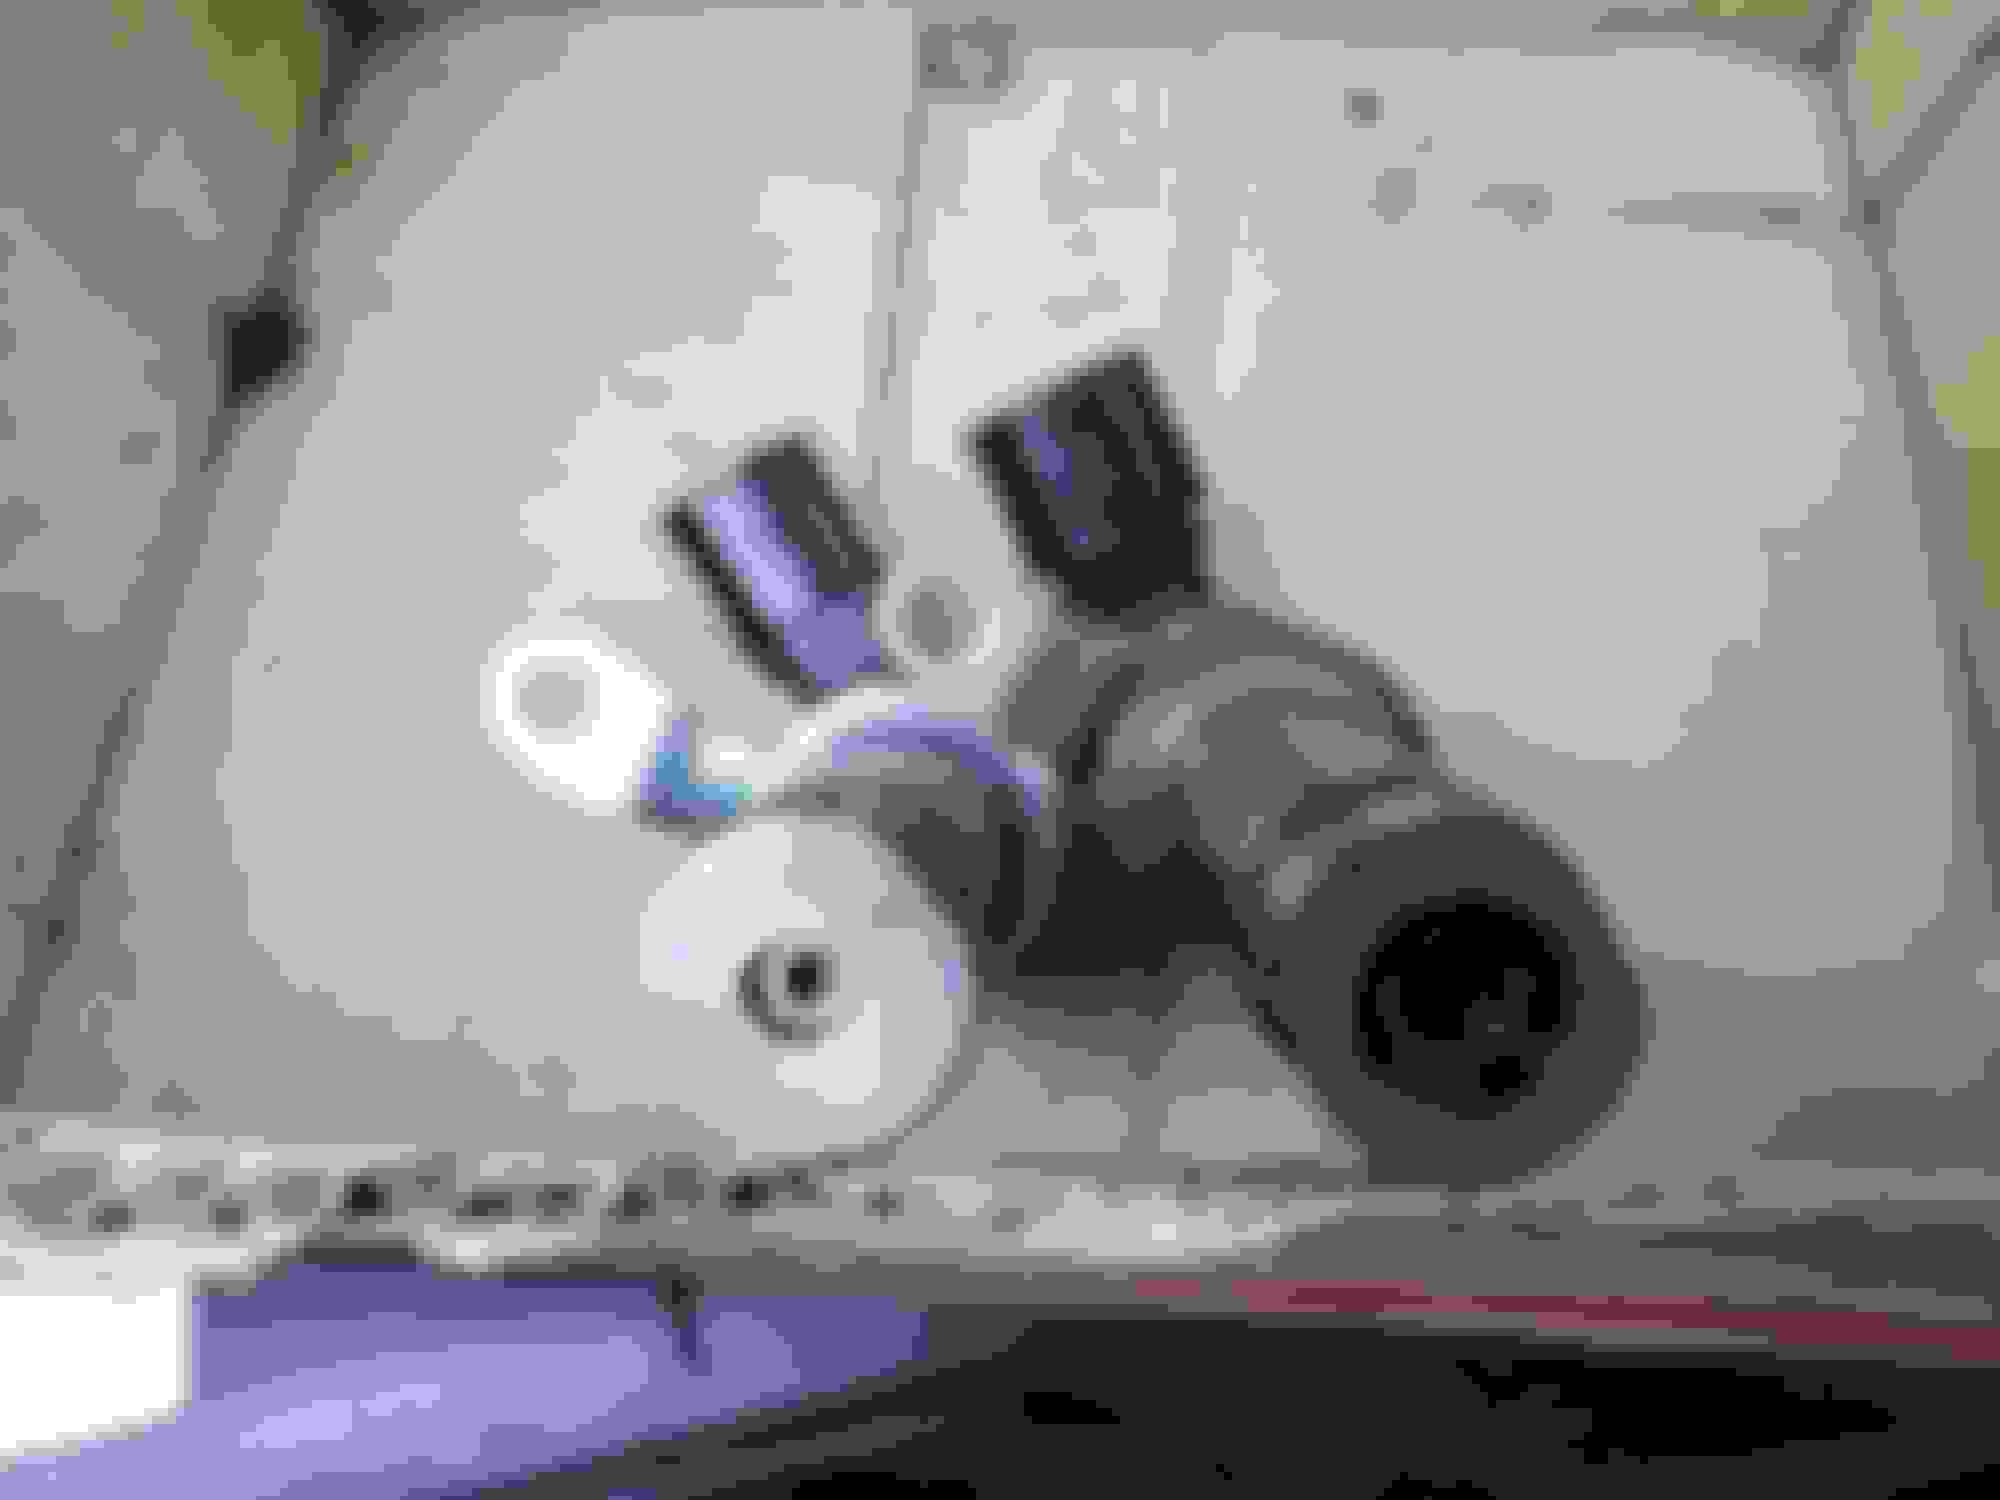
I want to clean the OCV filter located in the blue color of image No. 4.The 11201 cylinder head cover LH surrounded by green No. of image No. 1 and 2 was removed.
I can do that, but then I do not know how to remove the previous one.
I would like to remove camshaft bearing cap No. 5 enclosed in red in image No. 1, 2 and 4.
First, remove the 11201 cylinder head cover LH.
Remove the 11159A head to camshaft bearing cap bolt and 91511 - J0625 bolt enclosed in red in image No. 4.Then,
Can you remove the camshaft bearing cap No. 5 by loosening the four bolts (90105 - 6132) enclosed in green which are holding the 11308 C timing belt cover enclosed in red in image No. 3?
In this case, just take the bolt, do not take the 11308C timing belt cover OK?
Do I have any unusual parts if I also do not take the parts of image No. 3 enclosed in blue?
Or do you remove the 11308C timin belt cover and also remove the 19300C cam position sensor surrounded by yellow?Is there anything else to remove?
Sorry to trouble you, but please tell me.
Also, if there is a mistake in the procedure I wrote, please correct it.
I tried to remove the bolt, but in this state, the camshaft bearing cap No. 5 could not be taken.
I tried to pull it with considerable strength. . .
LH NO.3 I was thinking that I could get off by removing the two bolts on top of the timing belt cover (enclosed in red), is this my mistake?
Because I think that this cover has not been opened for 20 years, is it only fixed?
Or is there a useless part if you do not remove it elsewhere?
LH NO.3 Remove the timing belt cover and remove the green camshaft timing pulley of the image and the LH NO.1 NO.2 timing belt rear plate as well?
If it does not do it, can not take camshaft bearing cap No. 5?
Sorry to trouble you, but please tell me.
It's the FIPG (Fixed In Place Gasket) that is holding that bearing cap on so tight. When I was changing my camshaft seals that bearing cap took me some time to remove. You have to get a screw driver or pry bar between the cap and pry a little at a time while alternating between sides. It will come off it just takes time. FYI you have to remove the timing cover first.
I put the extension bar of the socket in the long hole containing the OCV, trying to remove it with the lever principle, but it does not move at all. . .
If it is the state of the picture I pasted, is there a bolt hanging on the NO.5 cover all disconnected?
To break open from both sides alternately with a screwdriver etc. is to remove LH NO.3 timing belt cover.
We will also refer to the thread of change of 98 cam seals by VVT-i.
Thank you for teaching me.
It seems quite tough. . .
I'm at work right now so I can't really help that much but as you can see from my thread I had already had the engine open since I changed it the timing belt and water pump. I just remember thinking something else was holding that being cap on and it was giving me fits. It took me a good amount of time to get it off because I felt like I was going to break something. That FIPG was on there real good. I just went from side to side prying at it until I saw it come up a little. Then I knew what had to be done.
I tried to take a cap today because of the state of the image, but since it does not move at all, it seems useless unless you also take the timing belt cover.
Once the bolt is returned, the OCV body will be brand new.
At the time of non-disassembly, we can remove sludge and carbon and try to find a chemical that can be used.
I thought that it would be good if the filter clogging and the VVTi oil path should be as clean as possible.
I tried putting NISSAN PITWORK's engine oil additive P.C.V (blow-by control) valve cleaner.
Thank you for answering sha4000.After all, you removed the timing cover.
In the lower bolt, the shroud stay of the electric fan and the oil tank are in the way, the hand does not enter well.
I should have done it when I took a radiator. . .I'll report again.
I will report it.
Last Monday, genuine OCV arrived.
However, as the aftermarket's Chinese-made feeling, the stamp of the part number was nothing ...
Although the shape of the details was also different, the genuine product of the substitute part number of the current manufacturer's production seemed to be such kind of thing, and decided to change it as it is.
NO.5 The cover can not come off by any means, I gave up cleaning the OCV filter.

 02-01-19, 08:30 AM