When you click on links to various merchants on this site and make a purchase, this can result in this site earning a commission. Affiliate programs and affiliations include, but are not limited to, the eBay Partner Network.
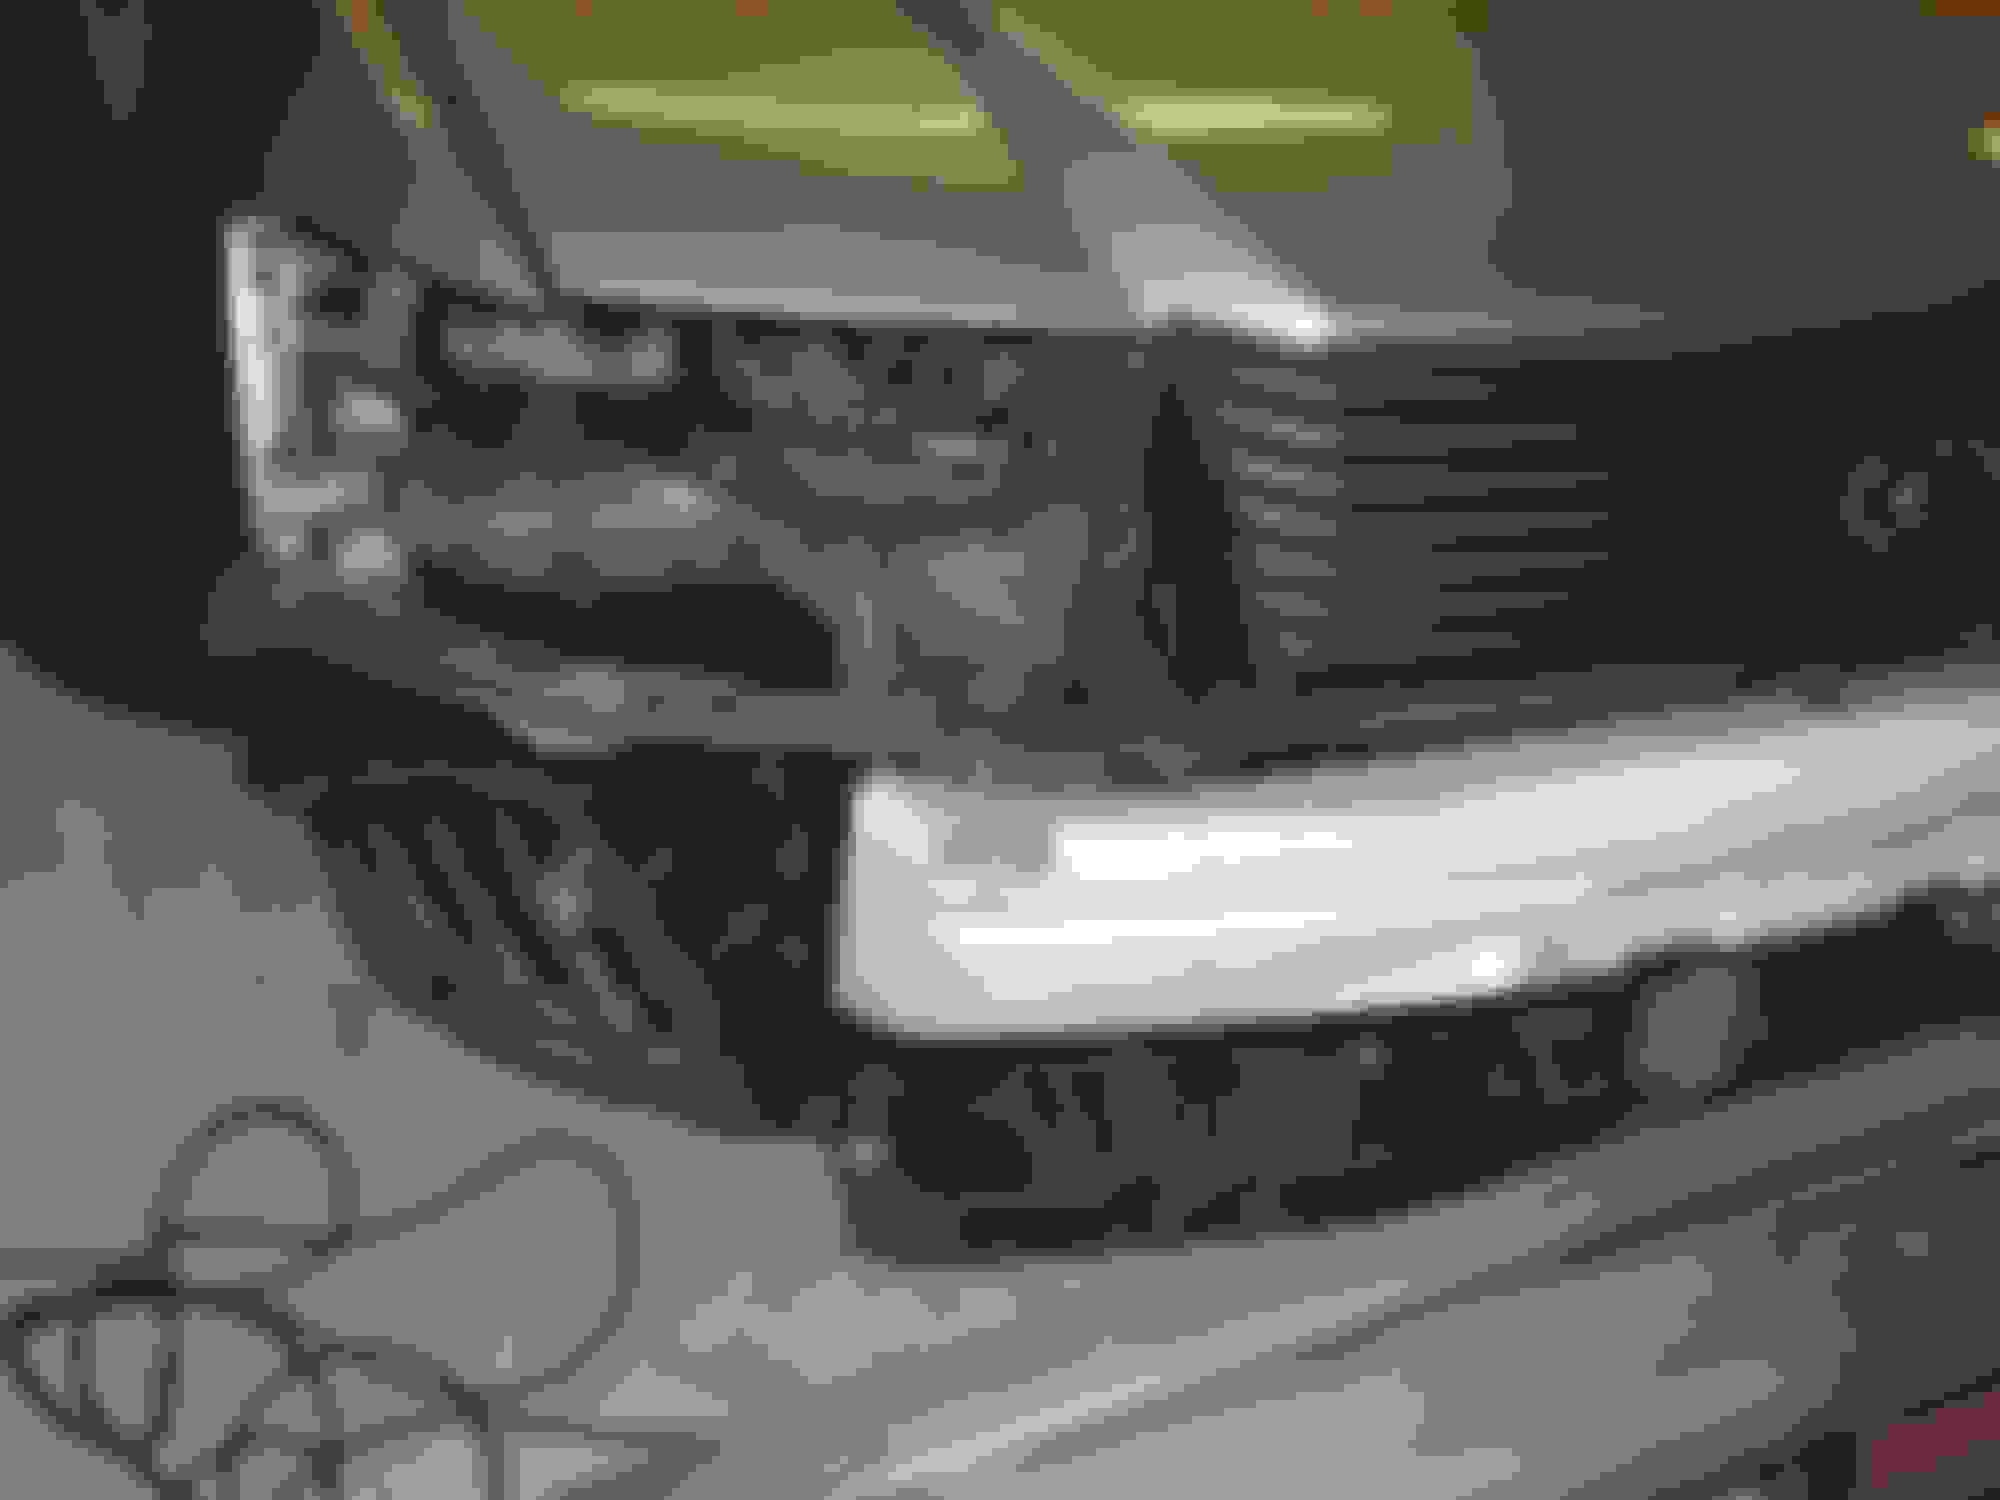
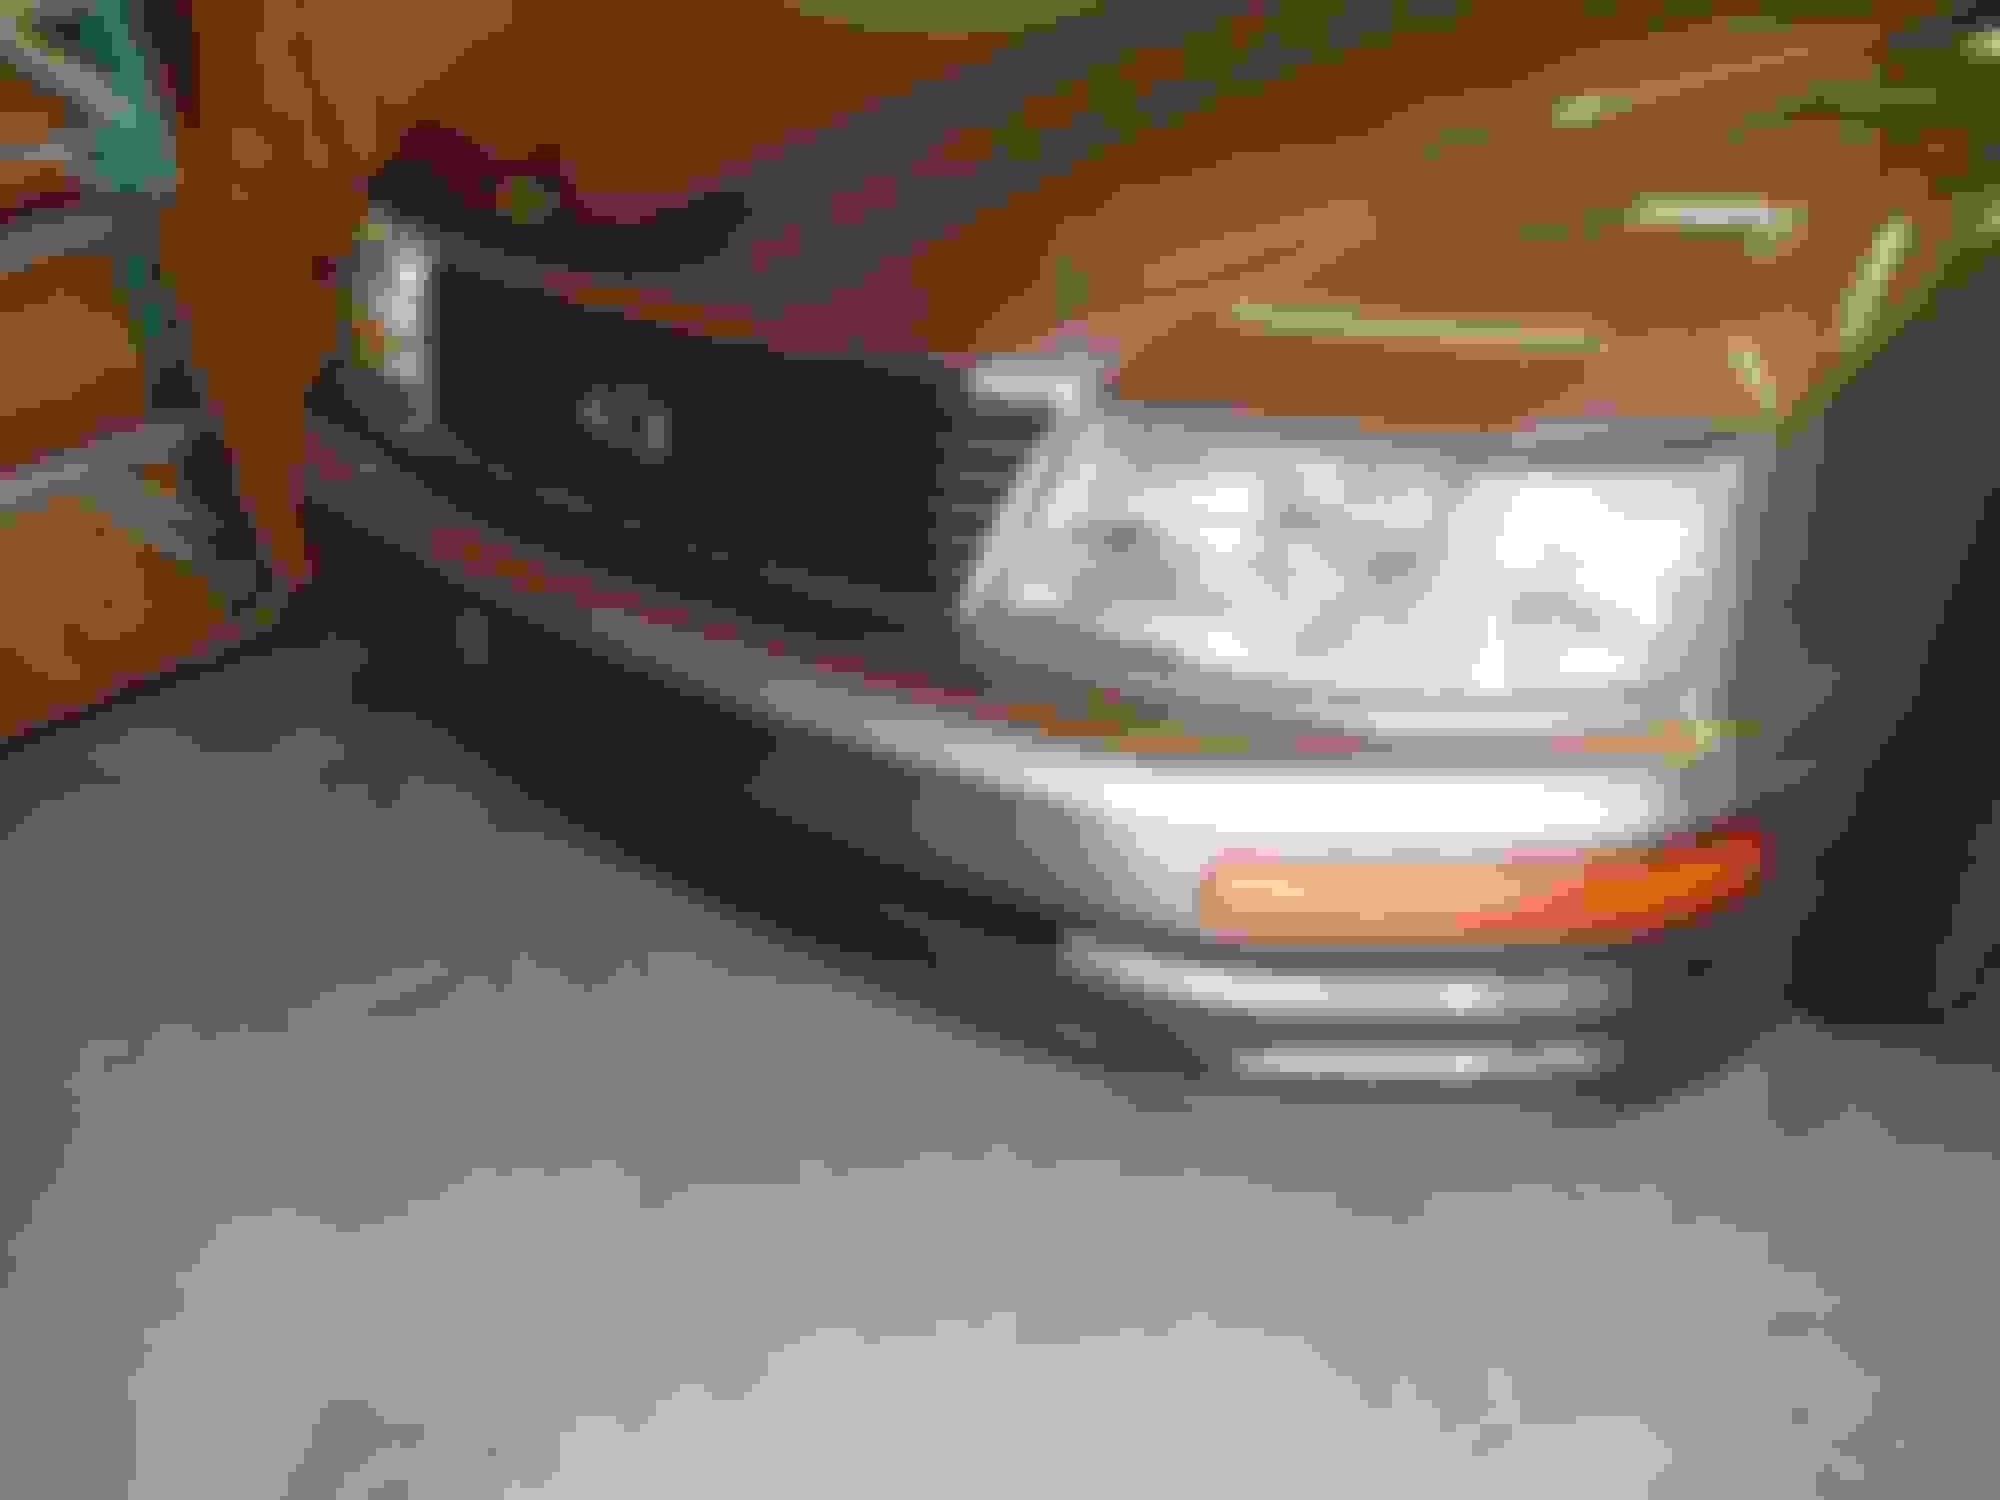
Prepping my front bumper cover for repaint...cleaning up the front end as I go.
Really pretty good condition, other than the sun fade and a couple rough spots on the passenger side. Looking for the best flexible spot putty, if such a thing exists.
Nice, so does this mean your going to help out all us members? Good job. How well does it match? Did you have someone match the paint or did you just use the paint code?
was this painted at home? Rattle can or booth/gun?
My biggest issue with amateur bodywork is unless you're well trained and have some relatively specific tools, getting a quality paintjob that looks good years later is quite difficult.
I got a quote for $550.00 from a shop, so I was going to try it at home with rattle cans. I did the prep and went to the auto body supply store to buy the materials. I was nervous but kind of looking forward to giving it a shot - read up on it all quite a bit. Then the fellow at the store told me that, while he would happily sell me the stuff, I needed to know that: 1.I probably wouldn't be satisfied with the quality of a rattle can job, especially for metallics; 2. I'm going to have $130.00 in materials anyway, so... 3. Why not let one of their shop guys do it with the proper equipment for $200.00 - I do all the prep...get it like I want it (except final cleaning/priming), I remove and reinstall, and in all likelihood, I'll get a much better job. He went on to say that since they (obviously) get their materials more inexpensively, their guys will make a few bucks and I can have all the leftover mixed paint for touch ups. So I got probably $20.00 (retail) worth of touch up paint along with the deal. Sounded good to me and I think it turned out great.
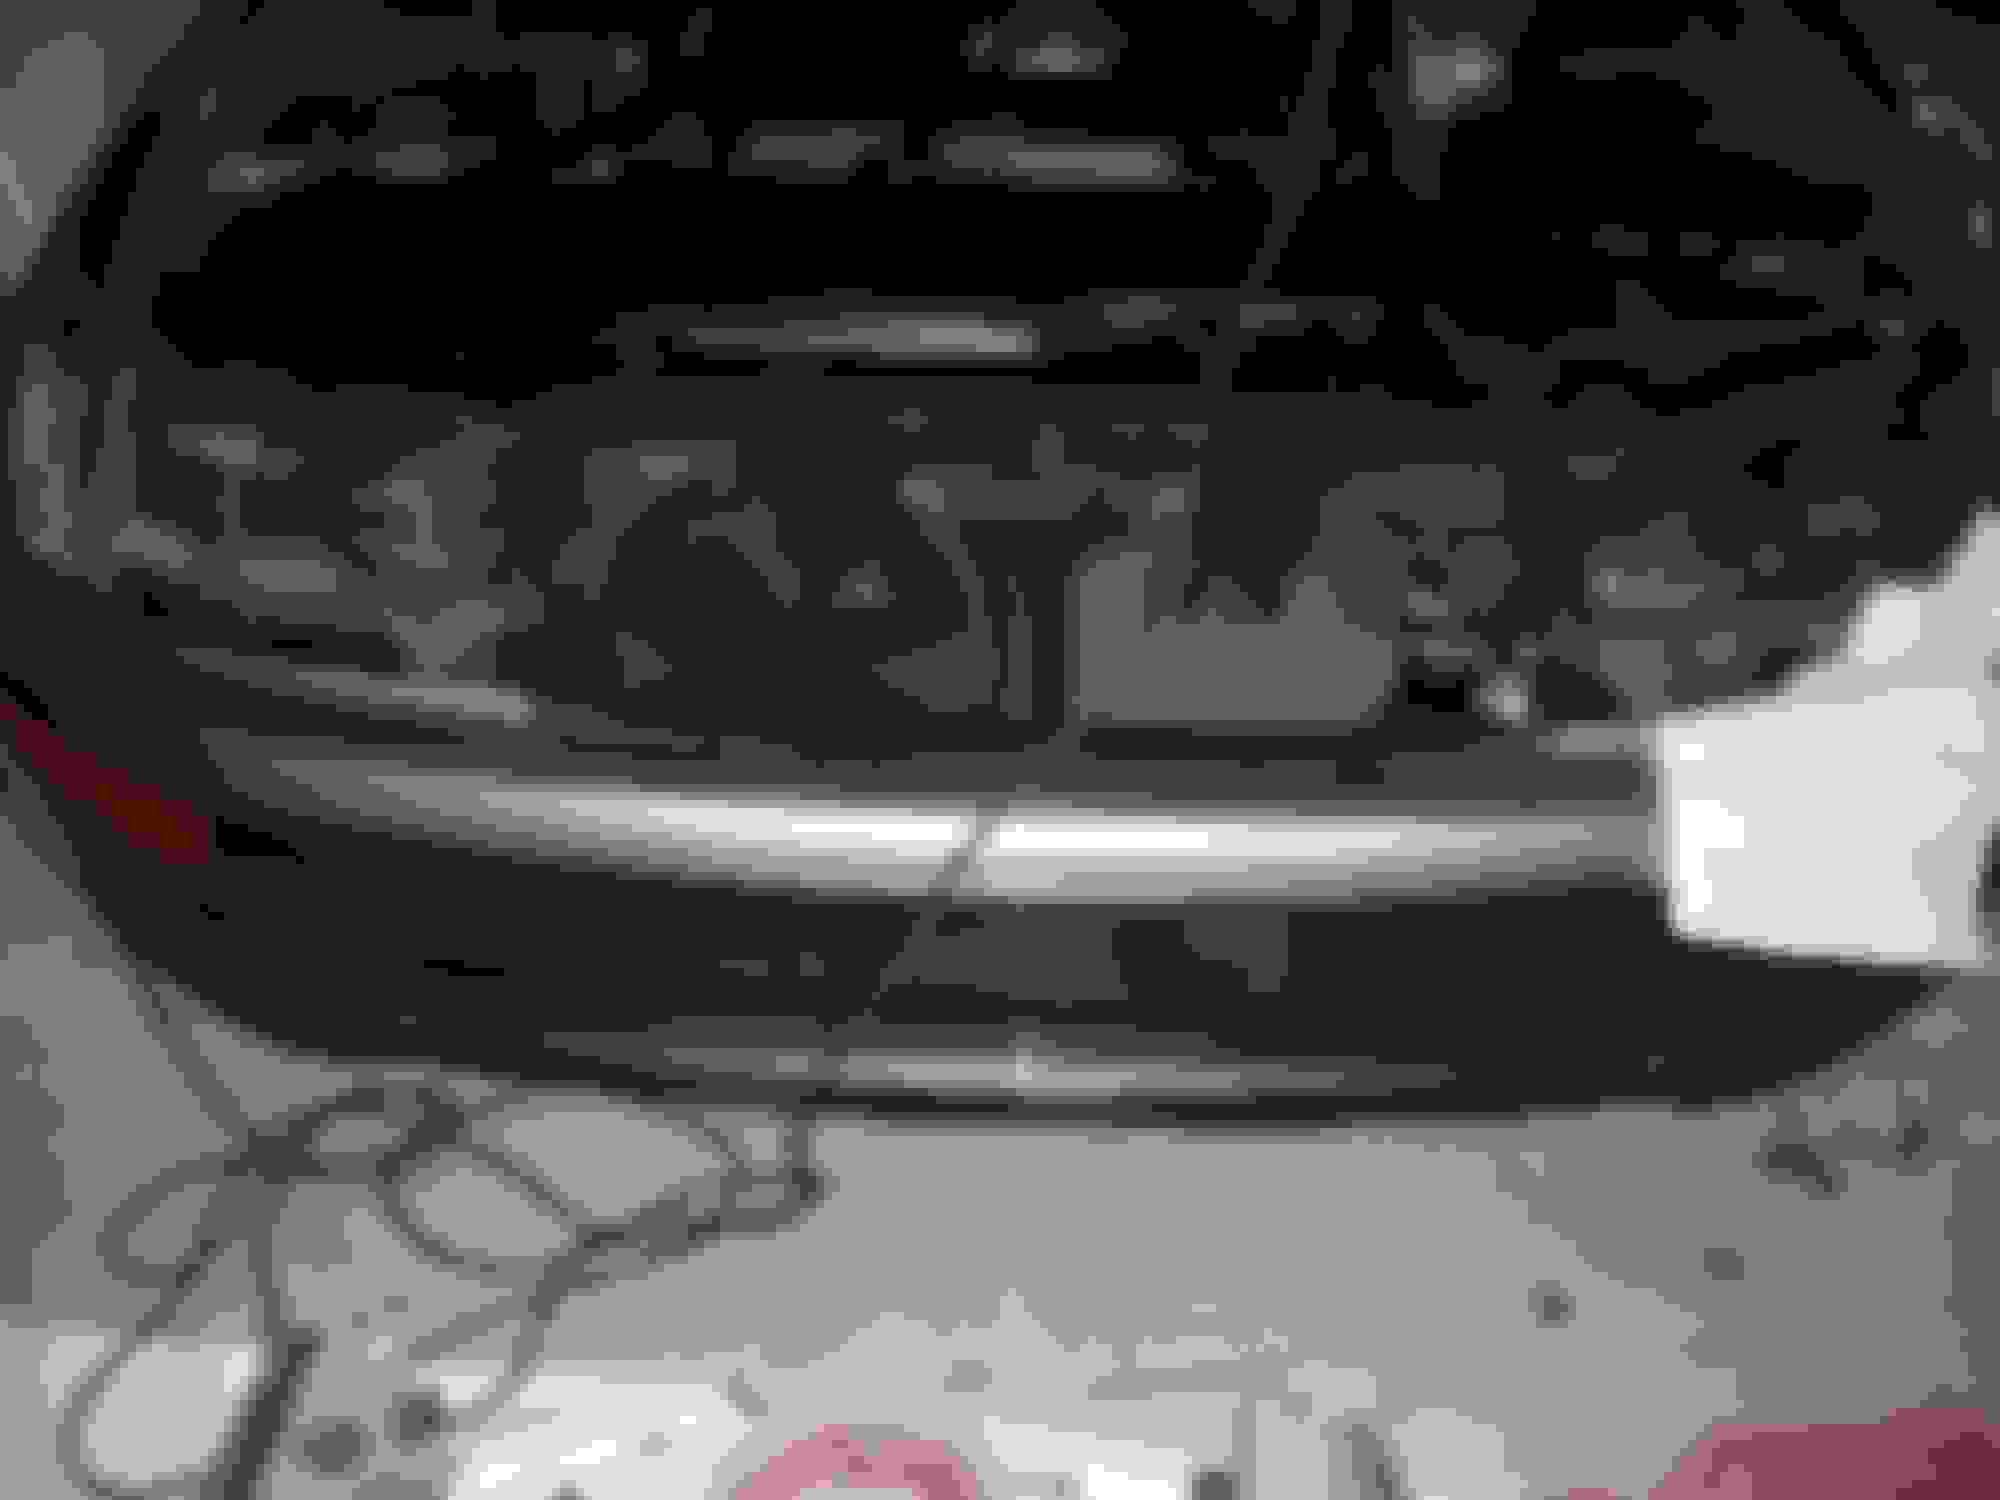
Dicer - they used codes I'm thinking - at least I supplied them with codes (although come to think of it, they did say not to scuff one place in each color so they could compare). The pics below show the light color way farther off than it looks in person. In person, it's very close. The thing is, there's only about 4" where the lighter colors contact each other at the top corners. I'll take a pic later today of the place where the light colors touch - it turned out very close. You can't tell any difference looking at the darker because the front wheel separates the colors interacting directly.
All in all, I'm pleased...and I'm pretty picky.
Learned a few things too:
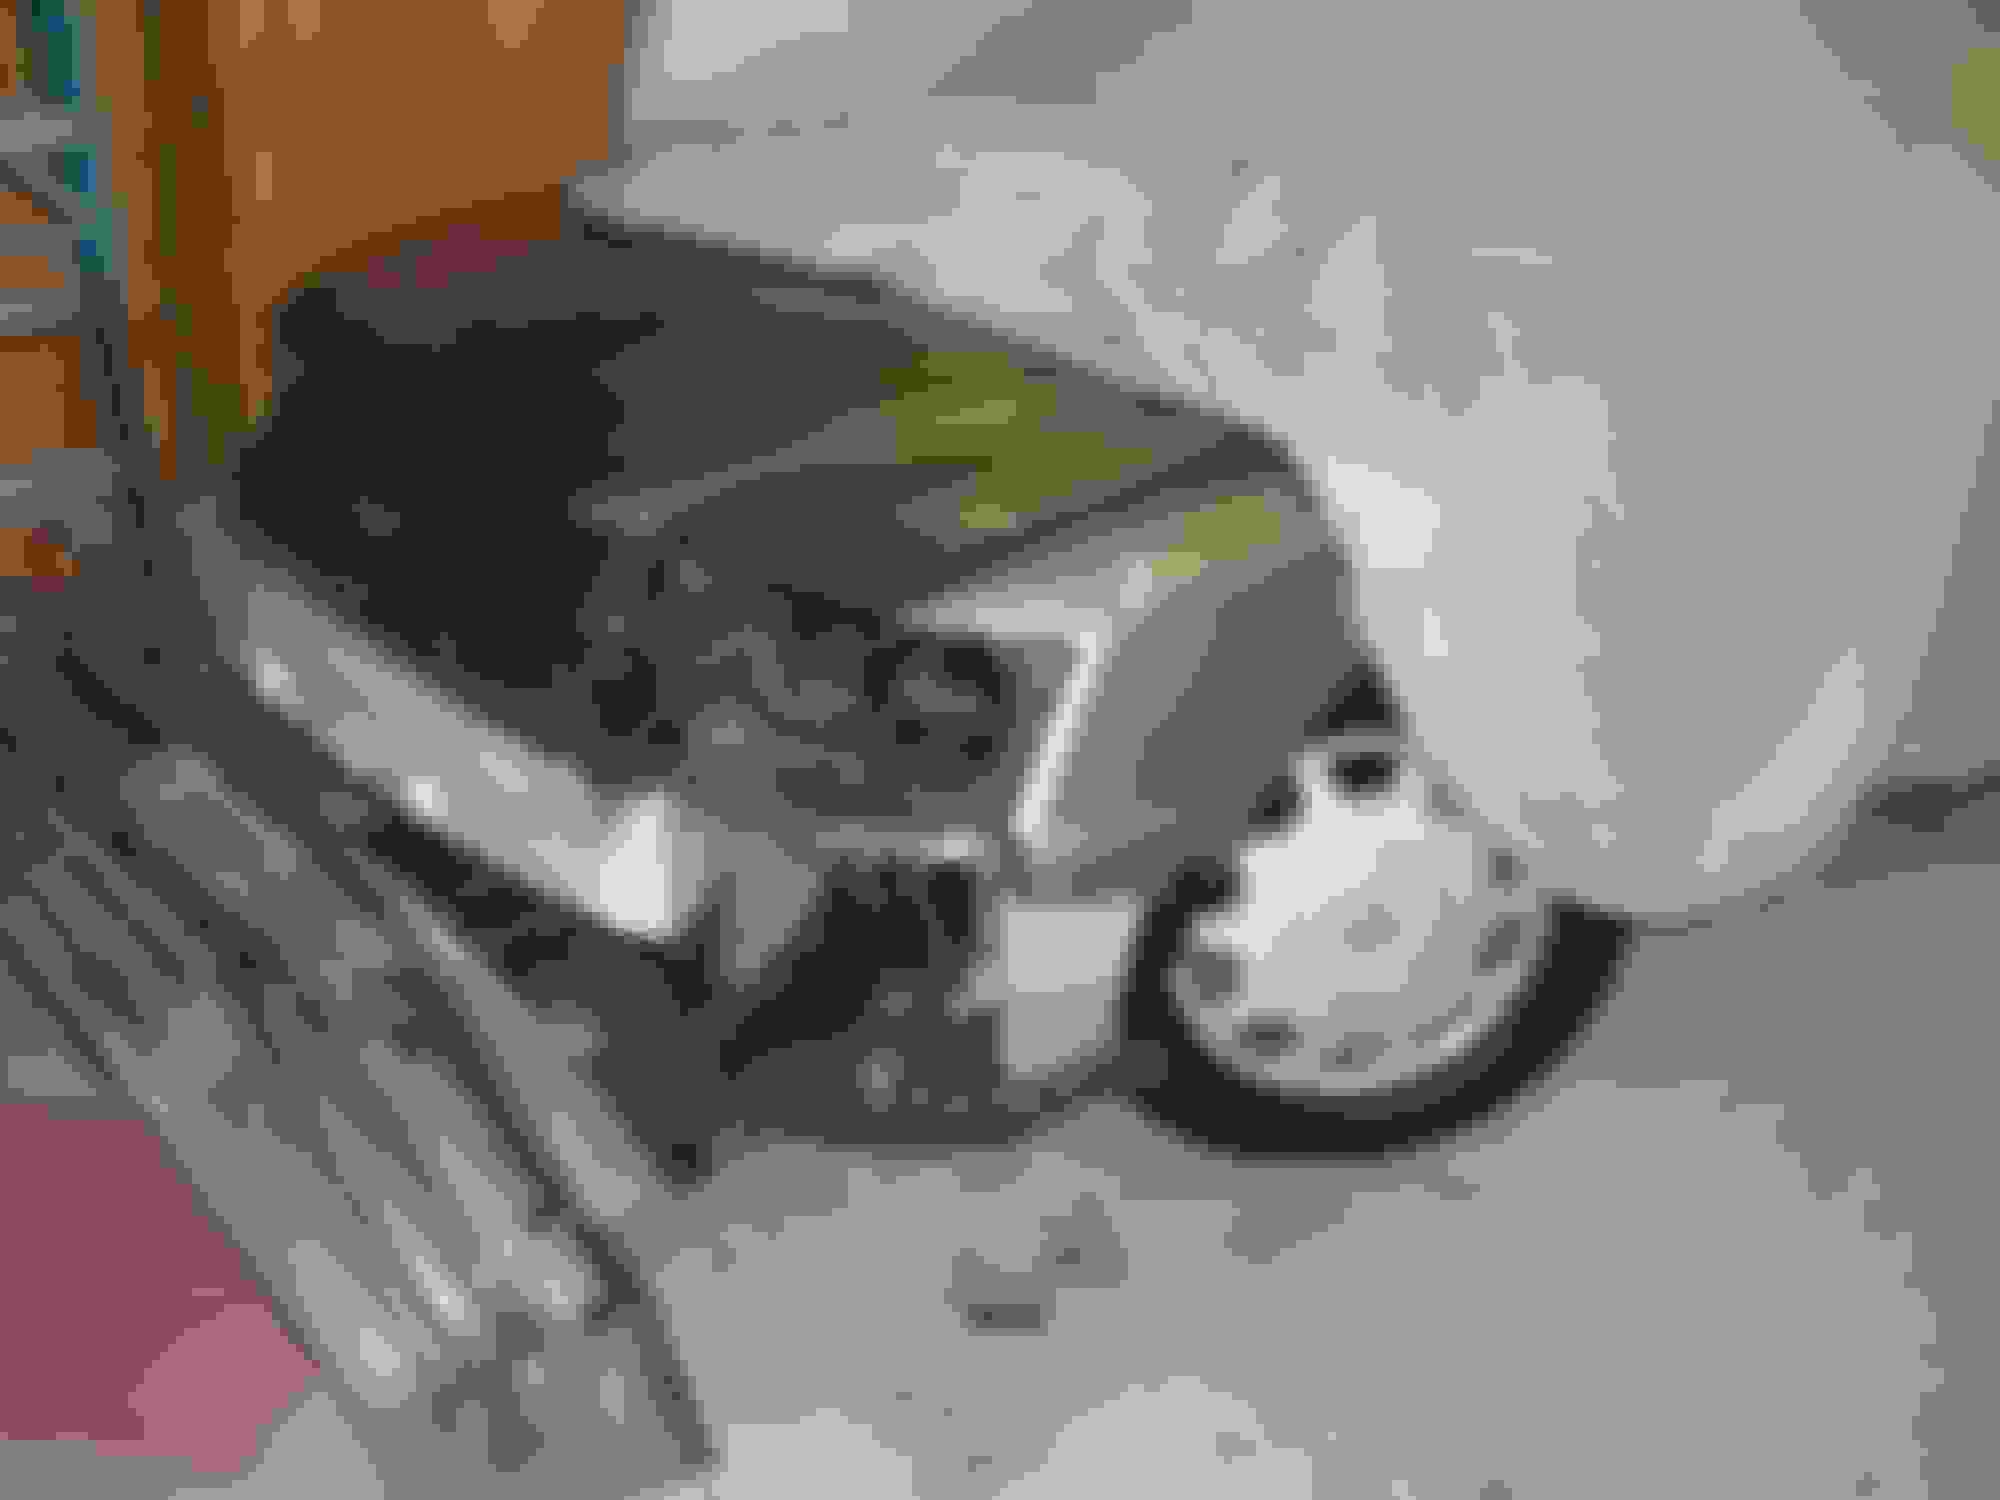
1. No need to remove headlights - impossible to reintall them without damaging the top of the cover - don't ask me how I know this.
2. The plastic parts around the headlights and other places are VERY FRAGILE. Fortunately, I did not find out about this through experience.
3. There is a ton of junk collected in the underpan of the front end - good idea to clean that out every so often.
4. They could have left just a little more leeway in the lighting wires - they gave just enough and no more.
5. I only have one bolt left over - pretty good. :-)
The hanging cloth is my attempt at rehydrating the seats. I wipe them down about every other night and then leave the damp cloth hanging in the car.
Only thing a damp cloth can do is cause condensation in areas like above the roof panel and give mold a chance to grow. The less moisture in a car that is closed up the better. The seats are a toss up on what to do for sure. Since they are coated and supposed to be protected from moisture, but I guess people have had luck using conditioners on them.
Posted by jfelbab
"Daily wipe downs will not cause any harm and will accelerate the rehydration process. You might also try tossing the towel, after the wipe down, into an open plastic bag or lay it on top of a piece of plastic and leave it in the closed car for a couple hours a couple times a week for a few weeks. Don't overdo it as this could lead to mold development."
Jim, you may already be aware of this site, but I stumbled upon it - it reinforces everything you say. http://www.autopia.org/forums/autopi...d-leather.html I've been faithfully wiping down almost daily and then hanging the wrung towel from the clothes hook above the rear door a few times a week. I'm on this regimen until Christmas at least - I really think I can bring it back. Really, most of it is decent - it's just a couple of the leather panels that are really hard."
Dicer, I've read a lot about this and you're totally correct on this: "The seats are a toss up on what to do for sure." Everyone has an opinion. Honestly, it's pretty dry here this time of year, and cool, so I'm not thinking I'm over-humidifying. I just want to raise the ambient humidity a little to see if the seats will absorb the moisture and re-hydrate.
Problem is H2o is the wrong kind of moisture in a car. Maybe some sort of lanolin in other words an oil ish stuff, but it won't soak through the paint coat or what ever it is.
H2o moisture is not wanted in the closed up car period. Matter of fact lets say you had a favorite car of any brand and wanted to preserve in for a 100 years and have it come out like brand new at the end of that time. You first would be strategically placing desiccant everywhere in it and of course so it could never leach out of its container on anything, and then you would place it in a huge sealed box, and pump out as much air as possible and then pressurized it with nitrogen. You would not want H2o or O in the mix as that is what will degrade everything along with UV.
OK, but leather is skin...and healthy skin does have a level of water in it, or it dries up, crinkles and splits. So the goal is to rehydrate the leather by raising the ambient level of humidity slightly and slowly without causing too much humidity overall.
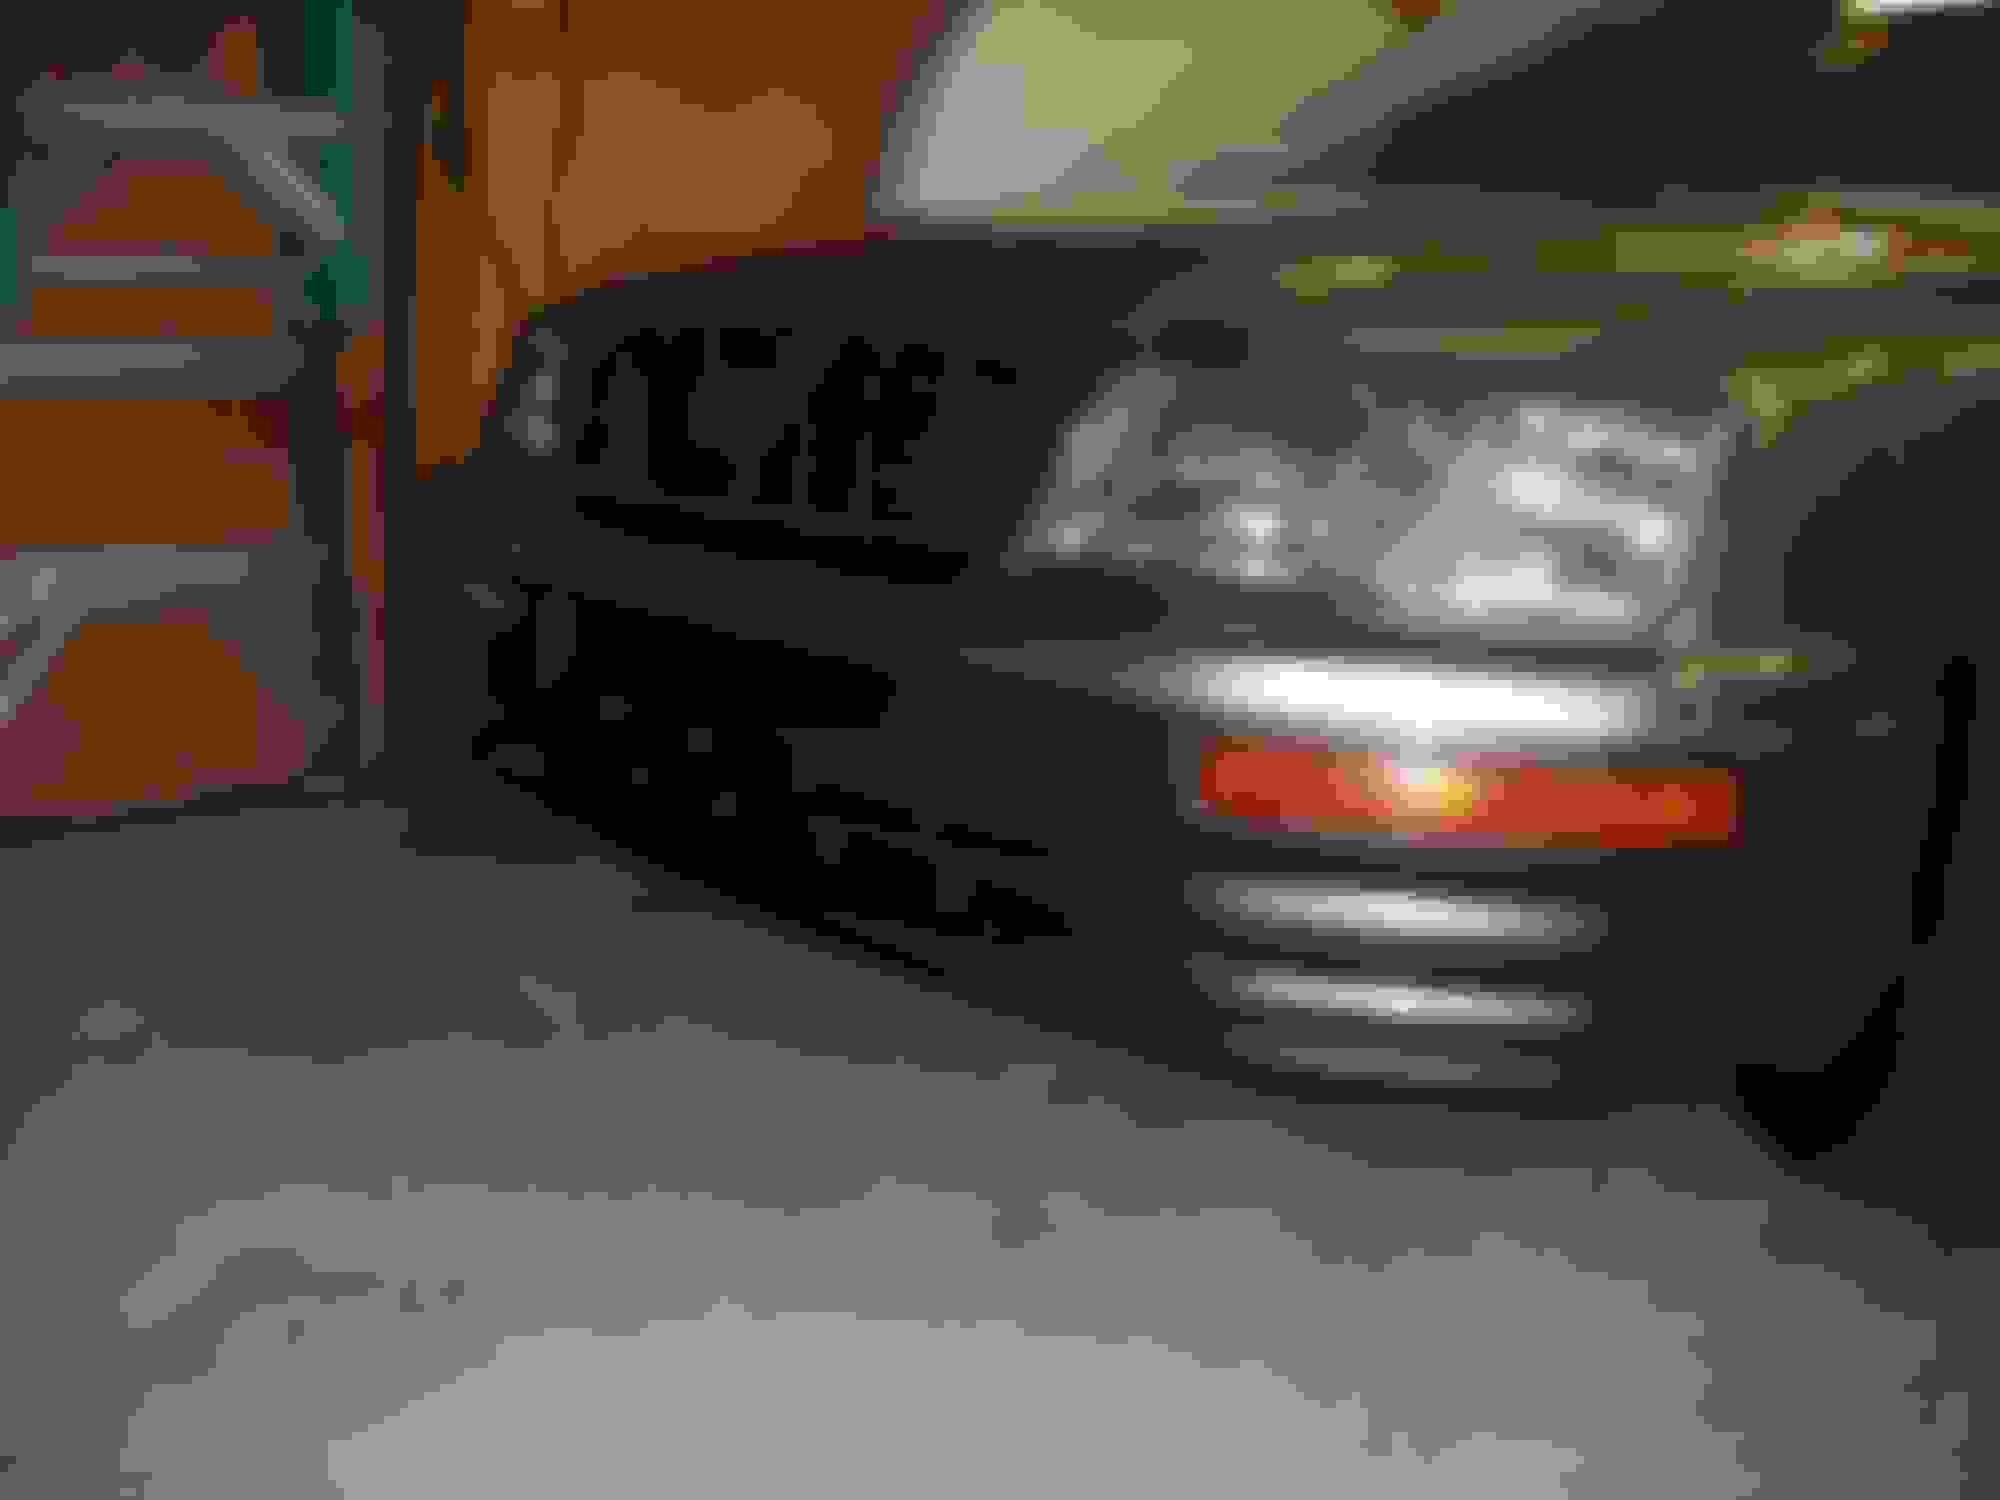
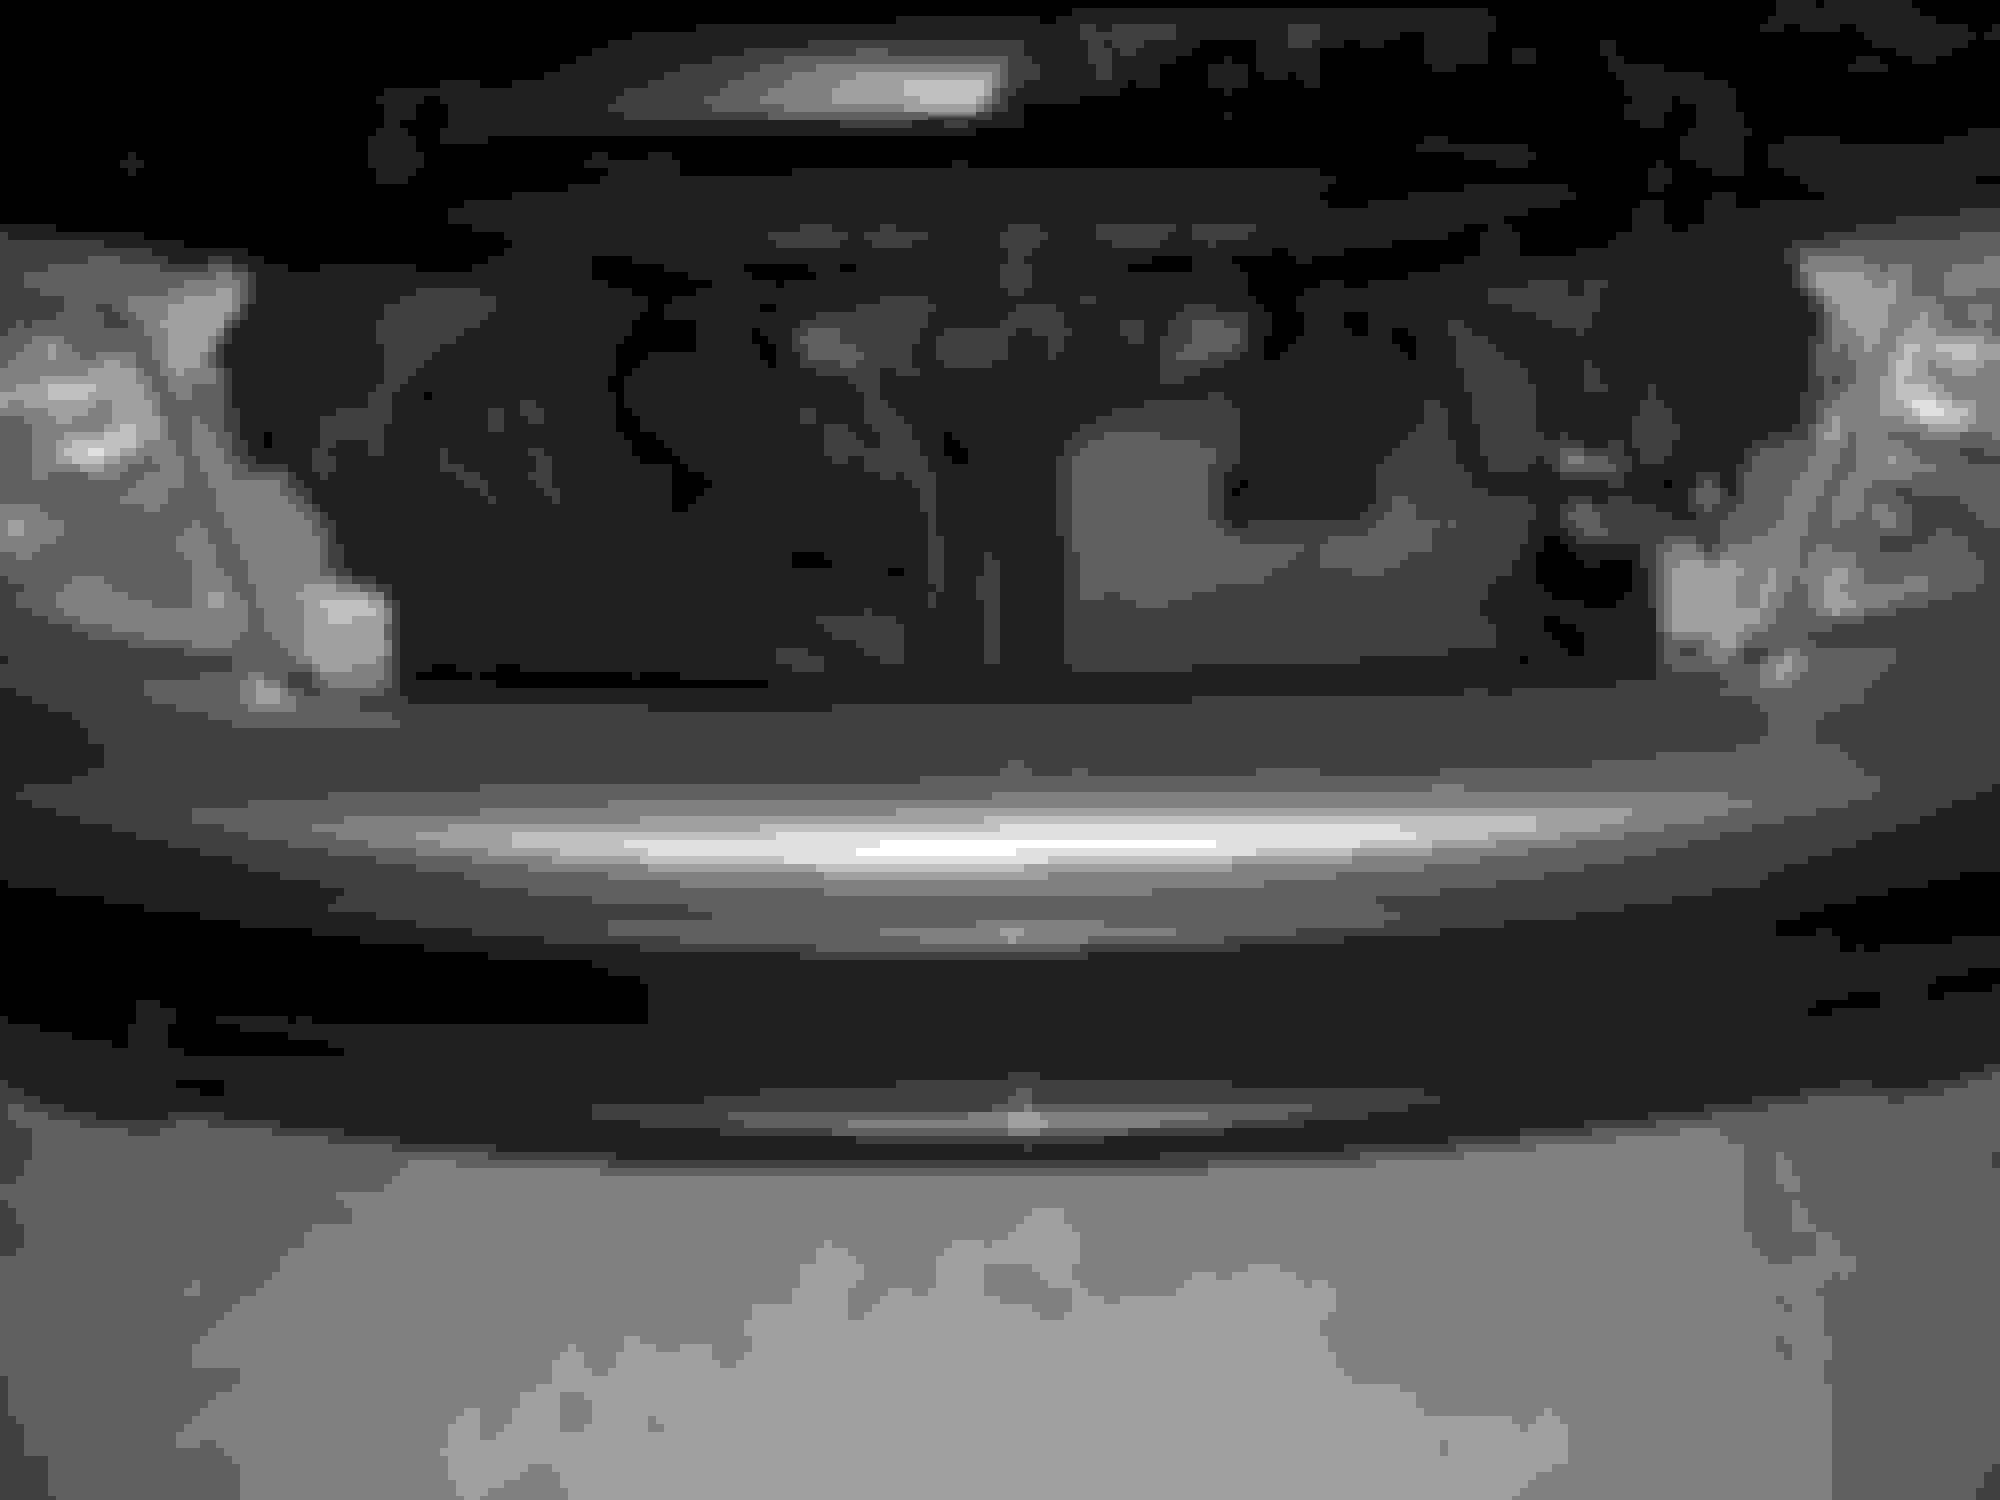
Looks good. One wish I had for Toyota is that they didn't have the recess for the front license plate. States that don't have the front plate requirement, that recess is.
Regarding leather, I've had good luck getting them supple with regular applications of leather conditioners.
Why not let one of their shop guys do it with the proper equipment for $200.00 - I do all the prep...get it like I want it (except final cleaning/priming), I remove and reinstall, and in all likelihood, I'll get a much better job. He went on to say that since they (obviously) get their materials more inexpensively, their guys will make a few bucks and I can have all the leftover mixed paint for touch ups. So I got probably $20.00 (retail) worth of touch up paint along with the deal. Sounded good to me and I think it turned out great.
It's a good deal. They very probably had to do paint matching, which you wouldn't have if you did the job yourself. Of course, the actual painting is the easiest part of the job. All the work is in the prep.

 09-14-16, 02:27 PM