Notices
IS C Discussion about the convertible IS C model

El light on door

Thread Tools
 
Search this Thread
 
Old Jan 1, 2024 | 10:24 PM
  #1  
ed21x's Avatar
ed21x
Thread Starter
Pit Crew
5 Year Member
Liked
 
Joined: Dec 2016
Posts: 162
Likes: 37
From: CA
Default El light on door

Greetings, just wanted to share a recent mod I did. The light is synchronized to the door cup light (lx460 lighted door cup mod), which is tapped from the footwell lighting. The lighting is way more subtle than these pictures make it appear and adds a classy touch


Reply
Old Feb 13, 2024 | 10:16 AM
  #2  
james350c's Avatar
james350c
7th Gear
 
Joined: Aug 2022
Posts: 7
Likes: 1
From: KY
Default

You should do a micro tutorial on it I’d love to replicate this
Reply
Old Feb 14, 2024 | 07:54 PM
  #3  
jj68jam's Avatar
jj68jam
Pit Crew
5 Year Member
Photogenic
Photoriffic
Liked
 
Joined: Aug 2019
Posts: 137
Likes: 52
From: FLORIDA
Default El light on door

Wow this really looks sharp! What kind of strip light did you use? Would really like to know more on how to do the install! Thank you -Jim
Reply
Old Feb 15, 2024 | 06:41 PM
  #4  
imkIS350c's Avatar
imkIS350c
Driver
 
Joined: Oct 2023
Posts: 86
Likes: 14
From: SC
Default

That looks stunning! You should definitely consider creating a detailed post or a video tutorial to showcase how you achieved it.
Reply
Old Feb 17, 2024 | 03:41 PM
  #5  
ed21x's Avatar
ed21x
Thread Starter
Pit Crew
5 Year Member
Liked
 
Joined: Dec 2016
Posts: 162
Likes: 37
From: CA
Default

Thank you! Yeah I'm out of the country for a bit but once I get back I'll try to snap a few pics of the interior panel and post a few part links.
Reply
Old Mar 30, 2024 | 09:12 PM
  #6  
ed21x's Avatar
ed21x
Thread Starter
Pit Crew
5 Year Member
Liked
 
Joined: Dec 2016
Posts: 162
Likes: 37
From: CA
Default

Greetings,
The supplies you will need are:

- A giant bag of Wire Taps/Disconnects
- Roll of 20-22 awg wire
- Light Source (5mm, white):
Amazon Amazon

- El Light (6m is more than you'll ever need, with enough to mess up and do other projects): https://www.ebay.com/itm/314107204480
- screwdriver
- plastic trim remover

Instructions to follow...

Last edited by ed21x; Mar 31, 2024 at 03:38 PM.
Reply
Old Mar 30, 2024 | 09:23 PM
  #7  
ed21x's Avatar
ed21x
Thread Starter
Pit Crew
5 Year Member
Liked
 
Joined: Dec 2016
Posts: 162
Likes: 37
From: CA
Default

Removing the door:

Step 1: use a trim removing tool to pop off this corner plastic. It is only held on by clips.


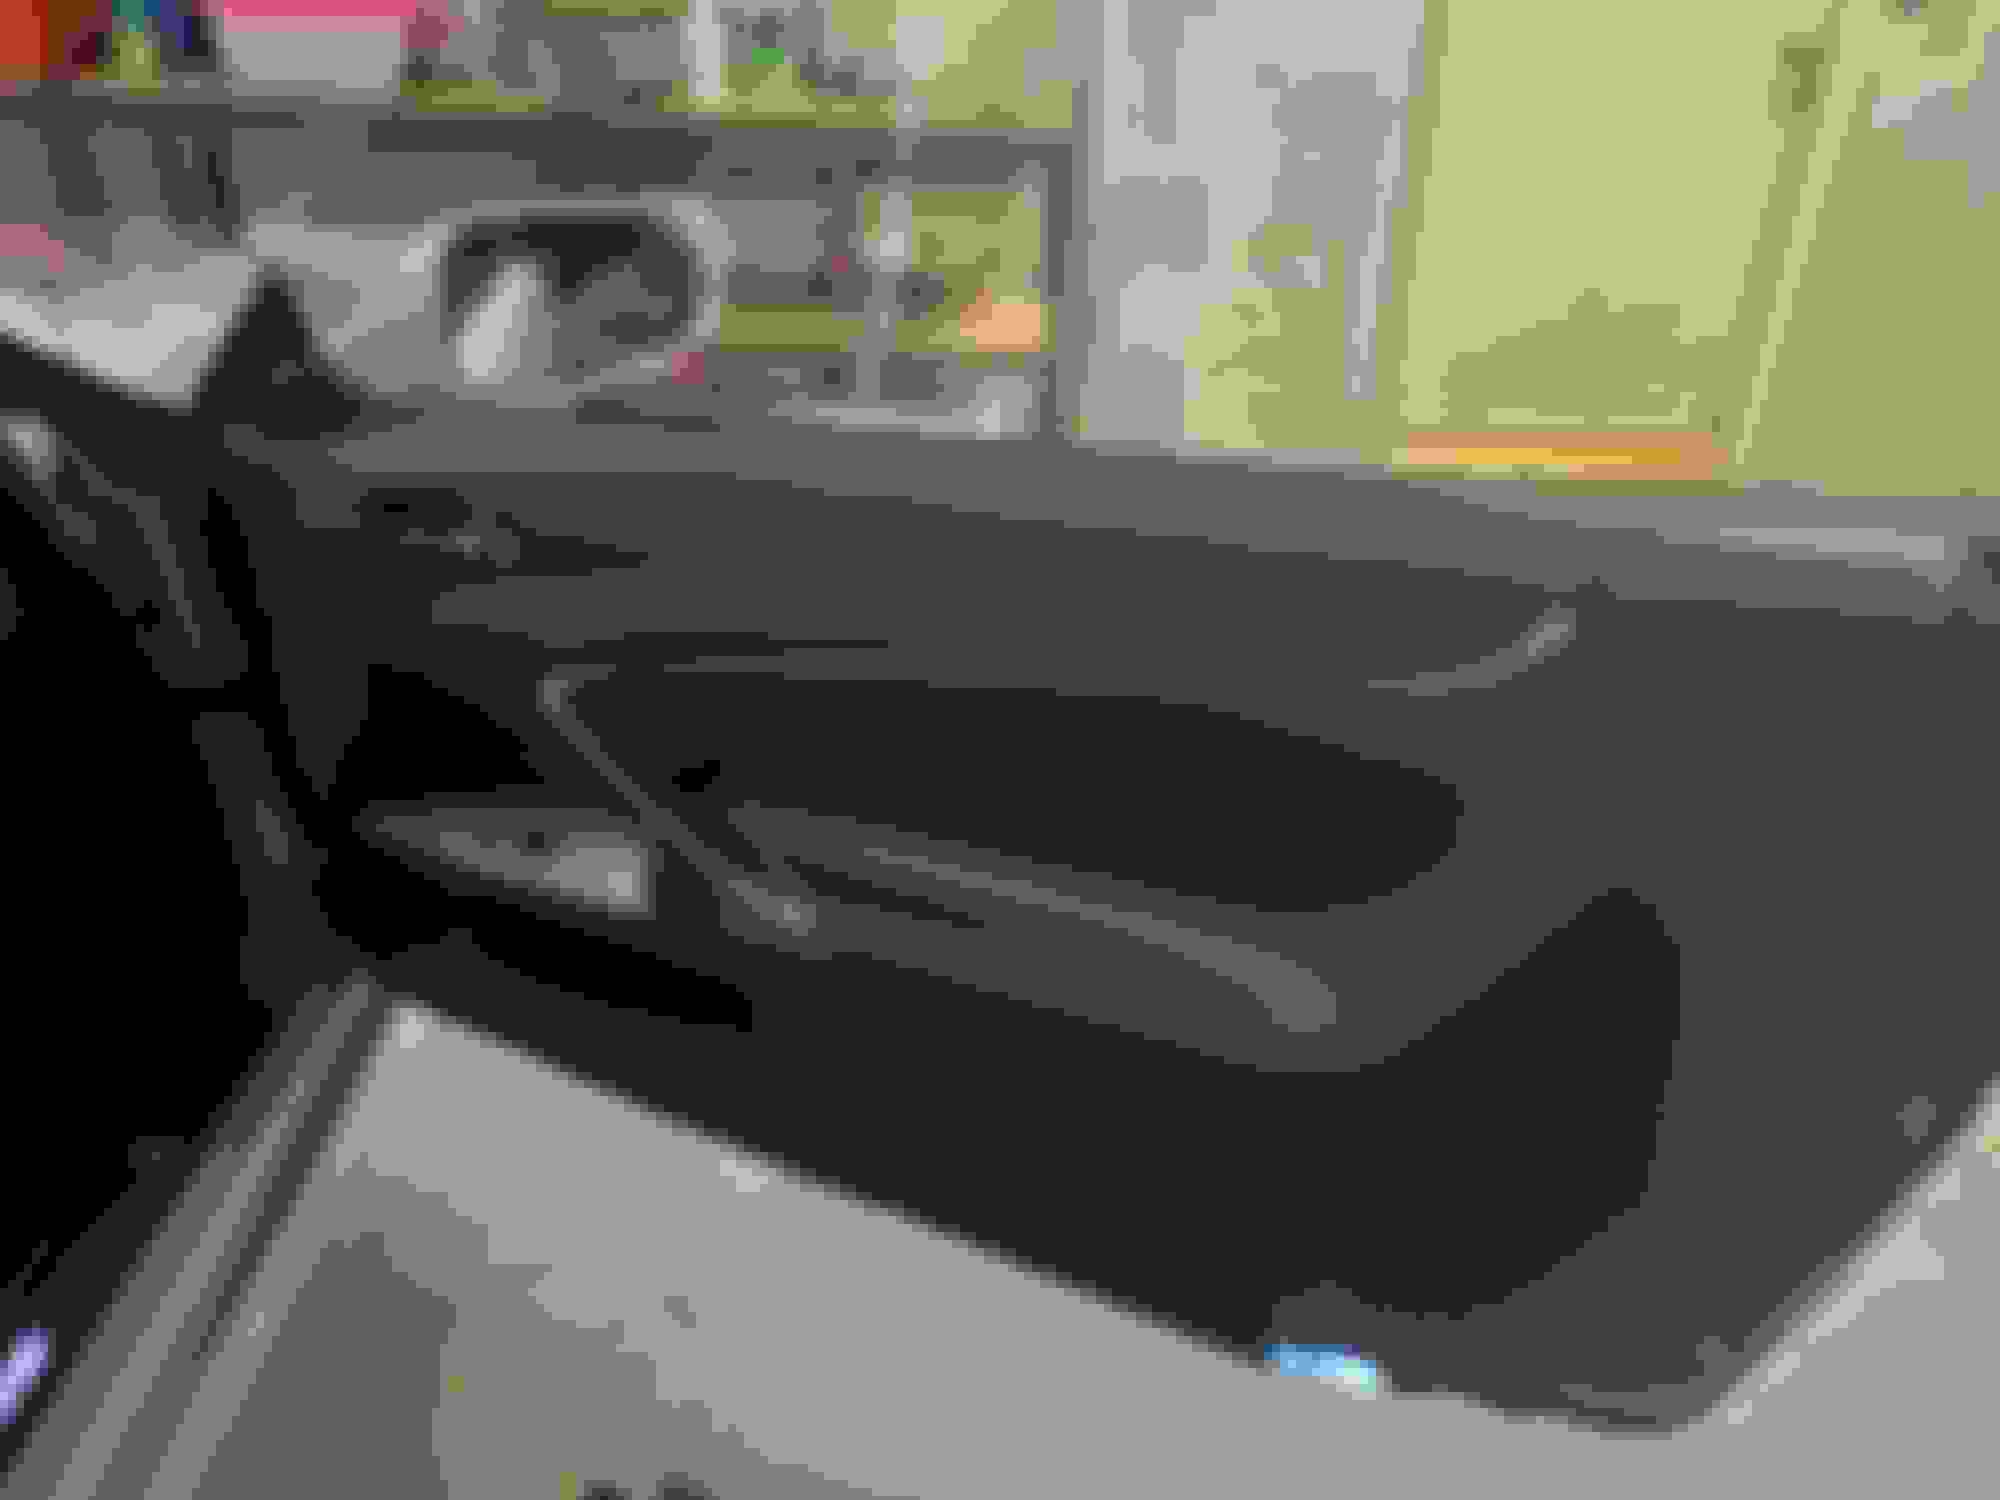
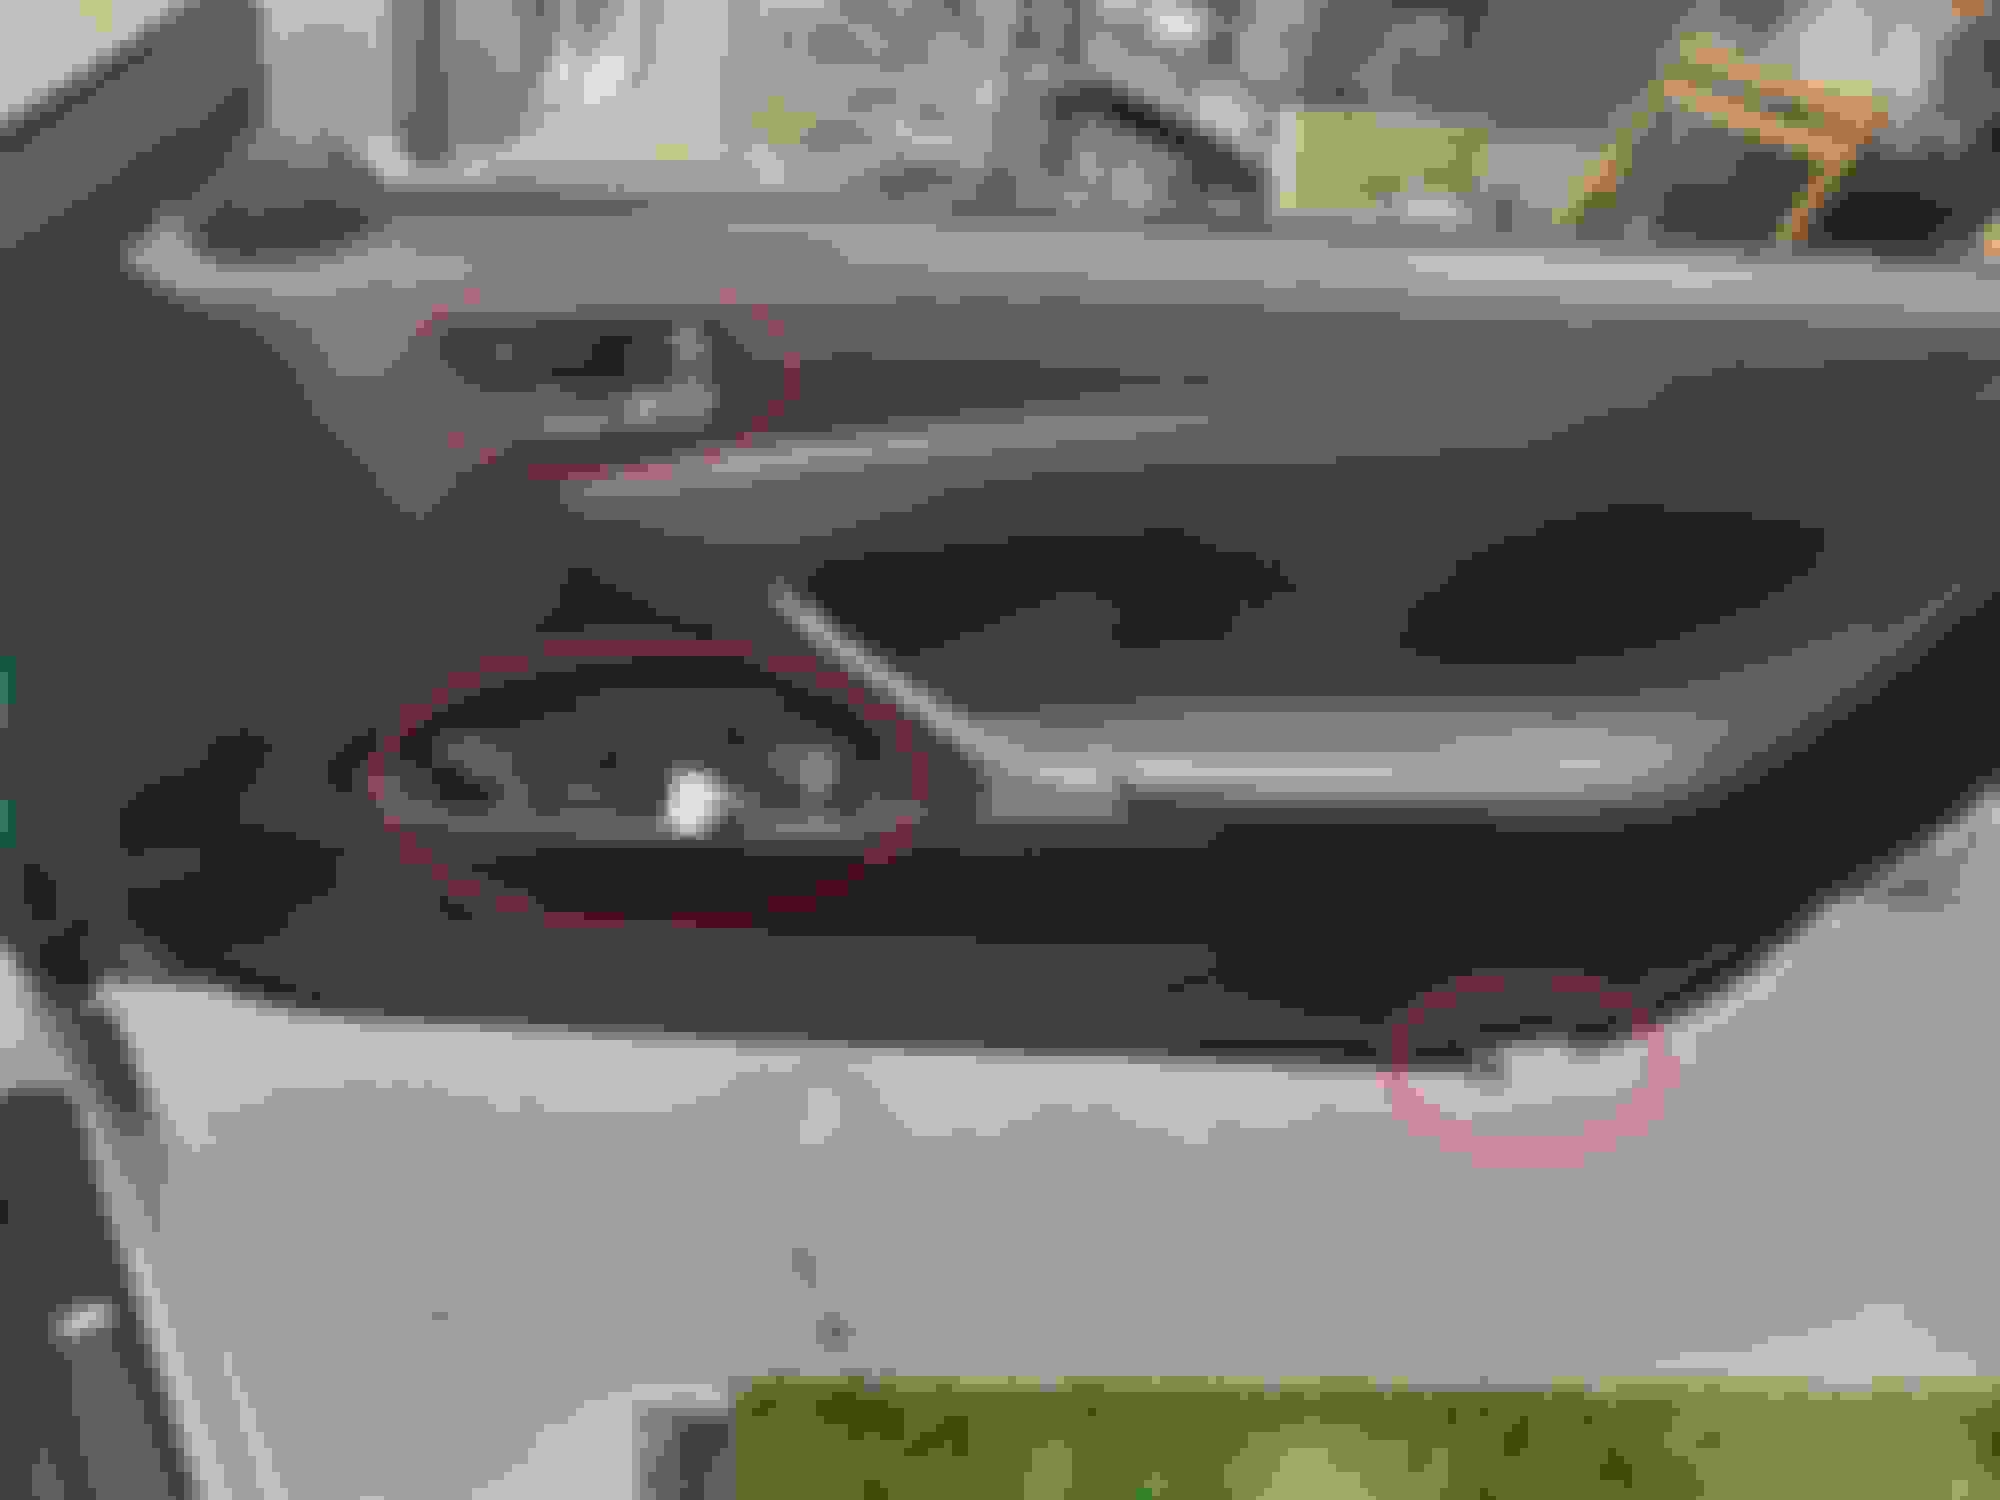
Use trim remover tool to remove the door cup, footwell light, and window switch panel (all circled in red). Unplug as necessary. Remove the large screw (1x) behind door cup and (1x)underneath the window switch panel. After that, there is a slot around where I circled in green below. Reach for that slot and pull. This will disengage some clips on the bottom. Pop off all of the bottom. Then lift the entire panel up as it is hooked over the top. Disconnect everything underneath it to completely remove the door panel.

Reply
Old Mar 30, 2024 | 09:28 PM
  #8  
ed21x's Avatar
ed21x
Thread Starter
Pit Crew
5 Year Member
Liked
 
Joined: Dec 2016
Posts: 162
Likes: 37
From: CA
Default

Threading the El Light through the panel:

With the door panel off, you want to remove the following screws from the inside of the panel:


This will open up a crack between the panels, allowing you to thread the El light from the inside of the panel to the outside surface:
Reply
Old Mar 30, 2024 | 09:33 PM
  #9  
ed21x's Avatar
ed21x
Thread Starter
Pit Crew
5 Year Member
Liked
 
Joined: Dec 2016
Posts: 162
Likes: 37
From: CA
Default

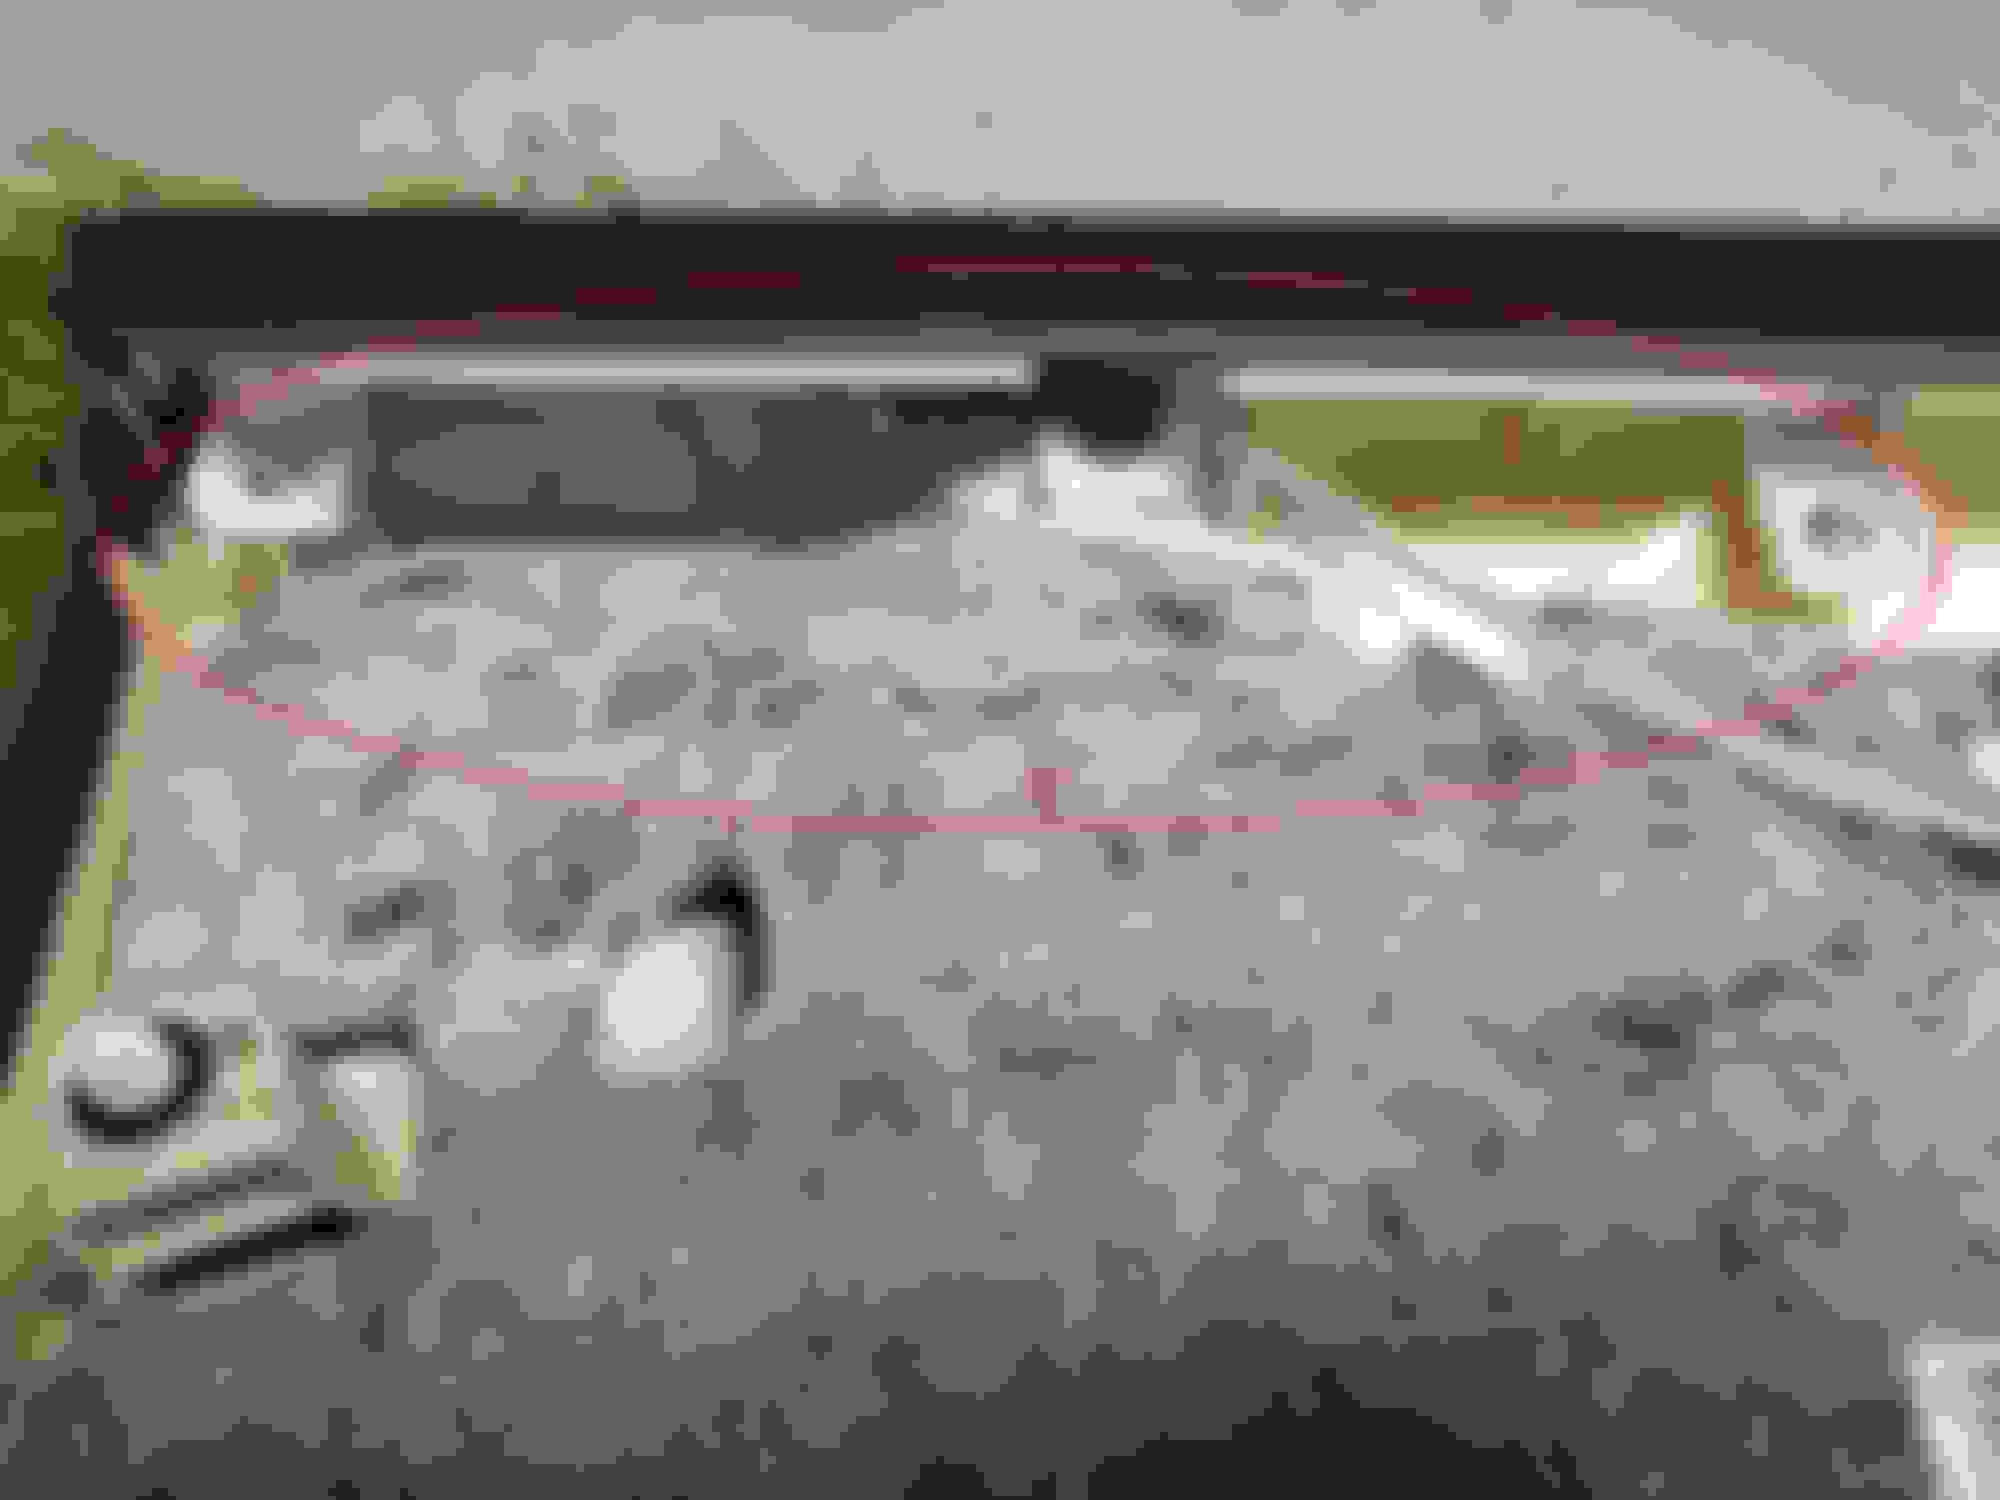
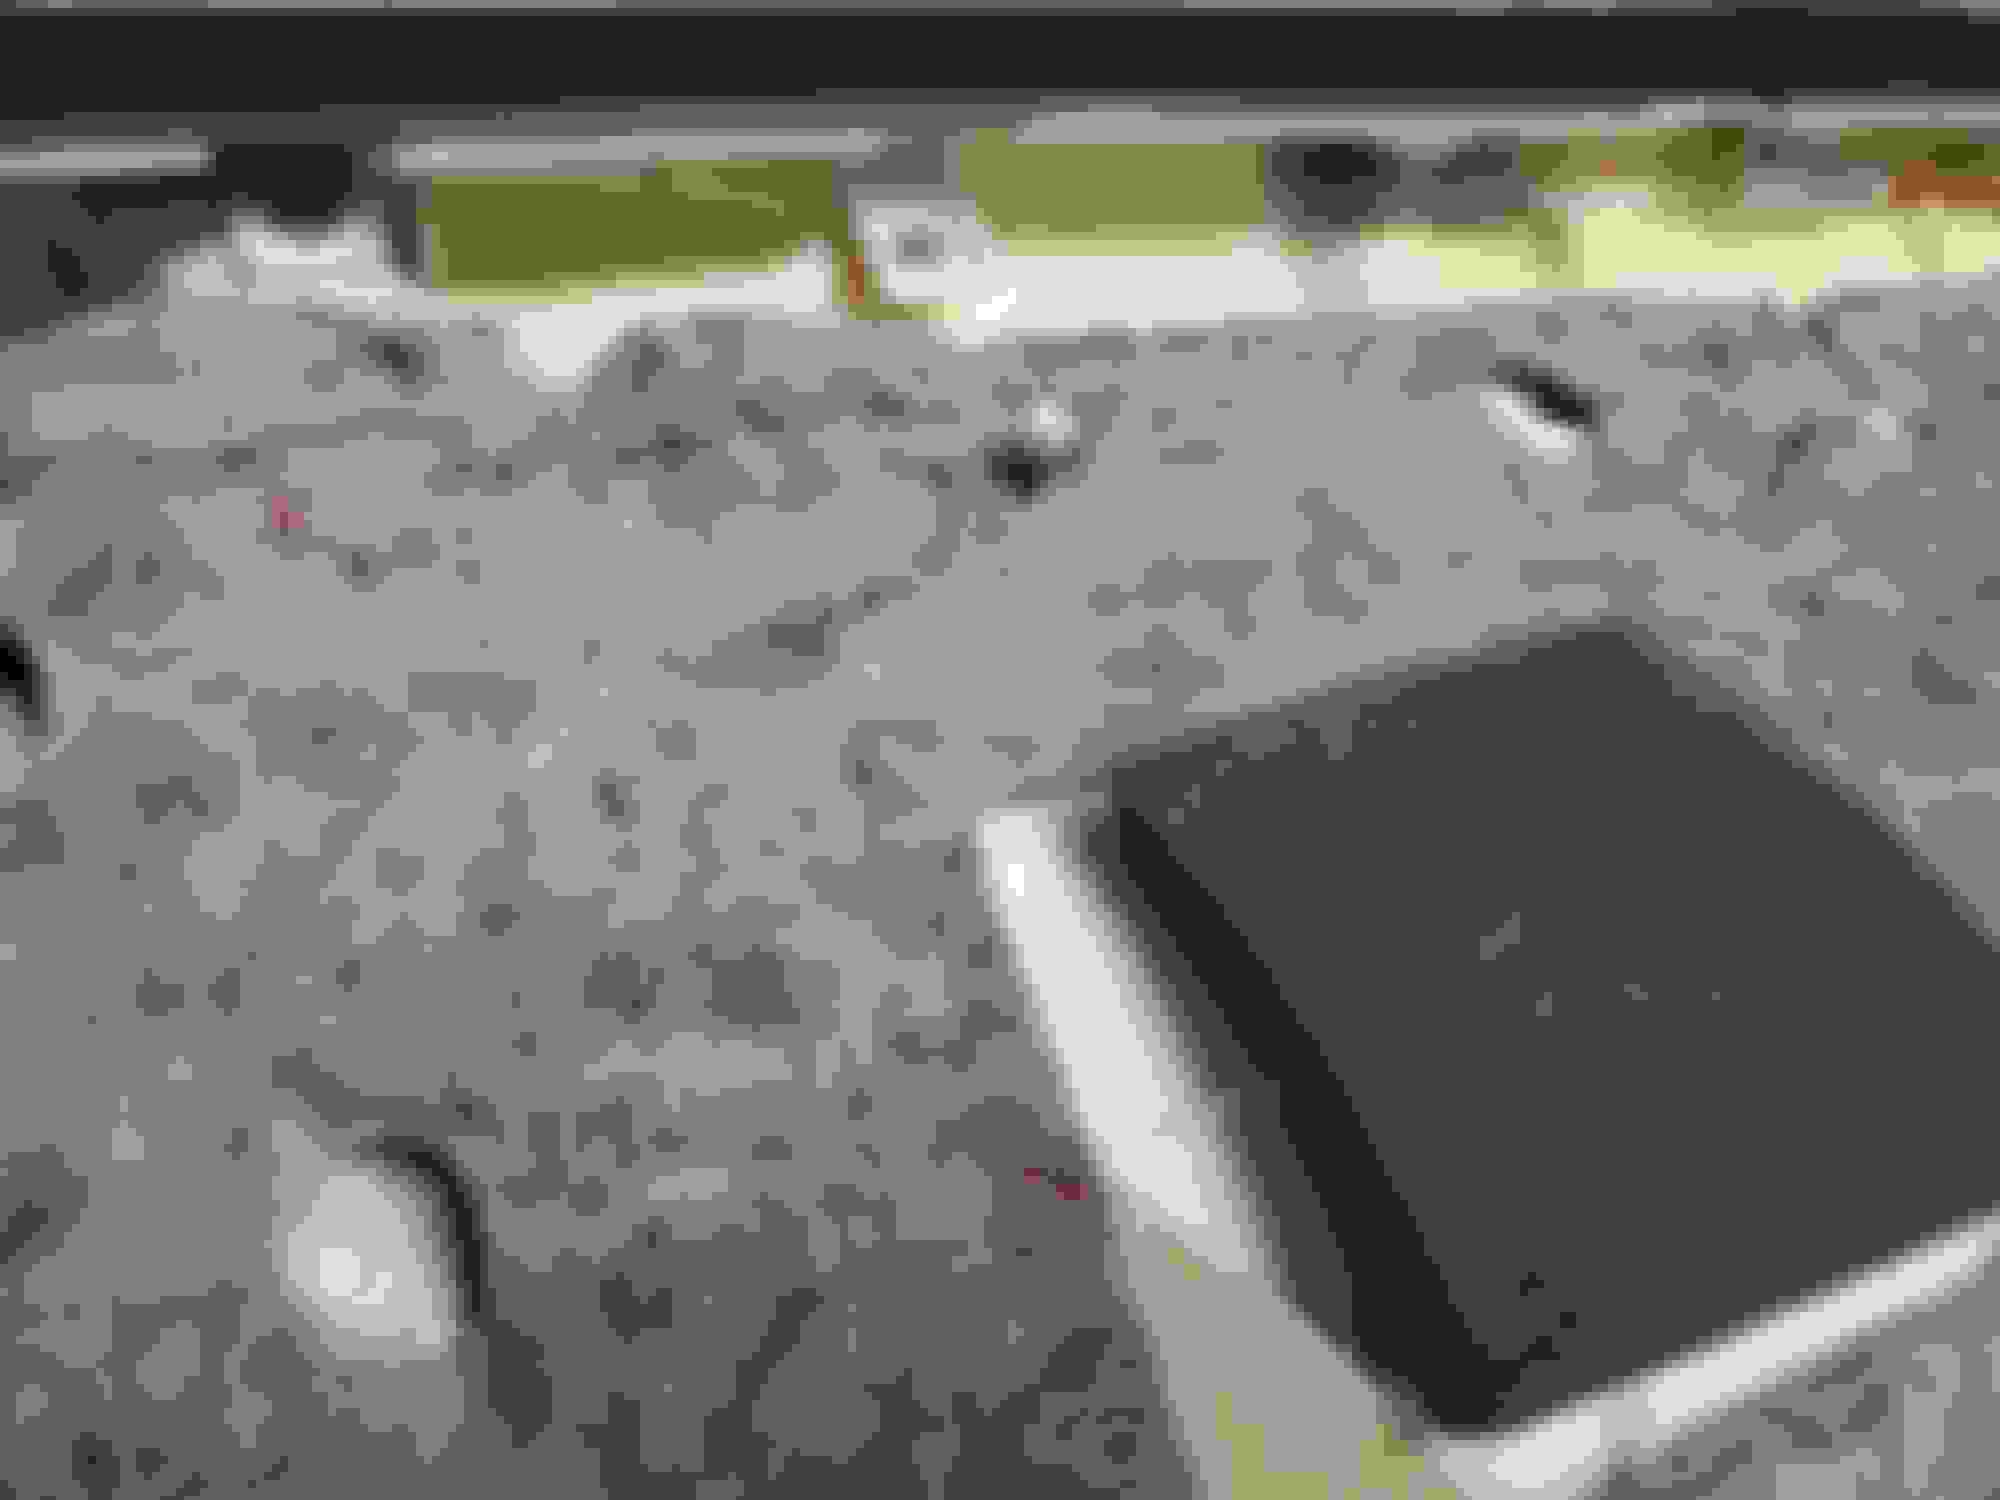
On the outer surface, you can press the el light into the crease and follow it through to where it meets the handle. Then cut the el light as it hits the handle, and darken the end with a permanent black marker to prevent light from spilling out at the tip.

On the inner surface, you want to run the el light along the top of the door, and hook it up to the light source (trim the flap as necessary in order to get it to fit into the light source):


Reply
Old Mar 30, 2024 | 09:37 PM
  #10  
ed21x's Avatar
ed21x
Thread Starter
Pit Crew
5 Year Member
Liked
 
Joined: Dec 2016
Posts: 162
Likes: 37
From: CA
Default

Will finish the tutorial tomorrow with tapping the power from the footwell light...

Last edited by ed21x; Mar 30, 2024 at 11:02 PM.
Reply
Old Mar 31, 2024 | 03:28 PM
  #11  
ed21x's Avatar
ed21x
Thread Starter
Pit Crew
5 Year Member
Liked
 
Joined: Dec 2016
Posts: 162
Likes: 37
From: CA
Default

Tapping the power from the footwell light:

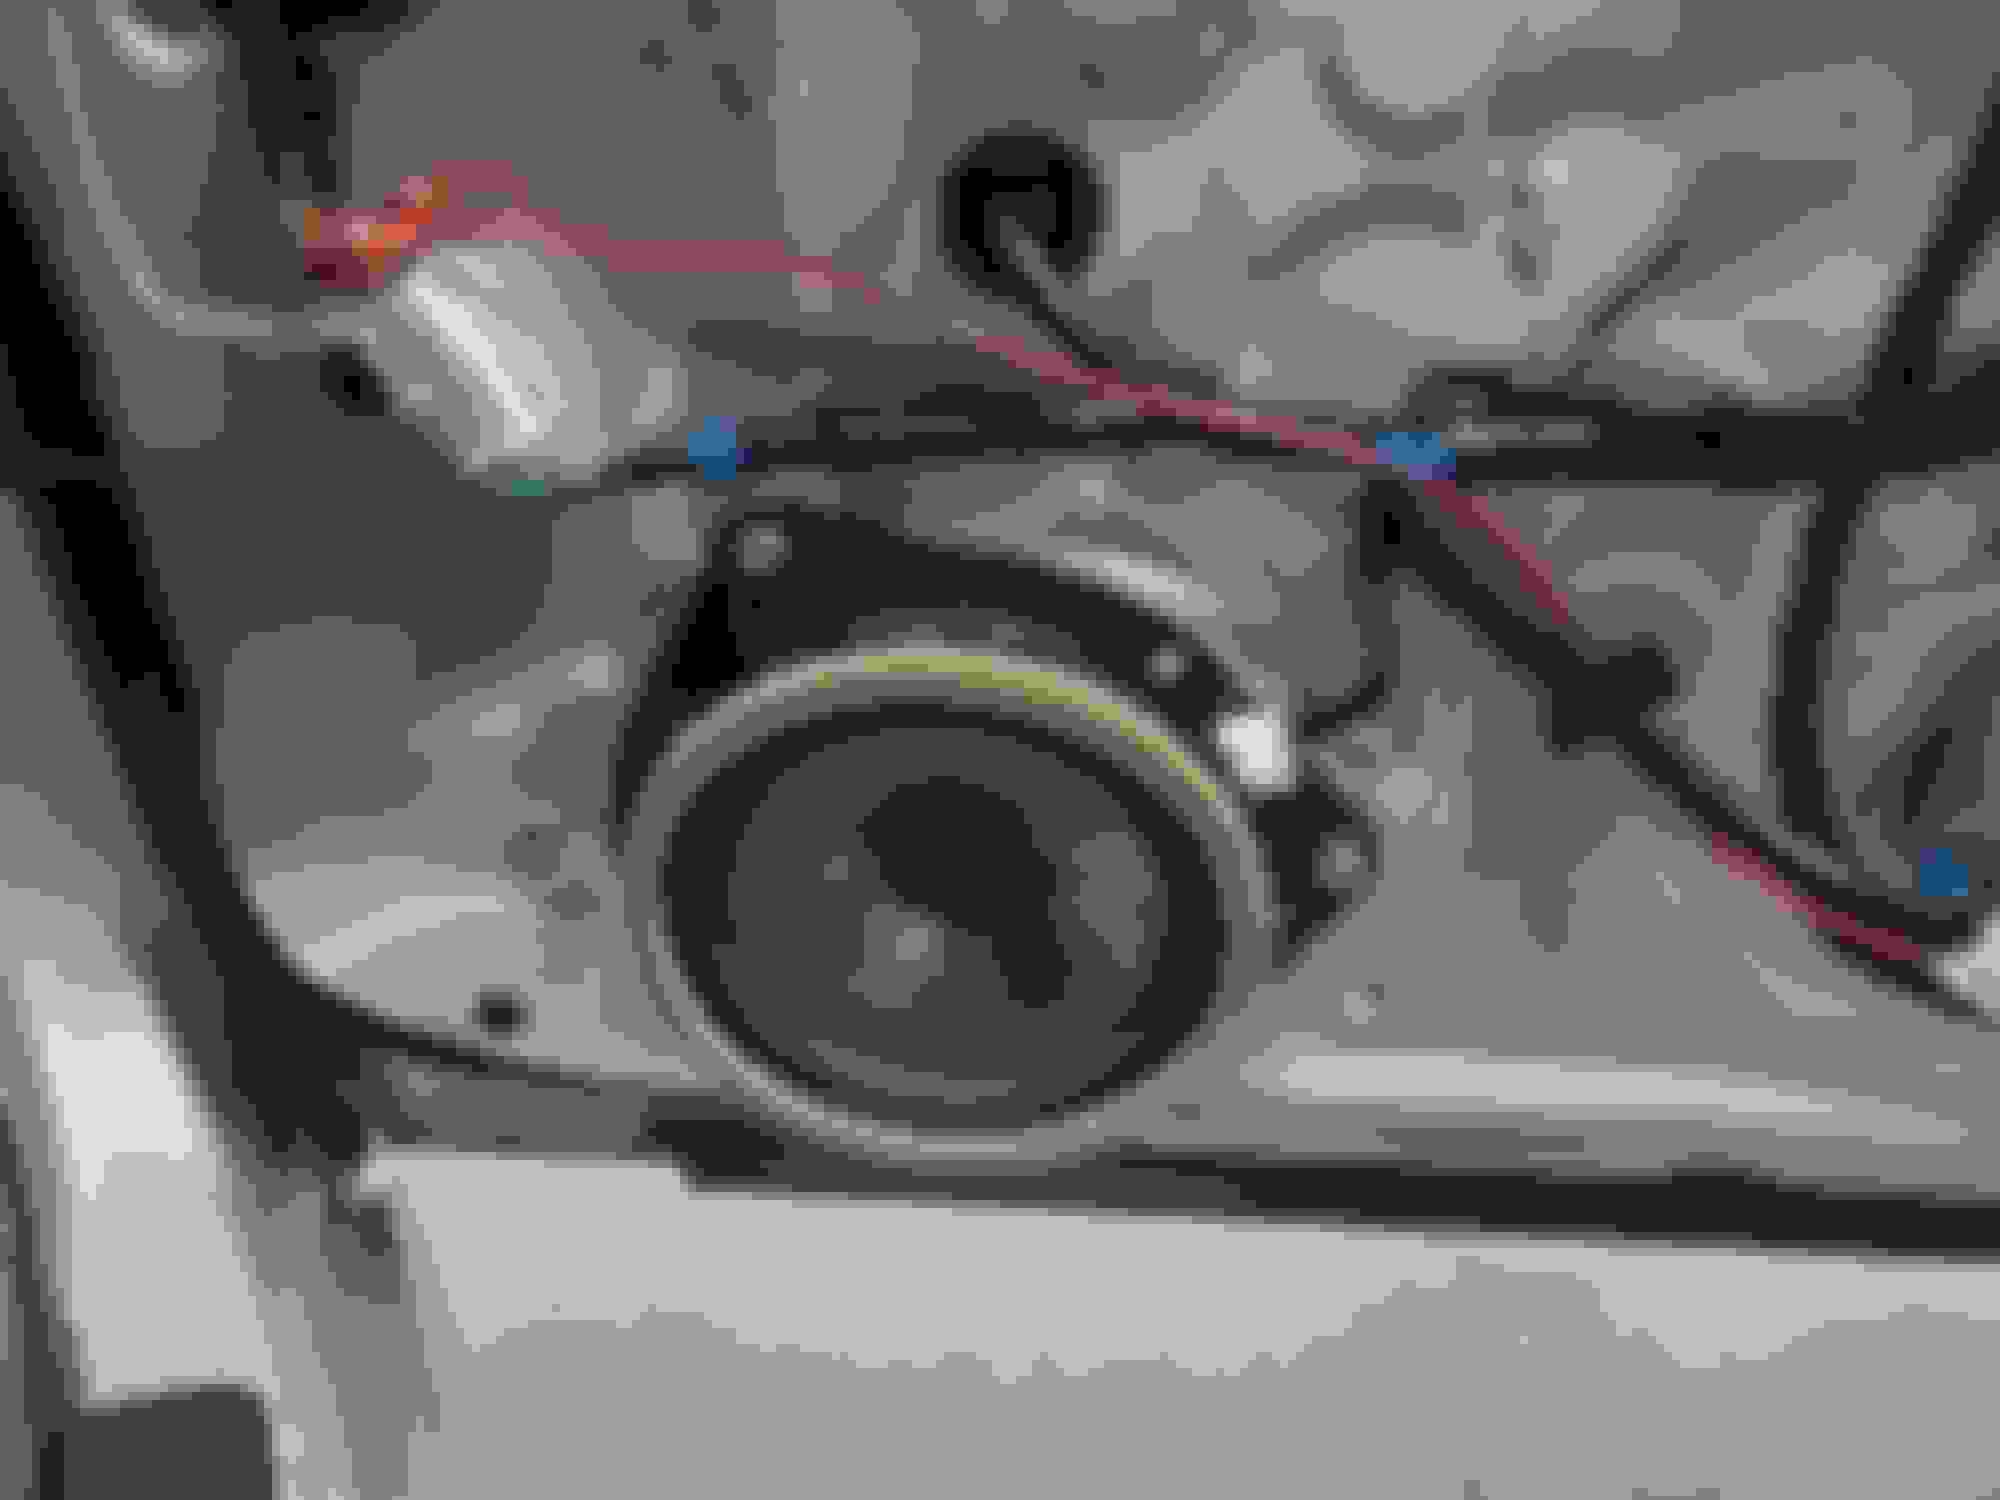
With the door still disassembled, remove the screws the keep the speaker in place:


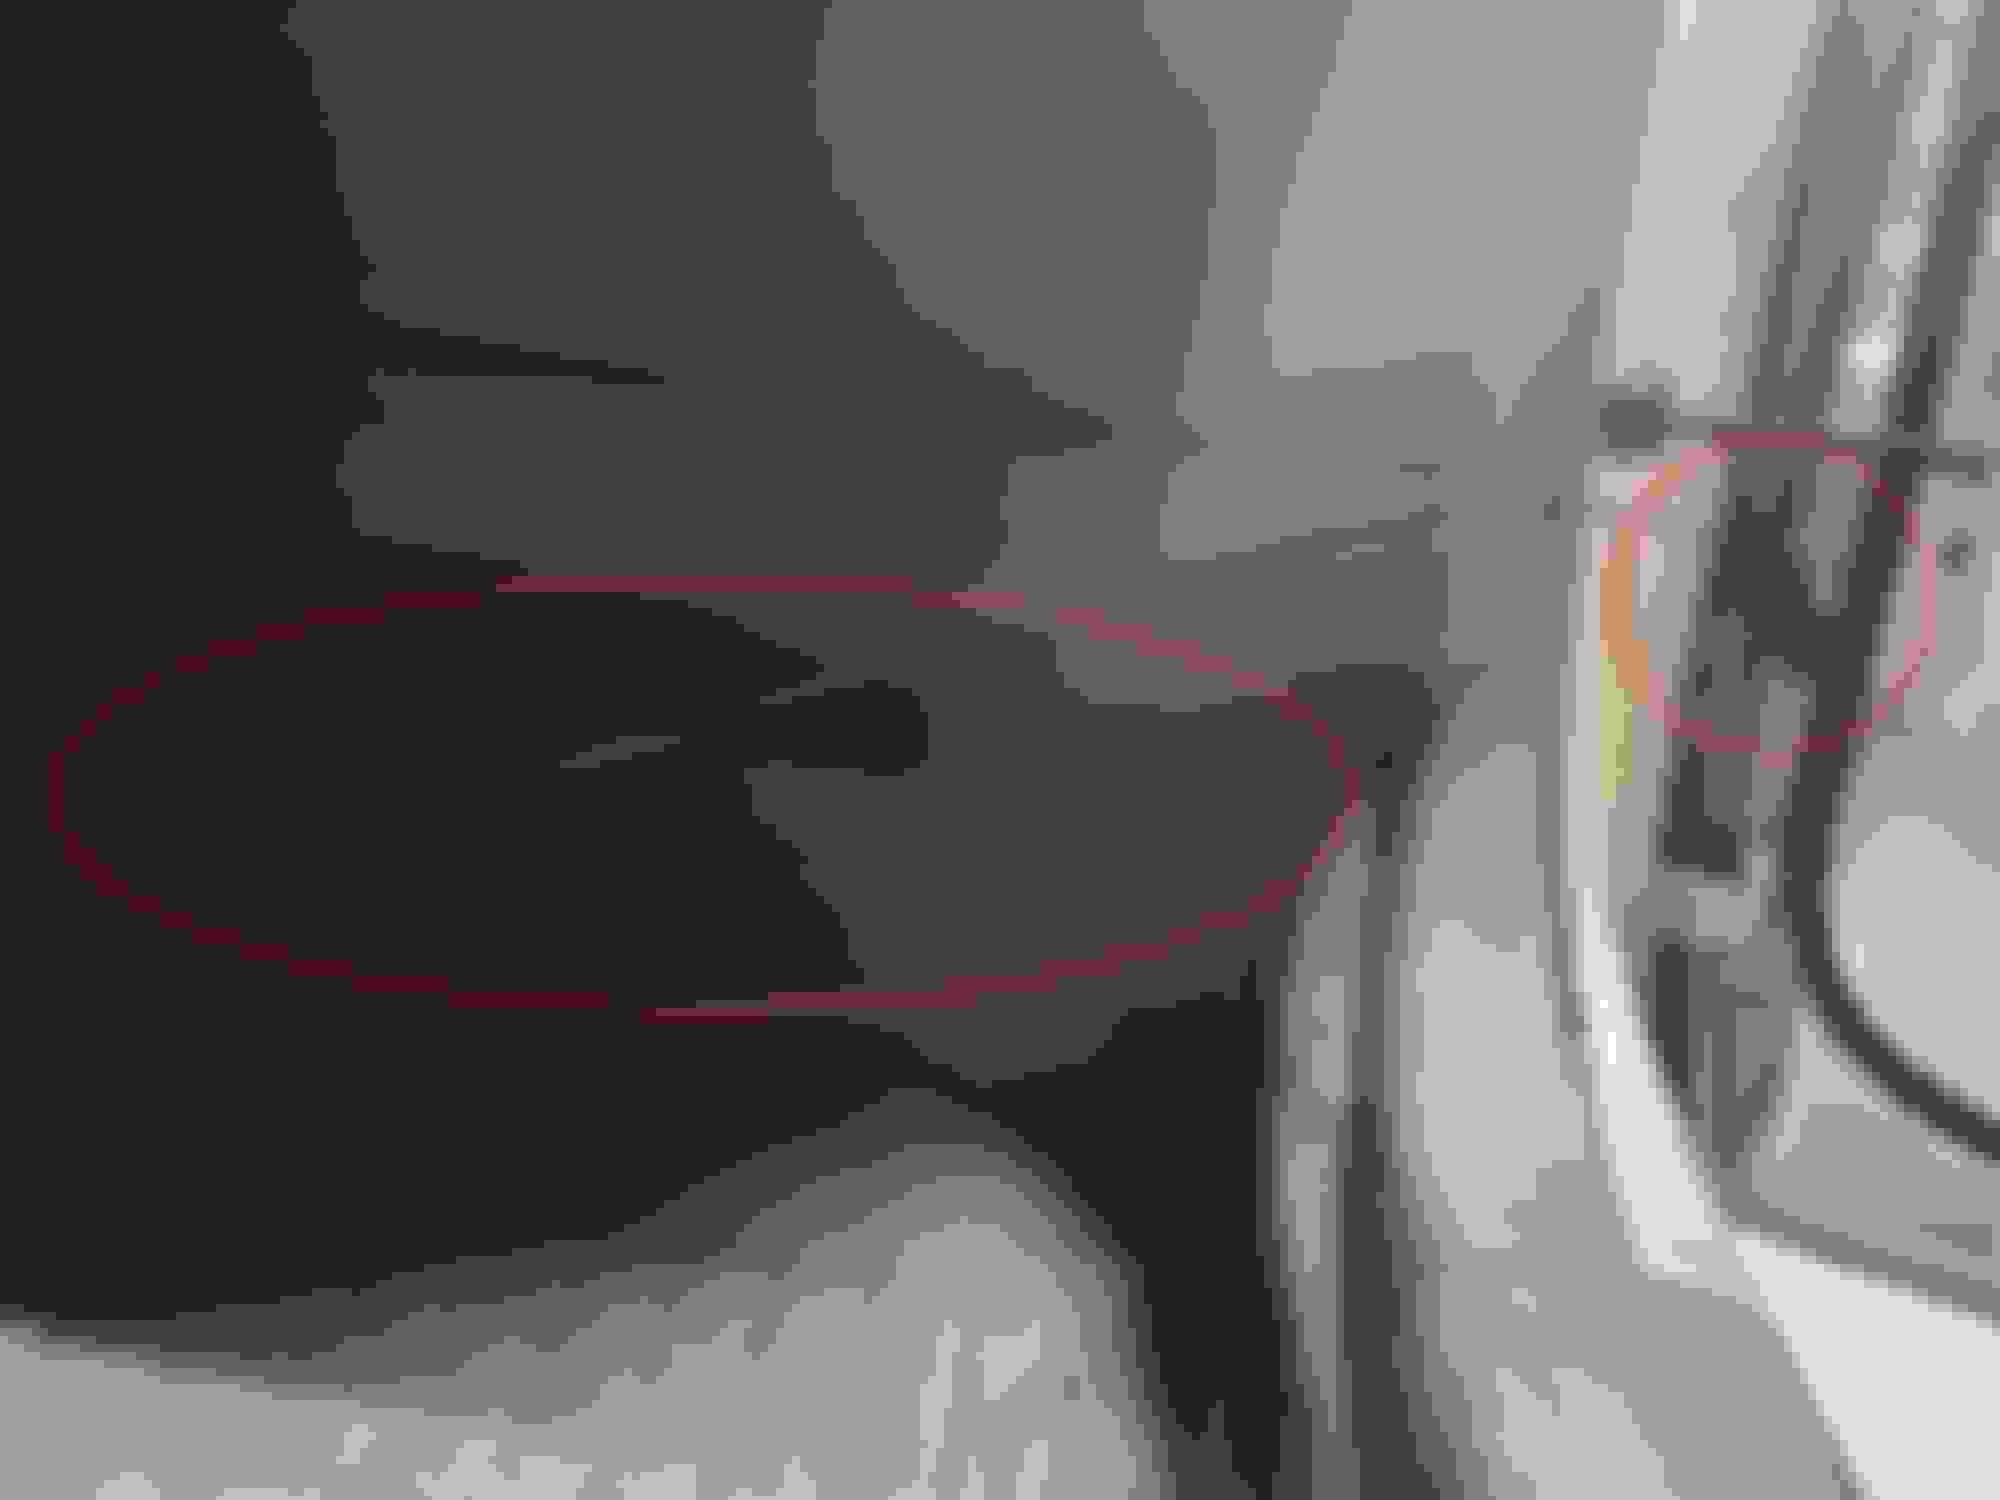
Once that is removed, reach into the hole, and you should be able to feel where the bundle of wires lead from the door to the car. Your goal is to string a wire through the rubber hose from the door to the rest of the car:


Let me be the first to say that this is a very time consuming step as the rubber hose is oddly shaped. After many hours of trying using a bent paperclip/hanger, i was finally able to get a wire through. It does help to disconnect the hose, and also remove a single bolt on the door that is keeping it from swinging all the way open. This will give you more space to work with. It was a bit frustrating for me, but in the end, I used that line to power both the door handle cup light, this el light, and potentially the door storage compartment if desired.

Once the wire had made it to the car, you'll want to wire it to the footwell light:


Reply
Old Mar 31, 2024 | 03:32 PM
  #12  
ed21x's Avatar
ed21x
Thread Starter
Pit Crew
5 Year Member
Liked
 
Joined: Dec 2016
Posts: 162
Likes: 37
From: CA
Default

To access the footwell light, the tray can be pried down using your hand (it is held on by clips):


Once that is off, tap both wires leading to the footwell LED:


I have a light going in both directions because I also use this power source for illuminating my center console:


You can also use this power source for the door cup light, if you desire the dynamic fading effect.
Reply
Old Mar 31, 2024 | 06:01 PM
  #13  
primavera's Avatar
primavera
Racer
5 Year Member
Liked
Loved
Community Favorite
 
Joined: Feb 2017
Posts: 1,266
Likes: 331
From: Ontario
Default

Nice clean install that gives very nice touch. Thanks for the tutorial
Reply
Old May 6, 2024 | 09:13 PM
  #14  
ed21x's Avatar
ed21x
Thread Starter
Pit Crew
5 Year Member
Liked
 
Joined: Dec 2016
Posts: 162
Likes: 37
From: CA
Default

For back seats as well


Reply
Related Topics
Thread
Thread Starter
Forum
Replies
Last Post
PaulCee
RX - 4th Gen (2016-2022)
5
Dec 3, 2022 03:12 PM
PaulBNK
NX - 1st Gen (2015-2021)
42
May 13, 2021 04:34 PM
Opicasso
GS - 4th Gen (2013-2020)
1
May 5, 2021 02:05 AM
Cgw1984
LS - 4th Gen (2007-2017)
5
Nov 28, 2020 06:37 PM
paulwendy
GX - 2nd Gen (2010-2023)
1
Dec 23, 2017 09:54 AM


All times are GMT -7. The time now is 03:17 PM.