When you click on links to various merchants on this site and make a purchase, this can result in this site earning a commission. Affiliate programs and affiliations include, but are not limited to, the eBay Partner Network.
After doing the center console trim in red and having scraps left I decided to do the trim that runs along the dash, luckily I had just enough to complete the job, i wish it was tad bit bigger to make it easier but it turned out good.
Lighting definitely plays a big role in color match, it's a close 99% match.
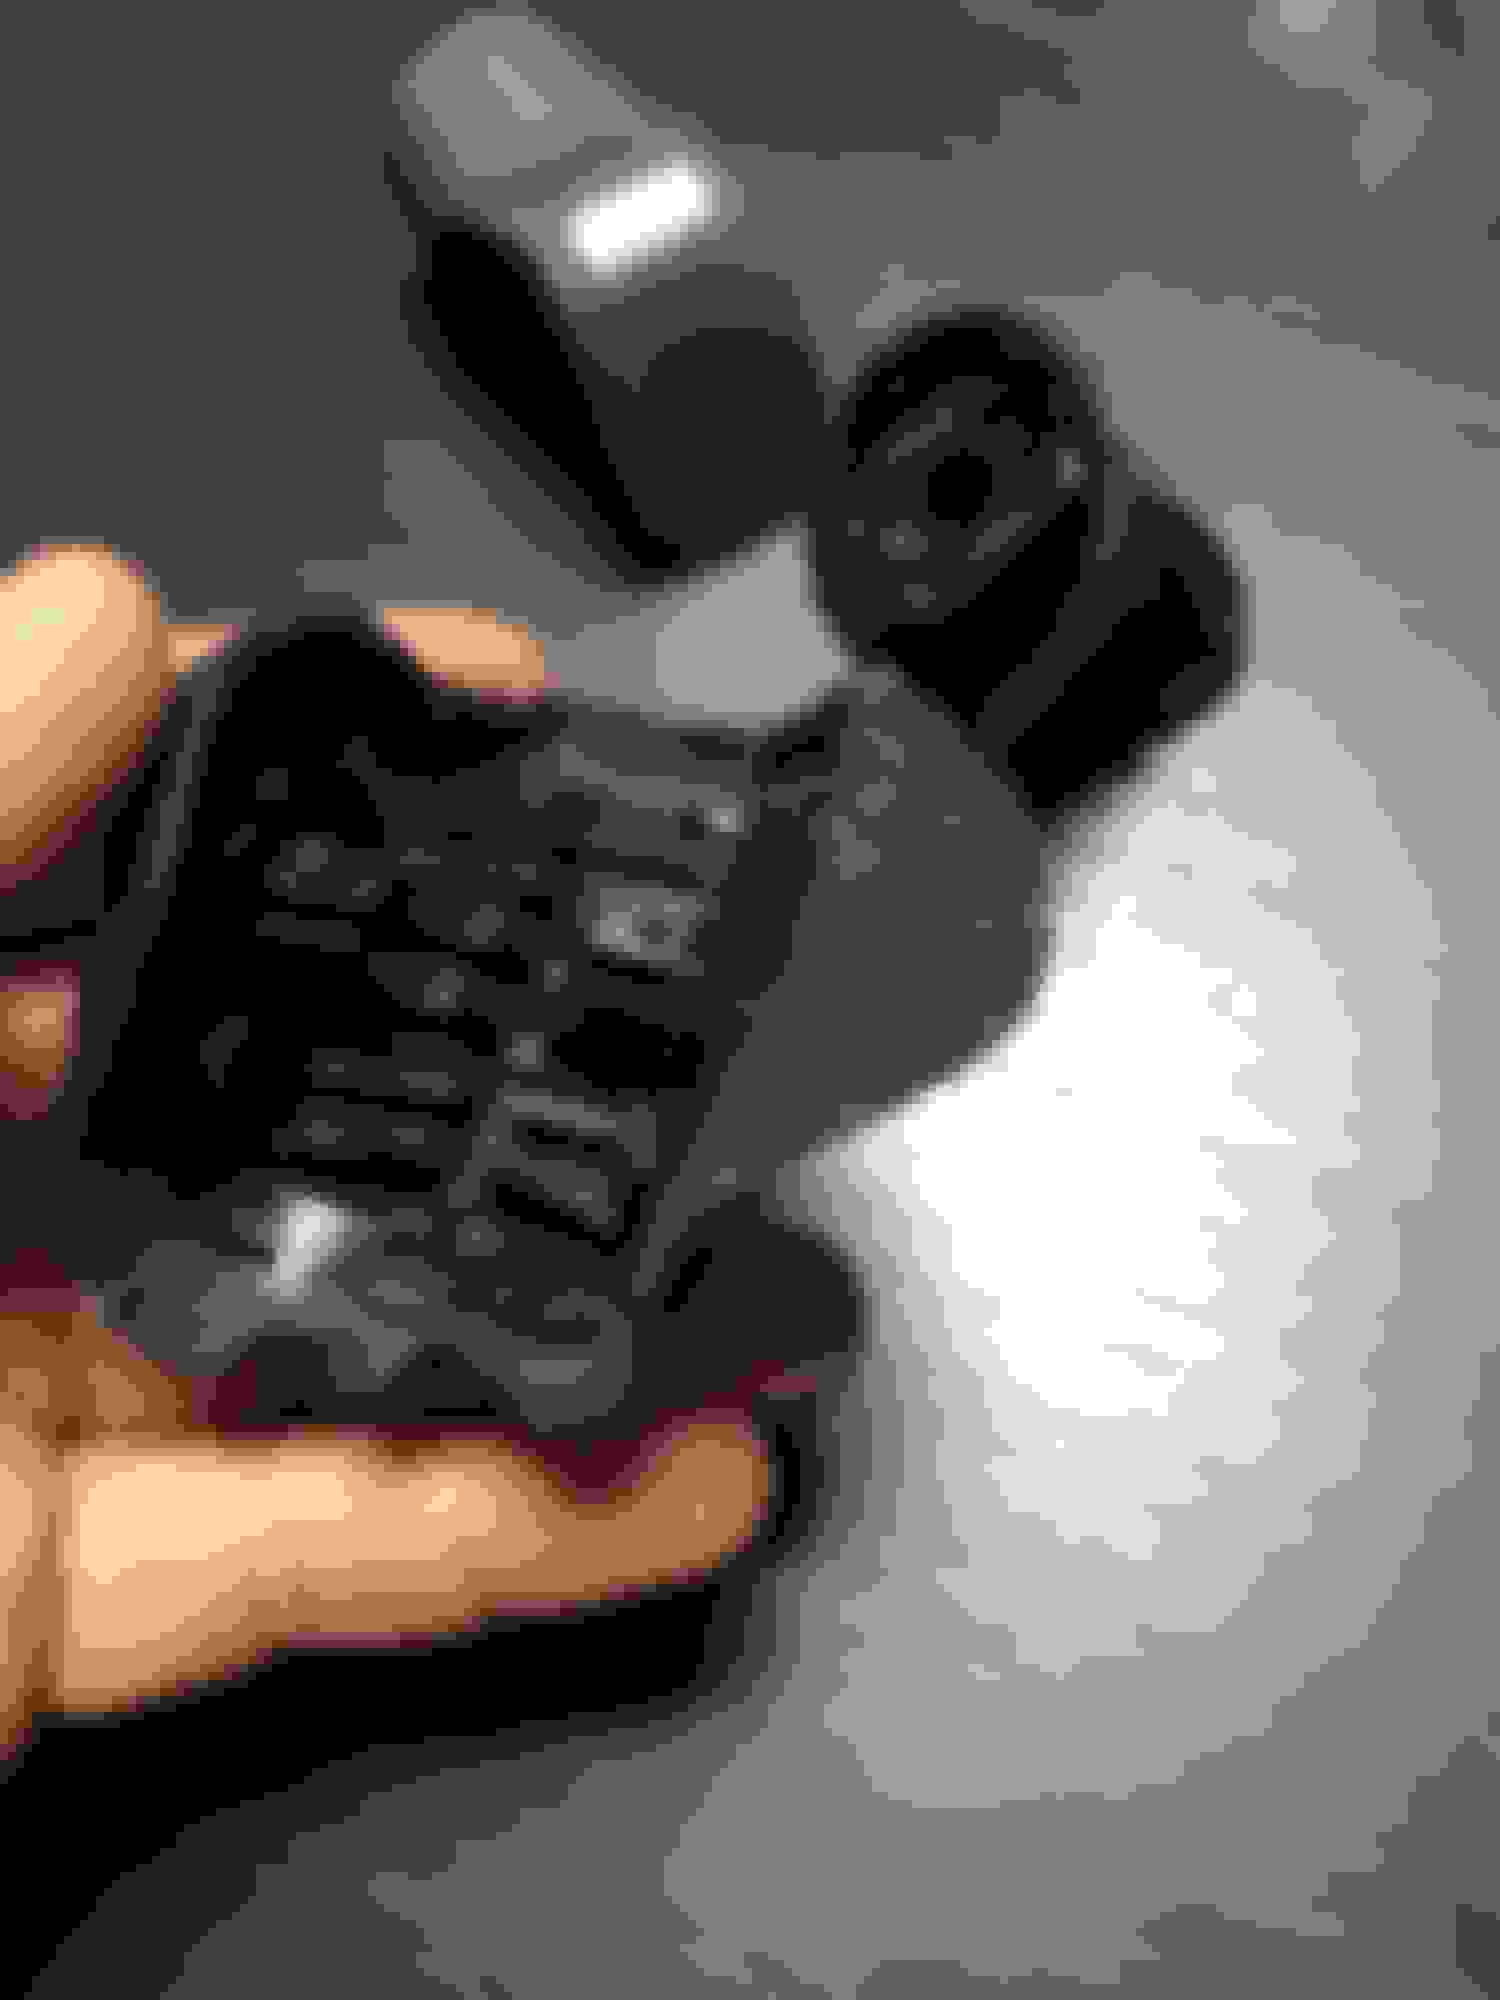
I would heat it up to soften the glue inside as much as u can (not sure if it will help) where the �plastic prongs� red arrows. If you look at my pic I did broke two top ones ( I was just guessing as no one did it before, so I pried without heating it at all. I think it would help soften the glue) and if u do brake em no big deal as mine holds for a year without coming appart as you will glue everything back.
1. Pry top #1 with flat screw driver after heating it SLOWLY not rushing to try keeping prongs intact.
2. If I remember correctly slide down silver plastic down #2.
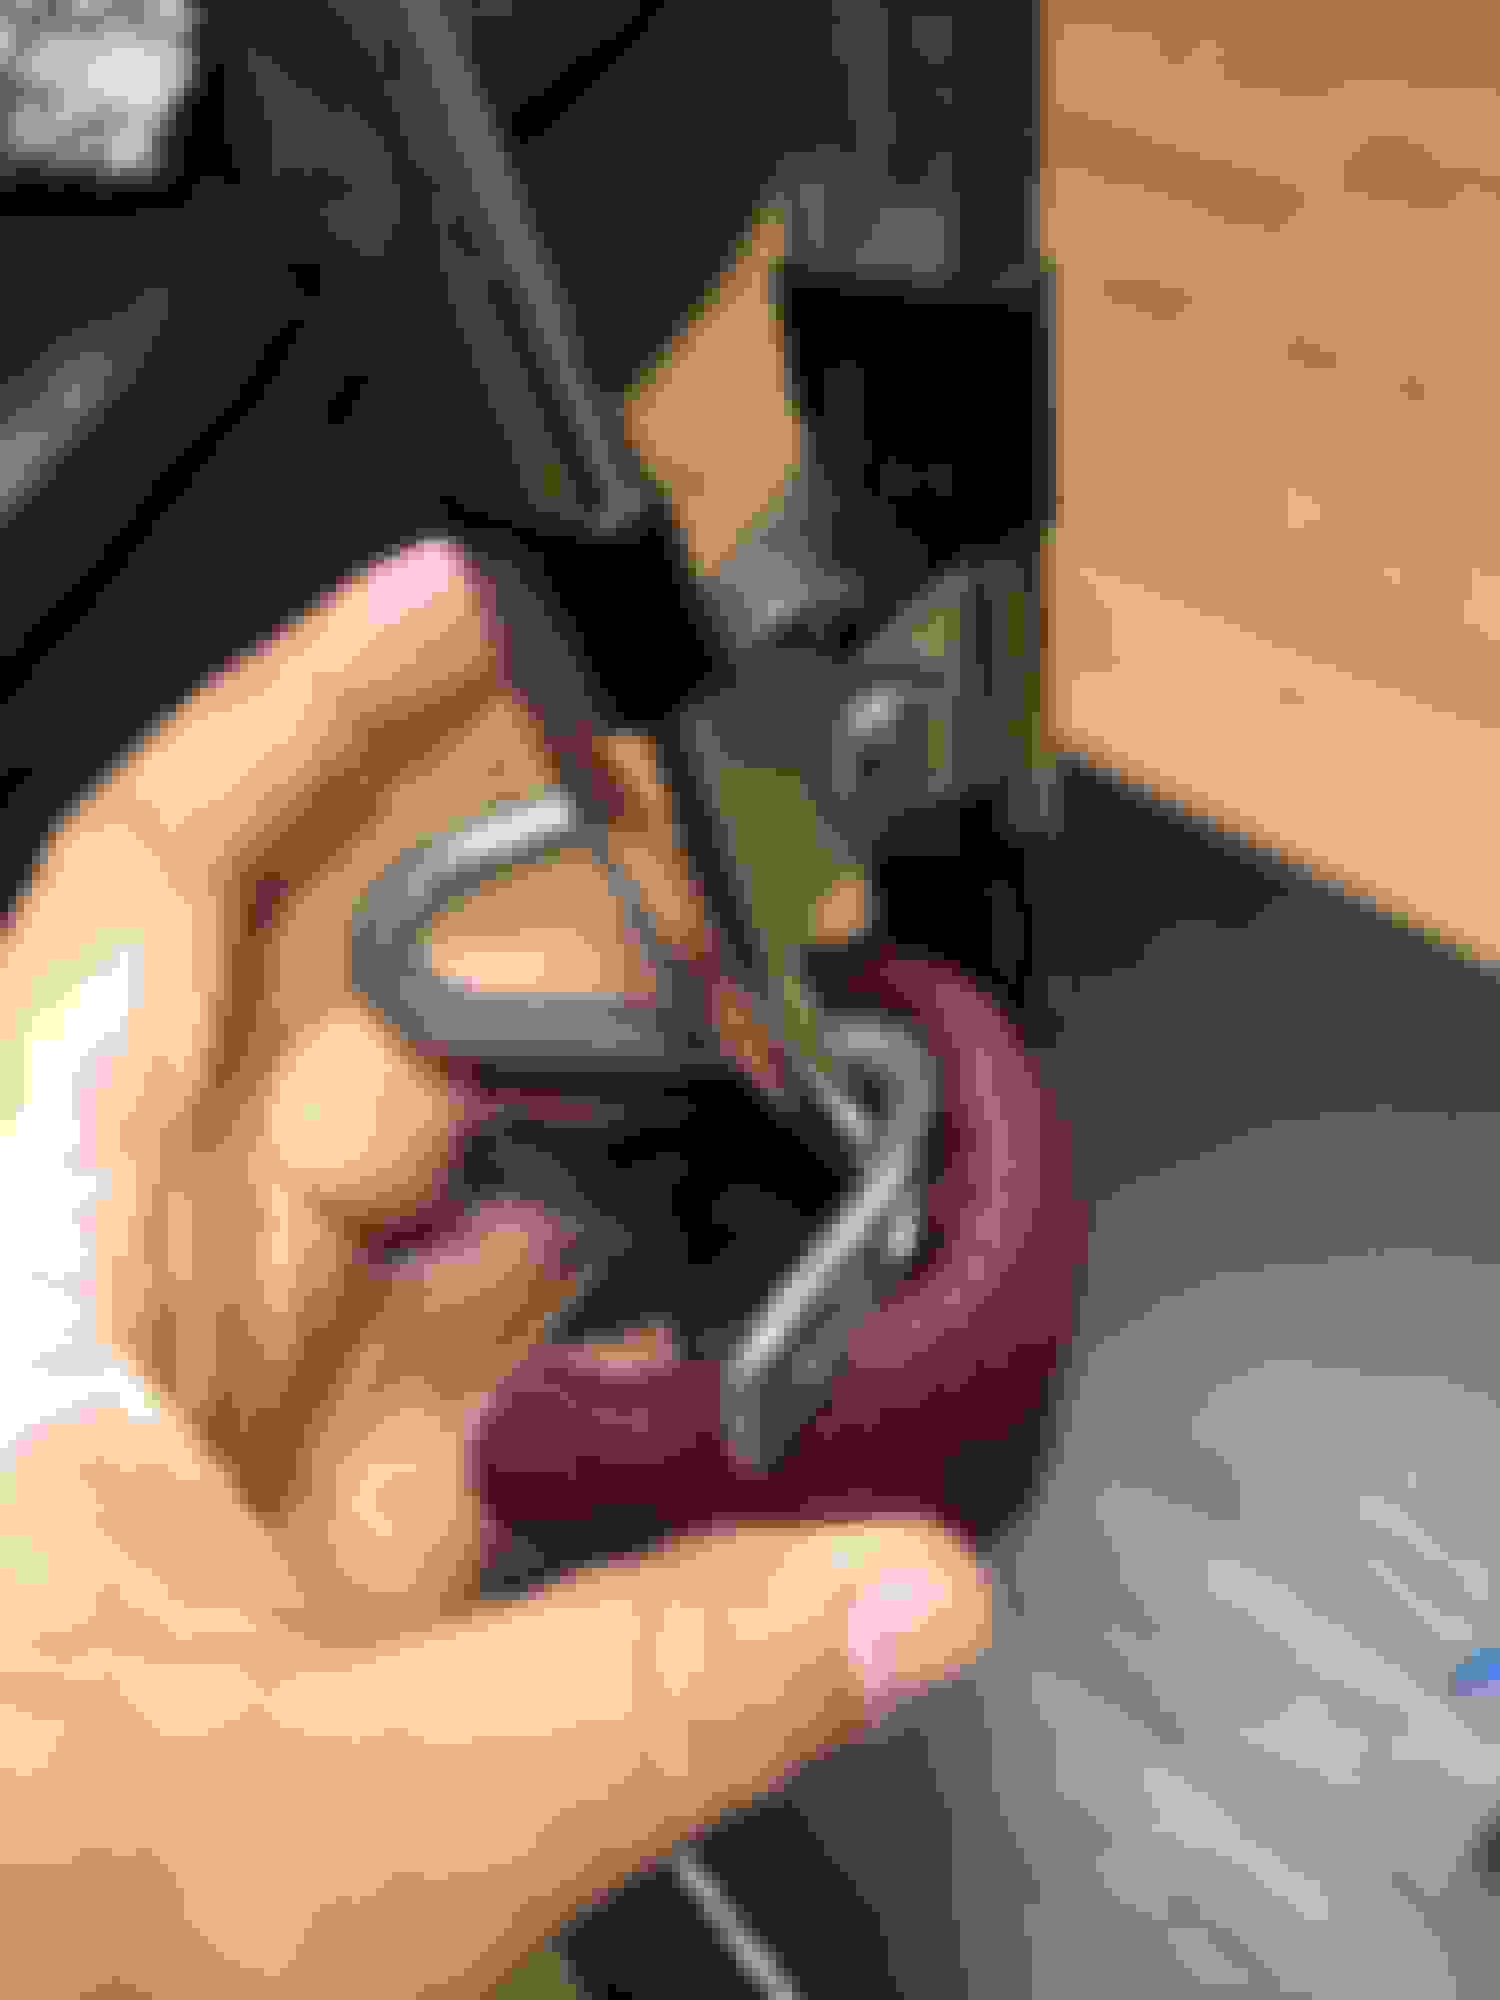
3. Then separate leather from rubber piece inside (super hard) use pliers or whatever u want 🦷
4. Cut new leather u will be using a little bigger (use old piece as example) 5. On new leather I used carpet tape double sided (not needed if using glue)
6. Then gluing leather to the handle with your available tools/clamps one side/corner at a time
7. Glue silver plastic (I wraped it with carbon wrap) back to hadle using clamps or zip ties. ( if u will be using zip ties as I did, make sure u protect ur new leather underneath as zip ties teeth might damage/indent into it)
I would heat it up to soften the glue inside as much as u can (not sure if it will help) where the �plastic prongs� red arrows. If you look at my pic I did broke two top ones ( I was just guessing as no one did it before, so I pried without heating it at all. I think it would help soften the glue) and if u do brake em no big deal as mine holds for a year without coming appart as you will glue everything back.
1. Pry top #1 with flat screw driver after heating it SLOWLY not rushing to try keeping prongs intact.
2. If I remember correctly slide down silver plastic down #2.
3. Then separate leather from rubber piece inside (super hard) use pliers or whatever u want 🦷
4. Cut new leather u will be using a little bigger (use old piece as example) 5. On new leather I used carpet tape double sided (not needed if using glue)
6. Then gluing leather to the handle with your available tools/clamps one side/corner at a time
7. Glue silver plastic (I wraped it with carbon wrap) back to hadle using clamps or zip ties. ( if u will be using zip ties as I did, make sure u protect ur new leather underneath as zip ties teeth might damage/indent into it)
thank you, I didn�t want to brake anything and this is really helpful