When you click on links to various merchants on this site and make a purchase, this can result in this site earning a commission. Affiliate programs and affiliations include, but are not limited to, the eBay Partner Network.
Ended up using gloss black 3m di-noc for the glove box trim, 1080 scotchprint for both front window trims. Pics show the gloss black and 1080 used at the bordering two trim pieces.
Takes roughly 2 hours to wrap and complete the five interior trim pieces.
The 3M vinyl kinds used were very easy to remove, and left behind no residue or problems to the original trim (note we did not use a 2nd adhesive such as primer or glue).
Trim removal kit for $6 was well worth ordering.
The trim pieces pop up easily with minimal force applied using a trim tool, all trim pieces are mostly flat and easy to wrap over. Overall very easy and inexpensive job to complete.
Originally Posted by electrohou
Video showing the removal of the 3rd gen Lexus is250/350 center console.
Note that the only part not shown is the removal of the screws that attach the leather surrounding area of the shift **** to the center. Some of the screws are shown near the end of the video with about 10-20 seconds remaining, there is just no footage of them actually unscrewing.
These are written instructions for removal of the center console to go along with the video.
Tools you need
1. Pry tool (I don't recommend using flat head screw driver, it will damage the plastic!)
2. +head screw driver
1. Remove the left side panel as well (instructions from first two photos where it is completed on the right side), both sides must come off. Once the three screws are removed from each side, the silver side trim pieces can now remove, and are held in by clips. Insert trim tool underneath and they will pop right out rather easily.
2. After you remove the side panels (four pieces total), it is time to remove the cup holder. First open the center storage compartment, the cup holder only requires pry tool to remove, insert pry tool underneath the cup holder pulling upwards, work from the rear side to the front, reason being is that all the clips are on the side except there is one at the very front, kinda like battery cover of our TV remote.
3. Once you remove the cup holder and disconnect the connectors, remove the back piece of the center console (notice the whole center console is actually in two pieces, rear is the one with eco/normal/sport switch.)
It only requires pry tool, but it is tighter than cup holder, pry the part from the very back and work your way to the front, do not pry from either left or right side to the other, once the back side is lifted, then you can slowly apply even prying force from both left and right sides. As long as you don't yank it, you shouldn't have to worry about breaking it. Remember, TAKE YOUR TIME!
4. This step can be done later as it is just the process of removing buttons from the bottom center piece. Now it's time to remove the buttons and the fuel injection mode control button (eco/normal/sport s+ button), the fuel injection button it self is a clip, pry that off first, because you can't pull that thing from the bottom. The button is a little tricky because you don't want to damage it, but yes the button actually comes apart in pieces from the top, you pry/pull at the side of the button, then once apart unscrew the four screws at the bottom, finally release all the clip holders on the side and simply pull the whole thing from the bottom. A few of the button pieces will come off at the top, as they cannot slide through the bottom.
5. (Note: Put the car on neutral and use the foot brake, then turn off the car. Because the shifter will be in the way when you are removing the front piece of center console when it is in park.) First remove the single screw securing the front center in place, it is in the left side underneath the shifter, then move on to detaching the front center console piece, now you should be able to see the clips from the side since you removed the side panels at the beginning, just a reminder there is a clip kinda angled on each side, so work with the direction of the clip.
6. Finally, unscrew the screws that hold the leather parts of the shifter, the leather and shifter will remain in the vehicle. There are 3-4 screws attaching the leather to the front center console piece (one of the top screws is in the far upper right corner and a little tricky to get to). Be very careful the screws do not fall into the center of the car as you are unscrewing/screwing, or they'll likely be stuck in there for good! It is very easy to drop the screws in there, so be careful. The front console piece can now detach. The front piece also has the seat warmer section to remove (if you want to wrap over it), very simple just press on the clips and release. (see below for further info on fully wrapping the heat warmer area)
* When wrapping the two center console pieces in any carbon fiber material, make sure the carbon fiber pattern is set to be rising/falling in the same direction on both pieces, before pre-cutting the vinyl. The carbon fiber pattern can actually be placed to appear in two ways, rising to the right or rising to the left. If the wrapped pieces are not consistent in pattern, it will result in the carbon fiber finished look to suddenly change directions, where the two center console halves meet.
*Note that if you are wanting to wrap the wrist rest piece in front of the navigation control (like the photo example in the very last post on page 2), it simply pulls off from the cupholder/nav controller section, and can be individually removed without taking apart anything else from the center. Just yank on the wrist rest piece and it'll pop off. Remove the screws at the bottom of the wrist rest to unlock the top section, this is needed as the thicker front end detaches and should not wrap with the top.
*When wrapping the seat warmer section, it is actually quite easy to fully wrap the *entire* area and still have the six lights fully display. The entire top piece of the seat warmer detaches from the heat setting buttons. Simply release the clips on the side of the seat warmer piece. Once the top is removed, you will see that the six lights are actually illuminated by six pegs. Each peg pulls right out and can be easily reinserted, once all six pegs are removed, you are left with six little holes. Where these six holes are, poke little holes in the covering vinyl in all six places, so light can shine through properly. Then, reattach the six pegs, and reclip the wrapped top plastic to the lower piece holding the seat warmer buttons. An example of a fully wrapped seat warmer section can be seen in the last post on page 2 of this forum (3rd/last picture).
Make sure when reassembling the center, that all wires are reachable to their upcoming connection points for future steps. Otherwise, if the wires are not pre-placed properly and cannot reach their upcoming plug-in points, you will have to backtrack on the install & retrieve the wires.
Once all wires are connected, start the car and make sure all functions from the originally unplugged wires work properly (drive select, navigation pad, heated seats) before finishing the entire reassembly.
Originally Posted by electrohou
DIY Trim Removal
Tools needed
- vinyl wrap of your choice
- trim removal tool, available for $6 on eBay or amazon
- phillips screwdriver
- exacto knife or razor blade
- 3m adhesive/primer (this is optional as the vinyl already has an adhesive)
- hair dryer or heat gun
To remove the trim pieces for wrapping, simply follow the pictures, placing the trim tool underneath/in between the trim and lifting up. You will want to work your way around each piece, prying upwards along the sides, until the pieces are ready to fully pop off. Little force is needed for removal, they actually pop out rather easily.
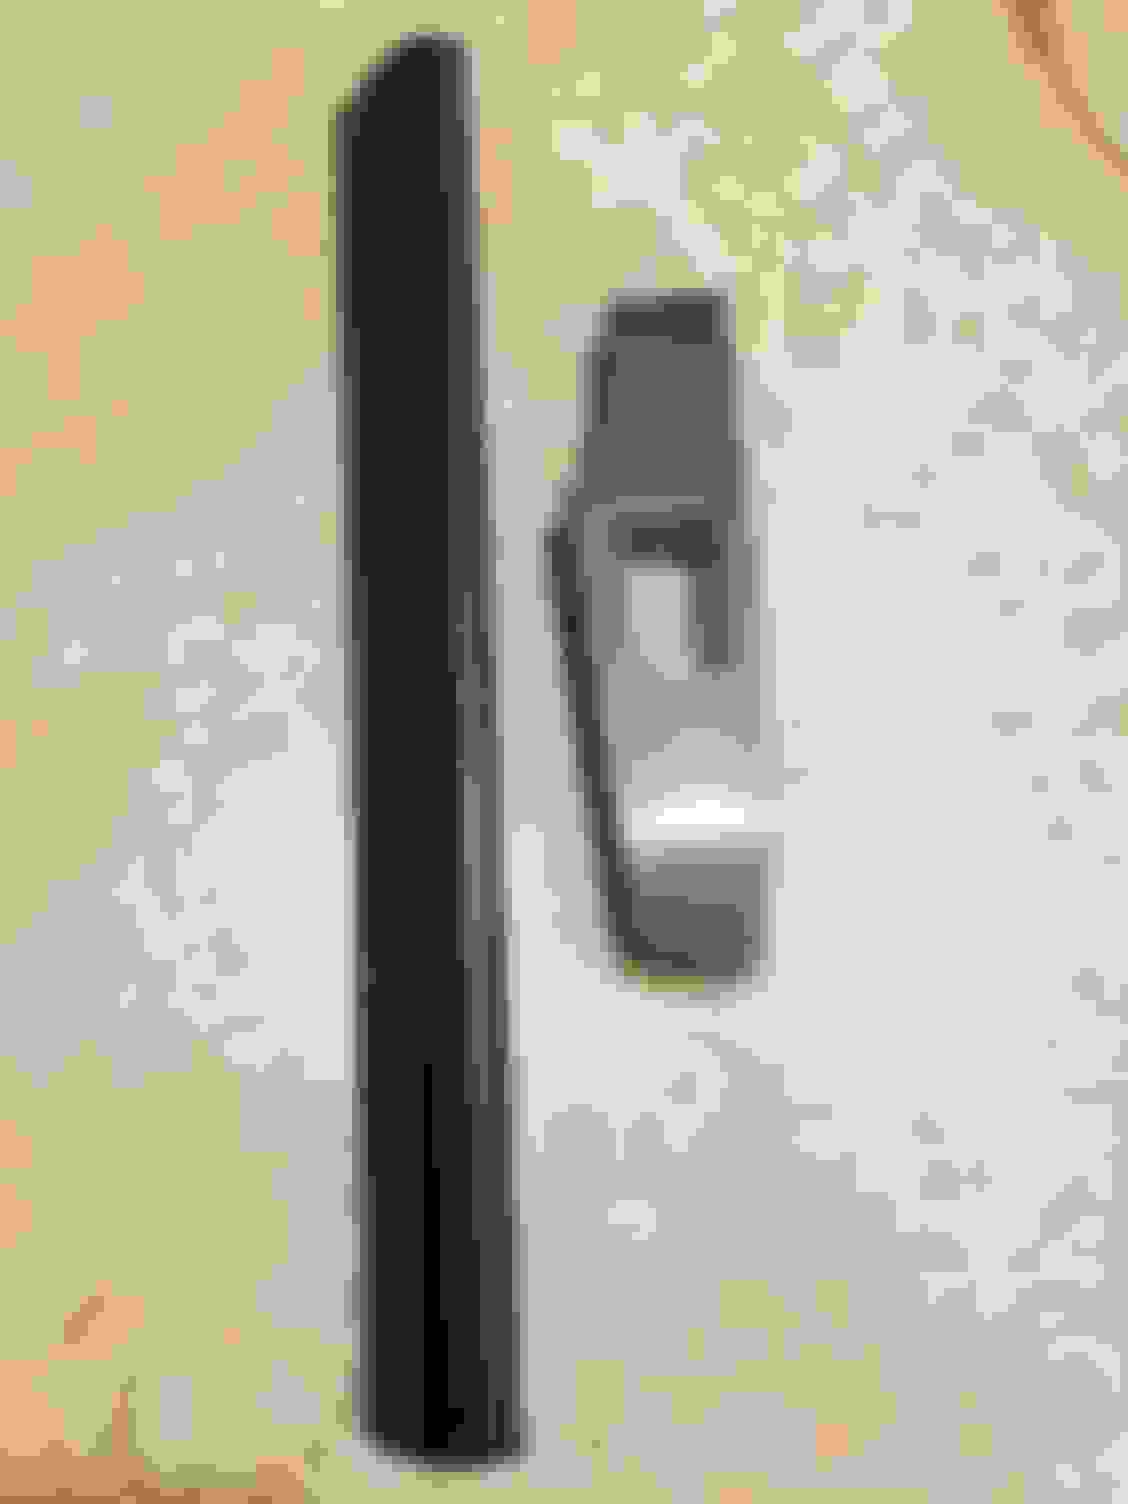
Driver side trim, same applies for the removal of the other three window trim pieces
Does the entire door panel need to be removed to access the goldish plastic piece that runs under the window control plastic surrounding? I can pop up the window control surrounding, but the next piece has screws holding it from the inside. Anyone know an easy way to get them off?
So I have everything taken apart except for the drive mode selector ****. Is there a way to take this apart further as the **** does not fit through the hole of the plastic console piece I am trying to wrap?
So I have everything taken apart except for the drive mode selector ****. Is there a way to take this apart further as the **** does not fit through the hole of the plastic console piece I am trying to wrap?
You have to take the house off first. I think it�s held by a few screws. Then take all of the rubber and components stuff out to see like a small round whiteish or gray. Turn it and it should pop out and the **** will come apart.
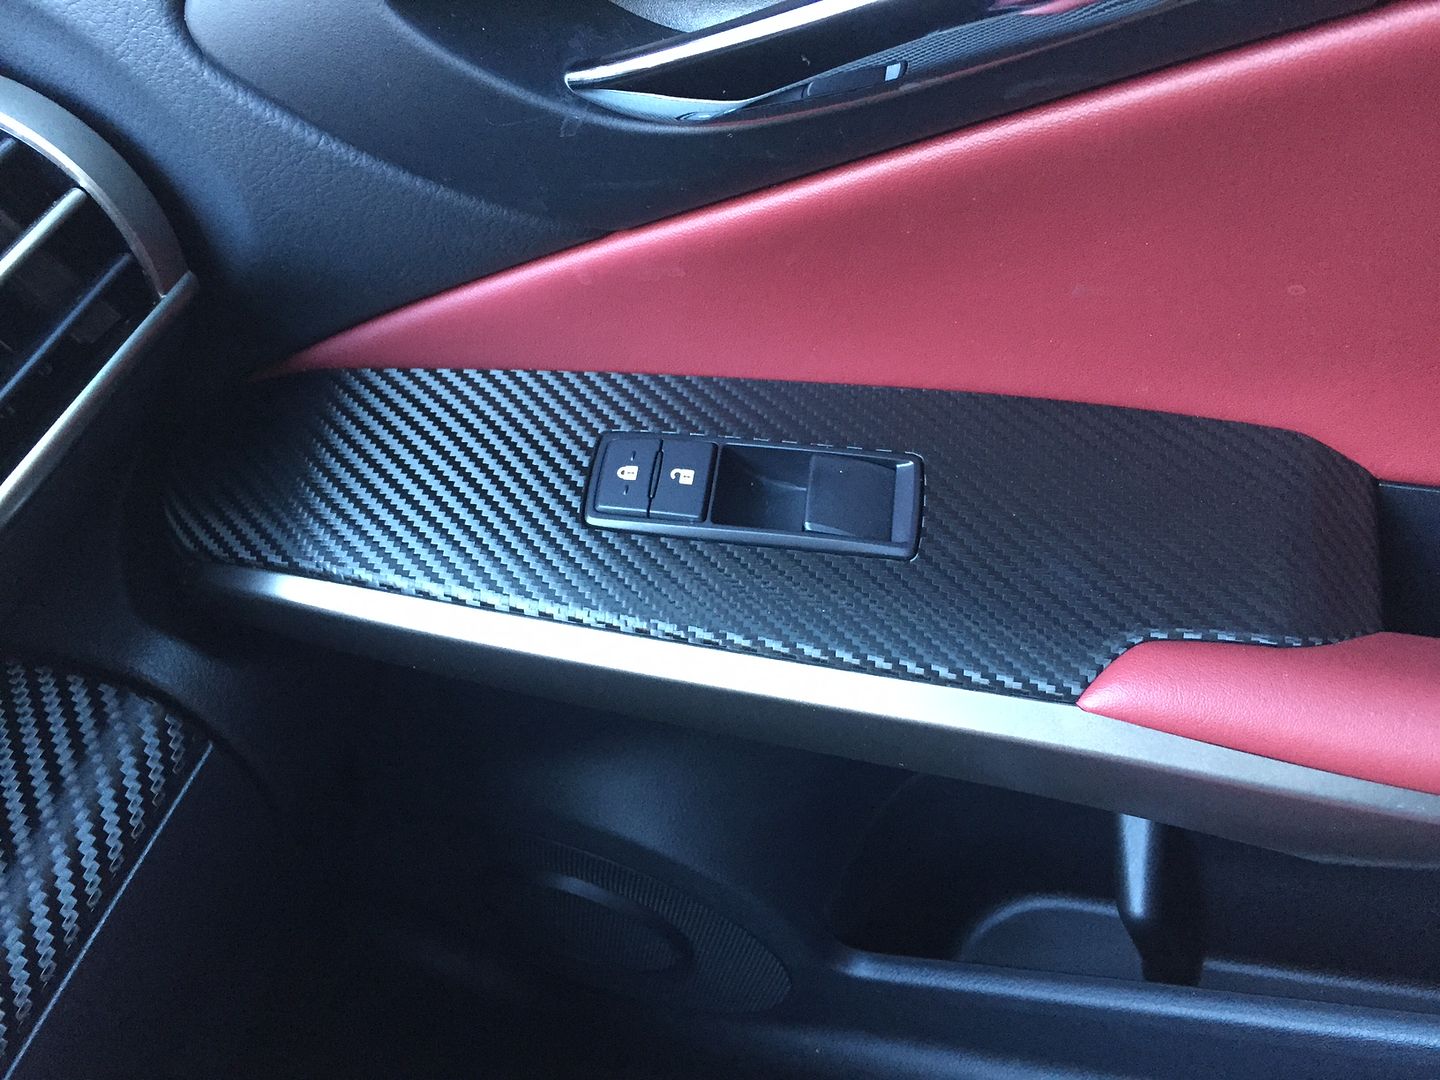
Covered the the Trac-off and Snow buttons while I was at it. Think it looks cleaner.
Also, continued under the window up/down buttons into the finger well area. Others posted here had a separate removable component for the button housing on the doors...but mine is all 1 piece as you can see so had to work around it.
Got the seat warmer/vent area fully covered but not looking real good where the lights shine through. Maybe I'll piece away at this another time.
Came out surprisingly good I thought. No wrinkles or air bubbles and I've never done this before. If you're on the edge or whether to do or not...go for it it is doable just clear your day as it does take a while.
Also, continued under the window up/down buttons into the finger well area. Others posted here had a separate removable component for the button housing on the doors...but mine is all 1 piece as you can see so had to work around it.
Looks good, I noticed too, that my switches were one piece and couldn�t make it like the others. Must have been a minor change through the years. Nothing a hairdryer and patience couldn�t take care of though. Again, looks good!
Covered the the Trac-off and Snow buttons while I was at it. Think it looks cleaner.
Also, continued under the window up/down buttons into the finger well area. Others posted here had a separate removable component for the button housing on the doors...but mine is all 1 piece as you can see so had to work around it.
Got the seat warmer/vent area fully covered but not looking real good where the lights shine through. Maybe I'll piece away at this another time.
Came out surprisingly good I thought. No wrinkles or air bubbles and I've never done this before. If you're on the edge or whether to do or not...go for it it is doable just clear your day as it does take a while.
hi i was just wondering if the center console was hard to wrap? Also did you remove the seat heater buttons as well as sport mode ****?
hi i was just wondering if the center console was hard to wrap? Also did you remove the seat heater buttons as well as sport mode ****?
Center console is the most difficult...but entirely doable I feel at a novice level. I had started with the back seats and worked my way forward so by that time (7th or 8th piece) I had gotten pretty used to working with the material.
Yes the f-sport / drive mode **** does need to be removed from the top before wrapping. It will not pull down through the bottom. It snaps straight off...with force. The trac-off and snow buttons will come out without disassembly. I took them apart only to wrap individually.
The heat seater buttons are removed as well. They come out through the bottom same as the other components.
There are screws and clips for each and pretty self explanatory once you've got it taken apart.
Alright thank you for the help! I will try it out this weekend
Recently wrapped the doors and glove box to get rid of the hideous stock trim. Used brushed black steel on the glove box to see how it compared with the CF/to see if that's what I wanted to use on the doors. I'm going to keep the CF on the doors but may keep the glove box with the brushed steel.


 Dec 15, 2014, 01:03 PM