
TUTORIAL: installing front clear side markers

Thread Starter

Joined: Jun 2007
Posts: 819
Likes: 1
From: West Virginia soon to be Virginia
this is how I installed my front clear side markers from stock configuration
***WARNING*** when choosing clear side markers, if you intend to do the rear ones as well be sure to pick out both before purchasing, the reason i bring this up is because i found some rear ones i really like but i couldnt find front ones that matched and I wanted them to match
You will need:
1 flathead screwdriver
1 ratchet
1 10 mm socket
2 clear side markers
2 bulbs or leds #194 (be sure to check your local laws if you intend to use a different color than orange to see if it is legal)
1-2 beers (this can vary between users experiences)
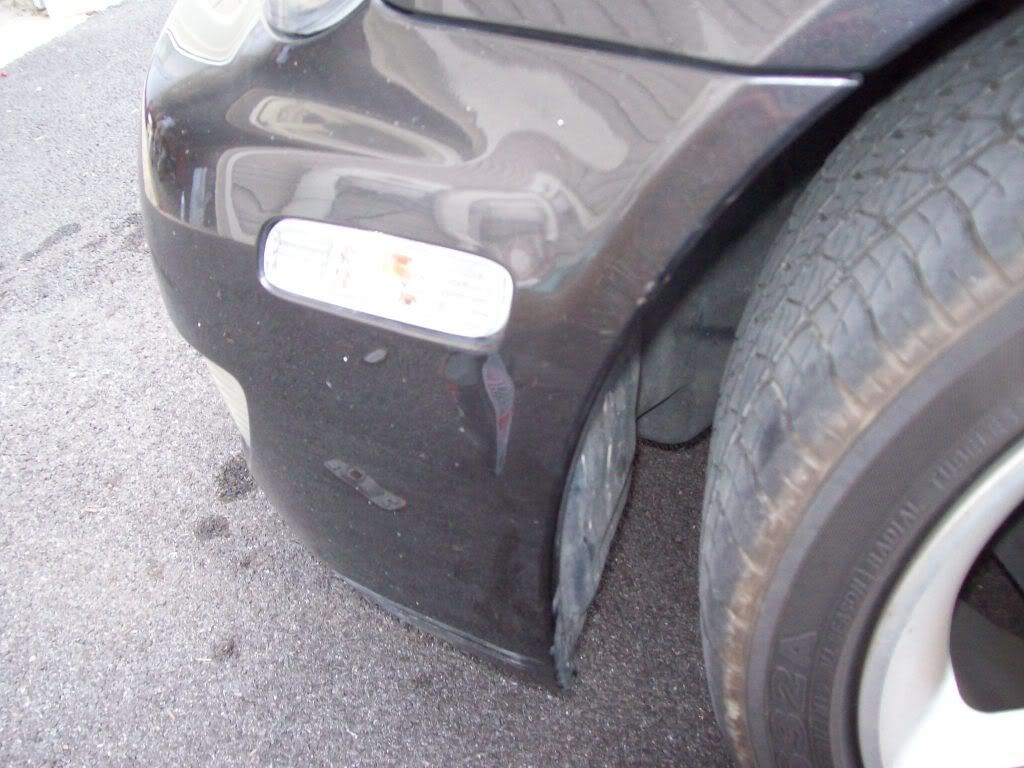
BEFORE:

AFTER:
***WARNING*** when choosing clear side markers, if you intend to do the rear ones as well be sure to pick out both before purchasing, the reason i bring this up is because i found some rear ones i really like but i couldnt find front ones that matched and I wanted them to match
You will need:
1 flathead screwdriver
1 ratchet
1 10 mm socket
2 clear side markers
2 bulbs or leds #194 (be sure to check your local laws if you intend to use a different color than orange to see if it is legal)
1-2 beers (this can vary between users experiences)
BEFORE:
AFTER:
Thread Starter
Joined: Jun 2007
Posts: 819
Likes: 1
From: West Virginia soon to be Virginia
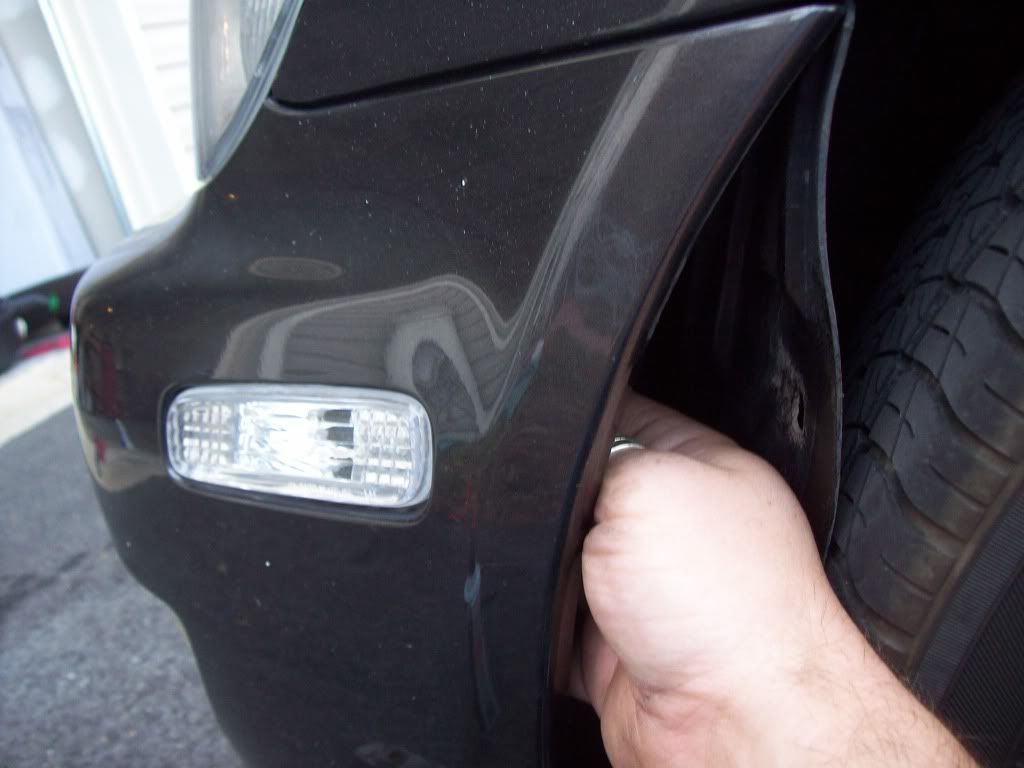
pop out the plastic pins with the flathead screwdriver that holds the fender and front bumper to the plastic wheel well. the plastic pins ned to be popped out in two parts, the smaller head comes out which then releases the larger piece to come out of the hole


Thread Starter
Joined: Jun 2007
Posts: 819
Likes: 1
From: West Virginia soon to be Virginia
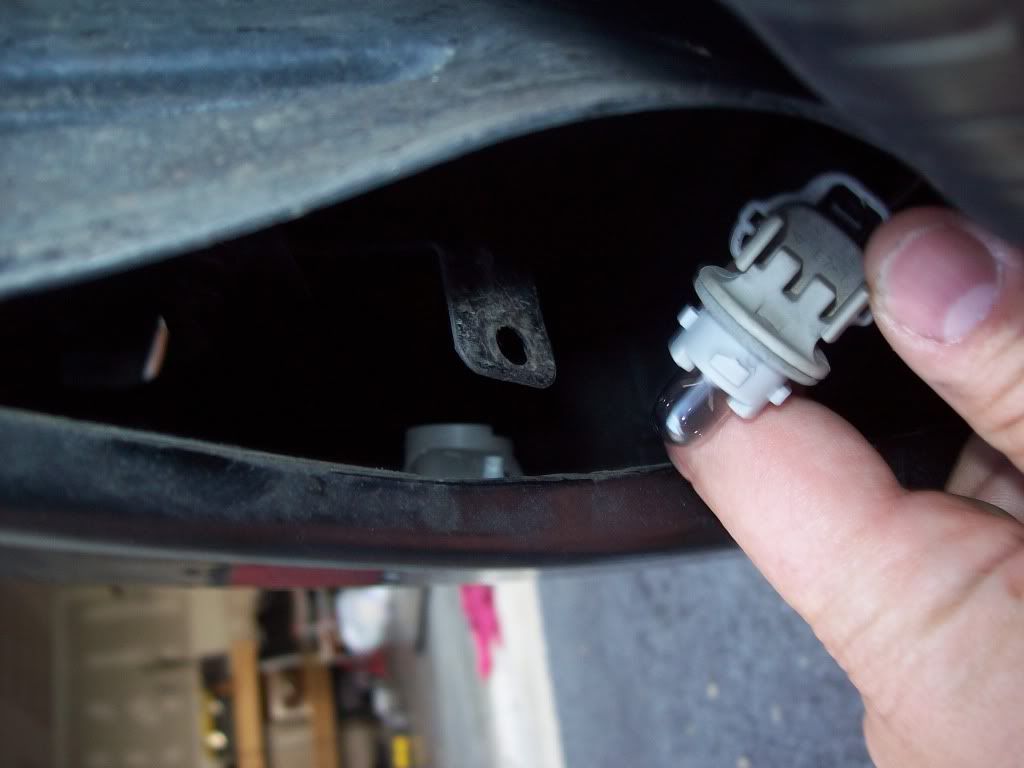
reach in to the back of the side marker to the bulb housing, turn it 90 degrees and it will come out, its identical to headlights just smaller, then pull out so that not only can you replace the bulb but so that itis out of the way
Thread Starter
Joined: Jun 2007
Posts: 819
Likes: 1
From: West Virginia soon to be Virginia
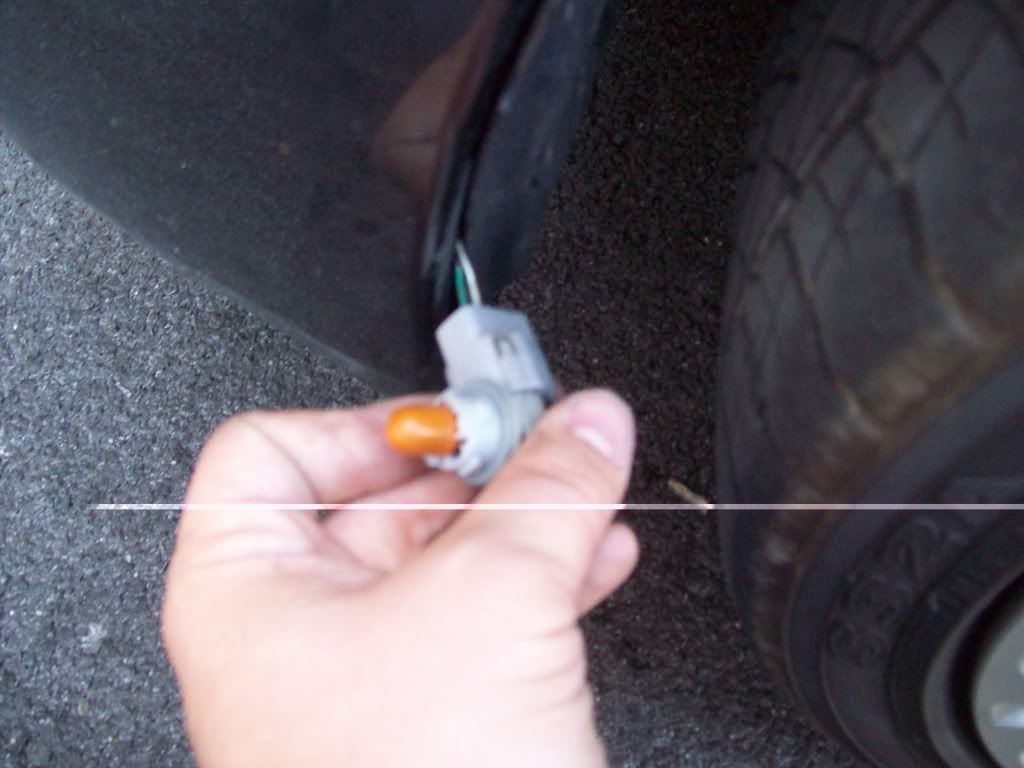
depending on what solution you are going with for the bulb replacement you may have to take different steps here, i had some 194 bulbs left over with the orange "condoms" from when i did my gauge lights to bright white so i used those and it is a direct replacement, i simply pulled on the bulb and put in the other one
Thread Starter
Joined: Jun 2007
Posts: 819
Likes: 1
From: West Virginia soon to be Virginia
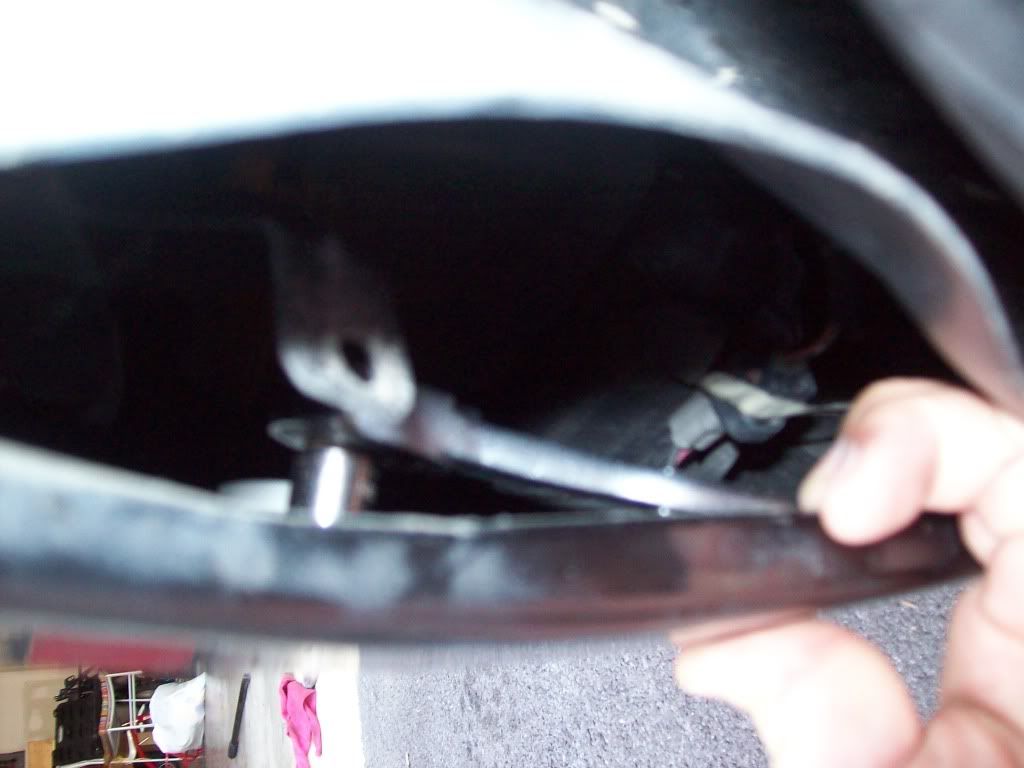
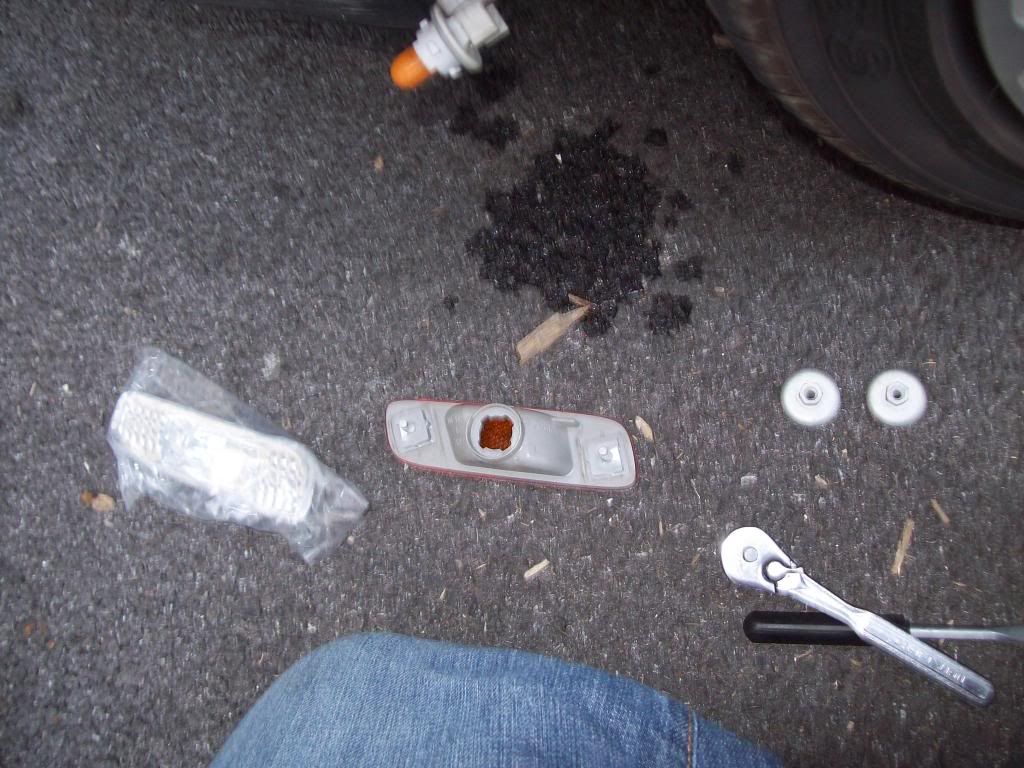
reach in to the rear of the side marker and you will find a 10 mm nut on either side of the marker, remove these and then push the back of the side marker and it will come out
Thread Starter
Joined: Jun 2007
Posts: 819
Likes: 1
From: West Virginia soon to be Virginia
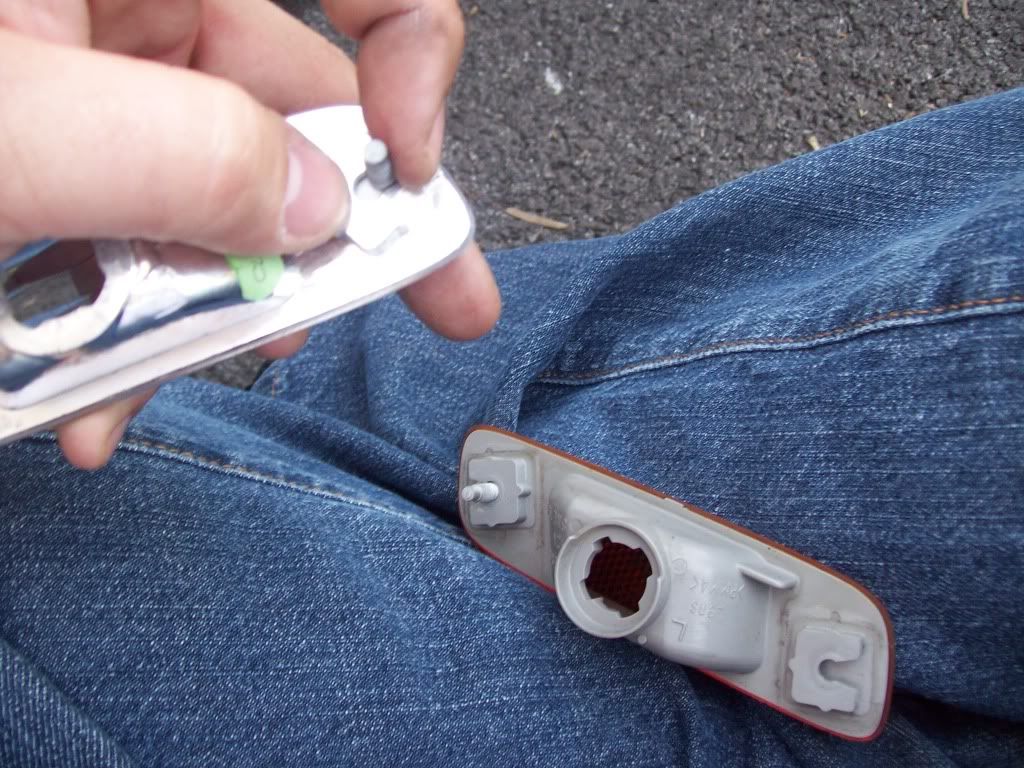
***YOU MAY NOT HAVE TO TAKE THIS STEP DEPENDING ON WHICH ONES YOU BOUGHT***
wiggle the bolts out of the OEM markers and then wiggle them into the corresponding spots on the new ones
wiggle the bolts out of the OEM markers and then wiggle them into the corresponding spots on the new ones
Trending Topics
Thread Starter
Joined: Jun 2007
Posts: 819
Likes: 1
From: West Virginia soon to be Virginia
place the new side marker in place and put the nuts back on the bolts and tighten, put the bulb housing back in and twist to lock it in place, push the plastic wheel well back under the lip and put the plastic pins back in place, if you feel like you need to test prior to closing it up, go for it


Thread
Thread Starter
Forum
Replies
Last Post
speedie
GS - 2nd Gen (1998-2005)
7
Nov 25, 2004 11:55 PM