


TUTORIAL: DIY spark plug change
Thread Starter
Joined: Jun 2007
Posts: 819
Likes: 1
From: West Virginia soon to be Virginia
PROLOGUE:
I attempted to do this 3 times, it wasnt until yesterday that i actually had enough time to do this without being in a rush and just use logic to understand what i was taking off, where i was trying to get to, how to get it out, and get it out without breaking it
**the following is just the steps I took to do mine, you may have a different experience and I take no responsibility if you **** up your car DO AT YOUR OWN RISK**
ITEMS YOU WILL NEED:
6 spark plugs - these can be OEM aka Denso, NGK, Bosch, or any other manufacturer you want to try
possibly gapping tool
time + patience
rotary socket adapter as one of the bolts will be against the firewall
ratchet + metric sockets + extensions
spark plug socket
open end metric wrenchs
possibly other miscellaneous tools (screwdrivers, pliers, etc)
Thread Starter
Joined: Jun 2007
Posts: 819
Likes: 1
From: West Virginia soon to be Virginia
remove your intake
**i have an aftermarket intake so if you are still stock intake you only have to remove the tube from the rear of the airbox to the throttlebody, if you have an aftermarket you most likely installed it yourself and know how to remove yours better than i can tell you**
**i have an aftermarket intake so if you are still stock intake you only have to remove the tube from the rear of the airbox to the throttlebody, if you have an aftermarket you most likely installed it yourself and know how to remove yours better than i can tell you**
Thread Starter
Joined: Jun 2007
Posts: 819
Likes: 1
From: West Virginia soon to be Virginia
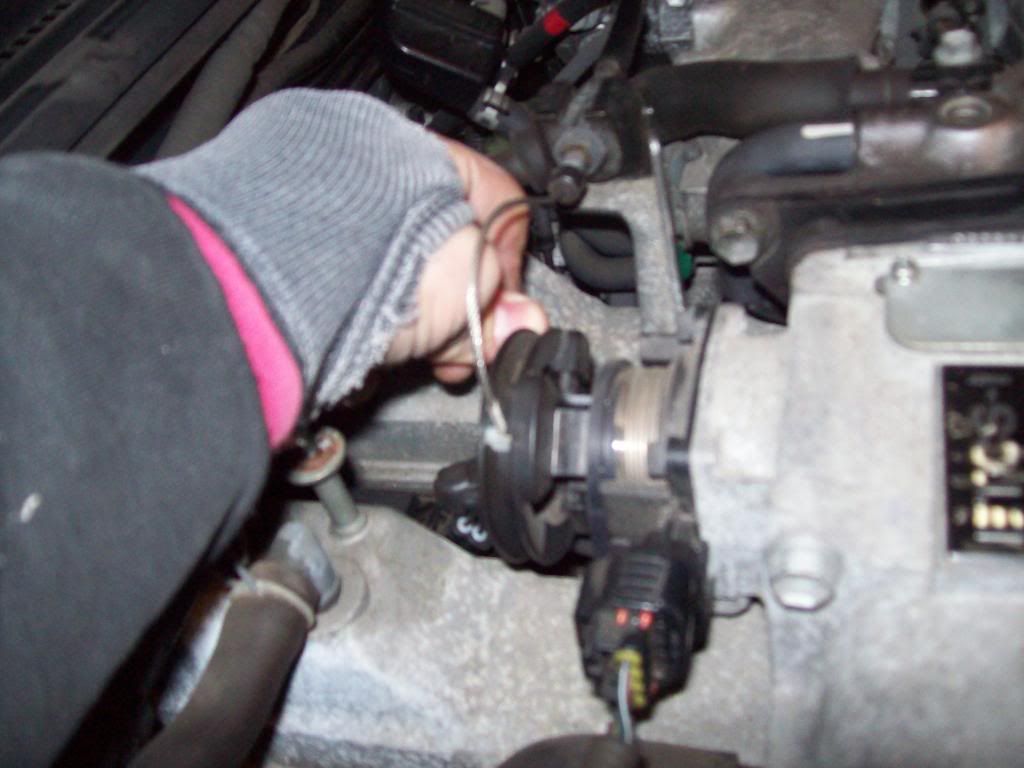
unhook throttle wire by turning the throttle wheel to give yourself slack and then pull the wire so that the peg on the end moves toward the rear of the car
Thread Starter
Joined: Jun 2007
Posts: 819
Likes: 1
From: West Virginia soon to be Virginia
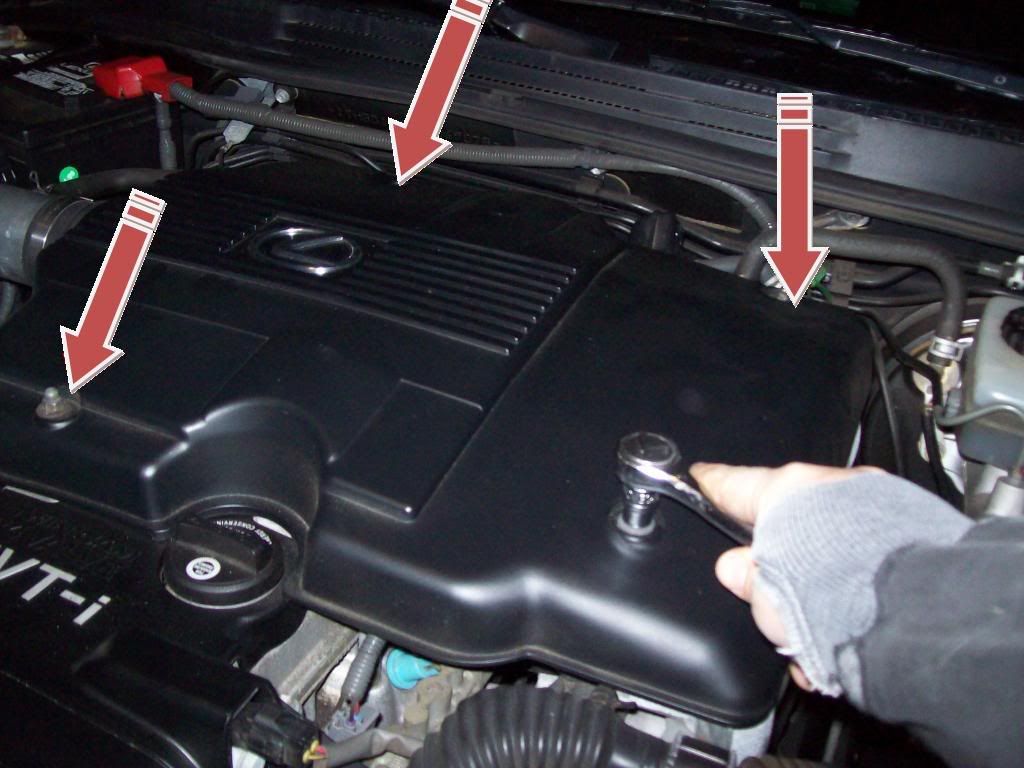
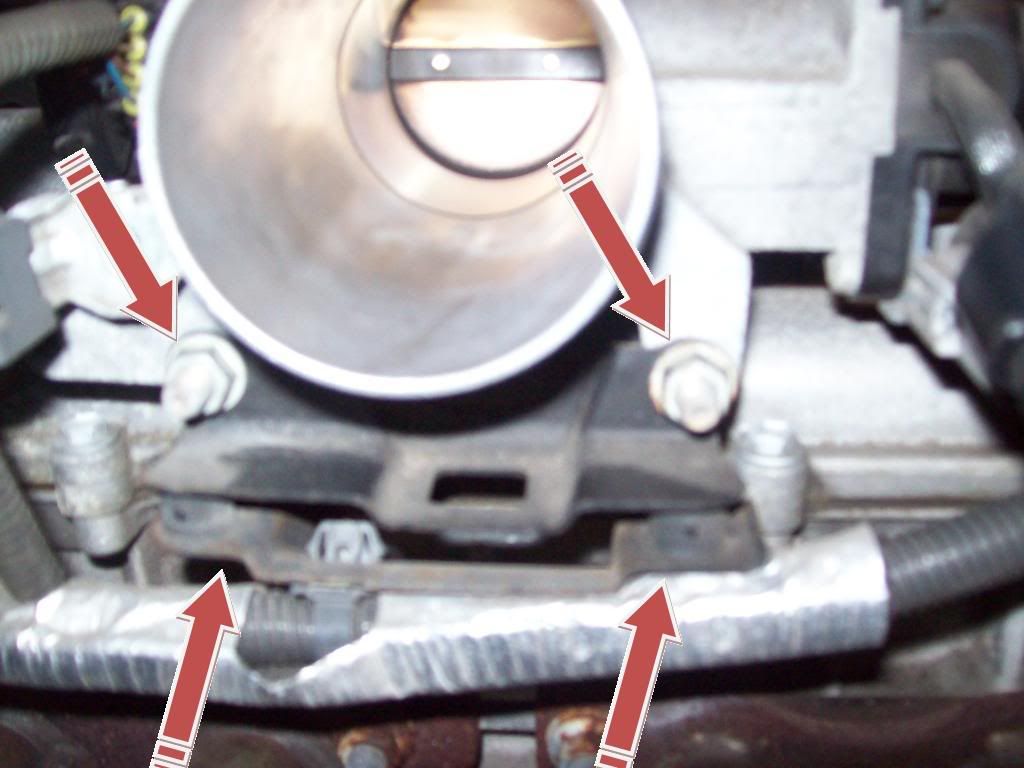
remove 4 nuts that keep the wiring harness in place, these are located just below the intake side of the throttlebody, 10mm i believe, once all of these are off just pull that bracket below the bolts so it is out of the way
Trending Topics
ClubLexus Stories
Celebrating Lexus & Toyota from Around the Globe

Top 10 Most Confusing Things Lexus Has Ever Done!
Joe Kucinski
2026 Lexus ES Review: Lexus Re-Embraces Founding Principles
Michael S. Palmer
10 Lexus Bargains That are Cheaper Than a New Toyota RAV4
Joe Kucinski
8 Weirdest Things Lexus Has Ever Built
Verdad Gallardo
10 Lexus Designs That Have Aged Like Fine Wine
Verdad Gallardo
8 Tips for Improving Your Hybrid or Plug-in Hybrid's Efficiency!
Michael S. Palmer
10 Best Lexus Models No One Remembers
Joe Kucinski
TRD Off-Road Premium: Best 2026 4Runner, Except This One Thing
Michael S. Palmer
Top 10 Lexus & Toyotas to Drive Before You Die!
Joe Kucinski
Thread Starter
Joined: Jun 2007
Posts: 819
Likes: 1
From: West Virginia soon to be Virginia
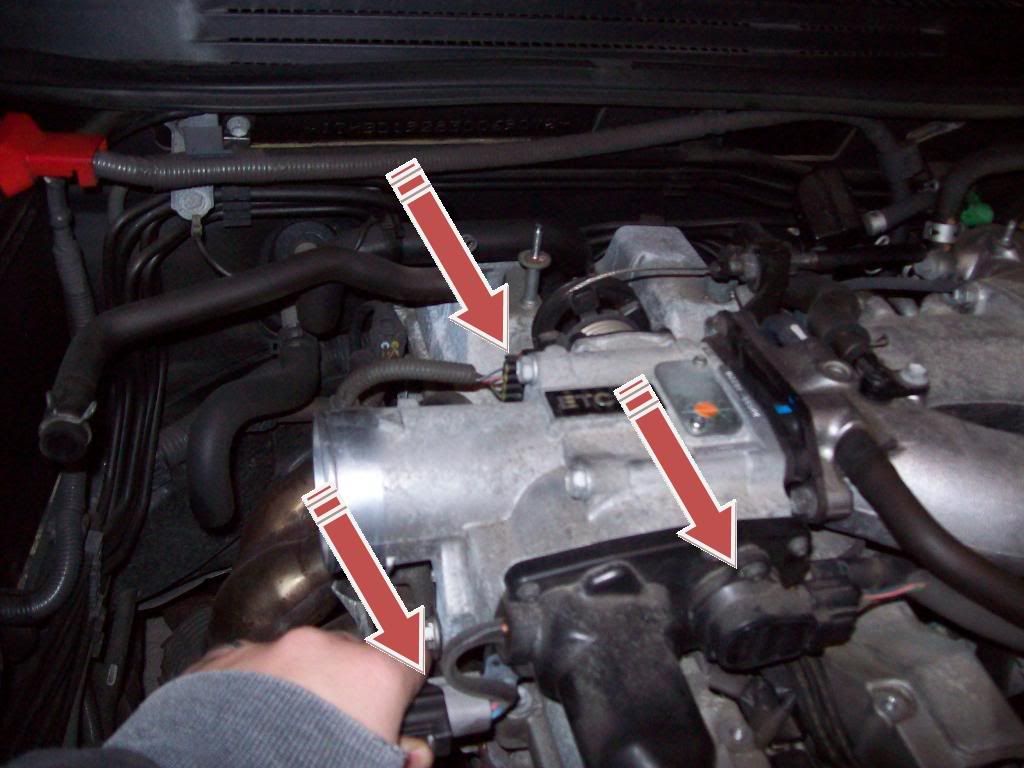
remove the lower throttlebody bolt
**i had some trouble with this bolt here is why, the bolt itself is threaded on both ends, what you actually get with the 10mm socket is just a nut, when i did this the bolt was still screwed into the far end and only the nut came off, i was able to get the bolt out via socket because the tip that you can get to is a torque pattern but a 4mm socket (i think) fit on it perfectly**
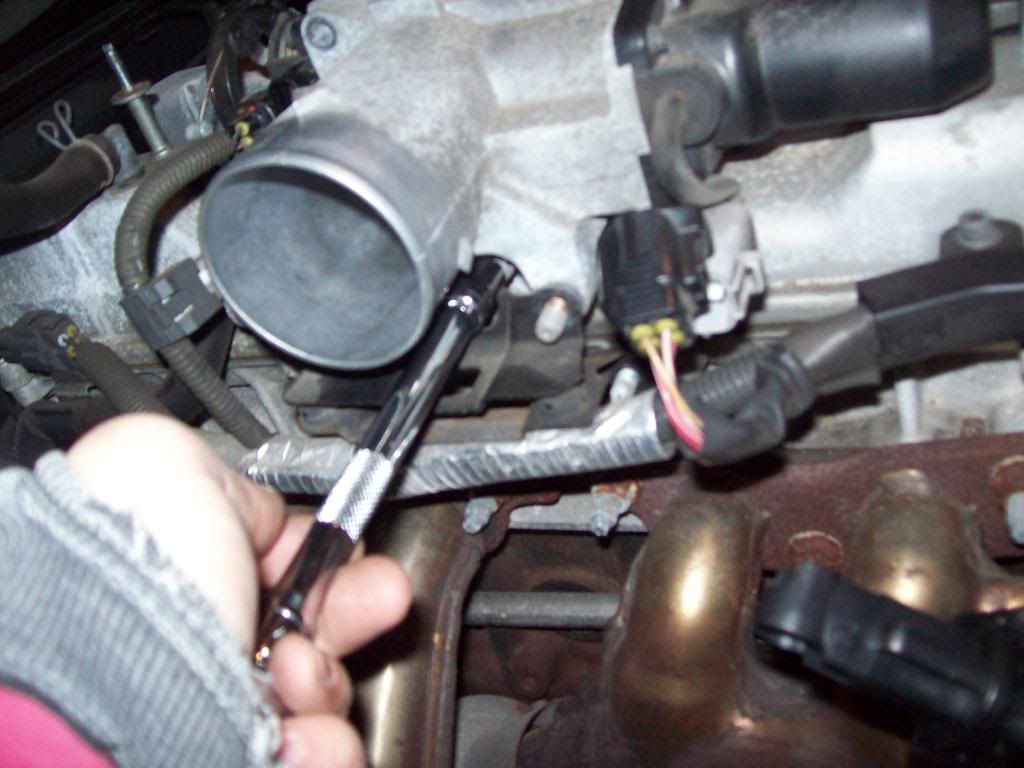
**i had some trouble with this bolt here is why, the bolt itself is threaded on both ends, what you actually get with the 10mm socket is just a nut, when i did this the bolt was still screwed into the far end and only the nut came off, i was able to get the bolt out via socket because the tip that you can get to is a torque pattern but a 4mm socket (i think) fit on it perfectly**
Thread Starter
Joined: Jun 2007
Posts: 819
Likes: 1
From: West Virginia soon to be Virginia
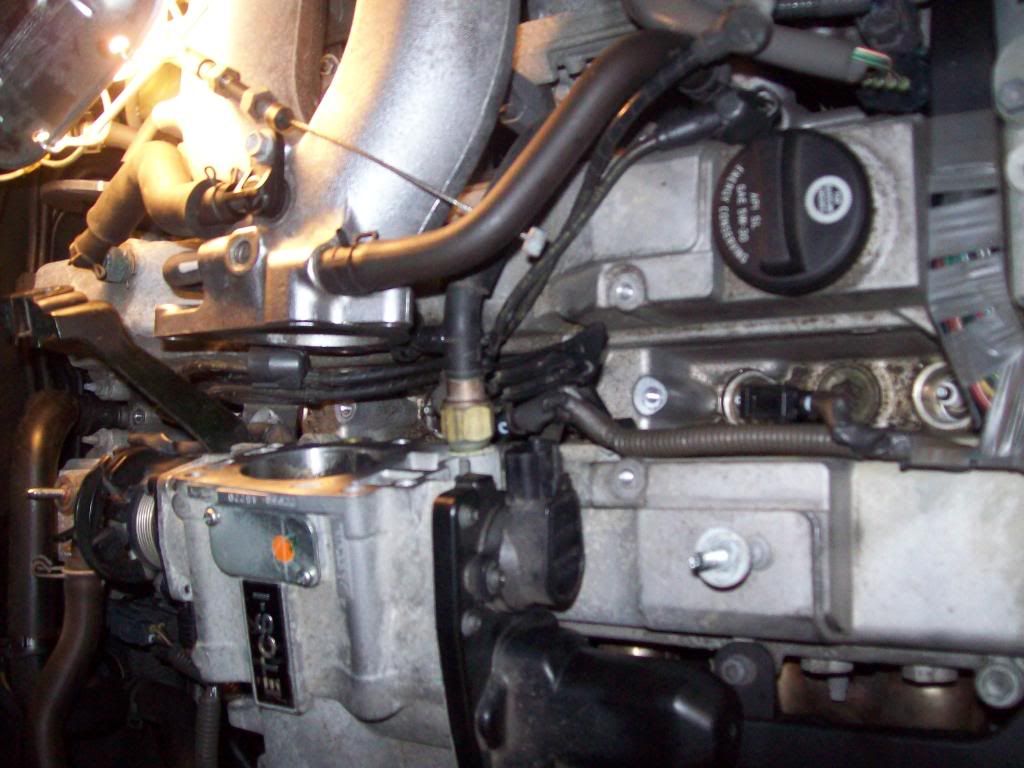
once this bolt is out, you will be able to slide the throttlebody toward the passenger side of the car, you will notice that you can only get it barely past the the center groove where you can see the wiring harness/coil packs/spark plug wires DO NOT UNDO THAT THICK HOSE KEEPING YOU FROM MOVING IT FURTHER, I HAVE READ THAT IT IS PART OF THE COOLING SYSTEM AND IF YOU REMOVE THAT BE PREPARED TO HAVE COOLANT EVERYWHERE
once you are here you need to remove the black gasket that connected the throttlebody and intake manifold, it has 3 bolts 10mm i think, two are right on top, easy to see and easy to get to, the third is toward the bottom and toward the firewall, i used a small ratchet to get to it, if you can think of an easier way to get to this go for it
forgot to take a picture, sorry
Thread Starter
Joined: Jun 2007
Posts: 819
Likes: 1
From: West Virginia soon to be Virginia
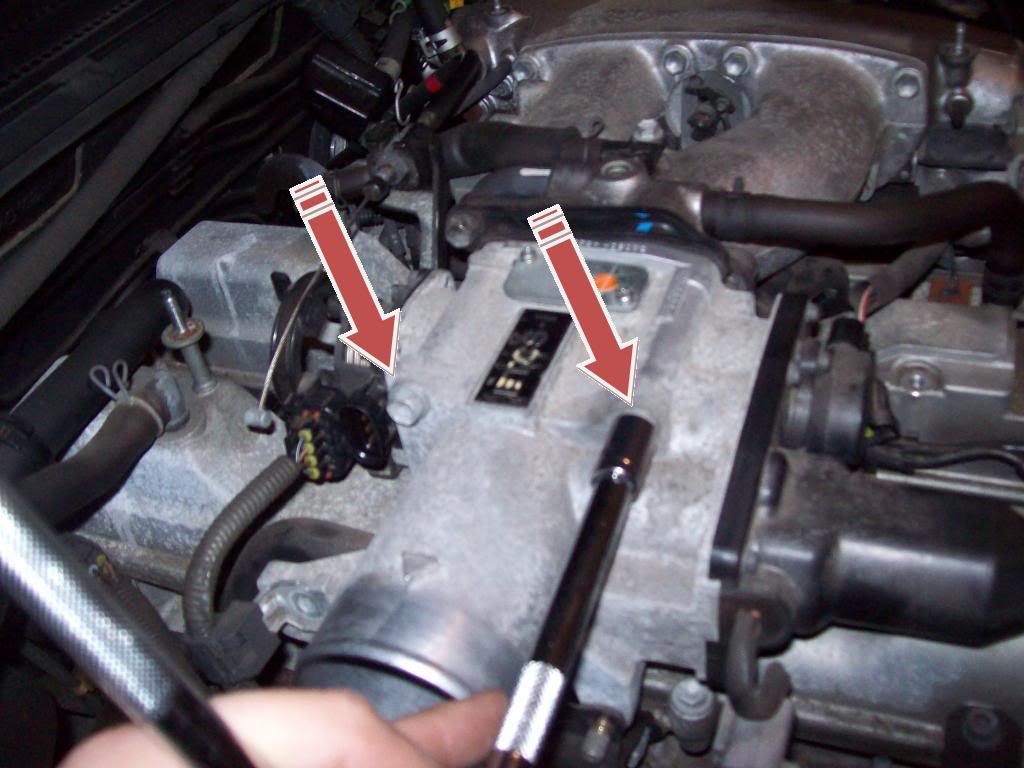
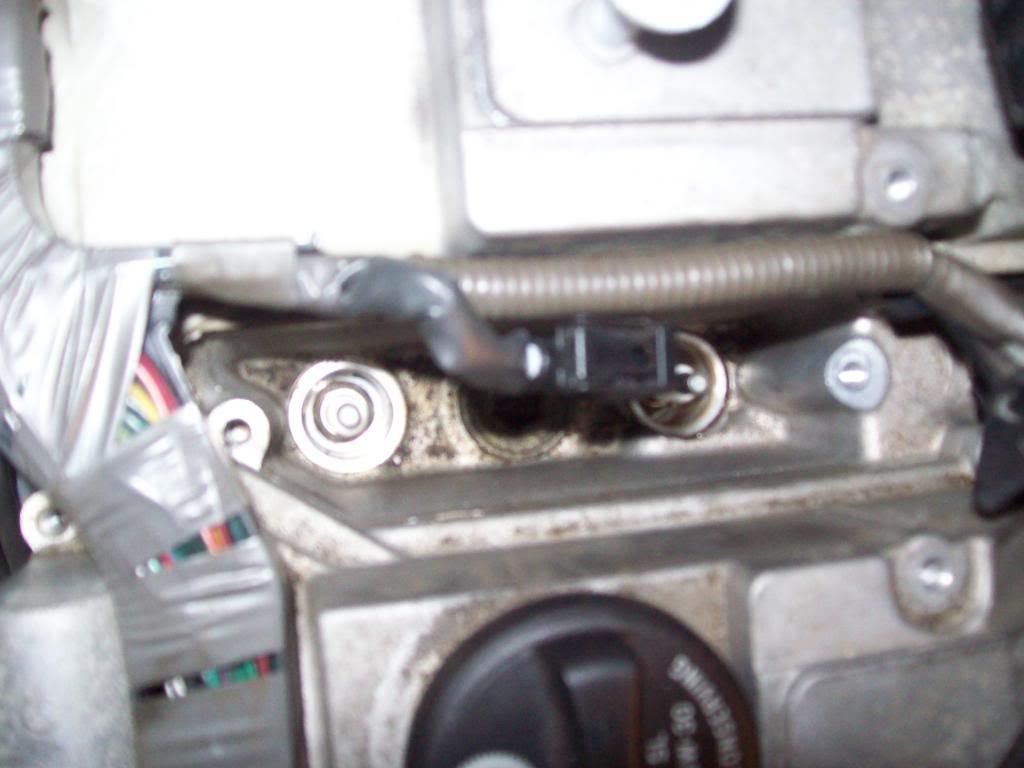
once this is out of the way you will be looking at the 3 coil packs, wiring harness, and plug wires
remove 5 bolts total, 2 are for wiring harness and 3 are for coil packs
once you remove all 5 of these bolts start at the back toward the firewall and start pulling everything up, i found it easier to remove the coil packs from the wires NOTE: there are clips holding the wires to the coil packs, the main difference with these as opposed to all other clips in the car is that these release by pulling away from the center of the wire instead of pressing toward the center of the wire
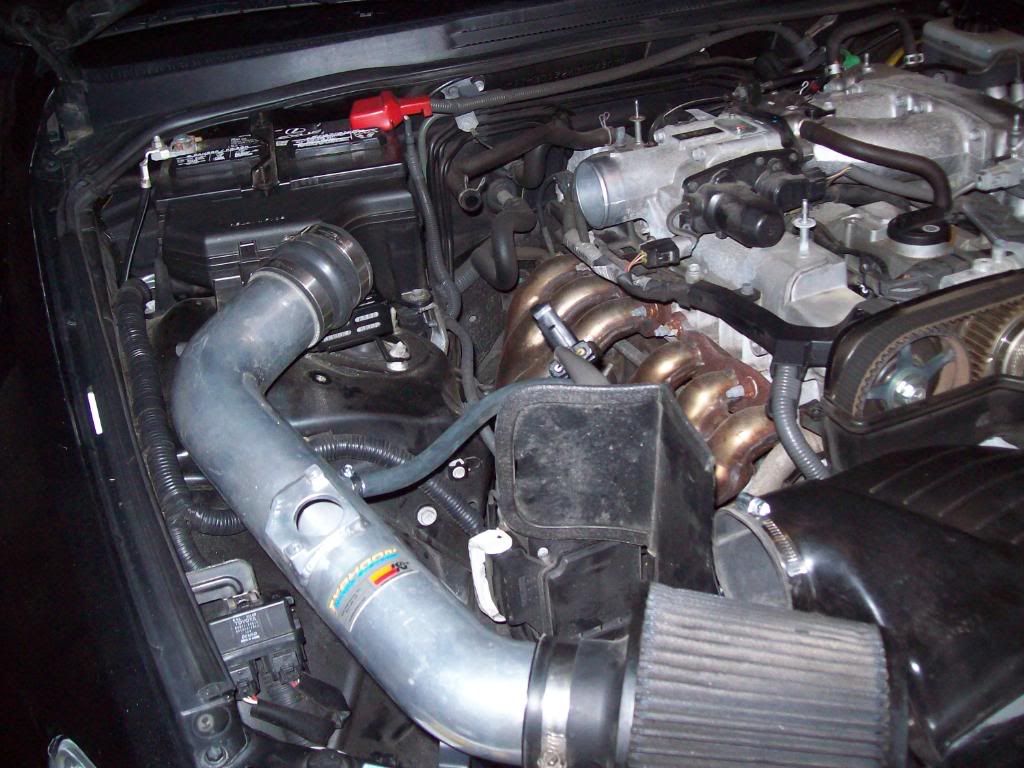
as you are pulling this up you will need to lift the throttlebody up and pull some wires under it and what not, you may also find it easier to remove the throttlebody wire tensioner, i did and since it had so much slack in it anyway i went ahead and tightened it up to get rid of that slack
heres roughly what you should be looking at after this, also keep in mind, you arent trying to remove this wiring, just get to the plugs
remove 5 bolts total, 2 are for wiring harness and 3 are for coil packs
once you remove all 5 of these bolts start at the back toward the firewall and start pulling everything up, i found it easier to remove the coil packs from the wires NOTE: there are clips holding the wires to the coil packs, the main difference with these as opposed to all other clips in the car is that these release by pulling away from the center of the wire instead of pressing toward the center of the wire
as you are pulling this up you will need to lift the throttlebody up and pull some wires under it and what not, you may also find it easier to remove the throttlebody wire tensioner, i did and since it had so much slack in it anyway i went ahead and tightened it up to get rid of that slack
heres roughly what you should be looking at after this, also keep in mind, you arent trying to remove this wiring, just get to the plugs
Thread Starter
Joined: Jun 2007
Posts: 819
Likes: 1
From: West Virginia soon to be Virginia
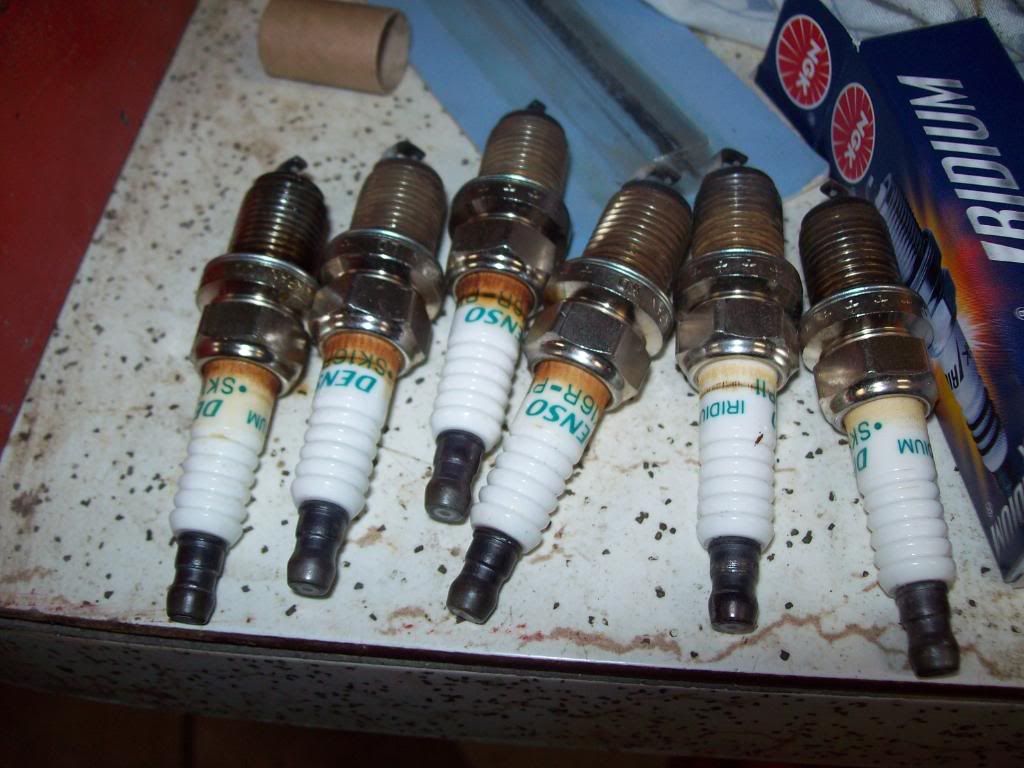
at this point you should be able to see the end of each spark plug, before you start removing and replacing them, check out your new plugs and verify they are either pre-gapped or gap them yourself, I got the NGK Iridium IX's, when i bought them i assumed they were pre-gapped....nope....it called for a .044 gap so i made sure each were set to that before removing and replacing
**WARNING IF GAPPING, BE VERY CAREFUL IF YOU ARE GAPPING AS THE TIPS ARE VERY BRITTLE**
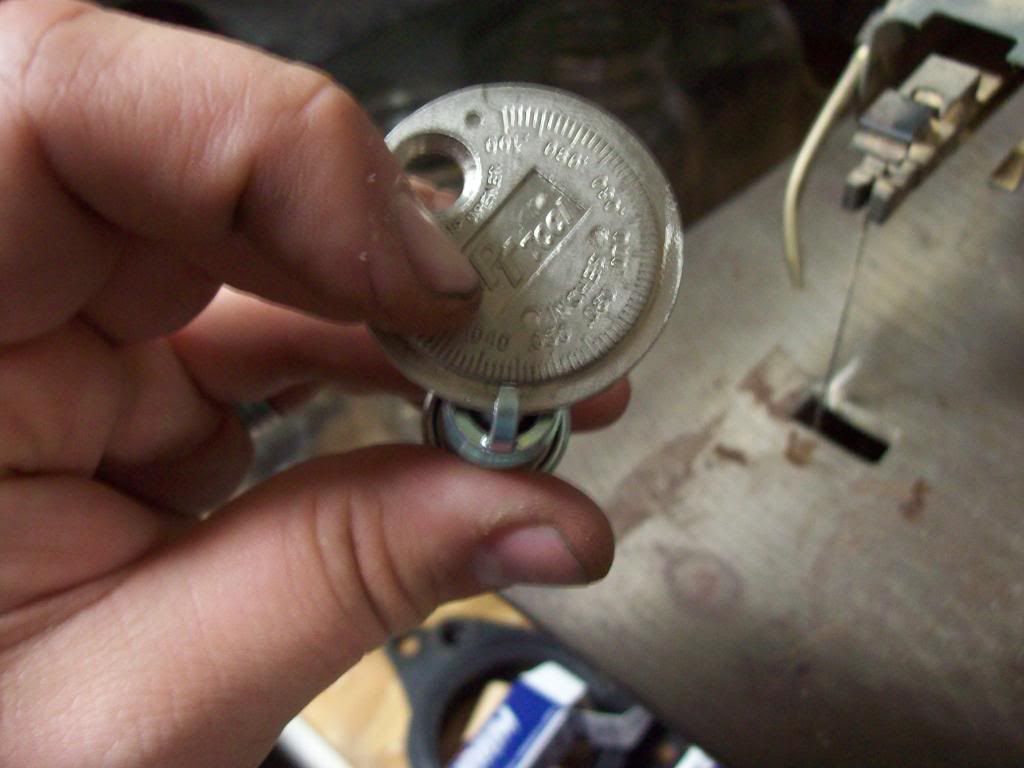
**WARNING IF GAPPING, BE VERY CAREFUL IF YOU ARE GAPPING AS THE TIPS ARE VERY BRITTLE**
Thread Starter
Joined: Jun 2007
Posts: 819
Likes: 1
From: West Virginia soon to be Virginia
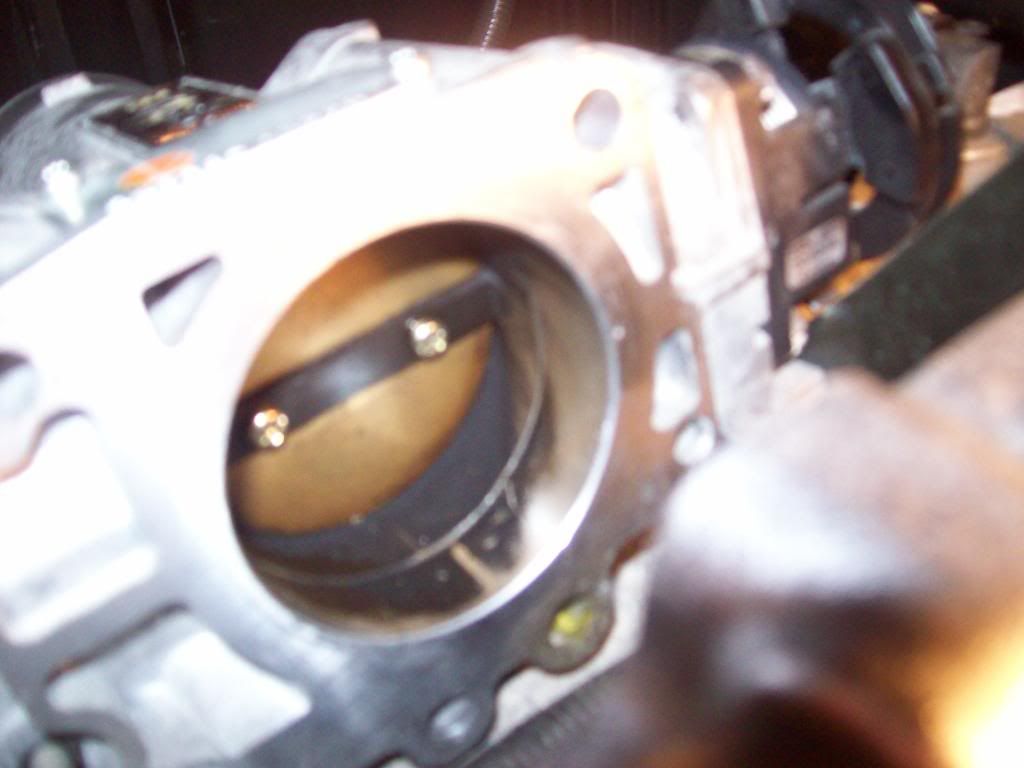
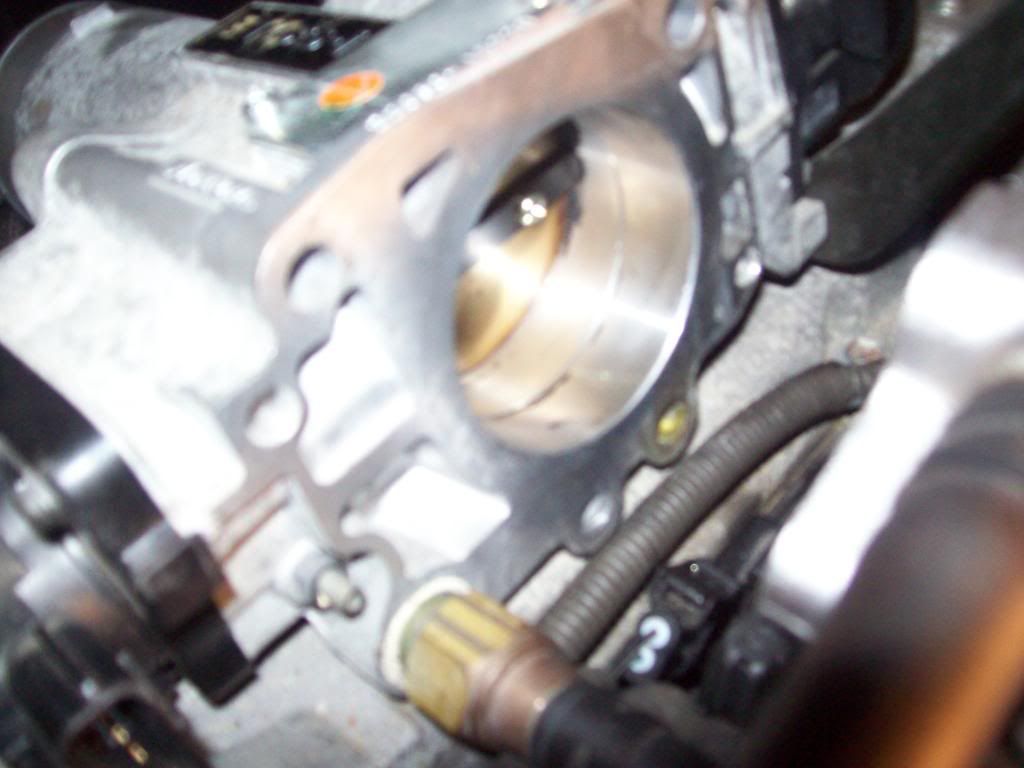
before putting it back together, inspect your equipment while you have it off, here is a pic of the inside of my throttlebody just past the valve, very dirty, you can use lots of things to clean this but i mainly used a rag and elbow grease, just make sure if you use a solvent to get all of it out before putting it back together, if you dont...itll go in your engine...
BEFORE
AFTER
BEFORE
AFTER
Thread Starter
Joined: Jun 2007
Posts: 819
Likes: 1
From: West Virginia soon to be Virginia
putting it all back together
when putting the bolts back in the coil packs, dont go hardcore like i did and snap two bolts, i was lucky in that they snapped close to the head and was able to remove the broken pieces, i just used the bolts that held down the wiring harness as replacements
when putting the wires back on the coil packs, make sure they are pushed in very well and the clips snap into place
when putting both the coil packs and plug boots back in place give them a good push to make sure you get them in really good, you dont want to put it back together and test only to find out you have to take it apart again
***added by StopitNow***
in case you dont remember how the wires went on this should help
C = COILPACK
W= SPARK PLUG WIRE
1W 6C
2C 5W
3W 4C
other than that just follow this guide backwards and when done...test, turn everything else around off so you can hear if theres a missfire, sit in it so you can feel vibration, drive it smooth down the road with the radio off and maybe even a window down so can hear better, once that goes well, GUN IT, rev it to 6k and shift rev to 6 and shift, do that a few times and make sure you dont have any missfires and you should be good after that, hope this helps guys and if anyone has any other methods for any part of this or sees anything i missed, go ahead and post it
Last edited by UNOHOO; Oct 12, 2011 at 03:22 PM.