


Is300 widebody build

Thread Starter
Driver School Candidate
Joined: Sep 2009
Posts: 34
Likes: 0
From: tx
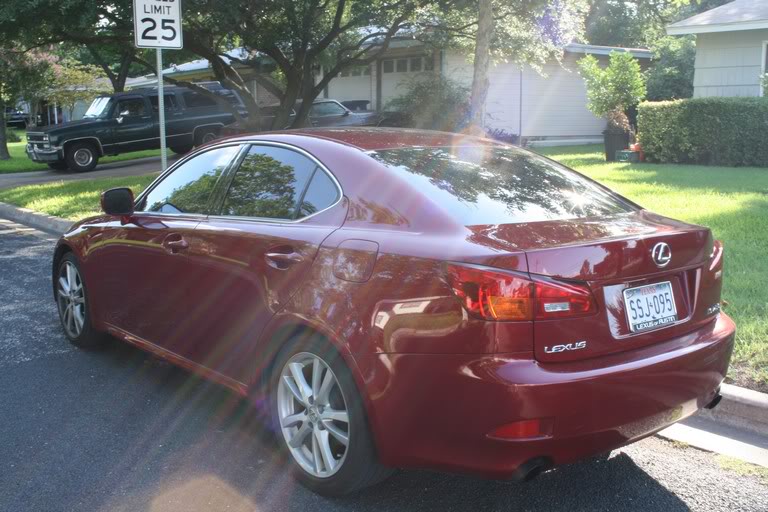
My Name is Roy and i purchased my sport design is300 back in august 2010 follows I thought i would post my pics of the build on what i have done in the past year with my custom widebody....
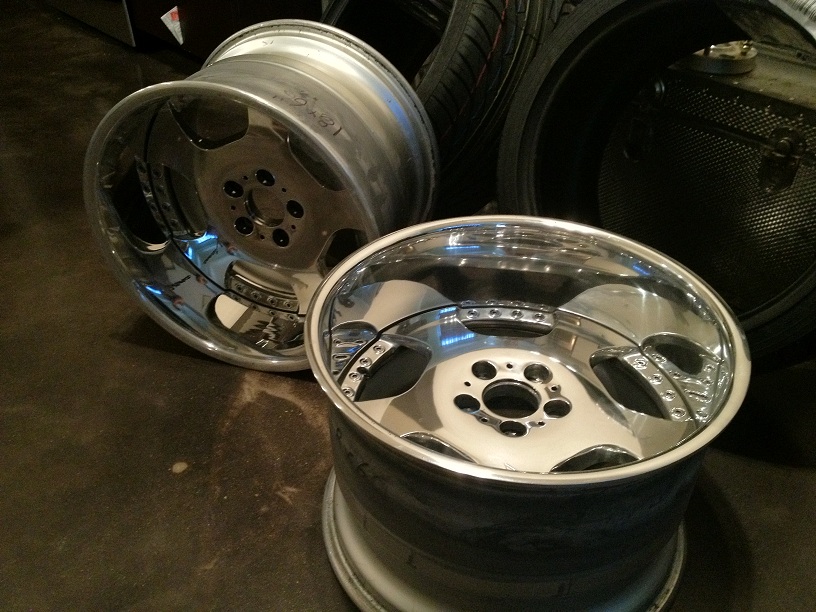
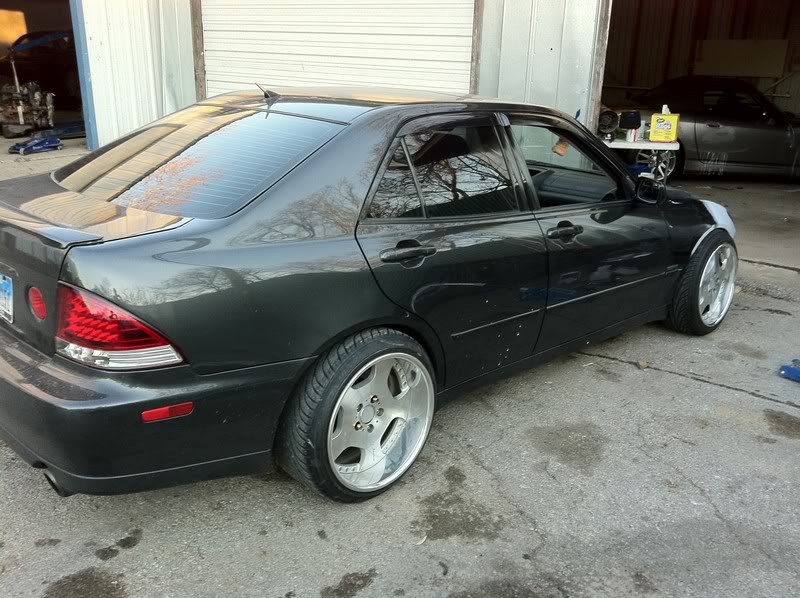
In purchasing the car i knew i wanted deep dish setup and wanted to set my is300 apart from most that i had seen at the time. After Looking on numerous Forums for some wheels i finally found some ssr viennas.
18x10 +32 in the front and 18x12+38 in the rear!!!
So i get the wheels in and am very excited to see how the fitment it going to be and work is necessary. I try fit the wheels but the coils and lower arm wont allow me to...
I order 20mm spacers for the front and 27mm for the rear. TRY the fitment again and yessss success!
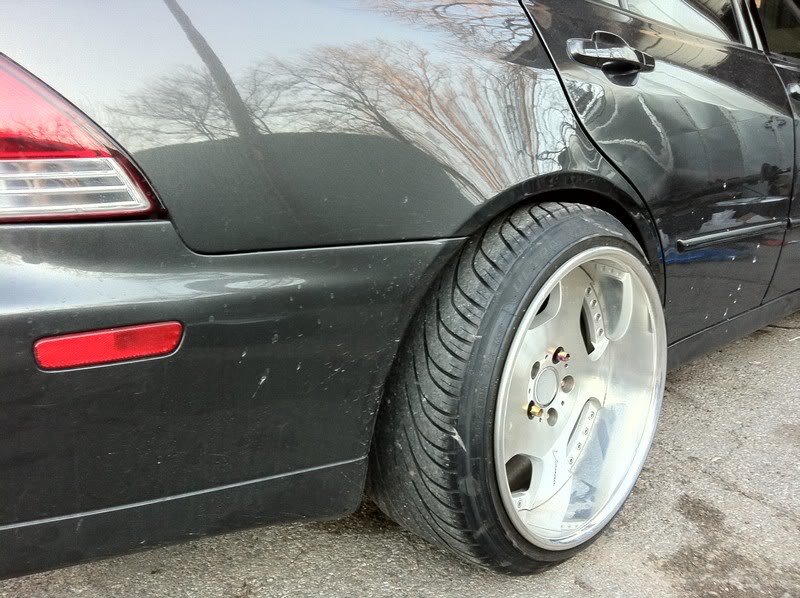
and with the addition of the spacers the wheels stick out just about 3 inches all around... looking very messycan i must say.. hey i am so its ok right?
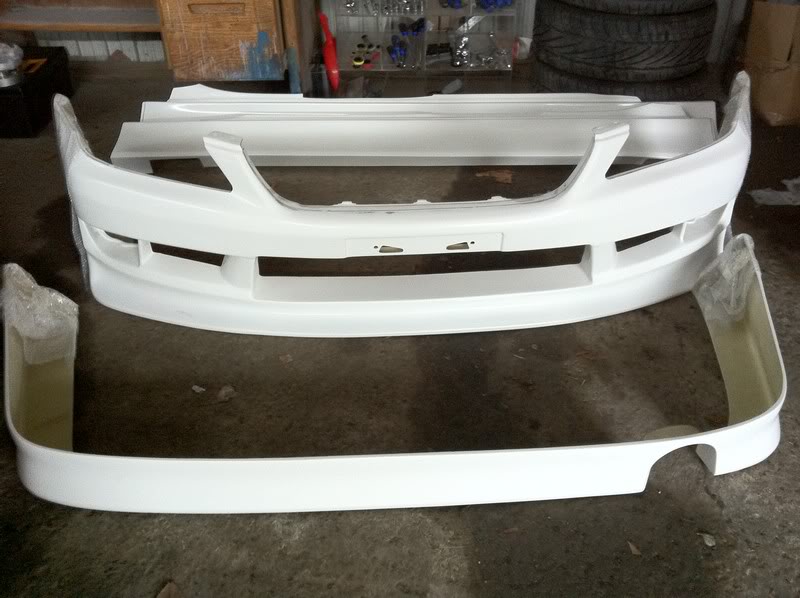
Along with wheels i was looking at kits and decided on a vertex kit. Called vertex and 3 months is what they told me... burn! I am impatient and did some more searching and found that vis made a replica kit instock. ahhh trust me i really wanted the authentic kit, but i knew that i may have to cut the kit and adjust it for the wider fitment so i said screw it and purchased it. Not much cheaper than vertex at about $1100 shipped
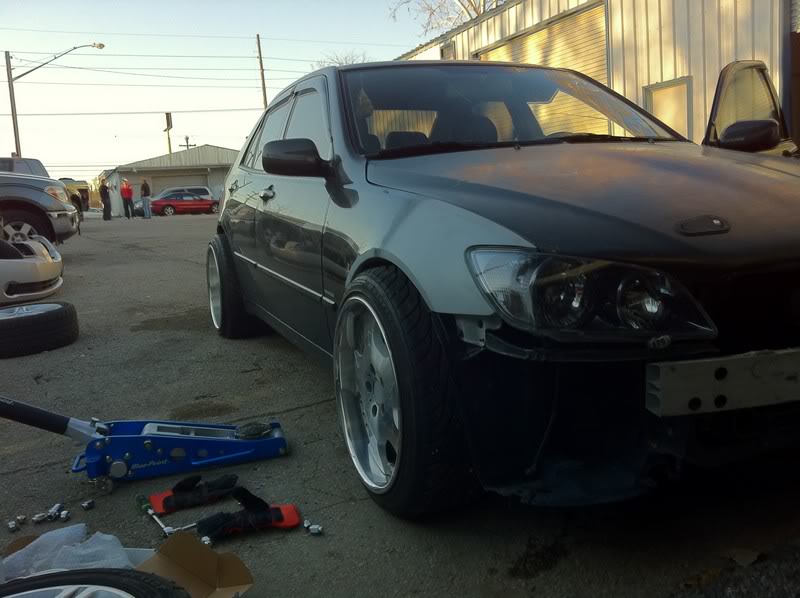
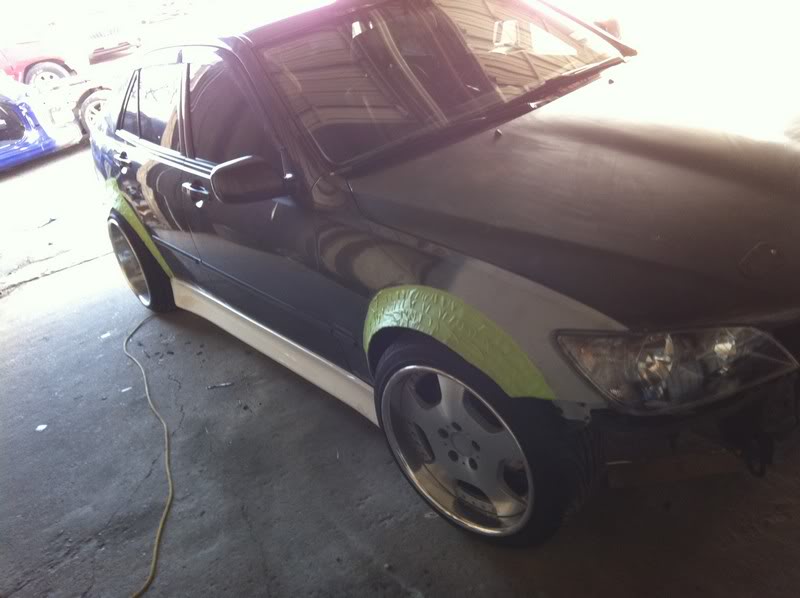
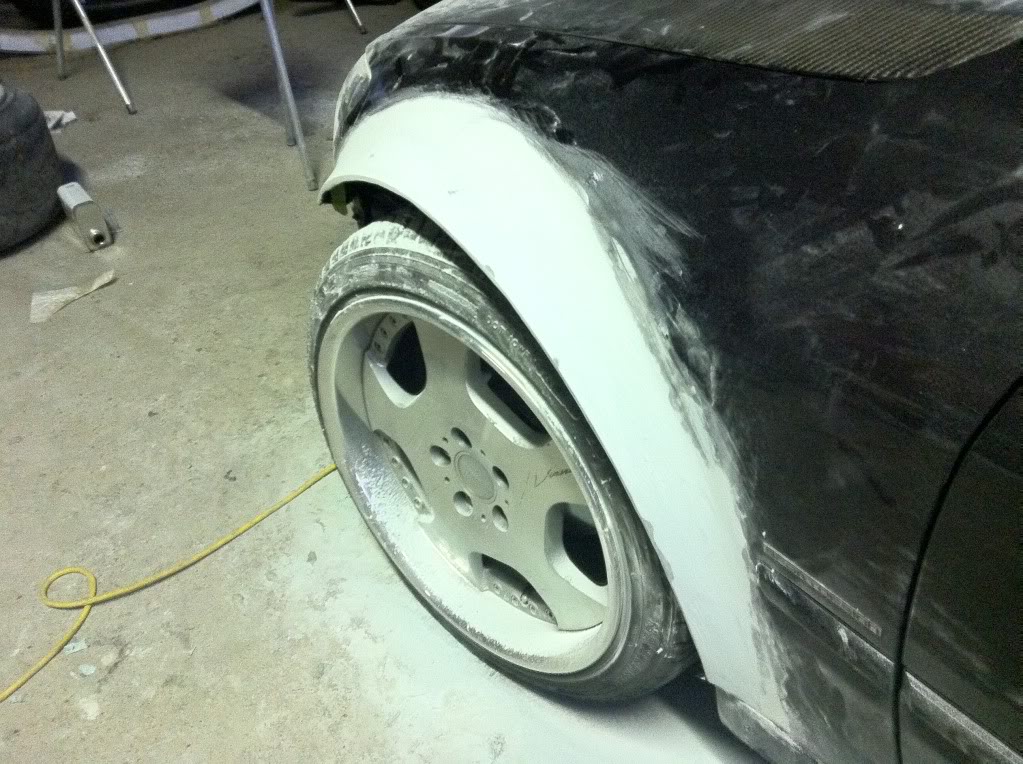
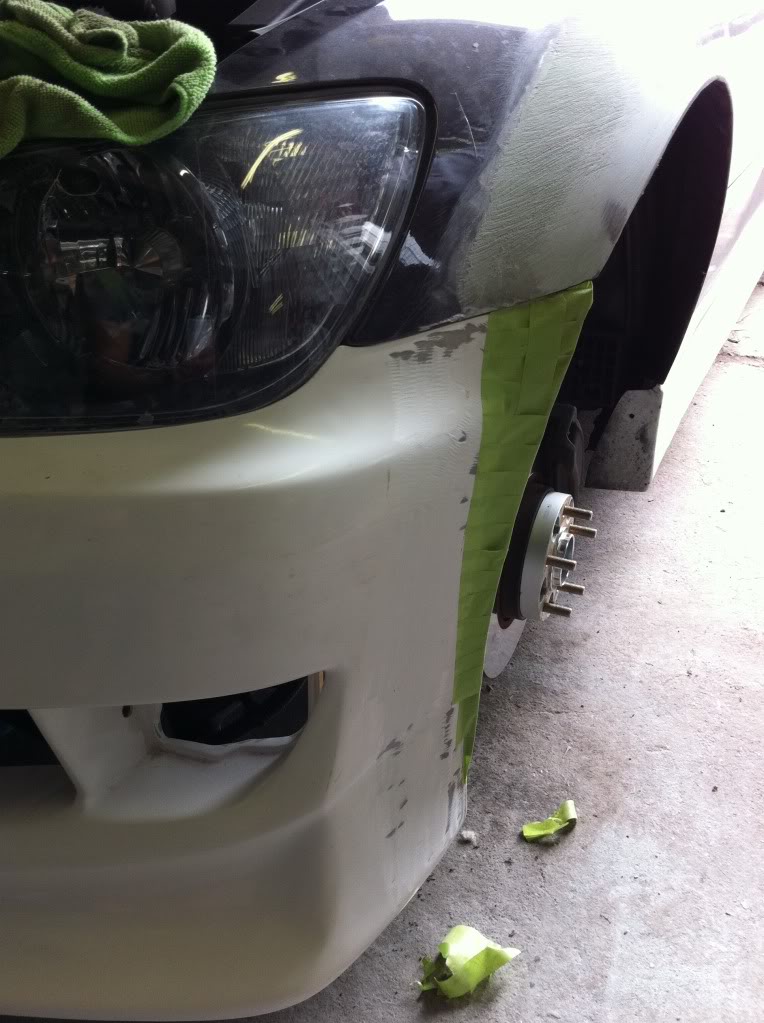
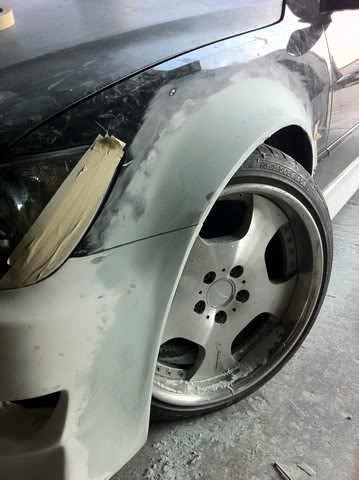
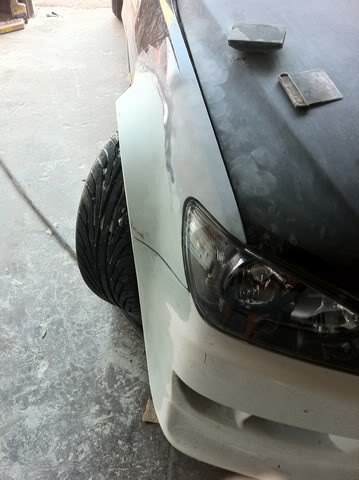
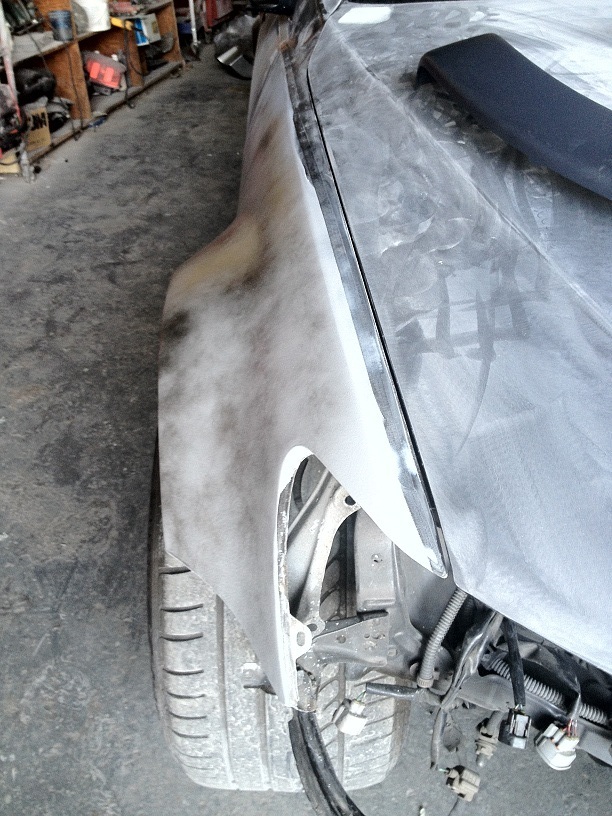
So time for the widening process. I own a small paint and body shop here in austin tx, and have repaired some pretty mauled metal before but i was definitely nervous on performing this process. But here we goooo!
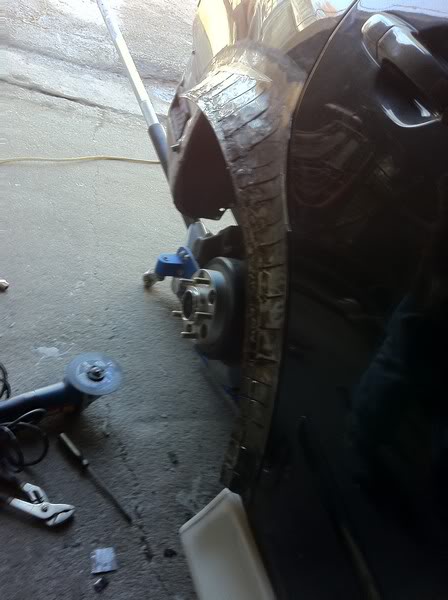
Grind the metal

Make some cuts
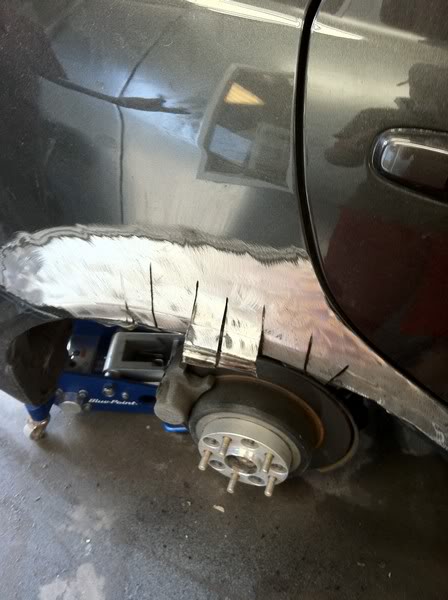
and start to shape
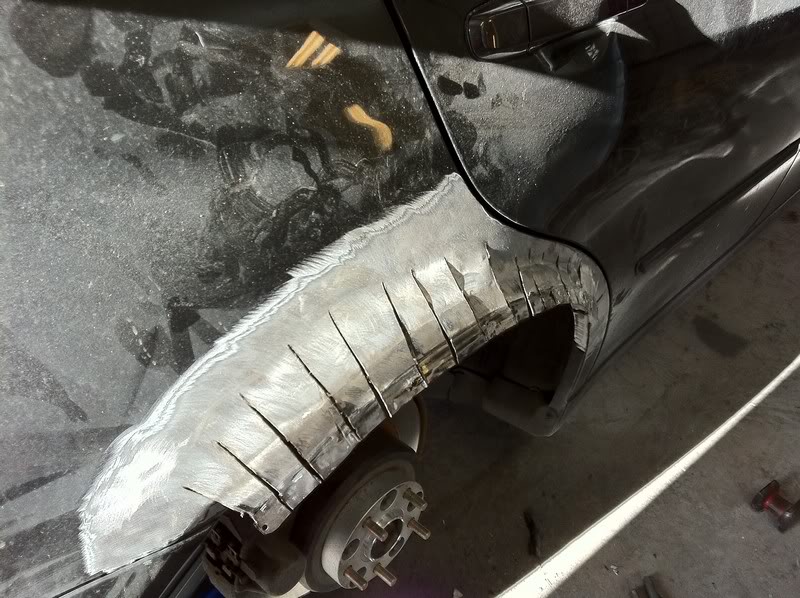
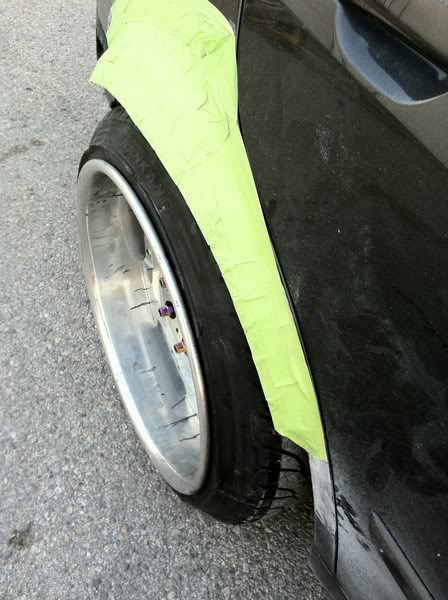
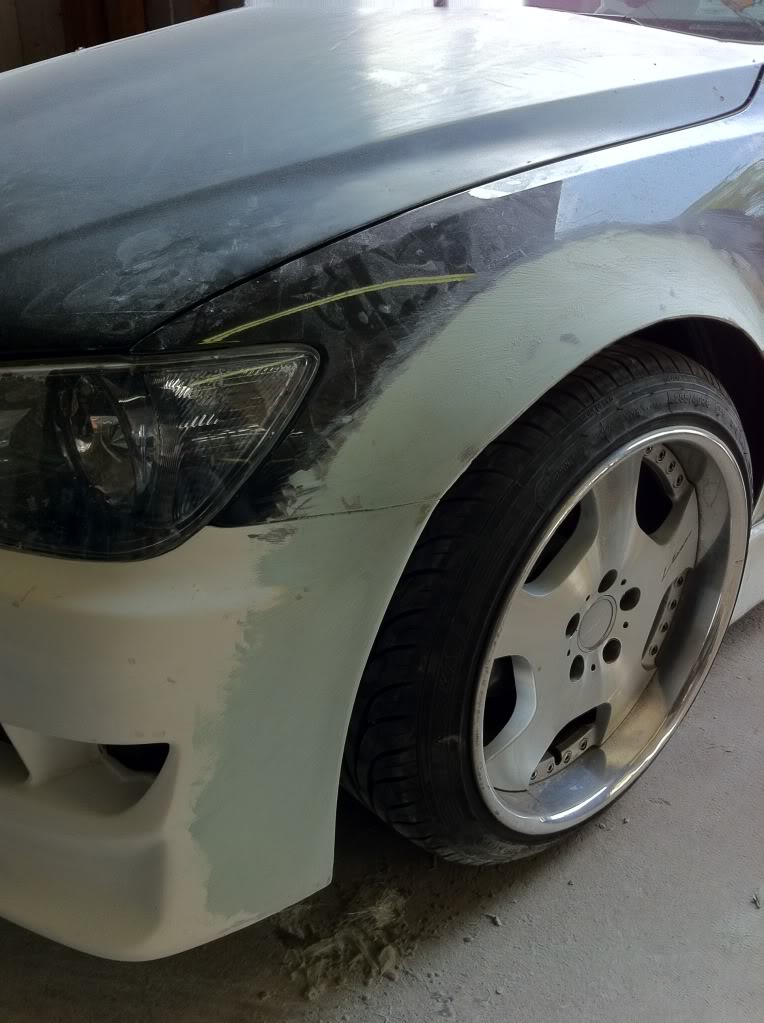
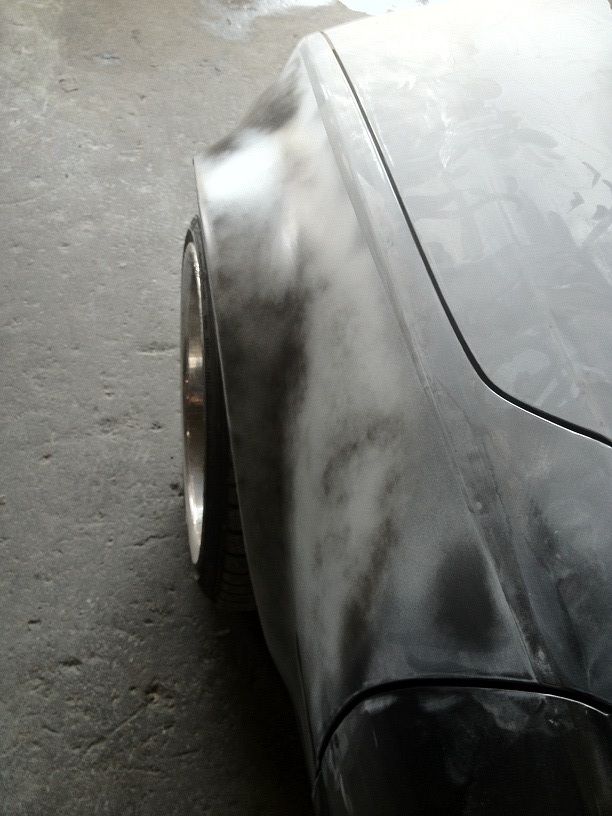
After a couple of hours
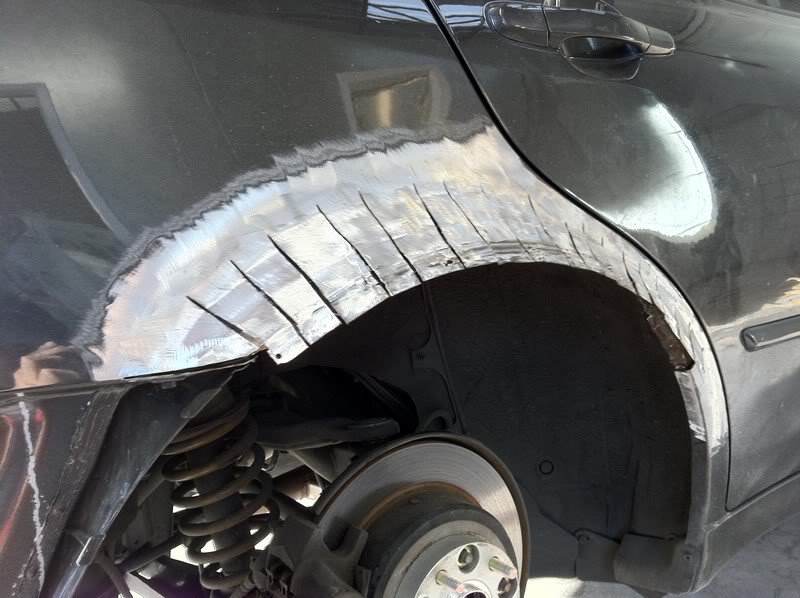
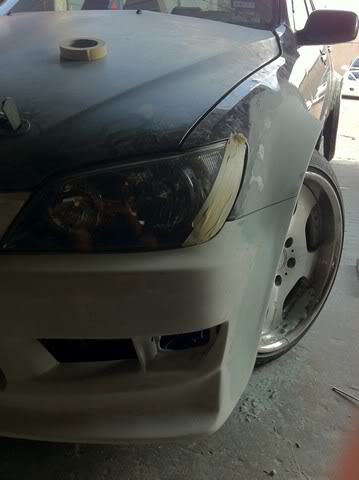
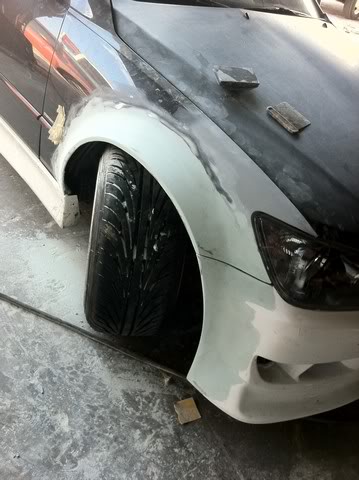
Some more work along with fitment of side skirt
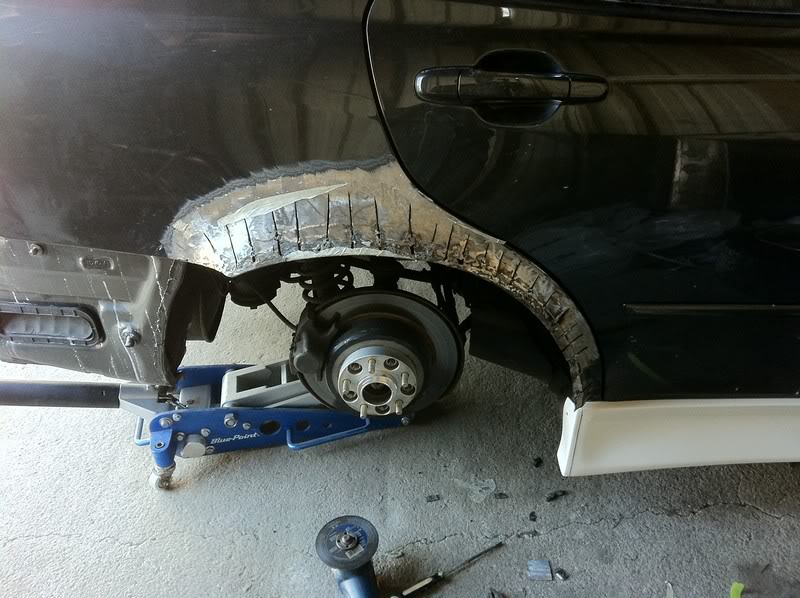
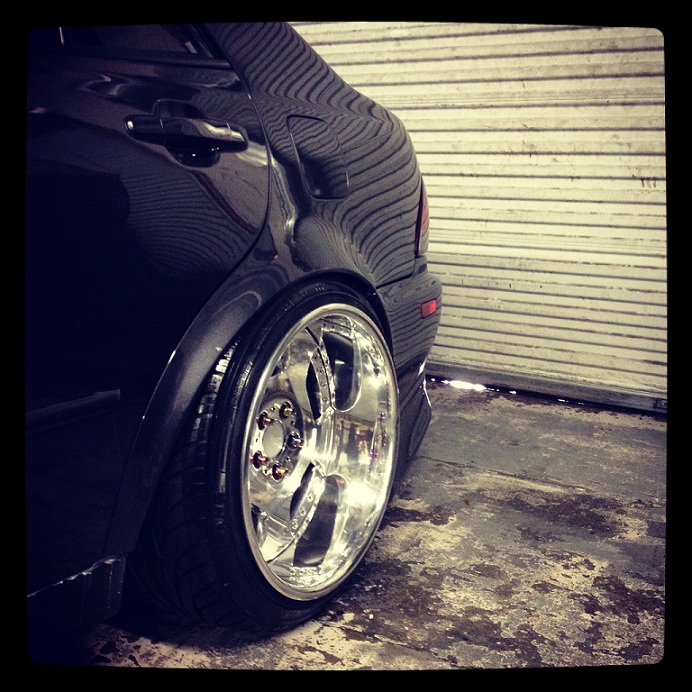
With the wheel installed
I also bought some used coils off my.is, and look what came in!
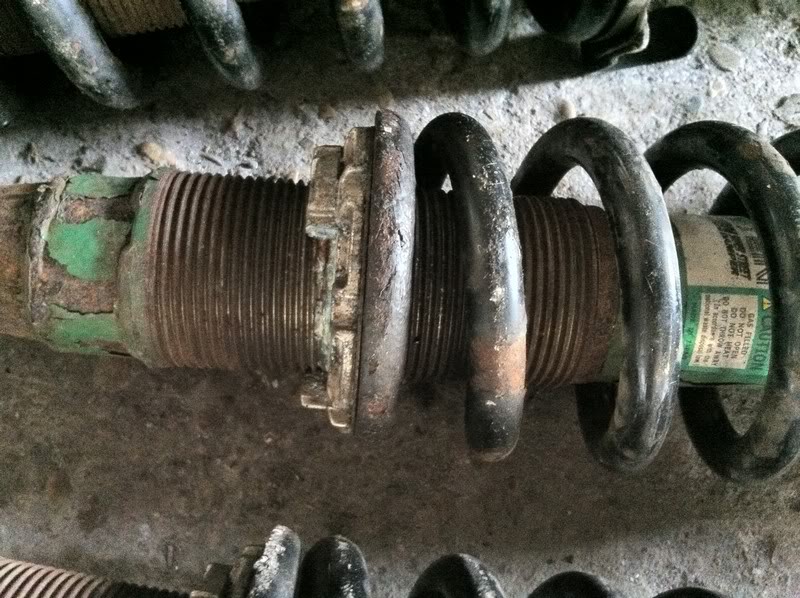
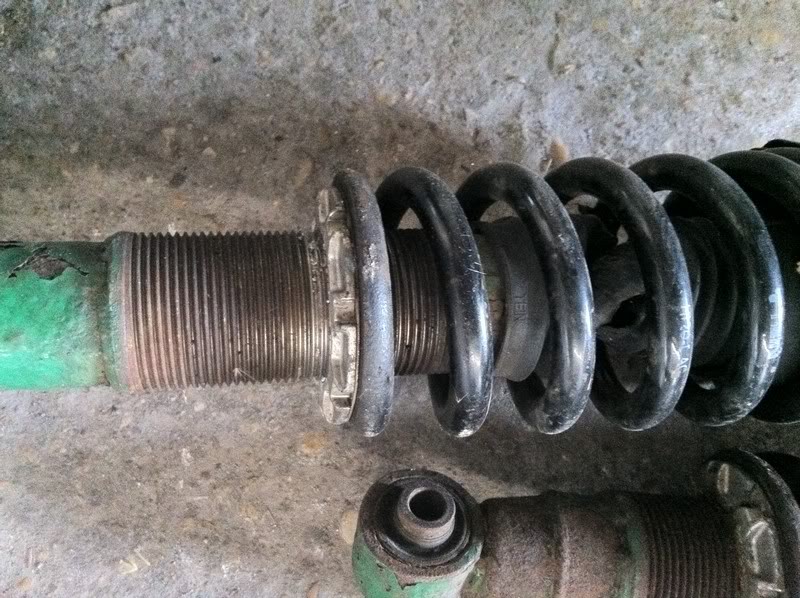
I mean really i cant even adjust these so rusted, the seller never responded to any of my messages either, what a douche! I sprayed some wd40 and the rings just shattered haha. i called tein and had some new rings sent out and will get these sandblasted here soon.
stock
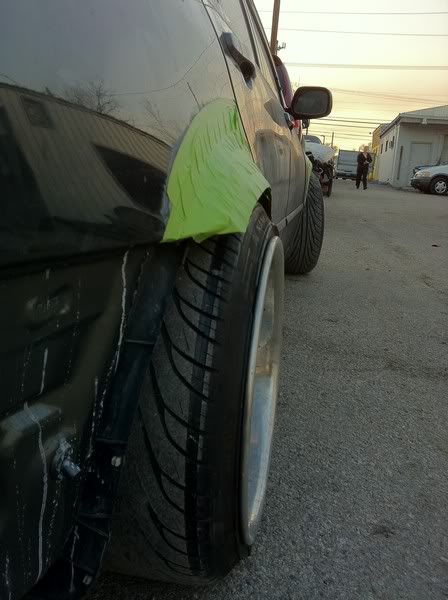
Flared

Sideskirt on!
In purchasing the car i knew i wanted deep dish setup and wanted to set my is300 apart from most that i had seen at the time. After Looking on numerous Forums for some wheels i finally found some ssr viennas.
18x10 +32 in the front and 18x12+38 in the rear!!!
So i get the wheels in and am very excited to see how the fitment it going to be and work is necessary. I try fit the wheels but the coils and lower arm wont allow me to...
I order 20mm spacers for the front and 27mm for the rear. TRY the fitment again and yessss success!
and with the addition of the spacers the wheels stick out just about 3 inches all around... looking very messycan i must say.. hey i am so its ok right?
Along with wheels i was looking at kits and decided on a vertex kit. Called vertex and 3 months is what they told me... burn! I am impatient and did some more searching and found that vis made a replica kit instock. ahhh trust me i really wanted the authentic kit, but i knew that i may have to cut the kit and adjust it for the wider fitment so i said screw it and purchased it. Not much cheaper than vertex at about $1100 shipped
So time for the widening process. I own a small paint and body shop here in austin tx, and have repaired some pretty mauled metal before but i was definitely nervous on performing this process. But here we goooo!
Grind the metal
Make some cuts
and start to shape
After a couple of hours
Some more work along with fitment of side skirt
With the wheel installed
I also bought some used coils off my.is, and look what came in!
I mean really i cant even adjust these so rusted, the seller never responded to any of my messages either, what a douche! I sprayed some wd40 and the rings just shattered haha. i called tein and had some new rings sent out and will get these sandblasted here soon.
stock
Flared
Sideskirt on!
Thread Starter
Driver School Candidate
Joined: Sep 2009
Posts: 34
Likes: 0
From: tx
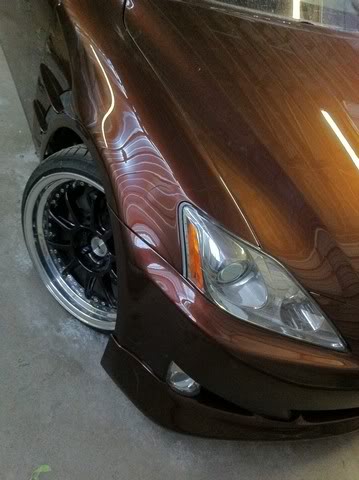
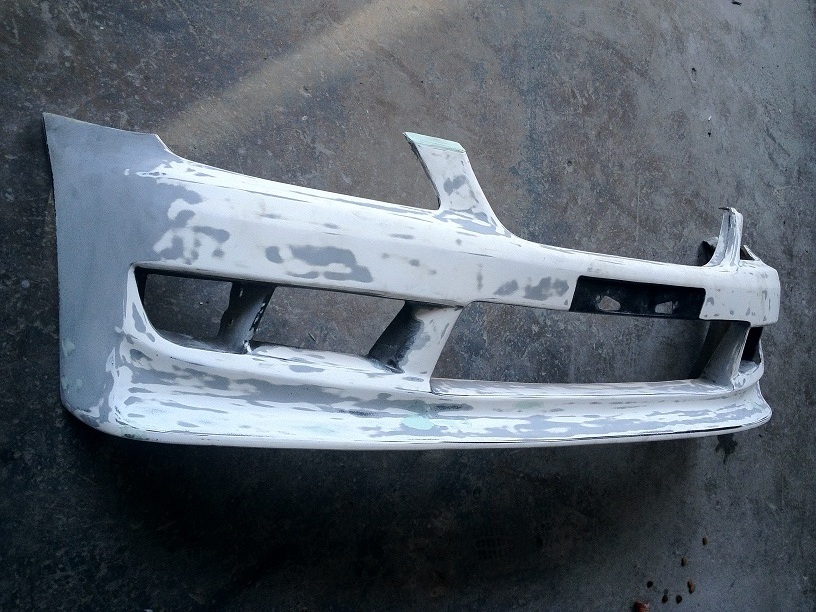
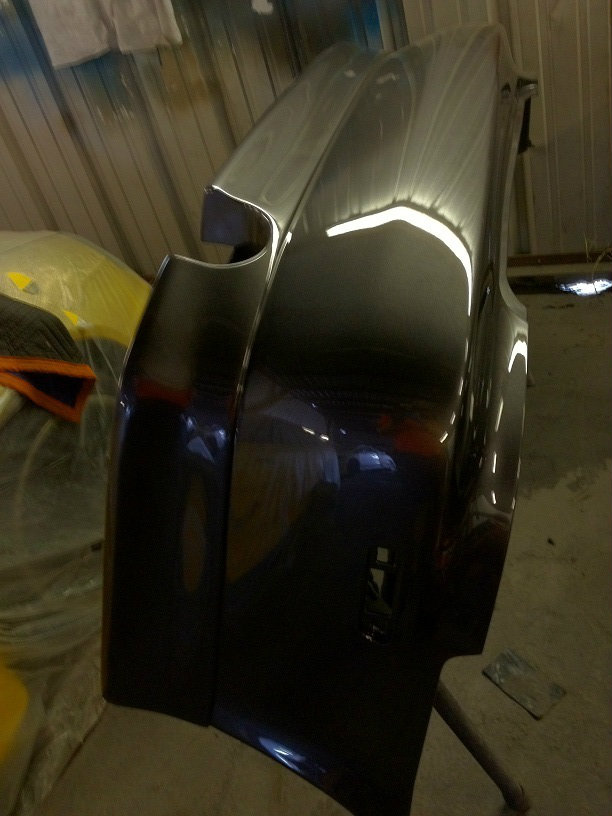
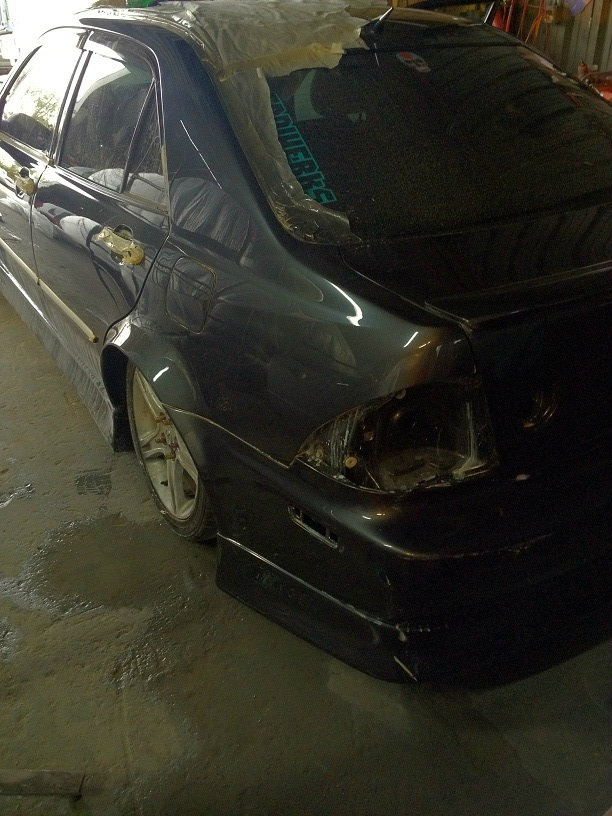
Now with the bumper installed, notice the flare extends past the vertex front.
this is after i shaped and fiberglassed the flare, i then added a small amount of evercoat to smooth it out
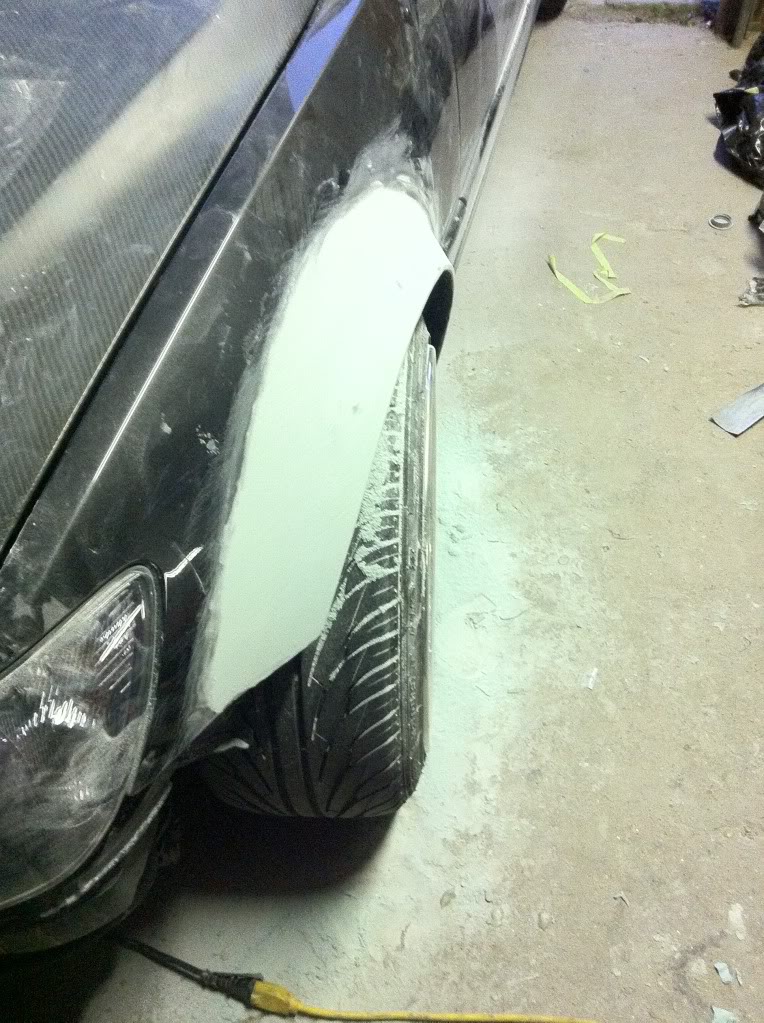
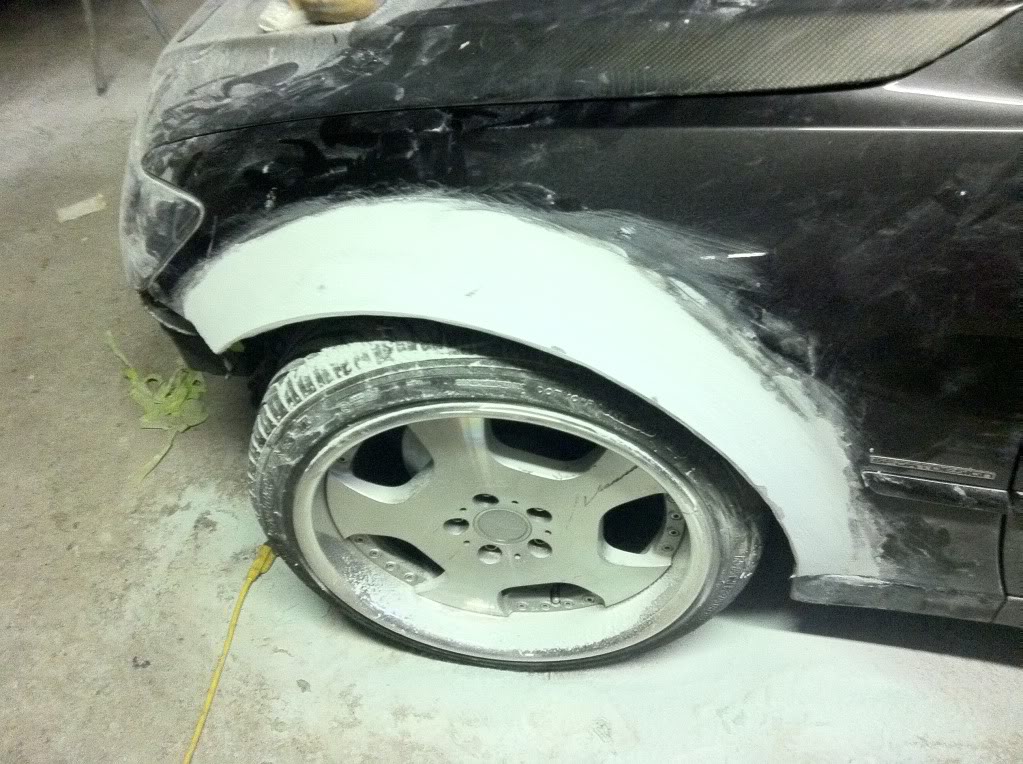
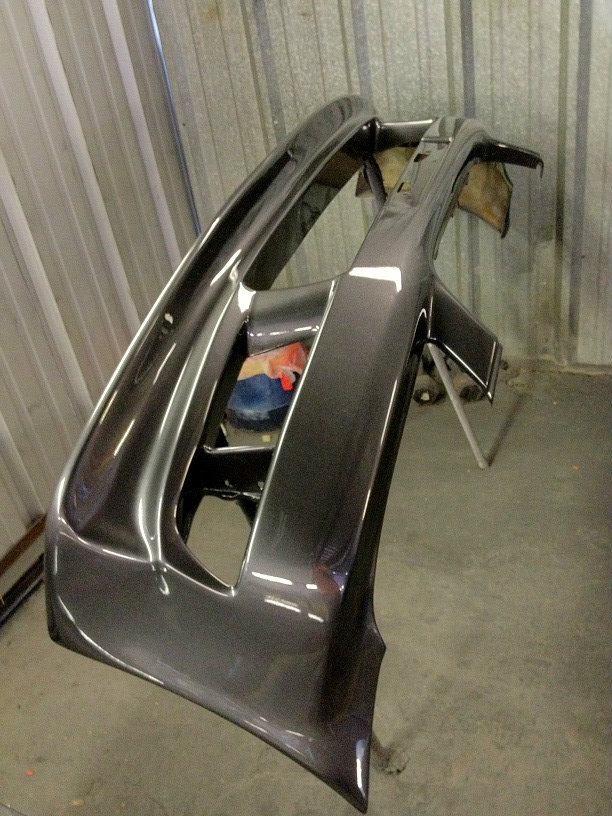
mock up of what needed to be built out of fiberglass
and the finished product
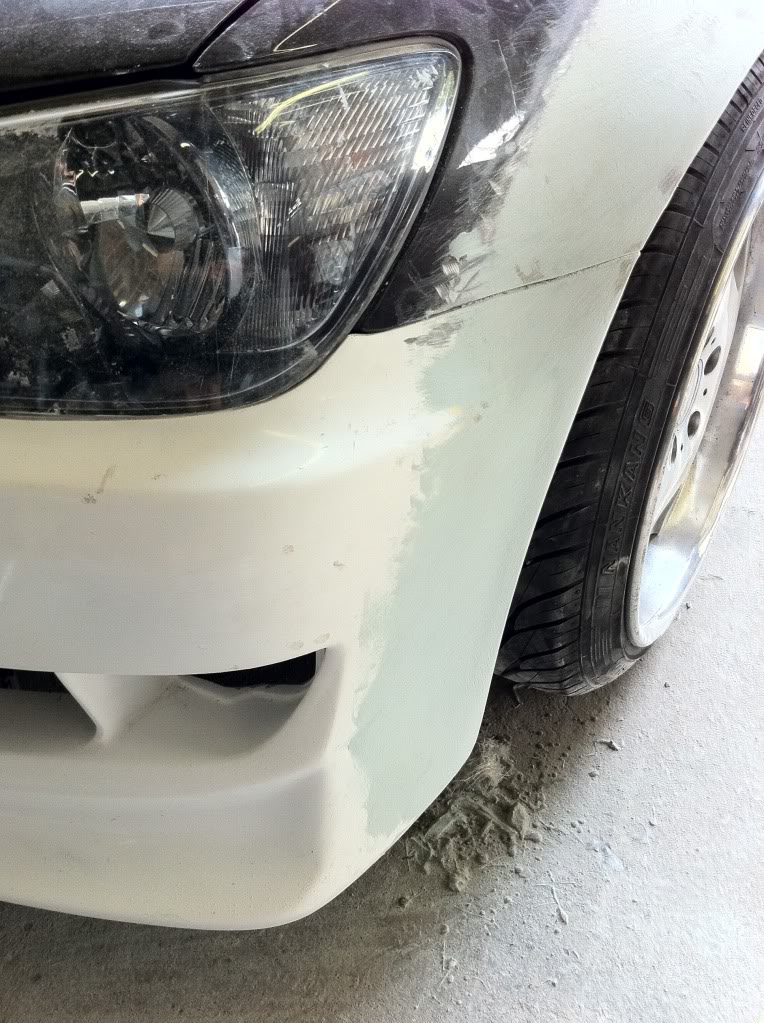
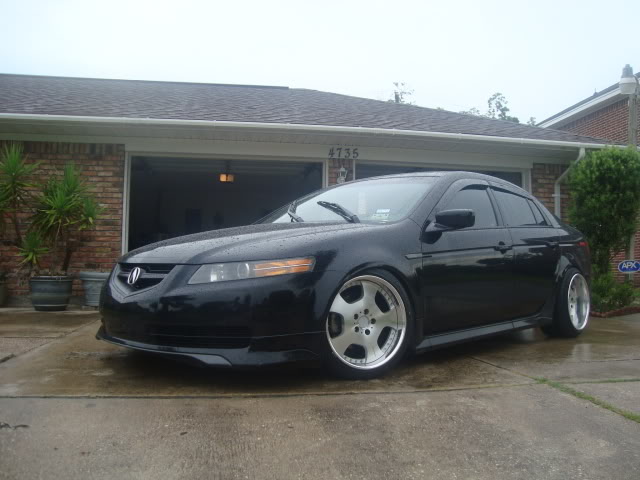
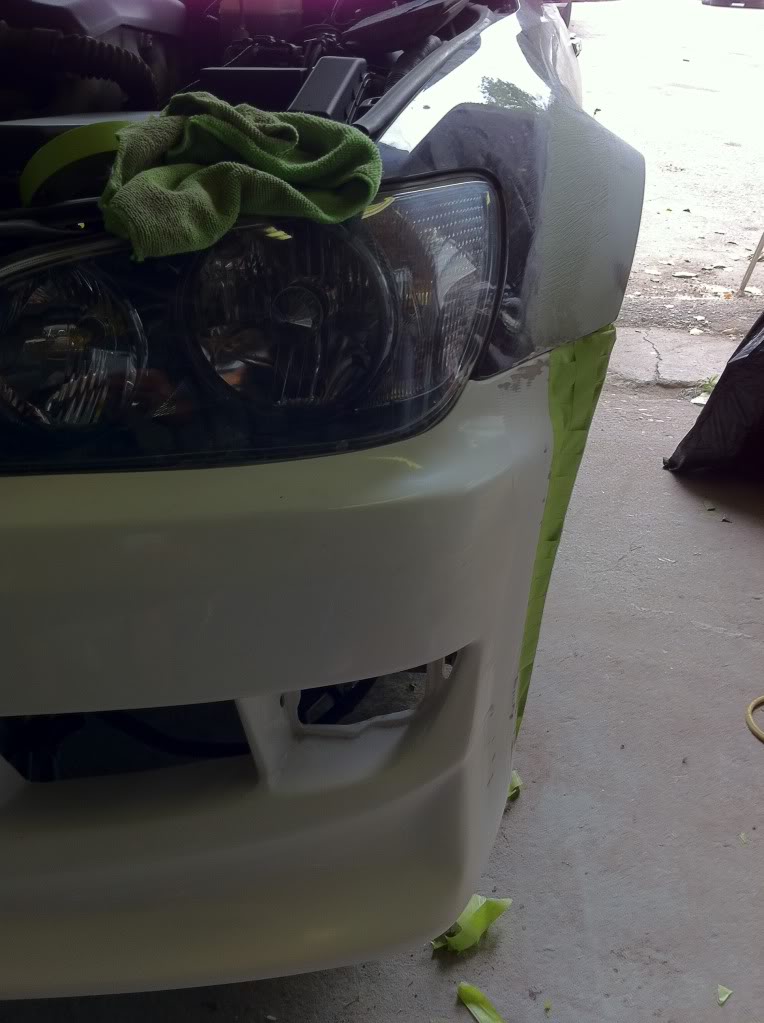
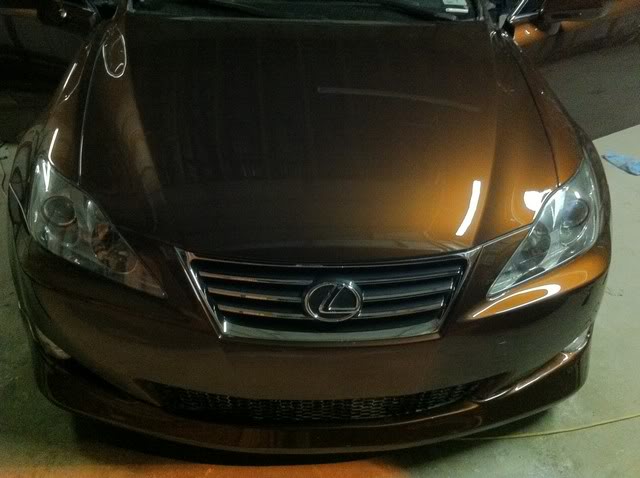
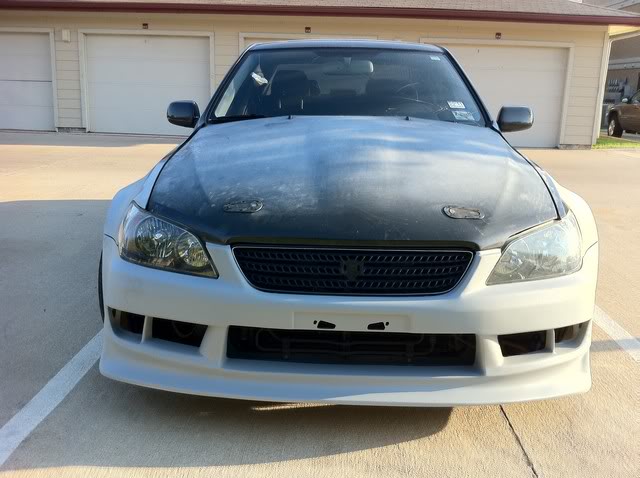
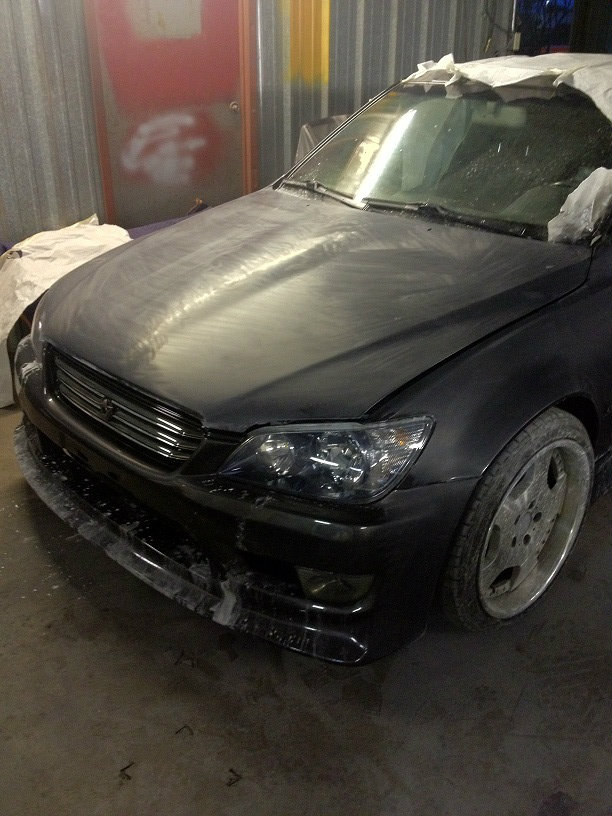
Some may have seen an is250 on the forums... i also did the work on his... little refresher...
how she came in
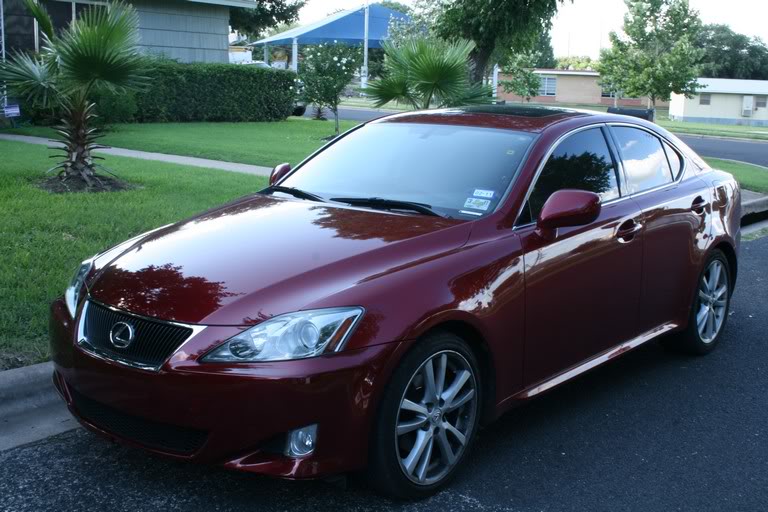
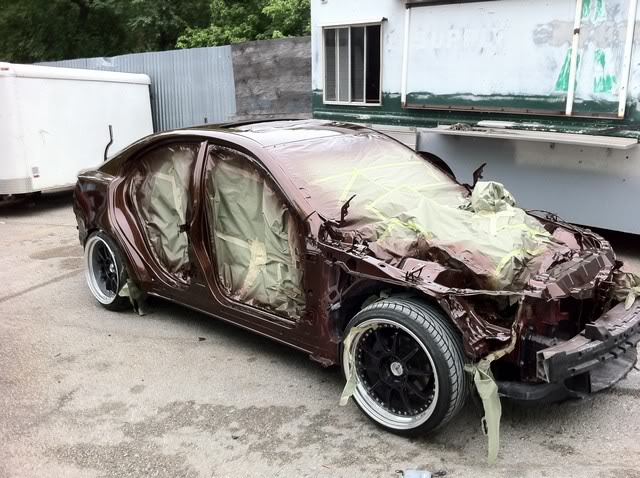
i tore her down
and she left looking good!!
this is after i shaped and fiberglassed the flare, i then added a small amount of evercoat to smooth it out
mock up of what needed to be built out of fiberglass
and the finished product
Some may have seen an is250 on the forums... i also did the work on his... little refresher...
how she came in
i tore her down
and she left looking good!!
Thread Starter
Driver School Candidate
Joined: Sep 2009
Posts: 34
Likes: 0
From: tx
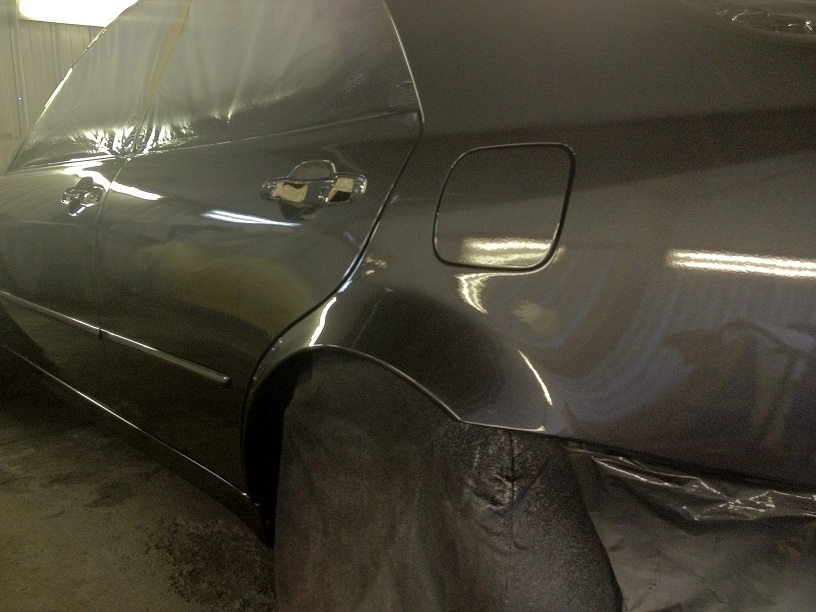
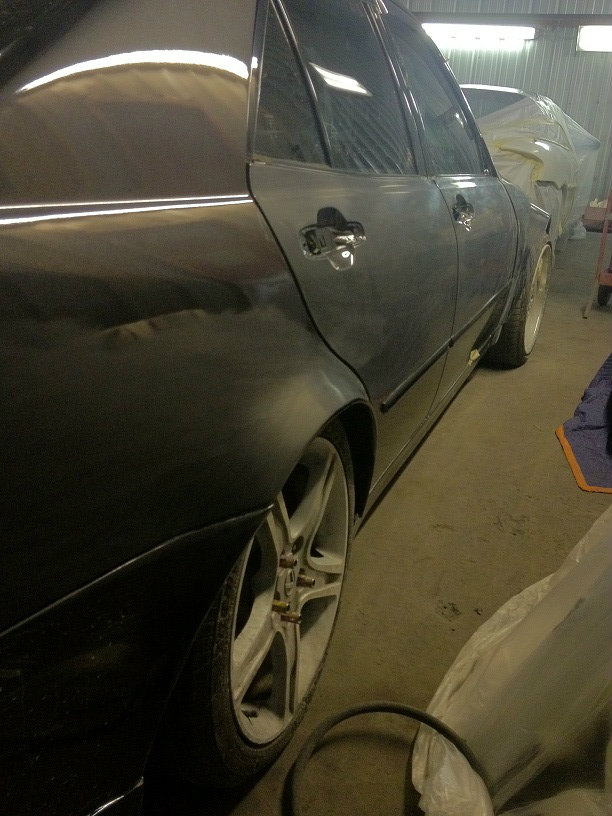
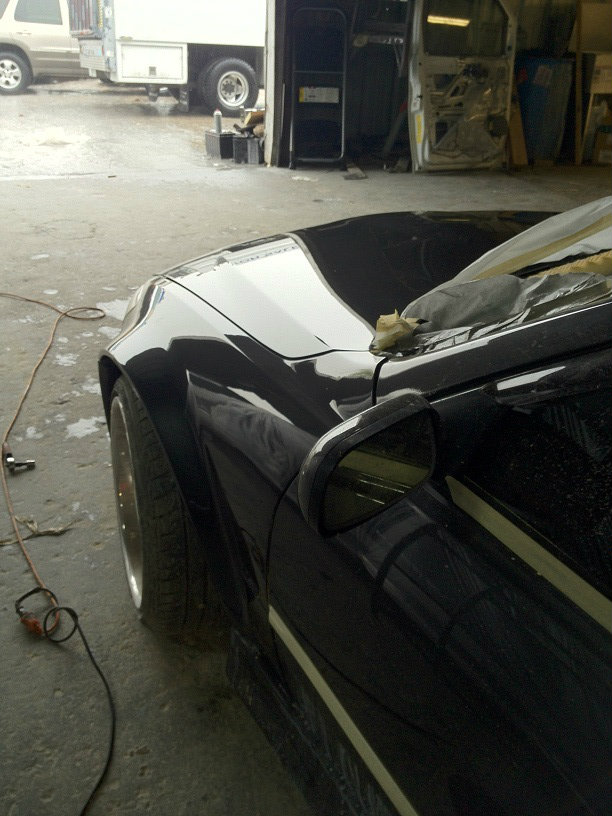
Smoothed out the flares while also creating a small lip for the fenders to give it the oem look...
pass side
Shaped smoothed rear panels along with a small lip
Also added the flare to the factory rear bumper

After about 10 more hrs i complete
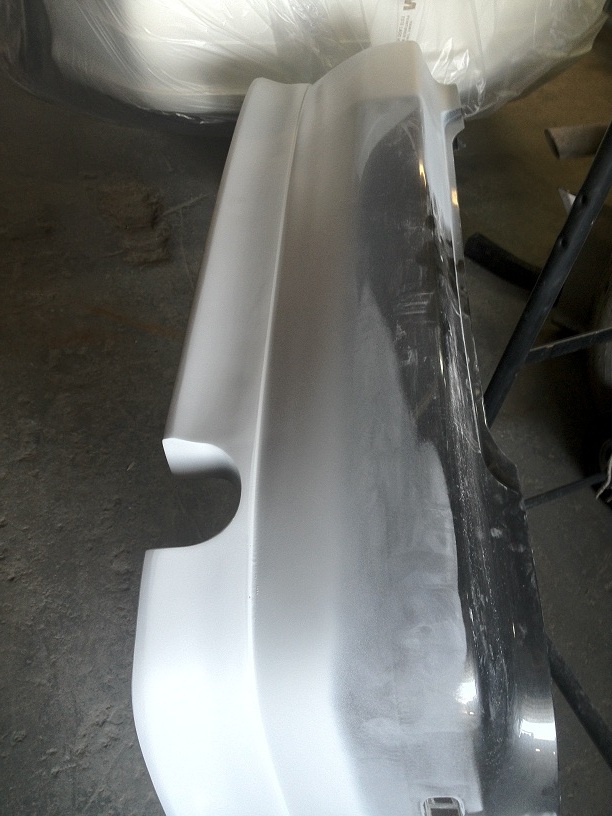
-sanding and blocking the flares
-rear lip fitment and modification, since the rear lip is meant for a jdm rear
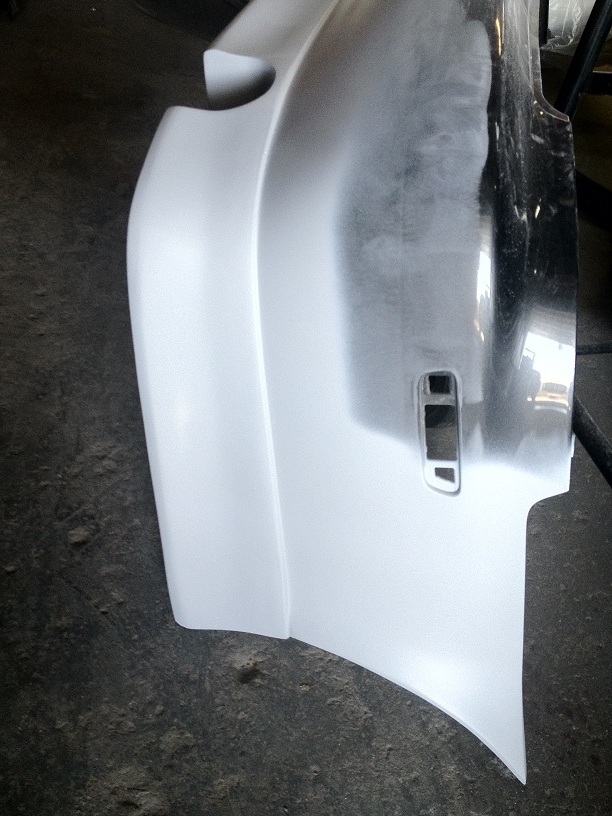
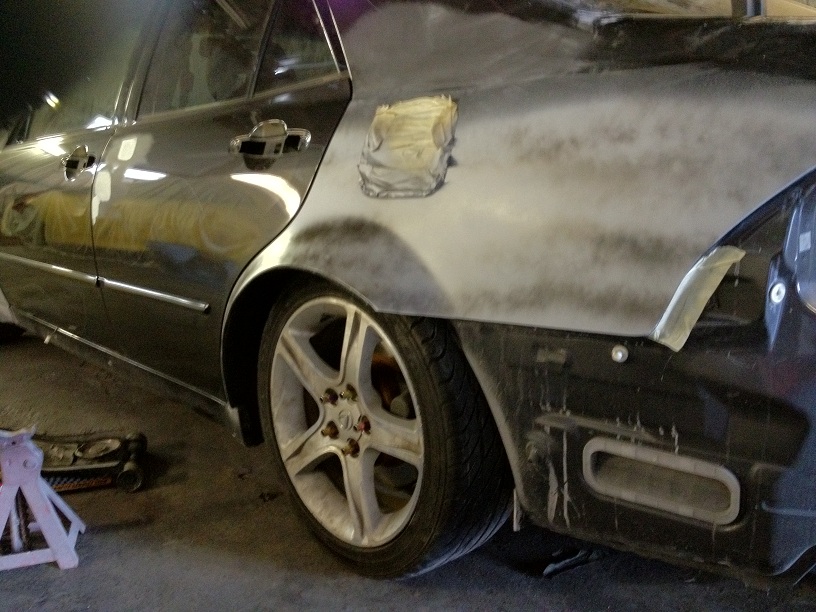
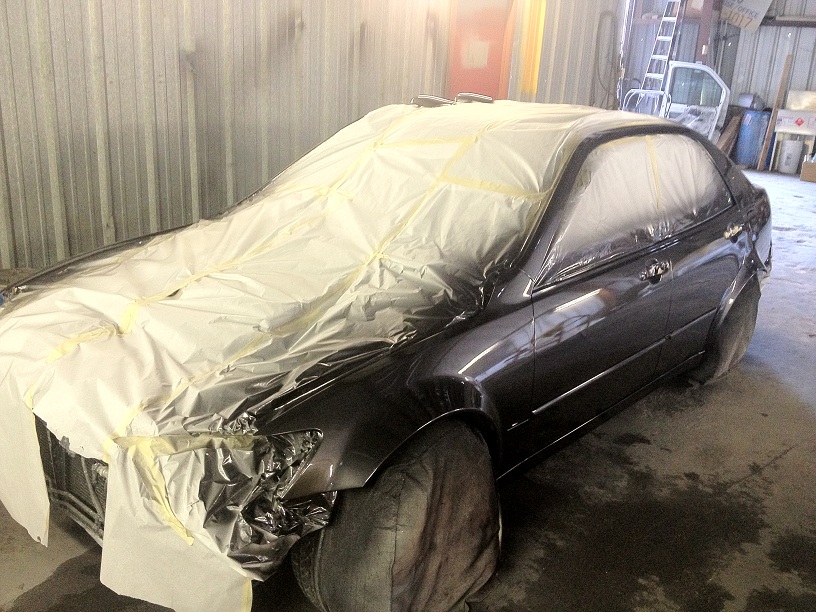
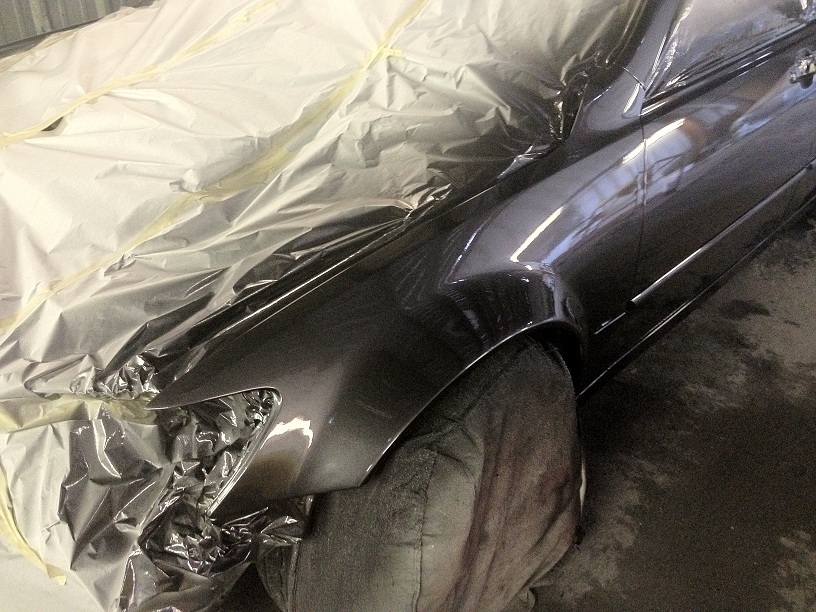
-Primed and ready for the final sanding stage before paint
Almost there, there are some minor little pits that i need to fix along with one more block of the car and its paint time, the qtr panels and front fenders have about a 3 inch flare and my goal was for it to look as stock/ factory as possible and not like a crazy wide body, i'm not sure if its just me since i am used to seeing my car this way but i am pretty proud of the outcome. I have clocked about easily about 140 hrs in the body work, flaring, and welding process. Its been a tough road but i wouldn't have it any other way.
The final stages of blocking is set, Also decided to go for a molded rear lip, the double sided tape was not holding the lip on the rear bumper as tight as i wanted and kept sagging with the heat. Fitted the new jdm black chrome grill, it fits like a glove.... almost ready for paint.

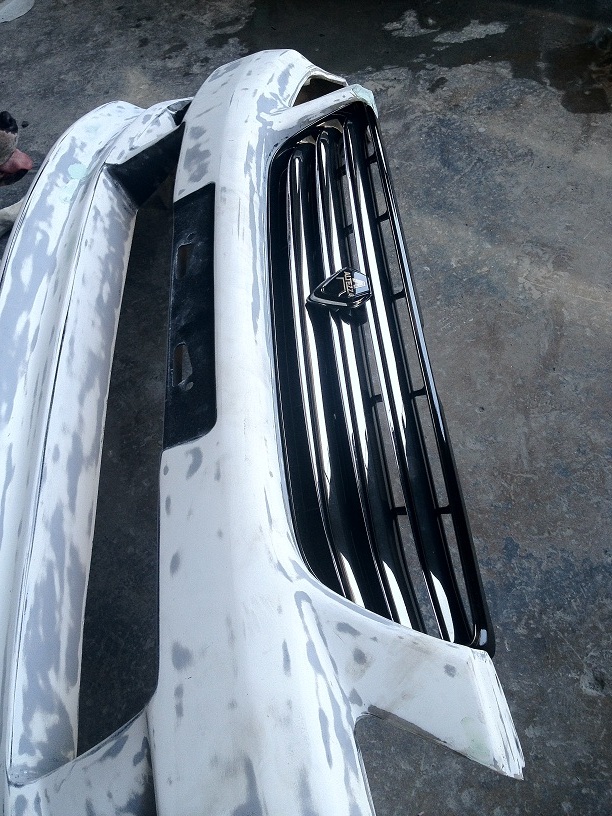
pass side
Shaped smoothed rear panels along with a small lip
Also added the flare to the factory rear bumper
After about 10 more hrs i complete
-sanding and blocking the flares
-rear lip fitment and modification, since the rear lip is meant for a jdm rear
-Primed and ready for the final sanding stage before paint
Almost there, there are some minor little pits that i need to fix along with one more block of the car and its paint time, the qtr panels and front fenders have about a 3 inch flare and my goal was for it to look as stock/ factory as possible and not like a crazy wide body, i'm not sure if its just me since i am used to seeing my car this way but i am pretty proud of the outcome. I have clocked about easily about 140 hrs in the body work, flaring, and welding process. Its been a tough road but i wouldn't have it any other way.
The final stages of blocking is set, Also decided to go for a molded rear lip, the double sided tape was not holding the lip on the rear bumper as tight as i wanted and kept sagging with the heat. Fitted the new jdm black chrome grill, it fits like a glove.... almost ready for paint.
Thread Starter
Driver School Candidate
Joined: Sep 2009
Posts: 34
Likes: 0
From: tx
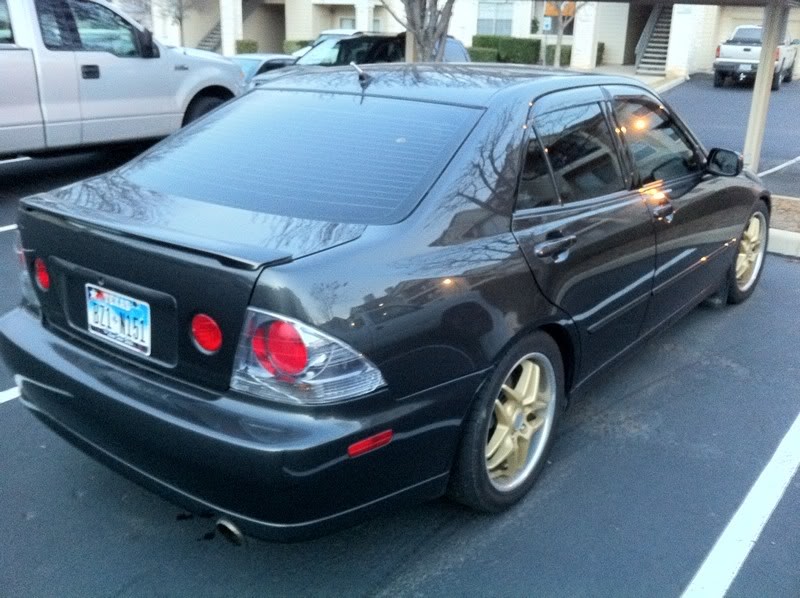
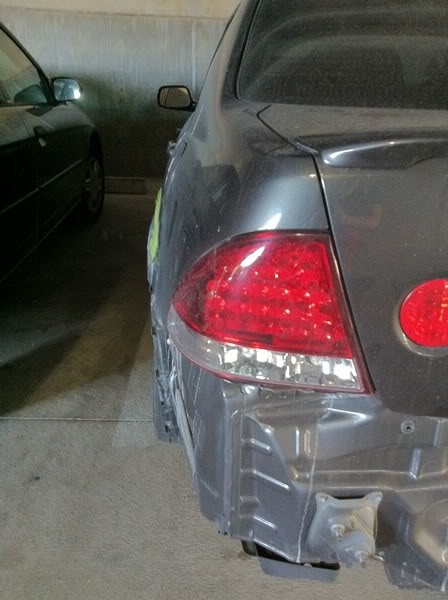
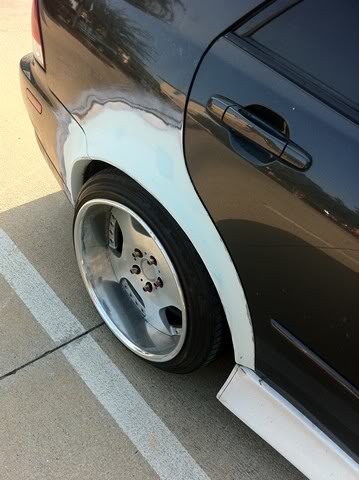
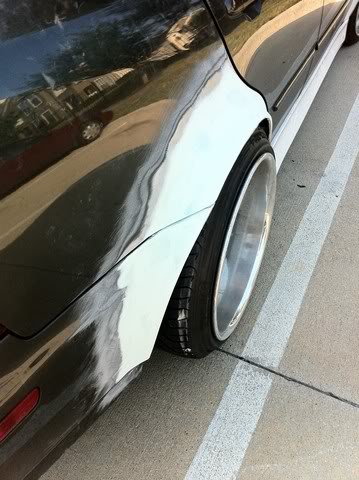
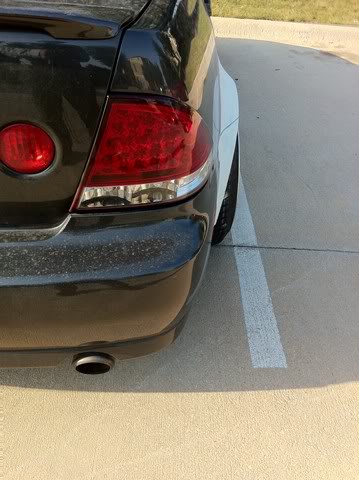
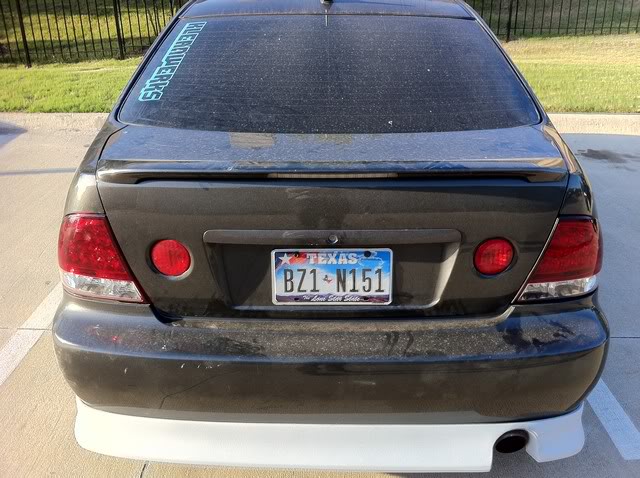
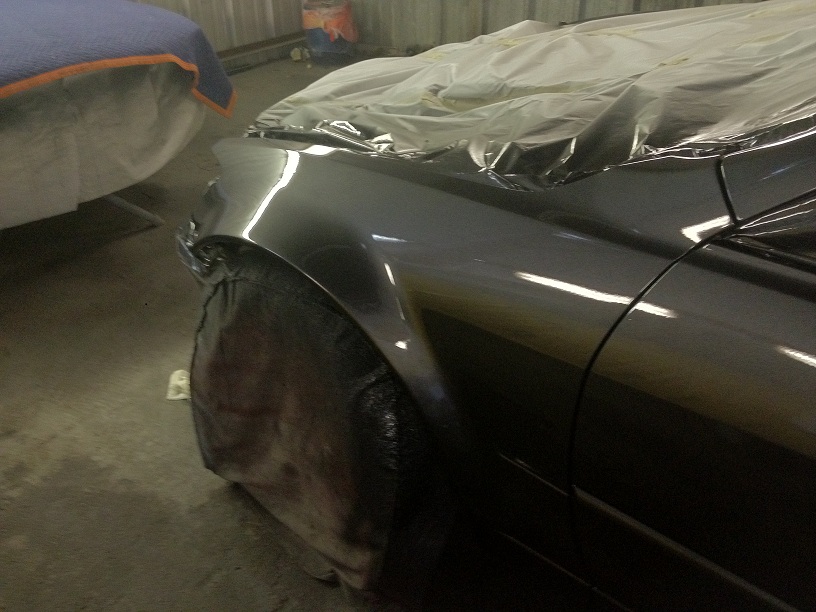
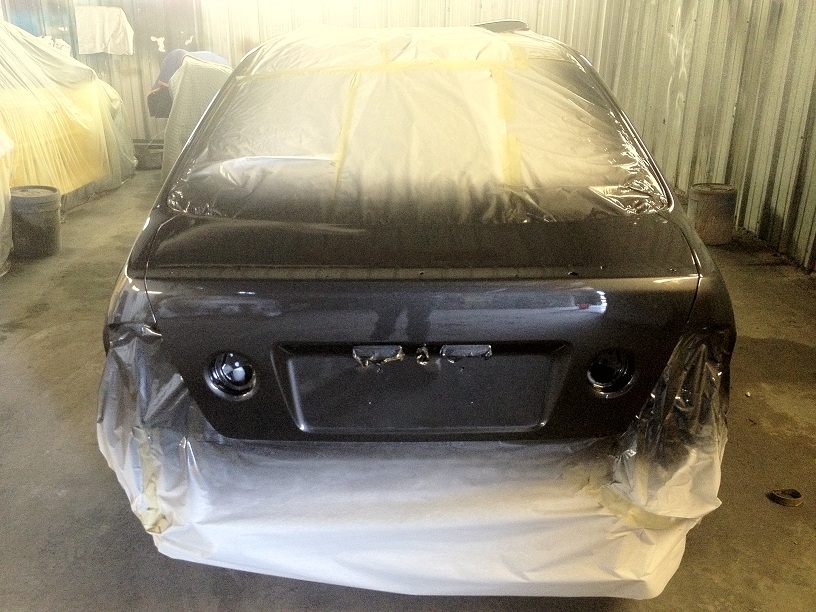
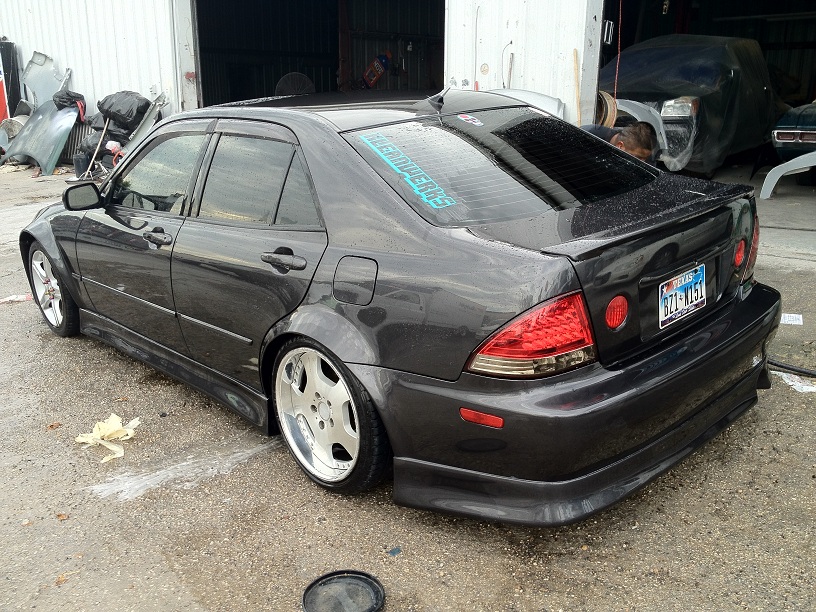
Here is shot of the rear with my stock wheels to see how much pull on the rear quarter panel there actually is.

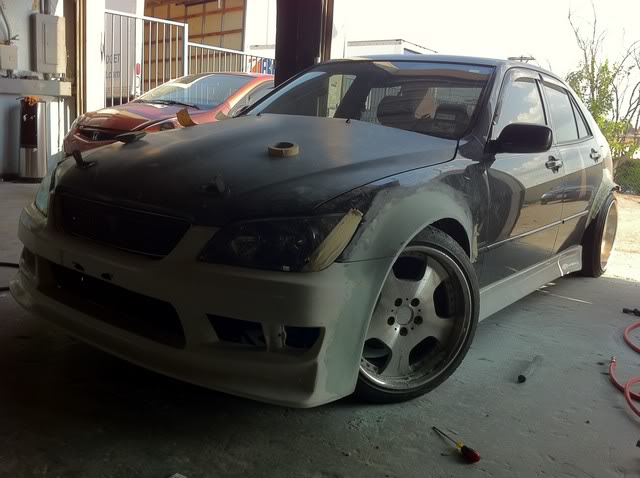
And now the rest of the car is done... i am waiting for my wheels to come back, vr is rebuilding them with a 6 inch rear and 4 inch front. Hope i can get them on and fitted by wekfest austin sept 30th

So in between drinking a large amounts of alcohol i actually got some work done.
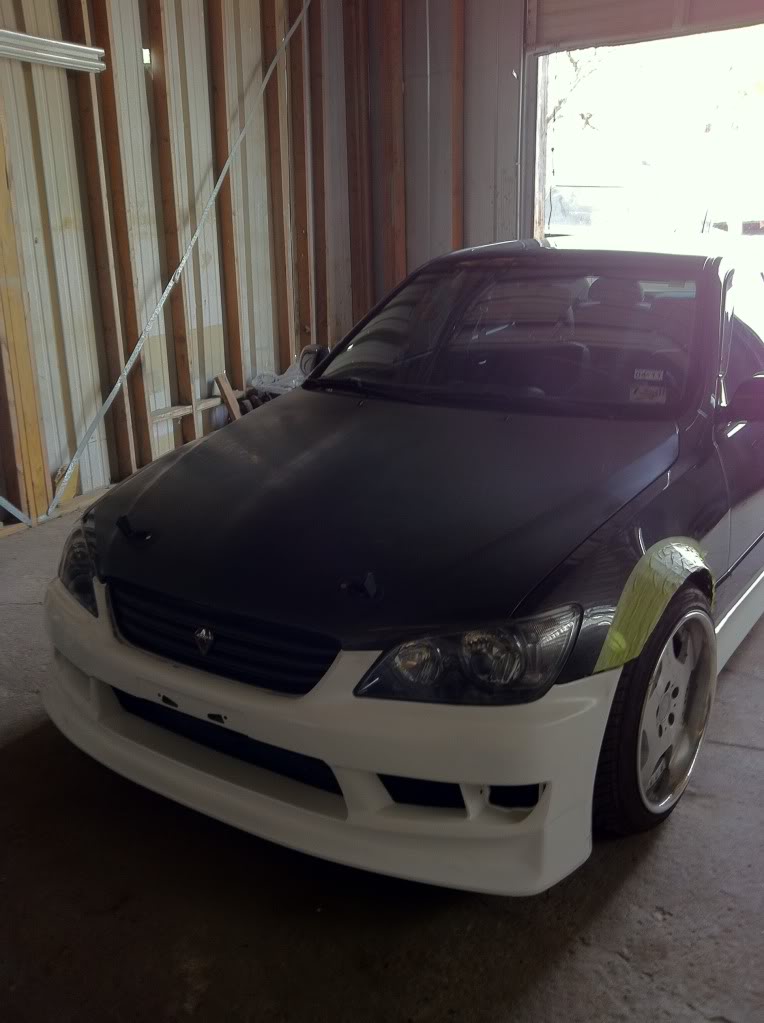
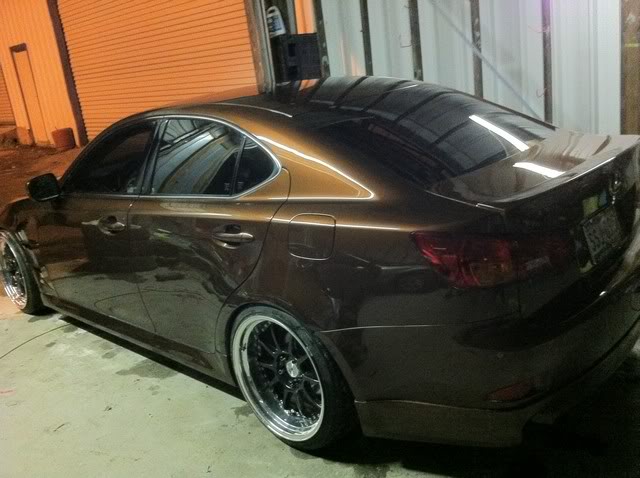
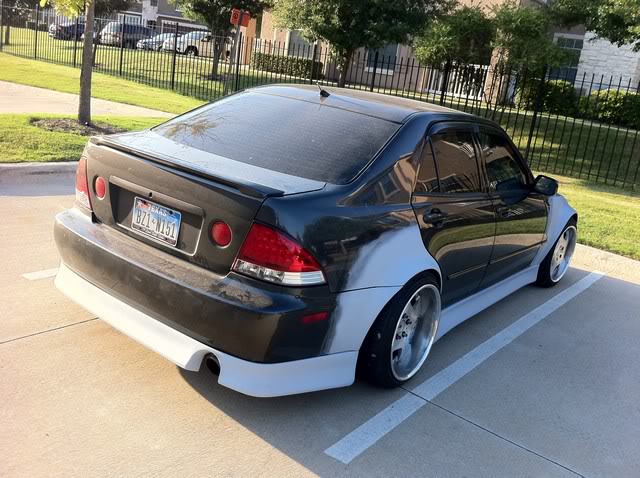
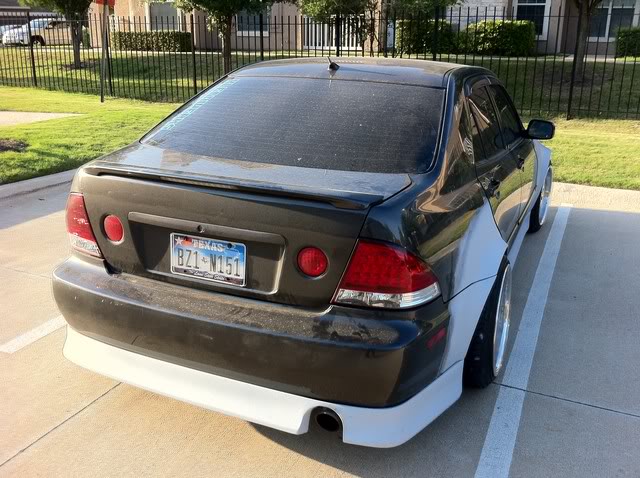
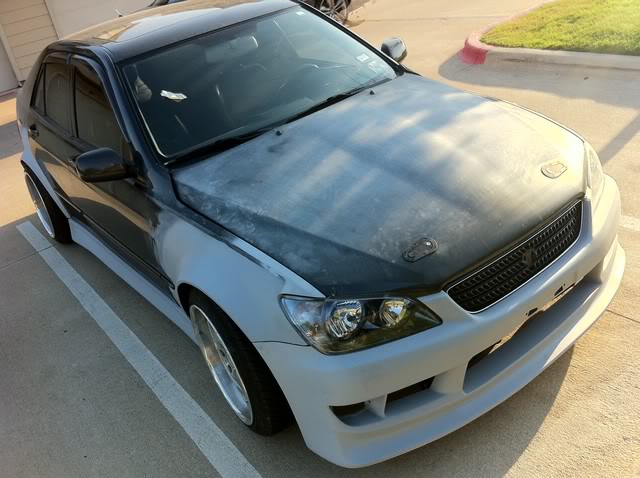
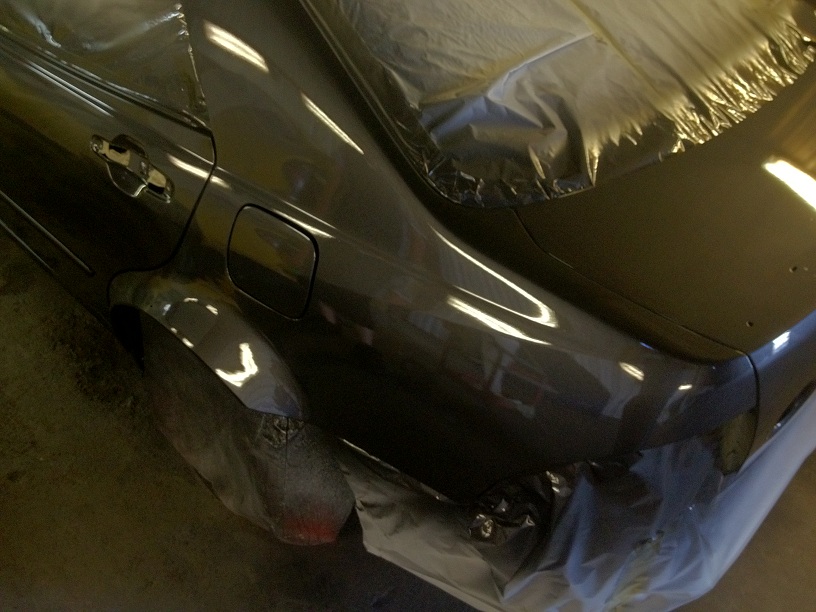
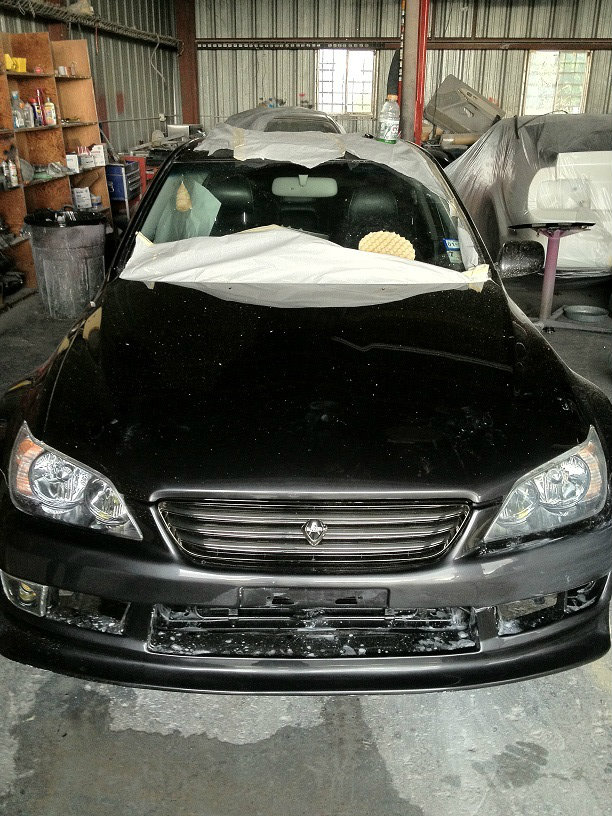
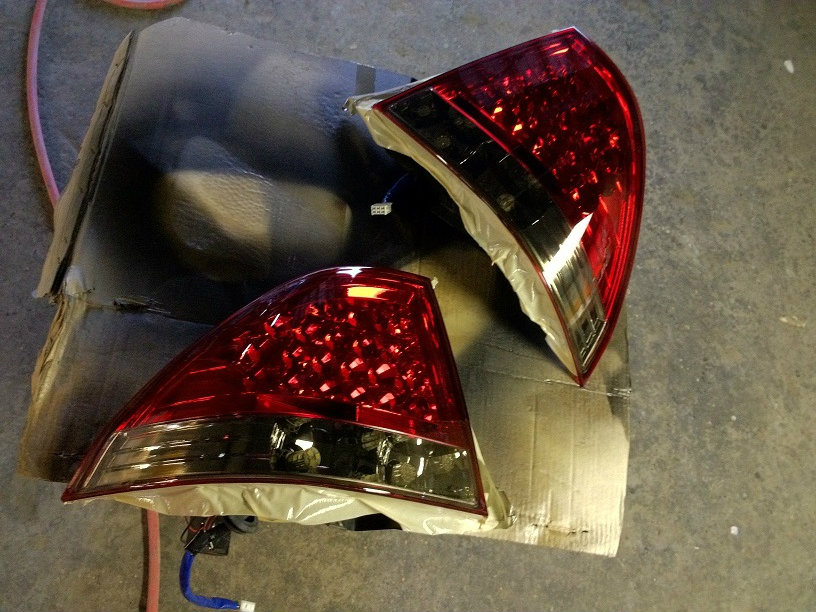
Wetsanding,buffing and a last minute decision to smoke my taillights took most of my time and here are the results.When i get my wheels in i will tune the suspension just how i want and have some final shots, but this will do for now. Thanks for the feedback.
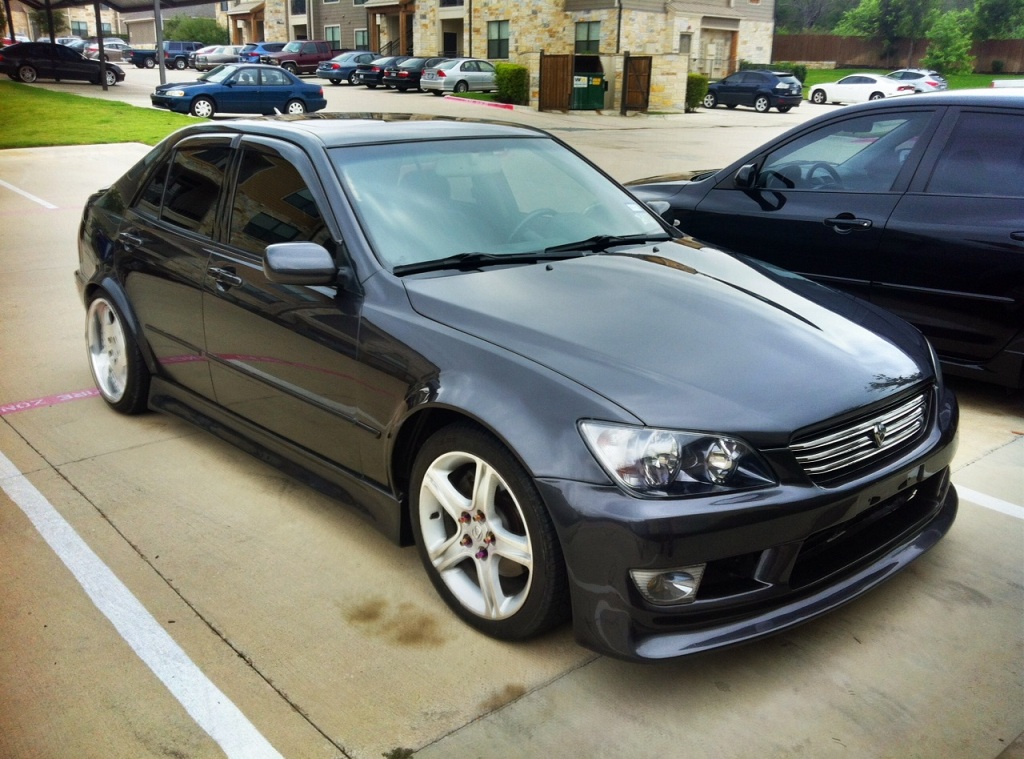
And now the rest of the car is done... i am waiting for my wheels to come back, vr is rebuilding them with a 6 inch rear and 4 inch front. Hope i can get them on and fitted by wekfest austin sept 30th
So in between drinking a large amounts of alcohol i actually got some work done.
Wetsanding,buffing and a last minute decision to smoke my taillights took most of my time and here are the results.When i get my wheels in i will tune the suspension just how i want and have some final shots, but this will do for now. Thanks for the feedback.
Trending Topics
ClubLexus Stories
Celebrating Lexus & Toyota from Around the Globe

8 Tips for Improving Your Hybrid or Plug-in Hybrid's Efficiency!
Michael S. Palmer
10 Best Lexus Models No One Remembers
Joe Kucinski
TRD Off-Road Premium: Best 2026 4Runner, Except This One Thing
Michael S. Palmer
Top 10 Lexus & Toyotas to Drive Before You Die!
Joe Kucinski
Top 10 Lexus/Toyotas With The LEAST 5-Year Depreciation
Joe Kucinski
Lexus LC500 Convertible Auction: A Preview of Rising Values?
Brett Foote
GX 550 vs TX 550: Best 3-Row Luxury Lexus Family Hauler
Michael S. Palmer
9 Best Lexus Models You Can Buy for Half Price (And 1 You Shouldn't!)
Joe Kucinski
2026 Lexus NX Buyer's Guide: Models, Features, Prices & More!
Brett Foote


ahhh YOU did ATX250's brown paint.....your work is amazing!!! Great quality and done RIGHT!!! I gotta give it to you..It's awesome! When I saw the final pics but the silver wheels, I thought....he needs some chrome to make the grey jump out a bit...then BAMMMM FAT lips!!! some interior work and motor/stereo will get you something at Wek Fest. Good luck.