
 that is really a lot of work, and nice sexy foot!


 Dec 15, 2014, 01:10 PM
Last edit by: IB Advertising
See related guides and technical advice from our community experts:
Browse all: Interior
- How do I Install Aftermarket Amplifier power wire
Step by step instructions for do-it-yourself repairs
Browse all: Interior

DIY aftermarket amp power wire install step by step with pictures

Thread Starter
Lexus Test Driver
Joined: Jun 2006
Posts: 1,047
Likes: 2
From: Hurricane Capital Of The World
I have a few memebers PM'ed me asking for pictures on my install, here are the pictures and the instruction. I apologize for the bad pictures, I did the install at 8PM and it took me like 4 hrs. I'm sure it would take at least an hour less if it was during the day
1. Disconnect the battery and remove it out of the car
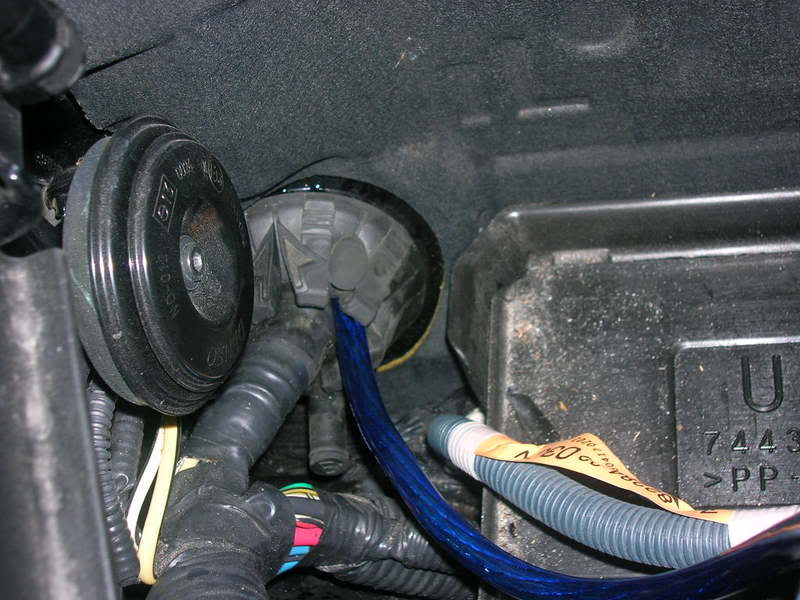
2. Use a screw driver and punch a hole into the rubber gromet and run the power wire through it.
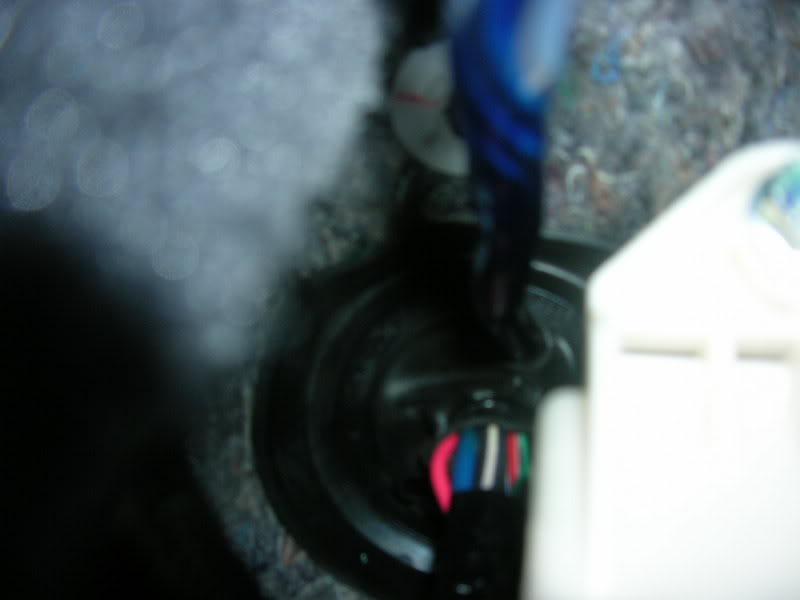
3. Remove the plastic piece underneath the glove compartment(I forgot to take a picture of it but it's easy to do). Right behind the glove compartment, you will see the other side of the rubber gromet. Use something and punch a hole through it, be careful as you do not want to cut the wires inside the gromet.
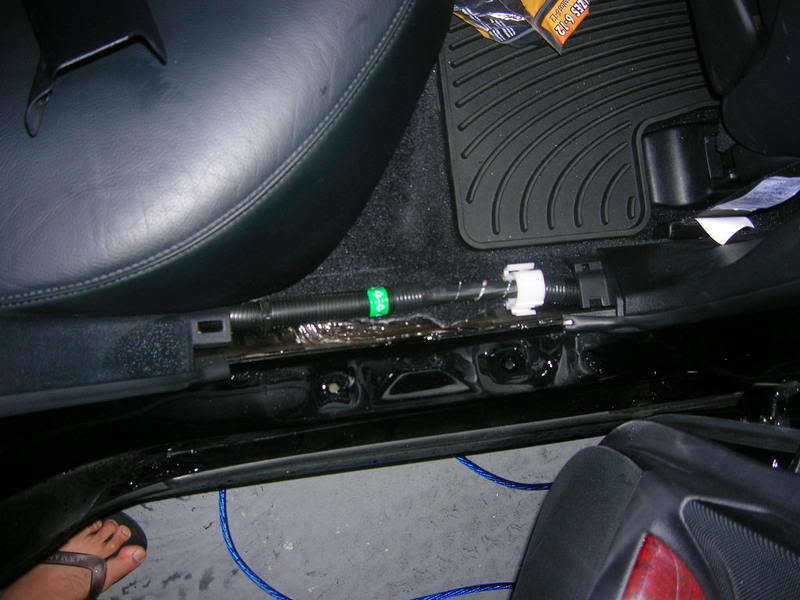
4. remove the scuff plate, just yank it up, don't be afraid of breaking it, it won't.
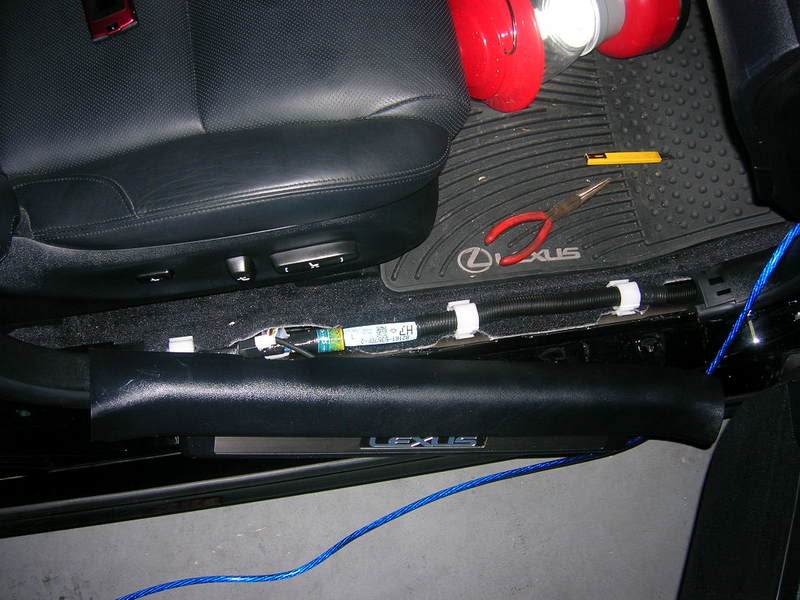
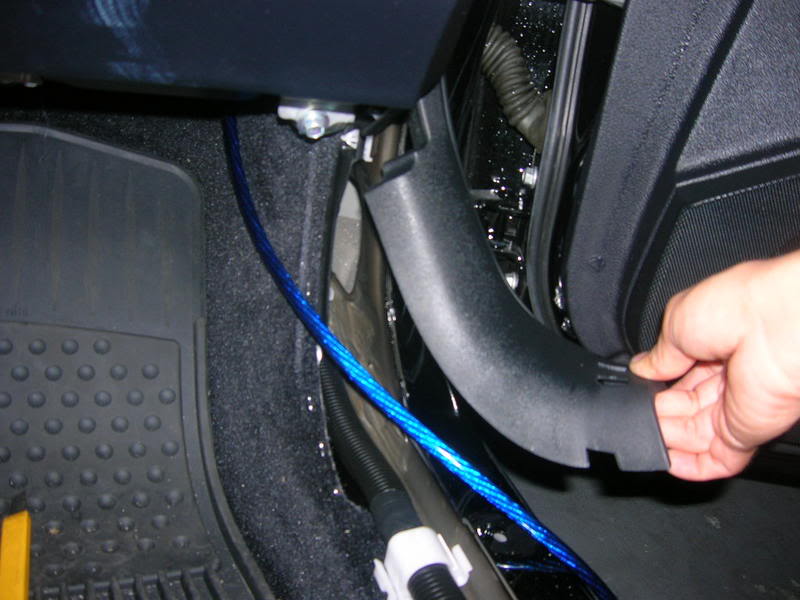
5. remove the scuff plate in the back and run the wire through from the front to back
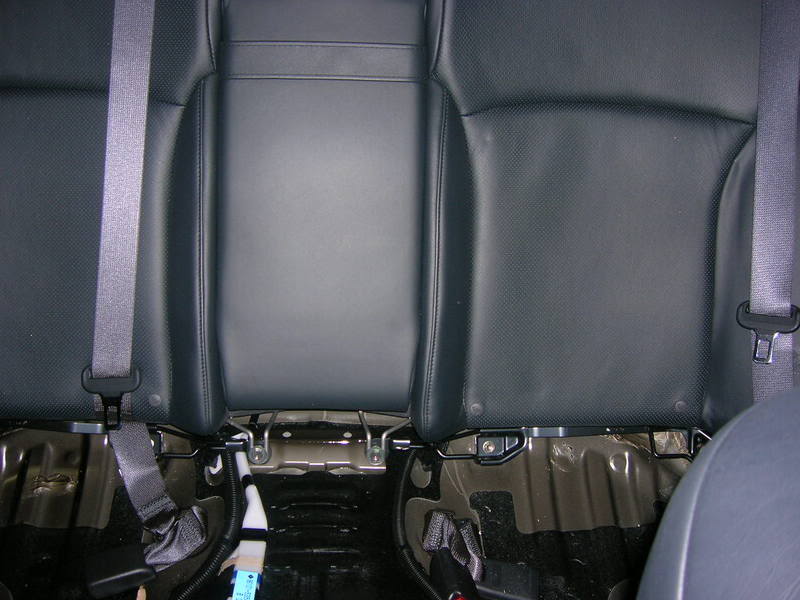
6. remove the back cushion, do it by pull it up and take it out.
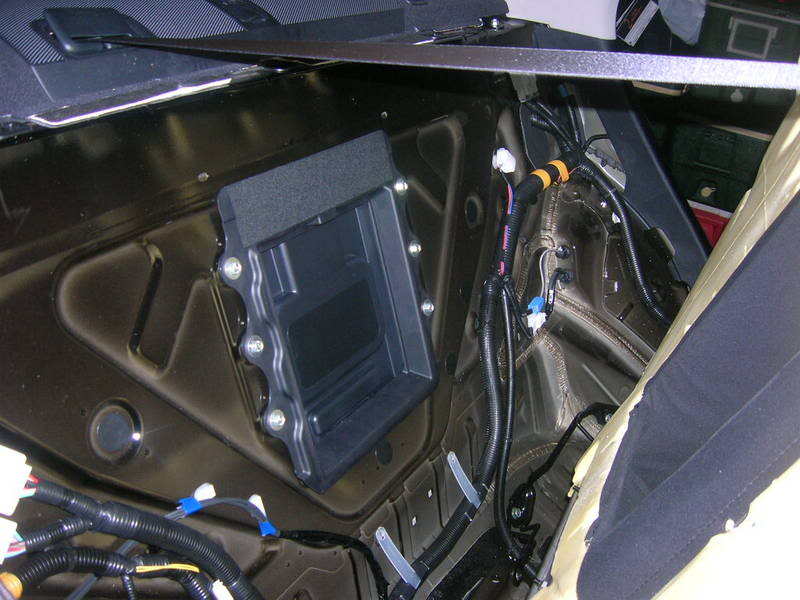
find a hole and run the wire to the back trunk. The carpet in the trunk is very easy to take out. I run all the signal wires from the stock ML amp, the stock ML amp is located at the rear corner on the passenger side.
If you have anymore questions or pic requests, PM me and I will try to take pics and post them in this thread.
1. Disconnect the battery and remove it out of the car
2. Use a screw driver and punch a hole into the rubber gromet and run the power wire through it.
3. Remove the plastic piece underneath the glove compartment(I forgot to take a picture of it but it's easy to do). Right behind the glove compartment, you will see the other side of the rubber gromet. Use something and punch a hole through it, be careful as you do not want to cut the wires inside the gromet.
4. remove the scuff plate, just yank it up, don't be afraid of breaking it, it won't.
5. remove the scuff plate in the back and run the wire through from the front to back
6. remove the back cushion, do it by pull it up and take it out.
find a hole and run the wire to the back trunk. The carpet in the trunk is very easy to take out. I run all the signal wires from the stock ML amp, the stock ML amp is located at the rear corner on the passenger side.
If you have anymore questions or pic requests, PM me and I will try to take pics and post them in this thread.
Last edited by tt061880; Jul 7, 2007 at 08:58 PM.
Thread Starter
Lexus Test Driver
Joined: Jun 2006
Posts: 1,047
Likes: 2
From: Hurricane Capital Of The World
To answer other questions over the PM. I didn't remove the stock HU. Removing the stock sub is very easy, you don't even have to remove the whole rear deck. Just remove the back seat and use screw driver to lift the back deck up. After that just put a 10mm rachet(spelling?) in there, unscrew the 4 bolts and take the stock sub out.
I will redo my wiring from the ML amp to the 500/1 to clean up the wires. I will take more pics for you guys. I will do that after work tomorow.
BTW: if you read the instruction up above and do this during the day, this shouldn't take more than 2hrs to run the wire from the front to the back. I did this in the dark at night and I never take this car apart before so it took me about 4hrs. If I have to rate it on a scale of 1-10 with 10 being the hardest, this job is about a 4.
edit: someone also asked about the remote wire, it's the ORANGE wire farthest to the back of the car. The other two bigger orange wires can also power up your amp but it would have the amp on 24/7.
Last edited by tt061880; Jul 7, 2007 at 02:02 PM.

Driver School Candidate
Joined: Apr 2007
Posts: 25
Likes: 0
From: Nevada
Pardon my french, but you are the ****ing man. So many people need to post pics like this. It is the only way we can move foward. What about pics of that LOC ( line out converter ) you installed and the pics of the low level signal for the amp, and the remote wire location?
Trending Topics
ClubLexus Stories
Celebrating Lexus & Toyota from Around the Globe

Top 10 Most Confusing Things Lexus Has Ever Done!
Joe Kucinski
2026 Lexus ES Review: Lexus Re-Embraces Founding Principles
Michael S. Palmer
10 Lexus Bargains That are Cheaper Than a New Toyota RAV4
Joe Kucinski
8 Weirdest Things Lexus Has Ever Built
Verdad Gallardo
10 Lexus Designs That Have Aged Like Fine Wine
Verdad Gallardo
8 Tips for Improving Your Hybrid or Plug-in Hybrid's Efficiency!
Michael S. Palmer
10 Best Lexus Models No One Remembers
Joe Kucinski
TRD Off-Road Premium: Best 2026 4Runner, Except This One Thing
Michael S. Palmer
Top 10 Lexus & Toyotas to Drive Before You Die!
Joe Kucinski
Thread Starter
Lexus Test Driver
Joined: Jun 2006
Posts: 1,047
Likes: 2
From: Hurricane Capital Of The World
After a few days of testing different approach to get the signals. I have decided that the Scosche 4channel LOC is the best bang for the buck, screw the cleansweep and AudioControl. Two channel LOC would work but 4 channel works better, here are the reasons why.
The ML amp put a lot of power into the sub, I know this for a fact because when I switching the input the signals from the sub and the front door woofer, I noticed that the sub signal is significantly higher. If you have a 2 channel LOC, you can use one for the sub and one for the front door woofer. You must then adjust the input level from the stock sub lower to match with the front woofer.
I also tested the signals from the two front woofers, they carry a lot of midbass. If you have signal from either one of the front woofer, the signal is only half compare to using both(I achieved this by using a Y RCA cable).
The best solution I found is SUM up the two front woofer to one channel and the subwoofer on a channel by itself. By doing it this way, the setup sounds SO MUCH better than before. I can actually listen to the lows without getting a headache like it was before
Also, although the wires going into the rear door is full range, the ML amp barely send any wattages in there. It isn't worth getting the signal from the rear speakers so you can can ignore it.
here are the pictures
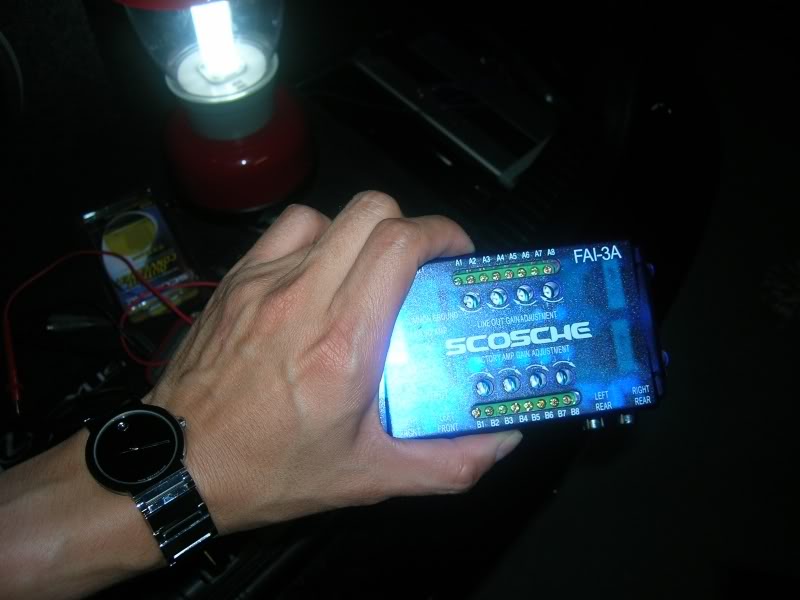
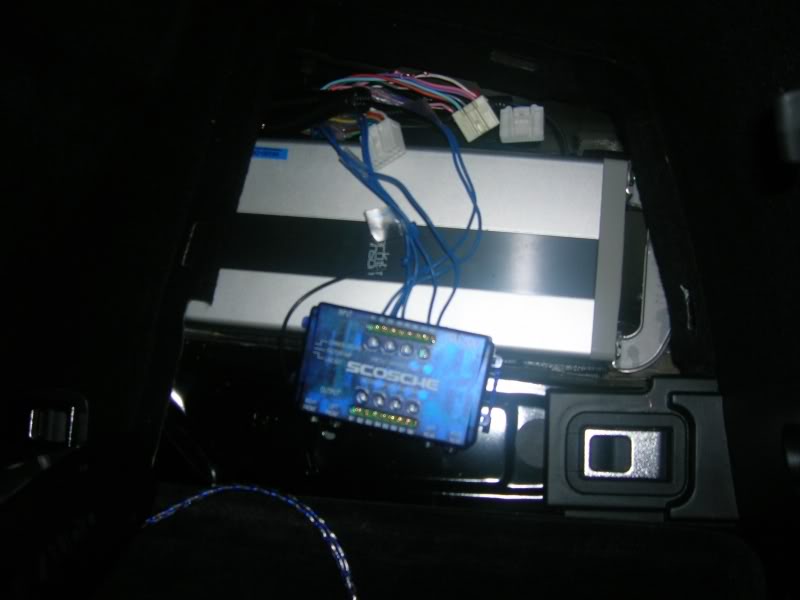
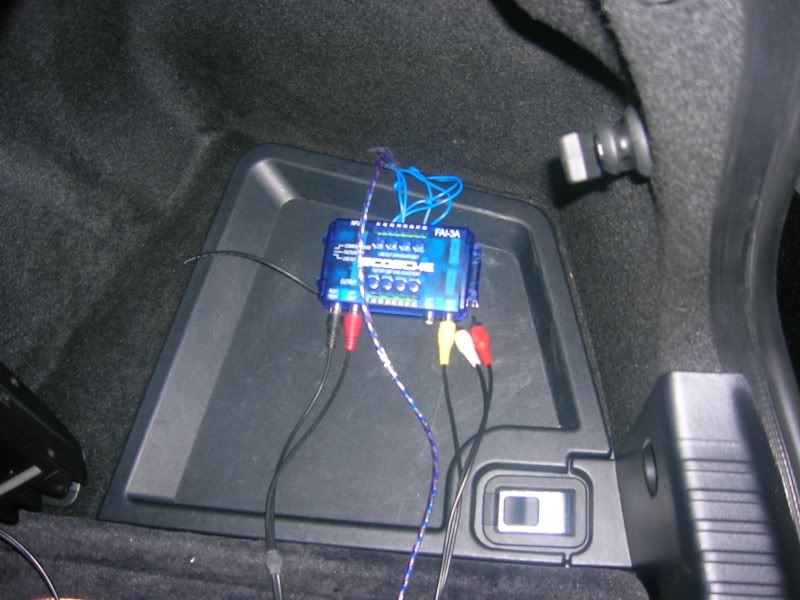
the Scosche LOC I used, got it from Wally World for $17.99, with 90 return policy LOL
the ML location, rear corner on passenger side
subwoofer wires to tap from, BROWN(+) and LIME GREEN(-), the NON ML version has two pairs, BROWN & LIME GREEN and PINK(+) SKY BLUE(-)
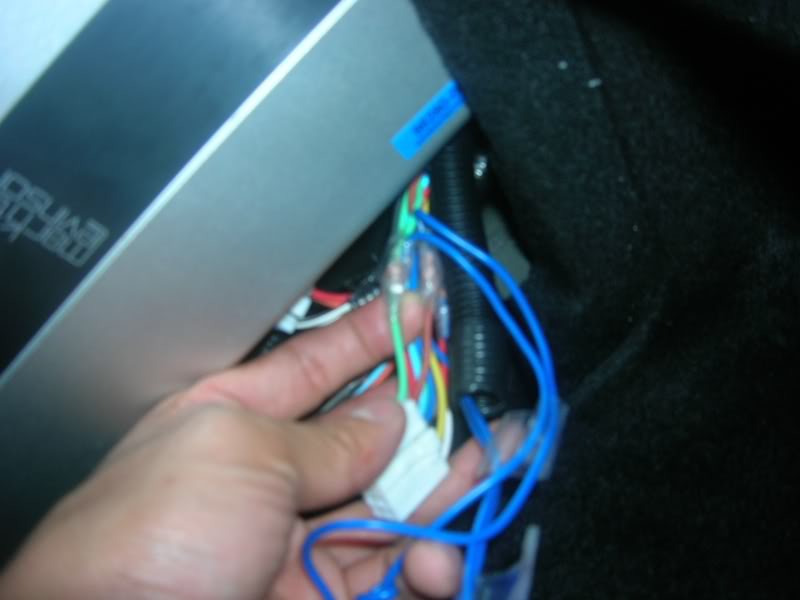
right front woofer, PINK(-) and BROWN(+)
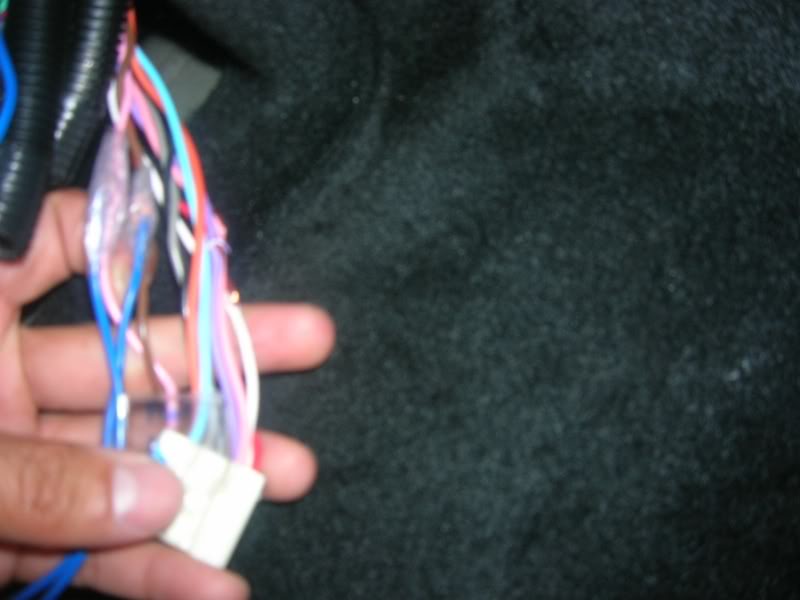
left front woofer, RED(-)and WHITE(+)

remote wire, it's the last PINK wire farthest to the back
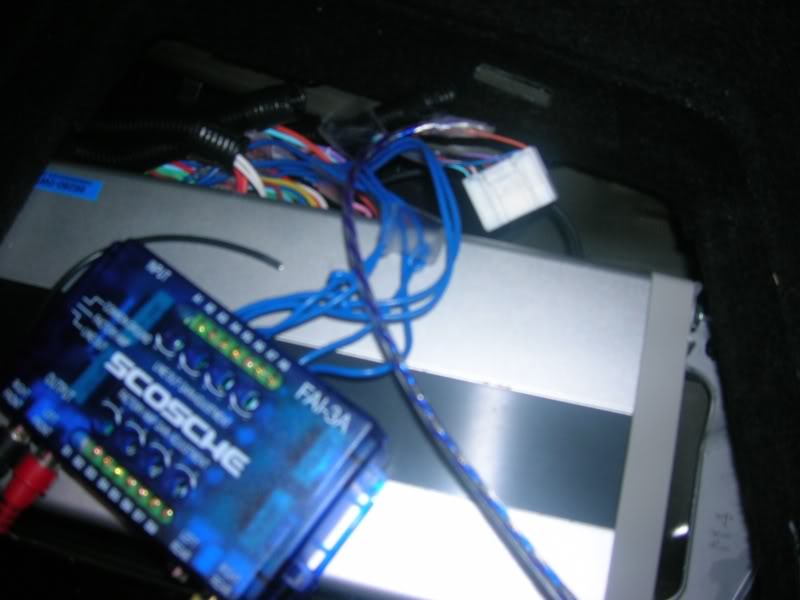
after everything is in place
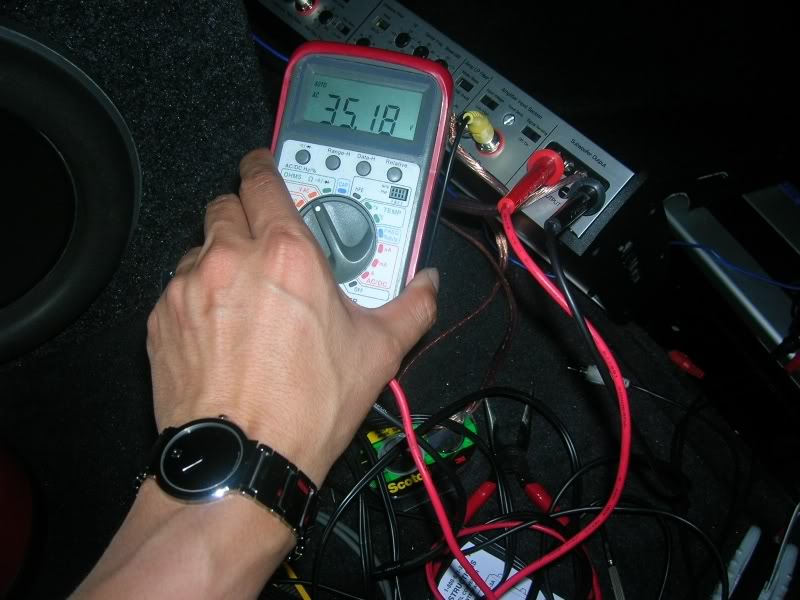
time to set the gain, I went below the JL recommendation, around 35v. They recommened 38v for best result, no clipping. Here's the link to the instruction http://mobile.jlaudio.com/support_pages.php?page_id=143
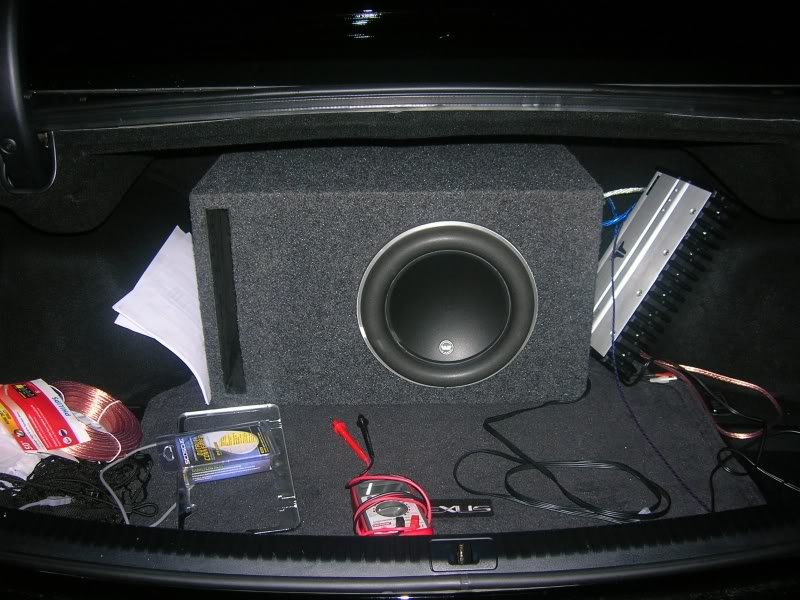
and DONE!
The ML amp put a lot of power into the sub, I know this for a fact because when I switching the input the signals from the sub and the front door woofer, I noticed that the sub signal is significantly higher. If you have a 2 channel LOC, you can use one for the sub and one for the front door woofer. You must then adjust the input level from the stock sub lower to match with the front woofer.
I also tested the signals from the two front woofers, they carry a lot of midbass. If you have signal from either one of the front woofer, the signal is only half compare to using both(I achieved this by using a Y RCA cable).
The best solution I found is SUM up the two front woofer to one channel and the subwoofer on a channel by itself. By doing it this way, the setup sounds SO MUCH better than before. I can actually listen to the lows without getting a headache like it was before
Also, although the wires going into the rear door is full range, the ML amp barely send any wattages in there. It isn't worth getting the signal from the rear speakers so you can can ignore it.
here are the pictures
the Scosche LOC I used, got it from Wally World for $17.99, with 90 return policy LOL
the ML location, rear corner on passenger side
subwoofer wires to tap from, BROWN(+) and LIME GREEN(-), the NON ML version has two pairs, BROWN & LIME GREEN and PINK(+) SKY BLUE(-)
right front woofer, PINK(-) and BROWN(+)
left front woofer, RED(-)and WHITE(+)
remote wire, it's the last PINK wire farthest to the back
after everything is in place
time to set the gain, I went below the JL recommendation, around 35v. They recommened 38v for best result, no clipping. Here's the link to the instruction http://mobile.jlaudio.com/support_pages.php?page_id=143
and DONE!
Last edited by tt061880; Jun 15, 2008 at 05:08 PM.
Racer


Joined: Aug 2006
Posts: 1,883
Likes: 5
From: DC
Excellent post!!! You have provided some incredibly useful information for ML owners who would want to add a subwoofer. I am going to do some experimenting of my own with this Scosche product... I thought my only options were the cleansweep, so I didn't want to spend the $250 or whatever it is to buy one... But $16.99 sounds about right! 
Thanks again!
Thanks again!


