Lexus: How Do I Install Aftermarket Amplifier Power Wire?
Route a power wire for an amplifier through a Lexus quickly and safely with these tips.
This article applies to Lexus IS, GS, ES, RX (2004-2013).
Installing a new power wire for an after market amplifier in your Lexus IS is a moderately difficult do-it-yourself project. By installing this new wire, you will be able to both upgrade your Lexus' amplifier system, and install new speaker options that were not available with the OEM system. While the installation isn't particularly technical, there is a need for caution due to working with the electrical system. Observe common-sense safety (meaning, don't touch a live wire) and this installation will be a breeze.
This example was performed on a Lexus IS, but the steps will largely be the same on all Lexus models.

Materials Needed
- Socket wrench set
- Screwdriver
- Coat hanger
Step 1 - Remove the car battery
- First, use a wrench to undo the battery harness. Then disconnect the negative battery terminal (the black one) followed by the positive battery terminal (the red one).
- Remove the battery from your Lexus IS. Note that you are working with a live battery, so please take precautions to ensure that you do not injure yourself.

Pro Tip
By removing your battery, you will lose all of your preset audio selections on your radio, as well as the preset seat positions in your Lexus. Therefore, you may want to set up an auxiliary battery outside of your car and attach it to the power cables; this will keep battery power to your car during this project and preserve your settings.
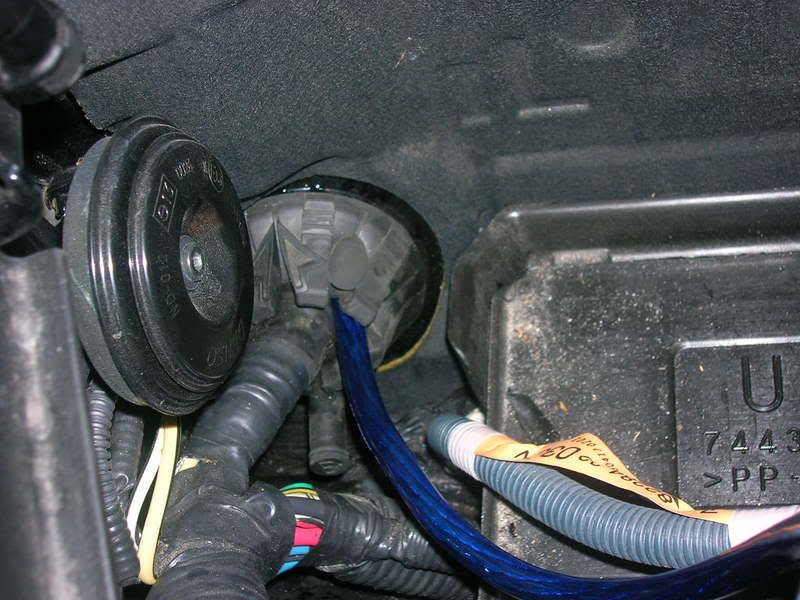
Step 2 - Punch hole in rubber wiring grommet
- Removing the car battery will expose a black rubber grommet stuffed with other power cords heading towards the cabin. Take a screwdriver and punch a small hole in the rubber grommet for routing the power cord. Be careful not to clip or cut any of the existing wires that are currently fed in to your Lexus.
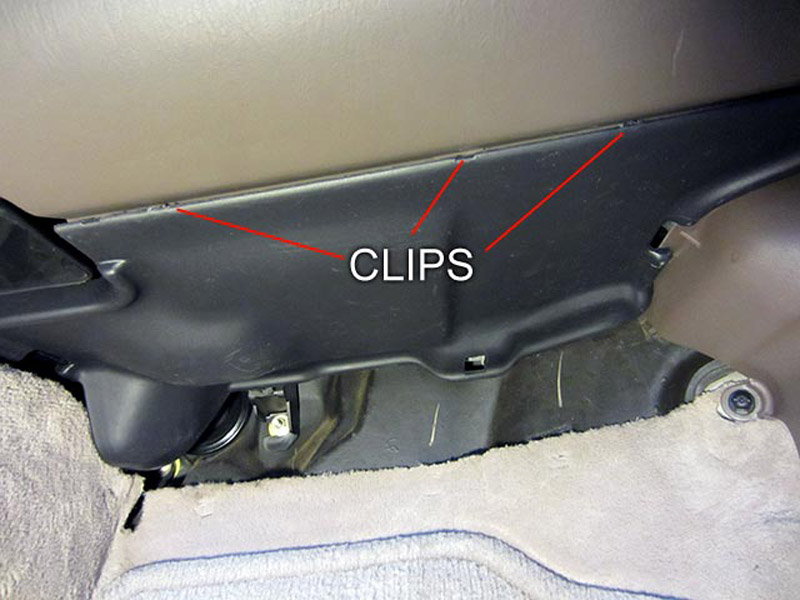
Step 3 - Remove glove box trim panel
- Remove the interior panel directly below your glove box in order to gain access to the rubber grommet from the interior side. To remove the panel, gently pinch the clips that hold the panel in and pull down.
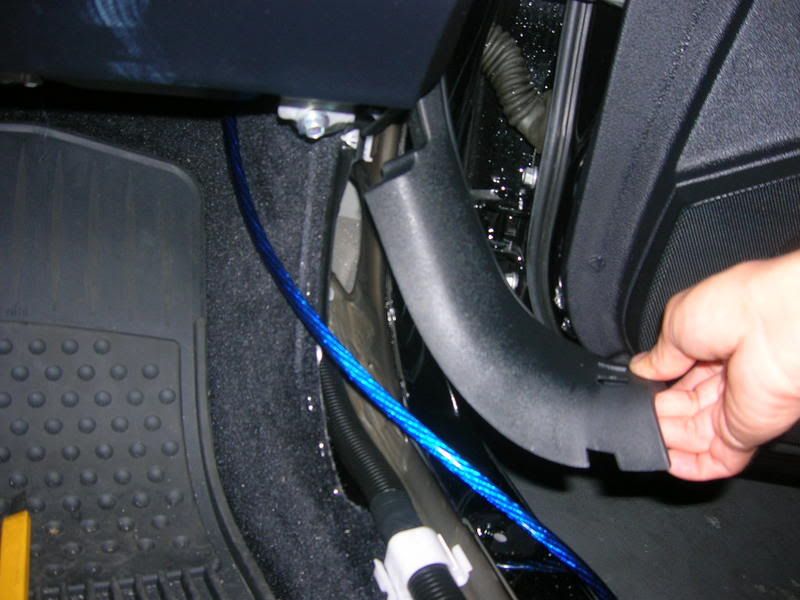
Step 4 - Remove passenger side scuff panels
- Gently use a screwdriver to pry off the scuff panels on the passenger side of the Lexus, front and rear. Removing the panels will expose several wires and connectors that run the length of the vehicle.

Step 5 - Feed power cable into engine bay
- Attach your new power cord to an unraveled wire hanger and feed it through the new hole made in the rubber grommet.
- After inserting it, go back underneath the glove box and pull the cord through. Feed the cord through the channels that were underneath the scuff panels.
- Re-install the scuff panels when finished.
Pro Tip
If the amplifier wire has exposed copper wiring, cover it with tape to keep it from getting stuck on anything. This will also reduce the likelihood of being shocked accidentally. Safety first!
Step 6 - Route wiring to trunk
- The rear seat cushions are held in by a hook as illustrated below. To remove them, lift up on the seat near the hook. It might take a little wiggling to release the hook.

- Remove the rear seat back. It's held in place with four bolts along the bottom. Remove those bolts and lift the seat back up and forward to access the rear panel. There are several holes leading into the truck, so choose the one closest to where the amp will be mounted.
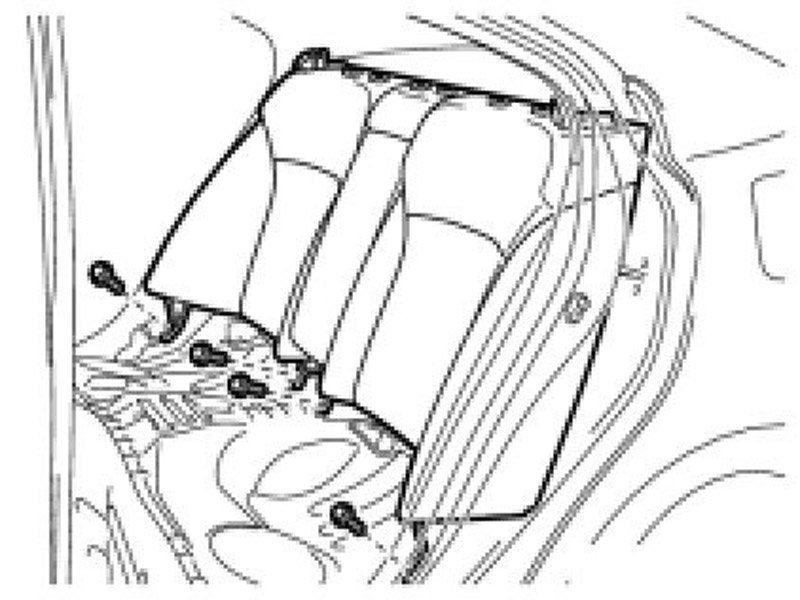
Figure 7. Bolt locations. 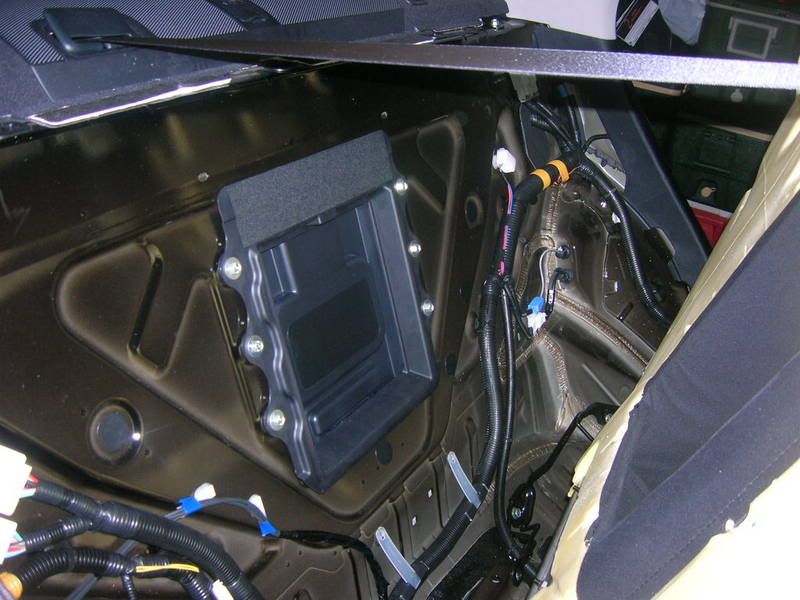
Figure 8. Lifting the seat forward.
- Locate the clips that are holding in your rear speaker covers in the trunk of your Lexus and remove the cover. Locate the rubber grommet that is feeding the wires from the interior into the trunk.
- Remove the upper trunk panel next. It's held in place by two clips and three retainers. Remove the clips with the small flathead screwdriver. Remove the retainers by simply pulling them out.
- Now, pull it off its hangers and out of the trunk.
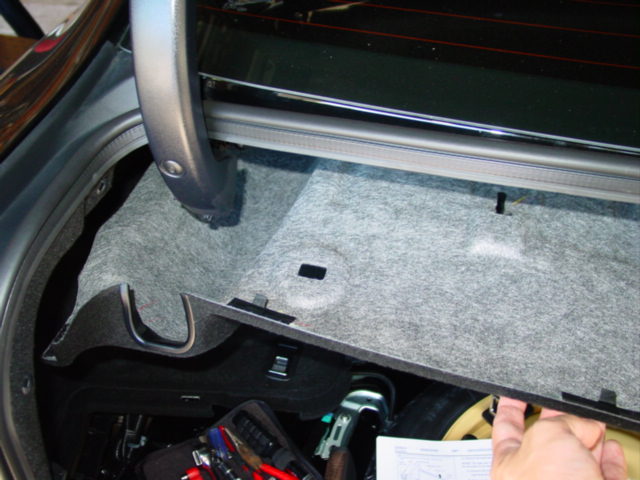
Figure 9. Remove upper trunk panel. 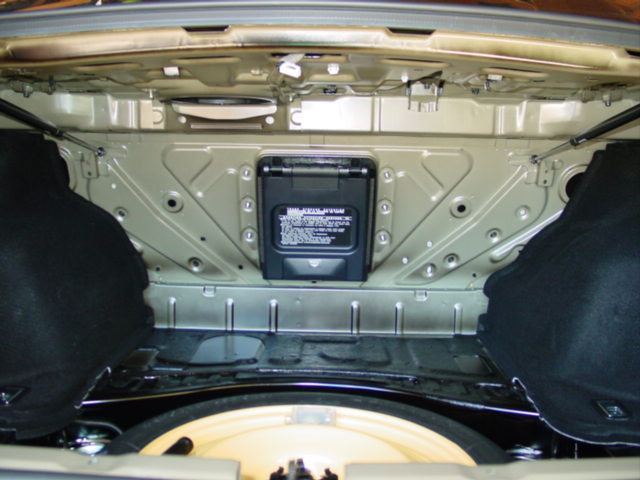
Figure 10. Panel removed from trunk.
Step 7 - Feed the new power cord into the trunk
- Using the same wire hanger method, feed the new power cord into the trunk of your Lexus, you will then have the ability to attach the new cord to your new amplifier as needed.
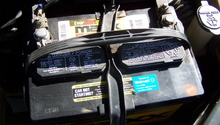
Step 8 - Re-install the car battery
- Place the battery back in its tray and re-install the battery bracket. Do not reconnect the battery cables yet.
Step 9 - Attach the new power cord to the car battery
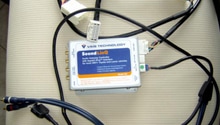
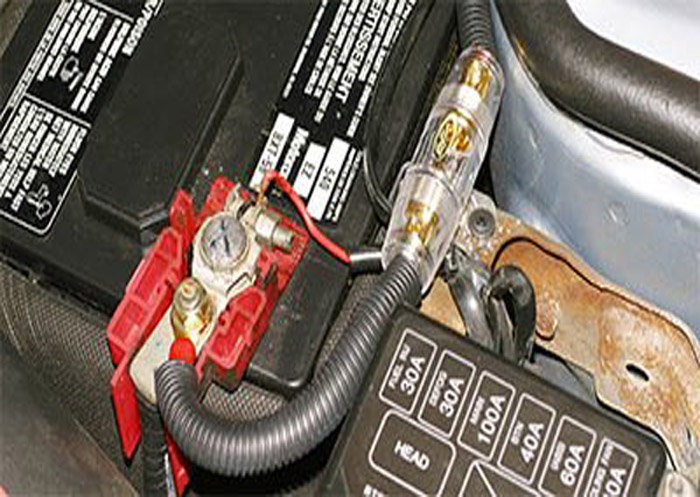
- Attach the new power cord to the re-installed car battery. The power cord kit should've come with a fuse as well. Don't forget to install the fuse. Without it, there's a much higher chance that an electrical hiccup will fry the amplifier. Please be careful after this point, as you will be working with a live wire.
- Secure the new power cord to the positive battery terminal with clamps. Power cord kits come with these, but they can be purchased at an auto parts store. Be certain to double check that the new power cord is not loose or near any moving parts in the engine.
Featured Video: How to Install Aftermarket Amplifier Power Wire in Lexus
Related Discussion
- Second Generation IS 250 Amp Wire Installation - ClubLexus.com