Lexus IS: How to Replace OEM Fog Light Bulbs with Aftermarket Bulbs
Replacing the OEM fog light bulbs is a common and great modification for the Lexus IS. Here is how to do it yourself.
This article applies to the Lexus IS (2005-2013).
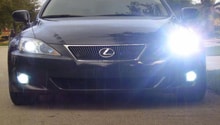
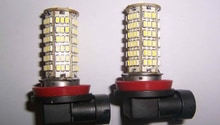
Replacing the fog light bulbs is a great way to accomplish a modified look on the Lexus IS. Here is how to replace the OEM fog light bulbs with aftermarket ones.

Materials Needed
- Flat head screwdriver
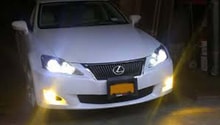
Step 1 - Install the driver side fog light bulb
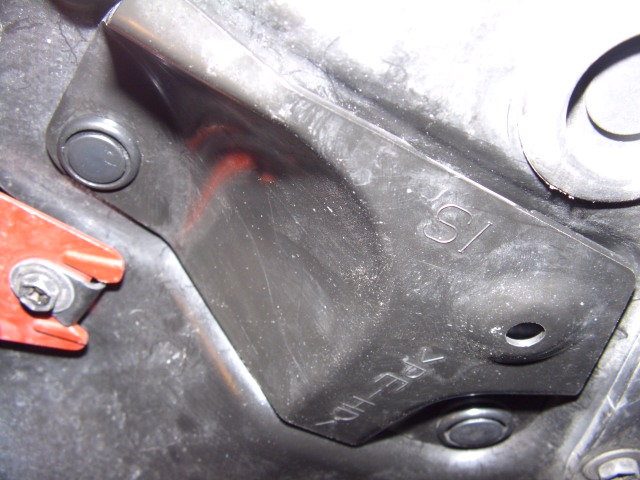
Remove the cover gain to access the driver's side fog light bulb. Twist the bulb and pull it out, then install the new one in its place.
Pro Tip
Be careful not to touch the glass part of the bulb with your fingers, or scratch it. This could cause premature failure of the bulb.
Step 2 - Replace the passenger side fog light bulb
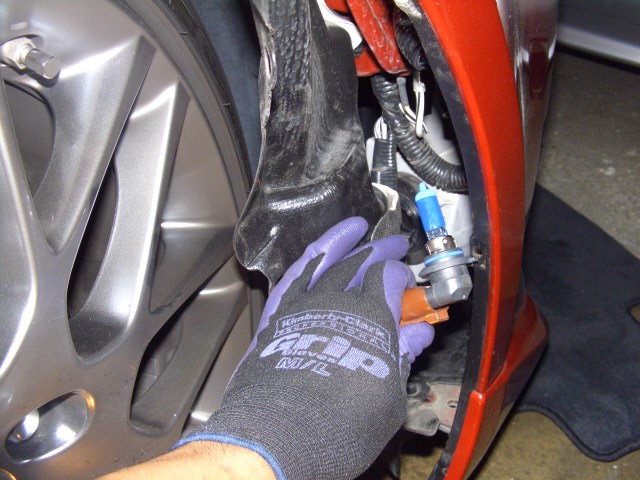
First, turn the wheel all the way to the left to get your tire out of the way. Locate the two clips that look like screws and remove them by turning them counter clockwise 90 degrees. Use your screwdriver to carefully separate the black plastic fender well liner from the bumper. When you pull the liner back, you will see the back part of the fog light. Remove the bulb from the housing and unplug the connector, then plug in the new bulb and screw it back into the housing. Replace the liner and clips.
Step 3 - Finishing up
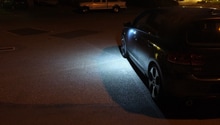
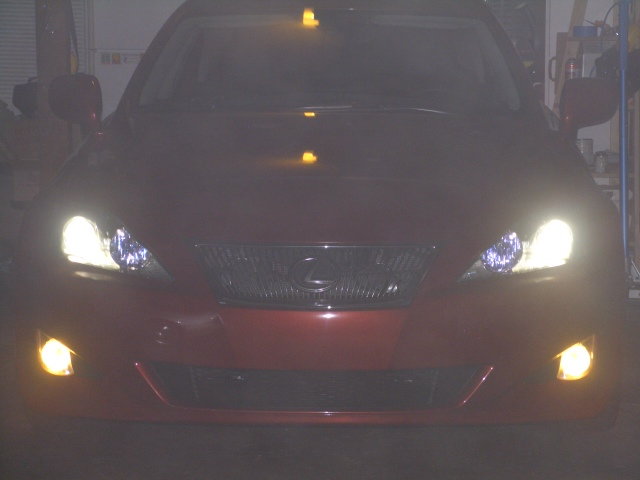
You can re-install everything before testing out your new shiny lights, although it's preferred to do so before buttoning everything back up. Make sure your lights are good to go before you head out in the foggy night to show them off.
Related Discussions
- Taking the Mystery out of Fog Light DIY - ClubLexus.com
- Fog Light Bulb Replacement Question - ClubLexus.com
- 2nd Gen GS Fog Light Bulb Replacement - ClubLexus.com