Lexus IS: How to Replace Your Tail Light Assembly
Here is how to replace the tail light assembly on the Lexus IS.
This article applies to the Lexus IS (2005-2013).
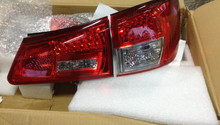
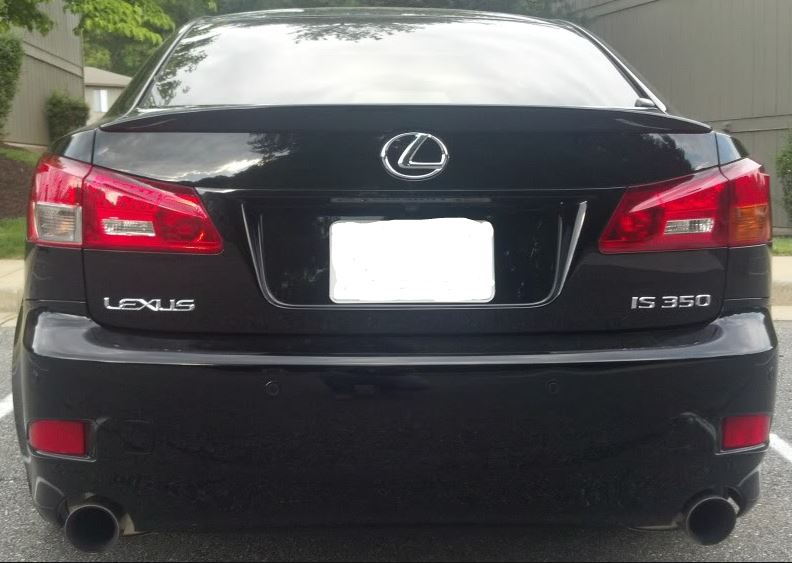
Swapping out the rear tail light assembly is much easier than it sounds. It is a very popular modification for the Lexus IS that doesn't cost a lot of money, yet changes the look of the car completely. Here is how to do it yourself in an hour or less.

Materials Needed
- Large flat head screwdriver
- Small flat head screwdriver
- 10mm socket and ratchet
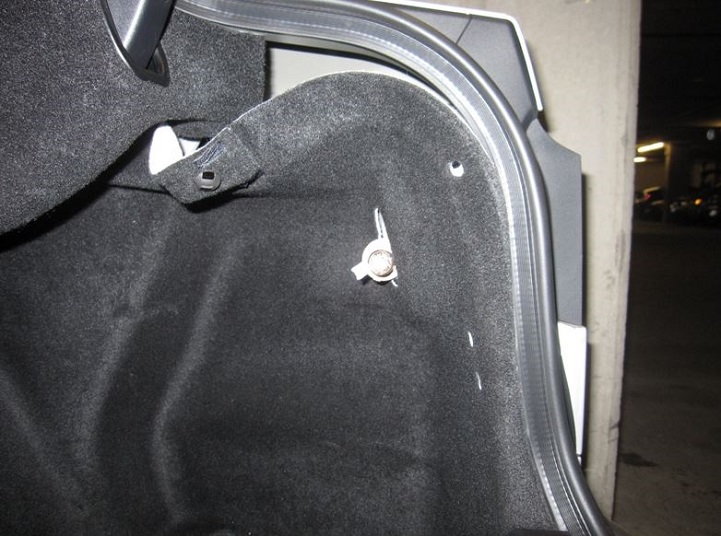
Step 1 - Remove the trunk liner
Use the small flat head screwdriver to pop out the plastic rivets holding the trunk liner in place. Pull back the trunk liner to get access to the tail light.
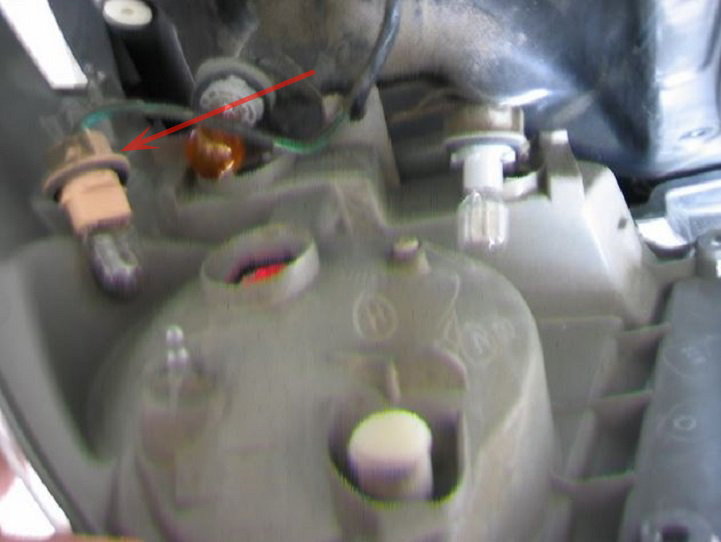
Step 2 - pull out the tail lights from the assembly
Pinch in the small connector and pull out the light bulbs from the rear of the tail light assembly.
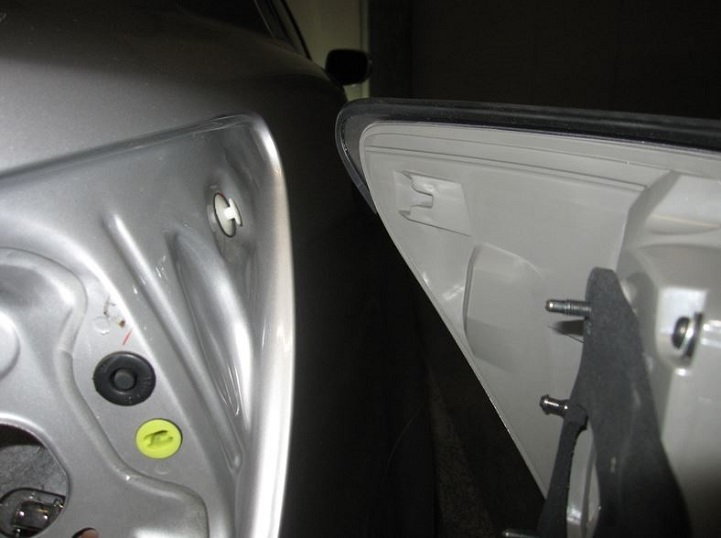
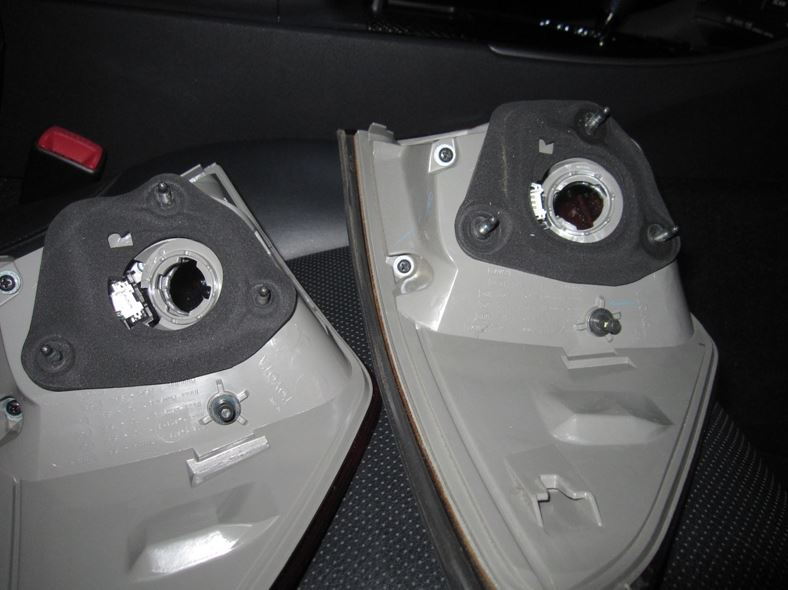
Step 3 - Remove the tail light assembly
There are three 10mm bolts holding the rear tail light assembly in place. Carefully remove the bolts and set them aside. Push on the three stems that the bolts were screwed onto in order to loosen up the assembly. From outside the car, pull the assembly out with enough force to pop through the white retention clip that holds the assembly in place.
Step 4 - Swap the tail light harness out with the new one
Use the small flat head screwdriver and slide it in the little gap to release the connector tab. Pop the tab out and then pull the harness out at the same time. The assemblies will likely have different connectors which is why you need to replace the harness.
Step 5 - Replace the new assemblies
Insert the new assemblies back into the vehicle, pay attention to how the retention clip goes into the backside of the assembly. Replace the bulbs back into the assembly and re-bolt the 10mm screws in place. Return the trunk liner and attach with the clips.
Featured Video: Tail Light Removal
Related Discussion
- DIY: IS-F & 2009 Tail Light Replacement - ClubLexus.com