Lexus IS: How to Install IS-F Tail Lights
Here is a step-by-step guide to replacing the IS-F tail light on your Lexus IS.
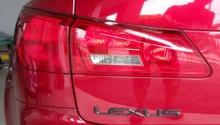
This article applies to the Lexus IS (2005-2013).
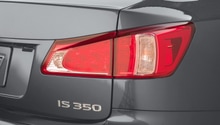
Replacing an IS-F tail light on your Lexus IS could be very costly if you go to the dealership. However, doing it yourself is quite simple. Follow the instructions below and you will have a new tail light in 20 minutes.

Materials Needed
- 10mm socket wrench
- Phillips flat head screwdriver
- IS-F tail light
- Turn signal light
Step 1 - Remove plastic tabs
A flat head screwdriver will help take off the plastic tabs that keep the trunk liner in place.

Pro Tip
There is a chance you may damage the plastic tabs. Firmly push the flat head screwdriver into the tab when removing them.
Step 2 - Remove grocery net hook
Use a 10mm socket to take out the screw and remove the hook on the grocery net.
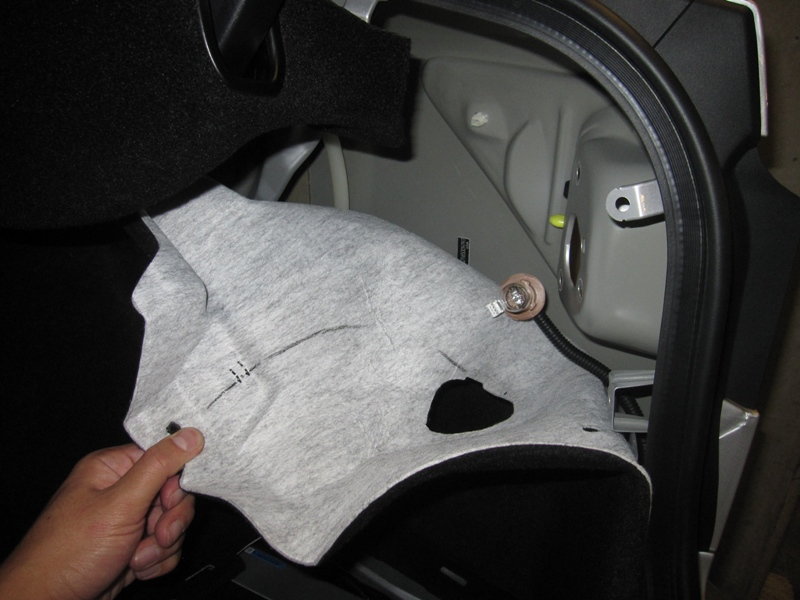
Step 3 - Peel off trunk liner
Peel off the trunk liner to access the back area of the outer tail lights.
Pro Tip
The IS-F tail lights are a replacement for the outer lights. It is not necessary to touch the inner lights. Try not to bend the liner when peeling it off to avoid creating permanent creases.
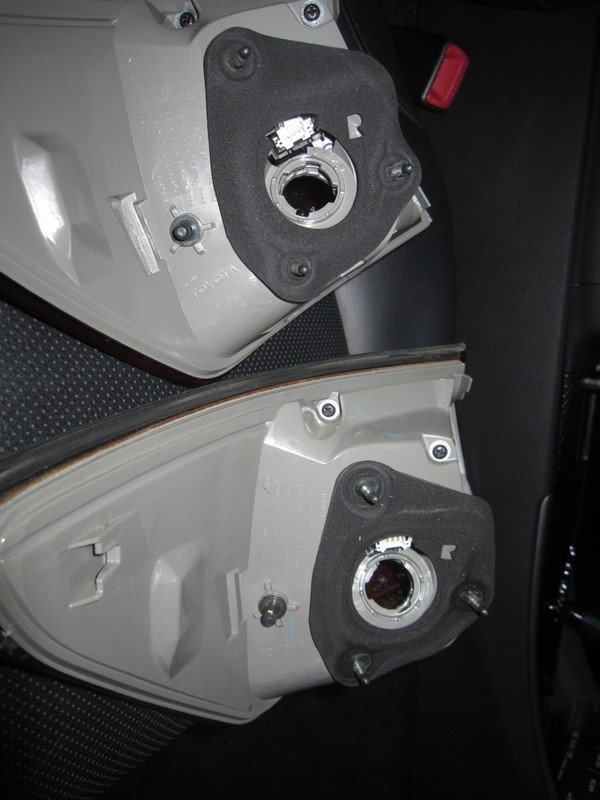
Step 4 - Remove bulb assembly
Turn the bulb assembly and remove it from the back area of the tail light. Pinch and pull the small connector to disconnect it.
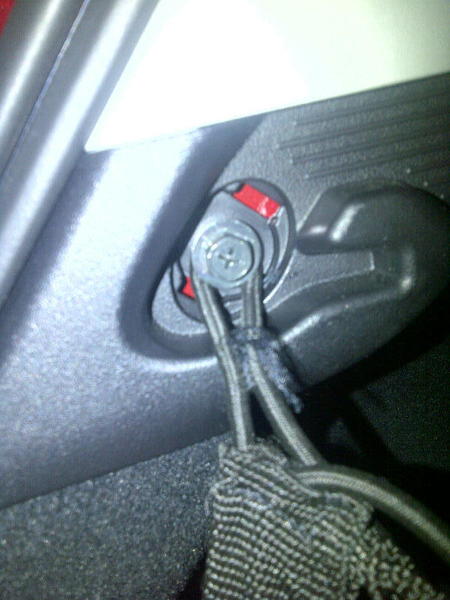
Step 5 - Remover outer tail light
Remove the outer tail light assembly by pushing on each rod attached to the nut. This will help with loosening the part to be able to pull the assembly out from the car.
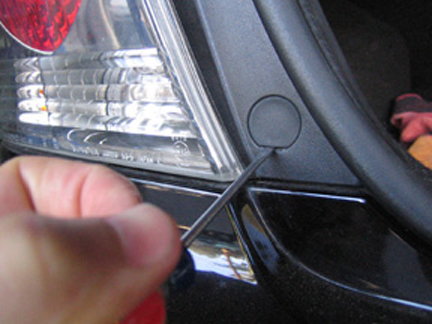
Figure 4. Remove rod and nut. 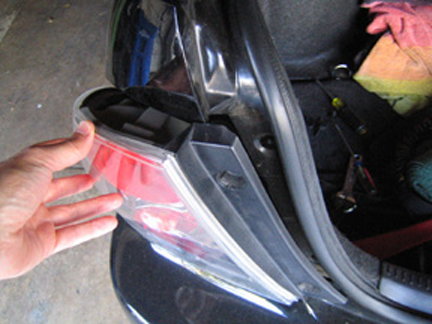
Figure 5. Remove light.
Pro Tip
Do your best to avoid losing the nuts during step 5. You will need them to complete the rest of the work.
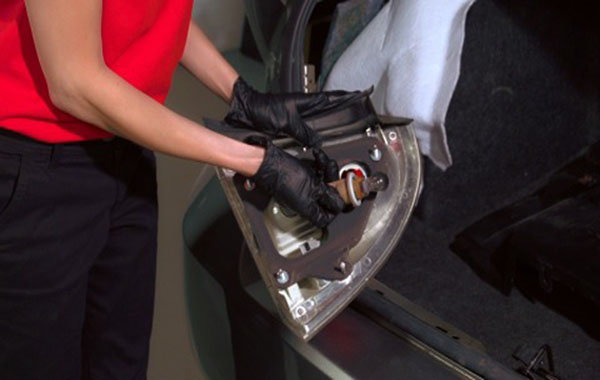
Step 6 - Replace OEM harness with IS-F tail light
It's recommended that a second person assists with this step, as this may be a difficult task. Insert a flathead screwdriver in the gap to untighten the connector tab. A screwdriver will help remove the tab. Replace the harness with the IS-F tail light.
Pro Tip
In the corner, you will find a small clip. Pull the clip hard until it comes out.
Step 7 - Replace IS-F tail light and signal bulb
Push the IS-F tail light assembly you purchased into place. Twist the new signal bulb in and attach the tiny connector.
Related Discussion
- DIY: IS-F & 2009+ Tail Light Installation - ClubLexus.com