Lexus RX: How to Replace Thermostat
The thermostat regulates when coolant flows through the radiator. If there's enough coolant but the Lexus RX still overheats, a leaky thermostat might be the issue.
This article applies to the Lexus RX (2007-2014).
An overheating engine can be one of the most damaging conditions a car will experience. When the engine runs too hot, the seals and gaskets around key components can warp and fail, leading to the failure of other critical components. A faulty thermostat can force the engine to overheat by preventing coolant from flowing through the radiator. Fixing and replacing a faulty one is easy and will save a considerable amount of time and money compared to leaving the job to a mechanic.

Materials Needed
- Ratchet
- 13-inch extension
- 8-inch extension
- Cheater bar
- Various hand tools
- Coolant
Step 1 - Remove serpentine belt and various engine covers
In order to reach the thermostat on the Lexus RX, remove the serpentine belt first. After the belt is removed, remove the necessary plastic covers the reach thermostat, which are identifiable by following the radiator pipe that goes into the engine.
(Related Article: How to Replace Serpentine Belt - ClubLexus.com

Pro Tip
To best remove the belt, remove the front tire. This makes it easier than going through the engine compartment.
Step 2 - Locate thermostat
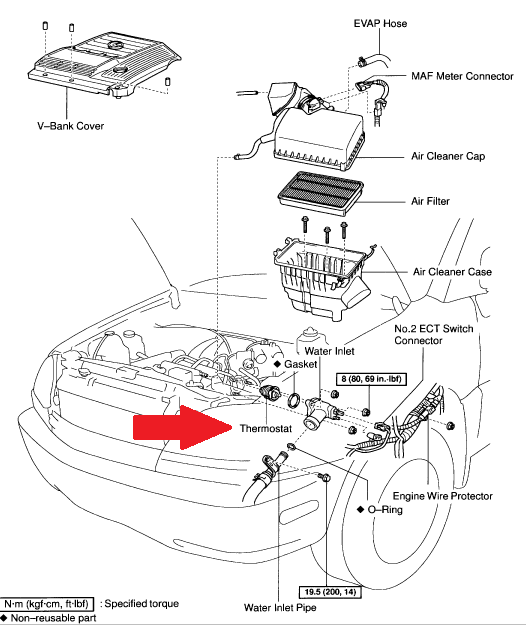
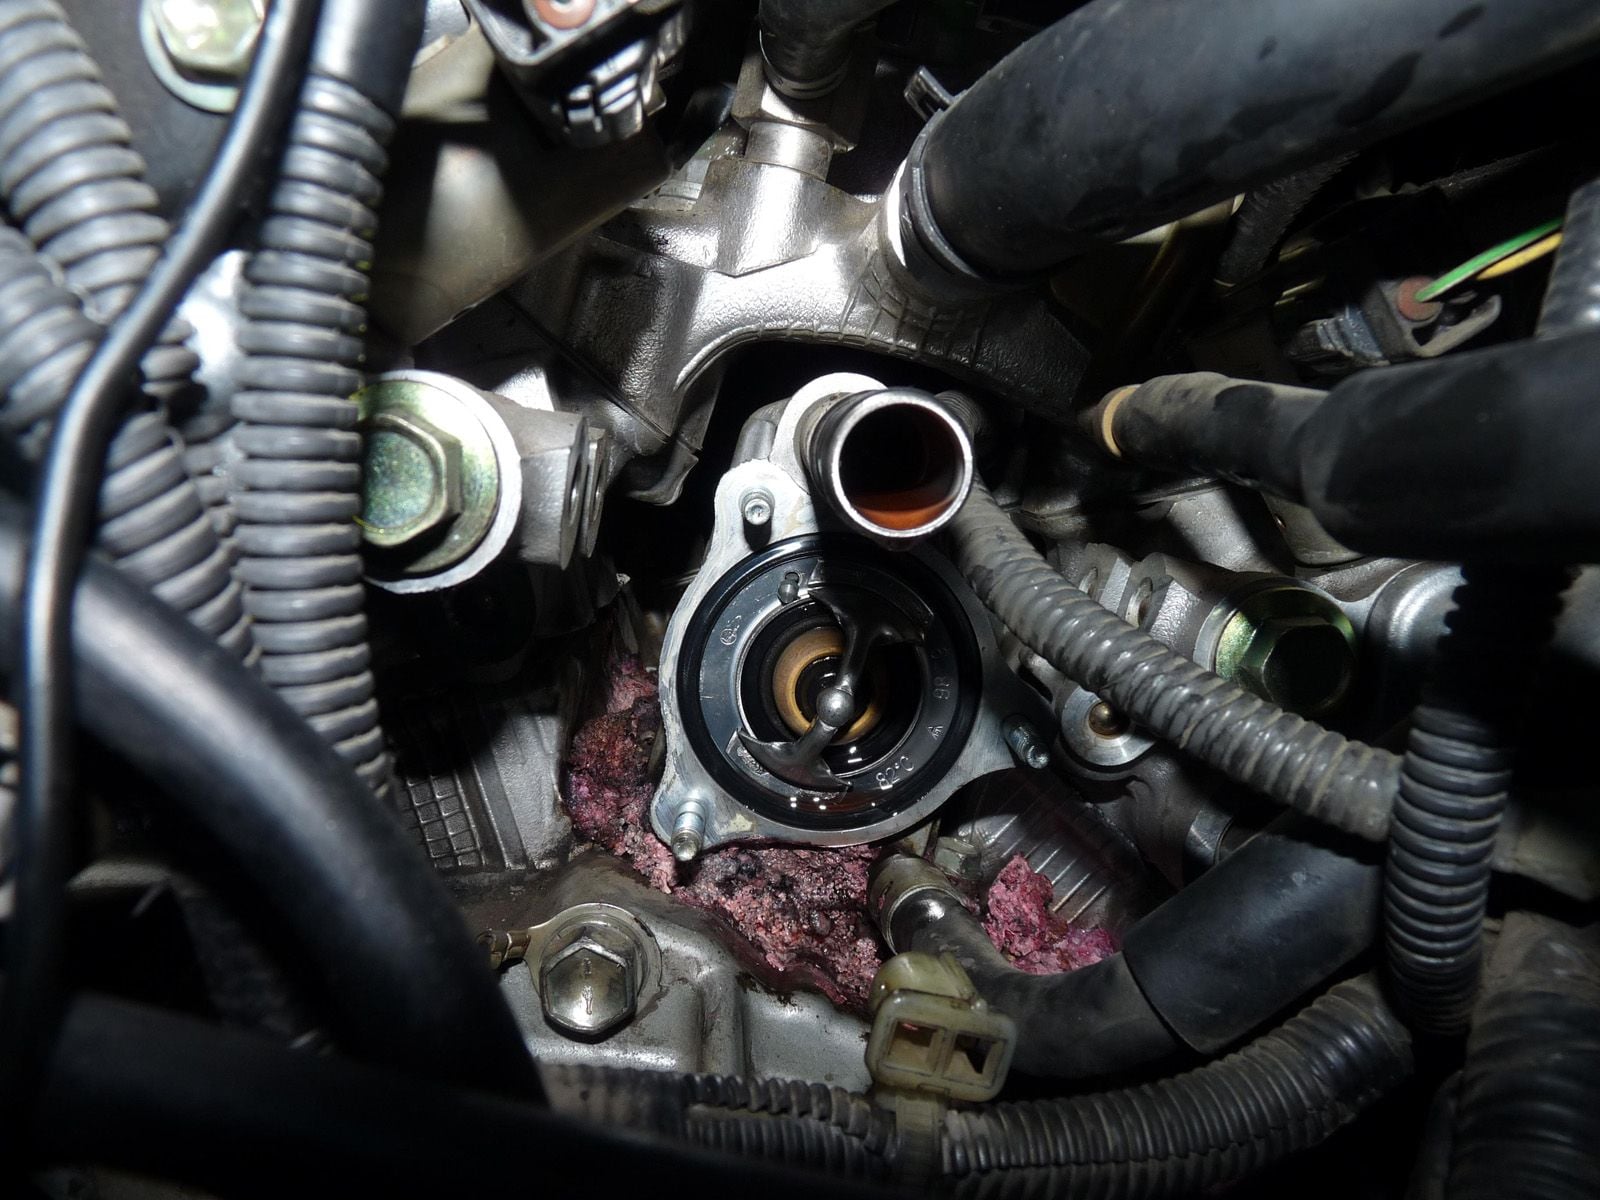
Most thermostats are located where the radiator hose goes into the engine. The RX isn't any different. Follow the upper radiator hose to the engine block. That hose connects to the engine's water inlet. In that pipe is the thermostat. In order to remove the thermostat, that pipe will have to come out.
Step 3 - Place bucket under where you're working
Removing a thermostat or radiator hose will cause a lot of coolant to be spilled. Place a bucket underneath the connectors to minimize the mess.
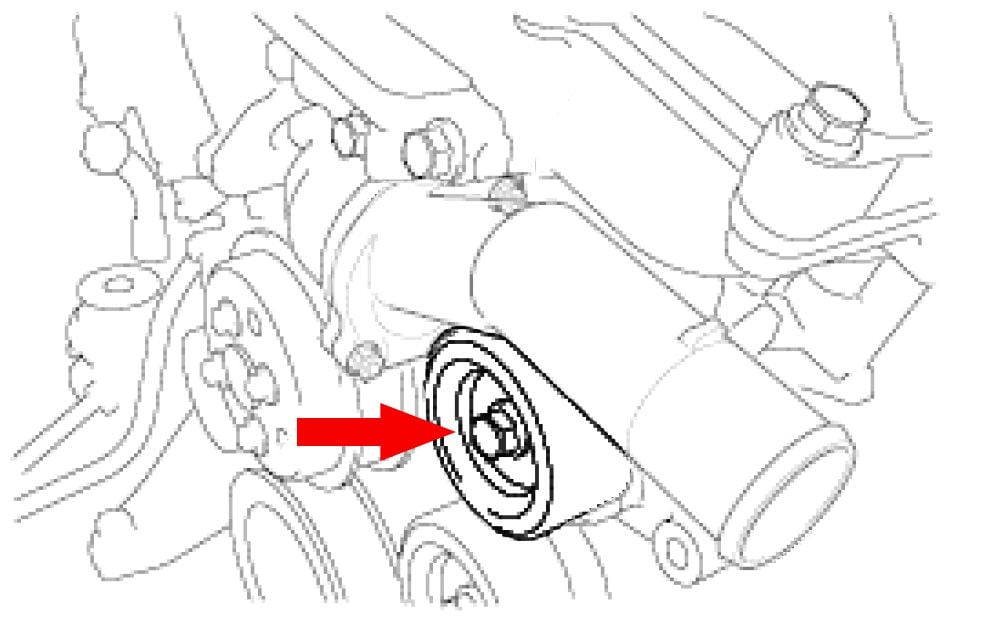
Step 4 - Remove the number 2 idler pulley
There's an idler pulley located underneath the water inlet. You'll need to remove this pulley in order to remove the water inlet, otherwise it'll block access to the bolts securing the inlet. Wedge a screwdriver or something similar between the pulley and the engine or water inlet to keep the pulley from spinning. Unbolt it with a long socket wrench.
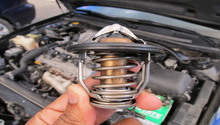
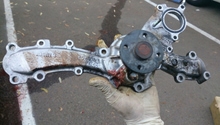
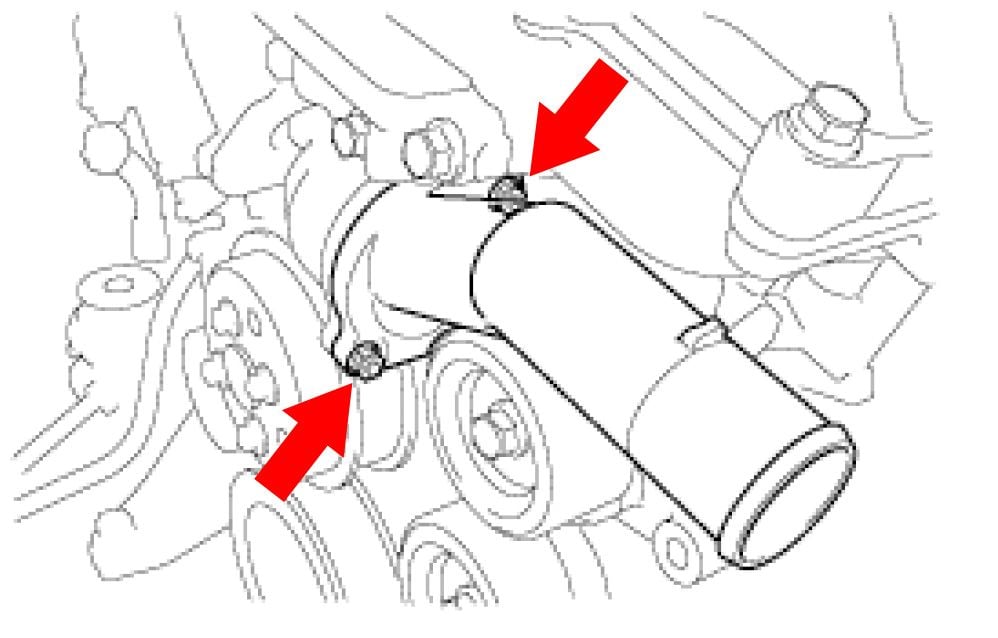
Step 5 - Remove water inlet
The upper radiator hose will likely be strapped to the water inlet via a clamp. Take a flat-head screw driver and loosen the clamp. Once the clamp is loosened, pull the hose off the water inlet. This will reveal the two bolts holding the thermostat in place. Remove these bolts and pull off the water inlet to expose the thermostat.
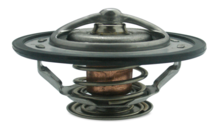
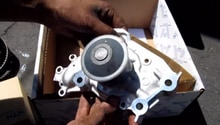
Step 6 - Remove thermostat bolts
Remove the thermostat and be sure to remove the gaskets as well. The new thermostat will come with new gaskets. Clean the gasket seats, too, while making sure no rubber crumbles off or gets dropped into the engine.
Pro Tip
If pieces of the old gasket remain, scrape them off. Make sure no particles fall into the engine. This could cause damage to the cooling system.
Step 7 - Replace thermostat
Once the thermostat seat is cleaned, replace the new thermostat and gasket, securing it with the bolts originally removed.
Step 8 - Replace hose/clamp/fluid, and clean up
Once the thermostat has been replaced, re-install the water inlet. Slip the radiator hose back onto the inlet and secure the clamp as it was before you started. Once secure, take the fluid that spilt into the recovery bucket and add it back to the radiator. Be sure to mop up any spilt fluid as it can be deadly to small children and animals. Properly dispose of any rags used during this project.
Featured Video: How to Replace Thermostat in Lexus RX
Related Discussions
- Lexus 3RX DIY How To Remove Serpentine Belt - ClubLexus.com
- Lexus RX330/300 Serpentine Belt Replacement - YouTube.com