Lexus RX: How to Replace Fuel Pump
Replacing a failing fuel pump in the Lexus RX is a potentially hazardous task, but doable if common sense and safety precautions are executed.
This article applies to the Lexus RX (2007-2014).
A failing fuel pump is preceded by several symptoms, including lean diagnostic trouble codes and trouble starting. The most common is a whining sound originating from around the rear seat. That noise is from the pump motor working harder than normal. Typically, this is either due to worn parts or resistance in the fuel system (like a clogged fuel filter). It's important to replace it as soon as the symptoms arise, so the pump doesn't fail on the road.

Materials Needed
- Flat head screwdriver
- 12, 10, 8mm sockets
- Rags
- Needle nose pliers
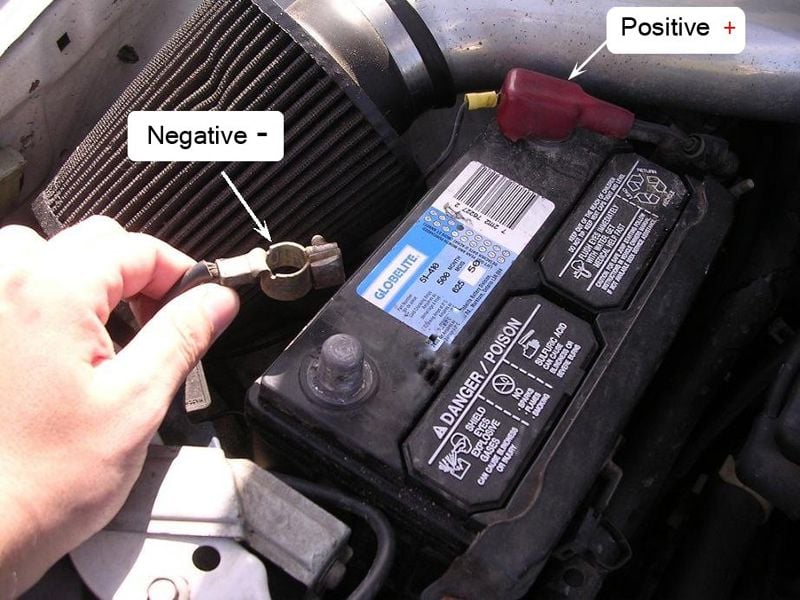
Step 1 – Disconnect battery
The first thing you'll need to do is disconnect the negative cable on the battery. It's always best to take this step before working with electric connections, like those on the fuel pump.
Step 2 – Remove the rear seat
The access panel to the fuel pump is under the rear seat of the drivers side. To access it, you'll need to:
- Pry up the plastic covers over the seat floor bolts.
-
Use your 14mm socket to remove the two seat floor bolts in the front.
- Release the seat dust flap, so you can lean the seat forward.
-
Pull back the carpet in the cargo area.
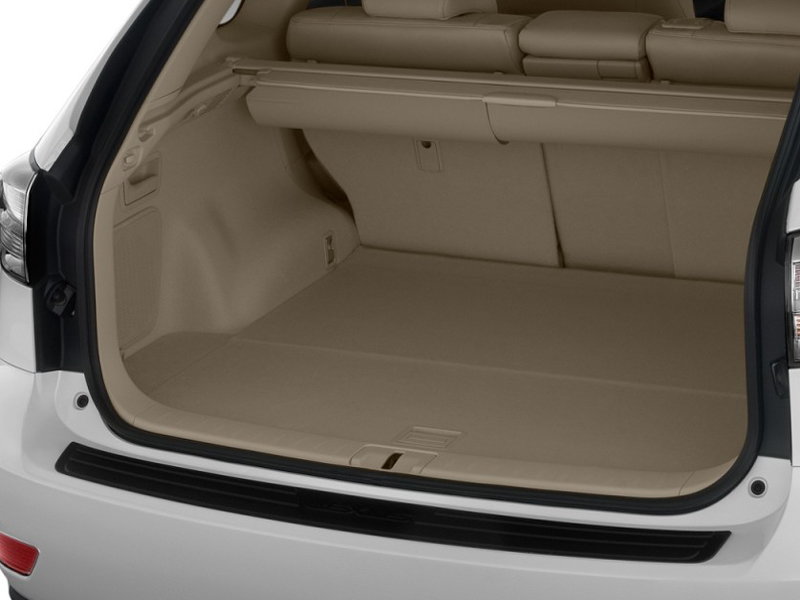
Figure 3. Lexus RX cargo area. -
Using a flat head, pry up the three black plastic retaining discs.
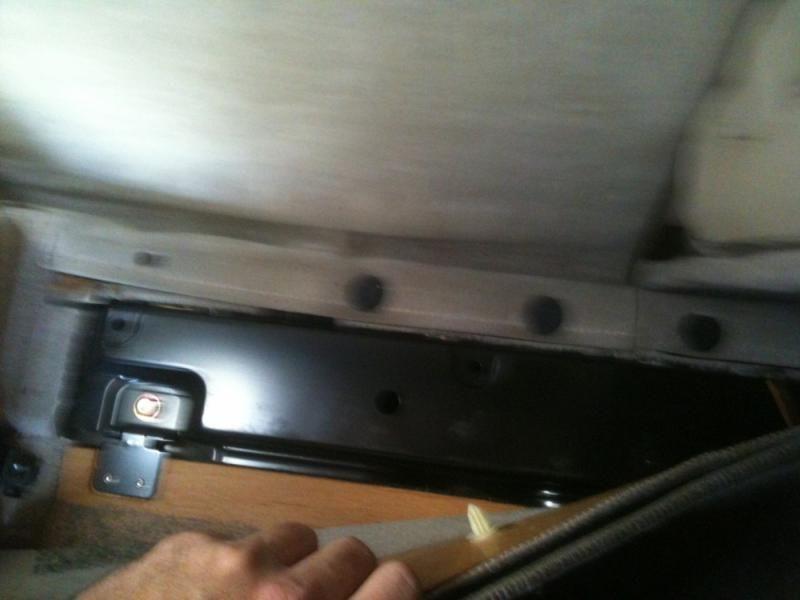
Figure 4. Remove the three plastic discs. -
Remove the 10mm bolt under the carpet trim, which was held in with the three discs.
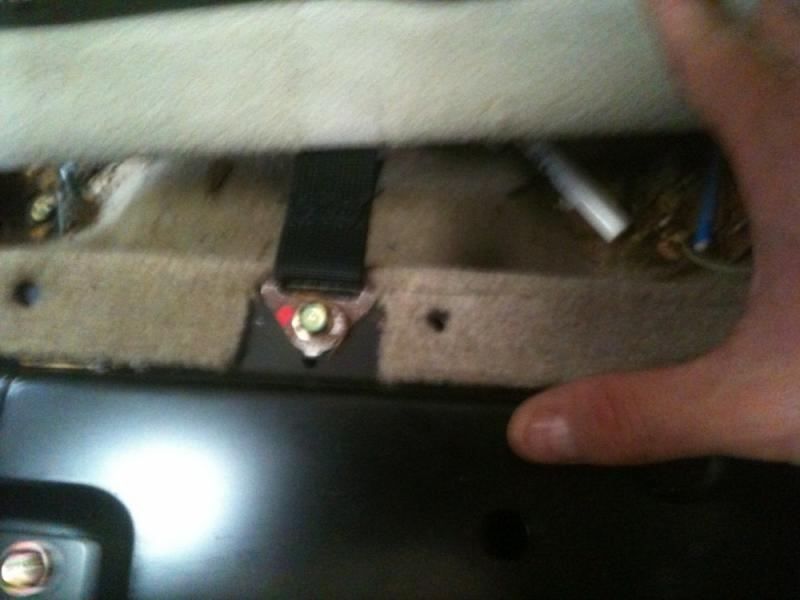
Figure 5. Removing the 10mm bolt. -
Remove the two 14mm bolts.
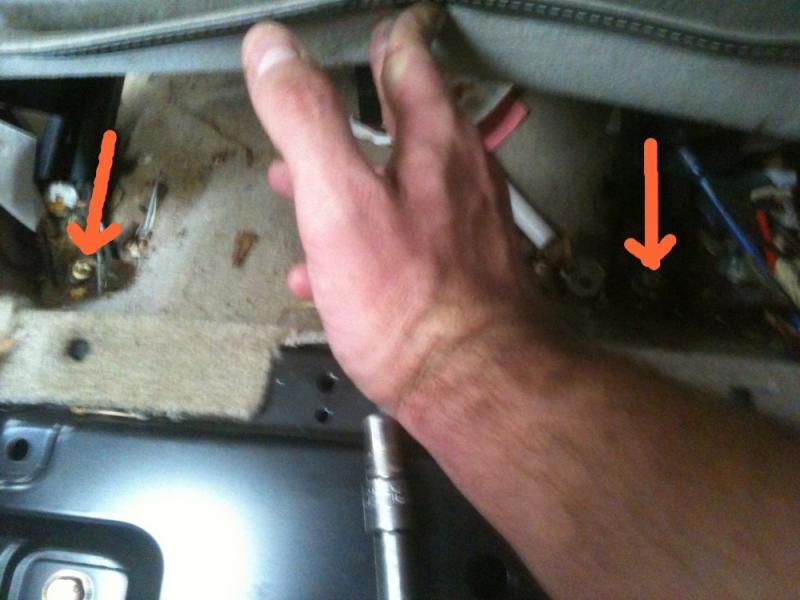
Figure 6. Locations of the 14mm bolts. -
You should now be able to carefully remove the seat from the vehicle.
Step 3 – Getting to the access panel
The hard part is out of the way. Now, all that's left is to remove a few more trim pieces and the seat belts.
-
Remove the bolt holding in the seat belt of the center seat with a 14mm socket.
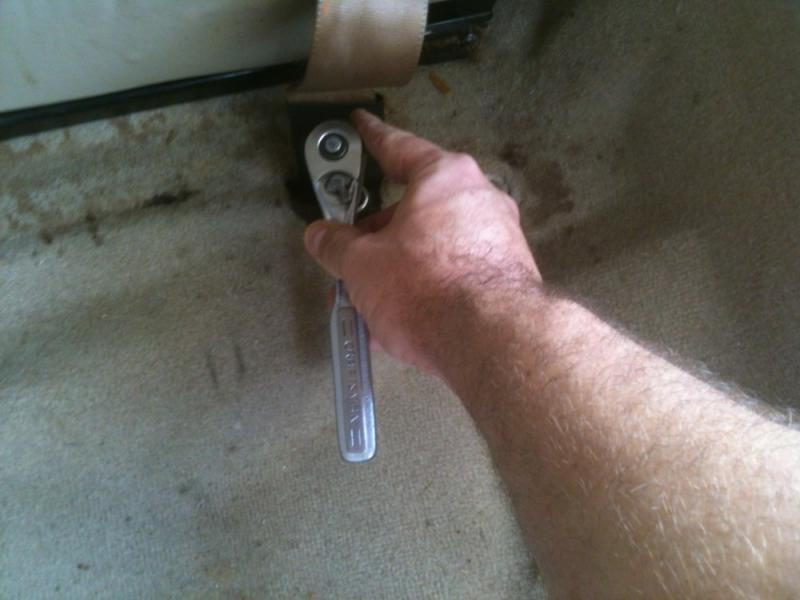
Figure 7. Location of the center seat belt bolt. -
Remove the black disc in the same manner.
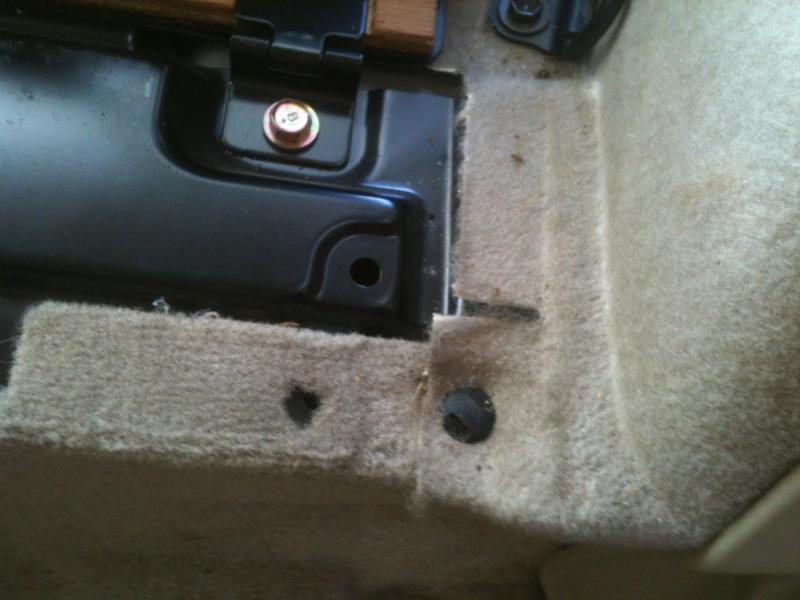
Figure 8. Removing black plastic disc. -
Remove the driver side rear seat belt bolt with a 14mm socket.
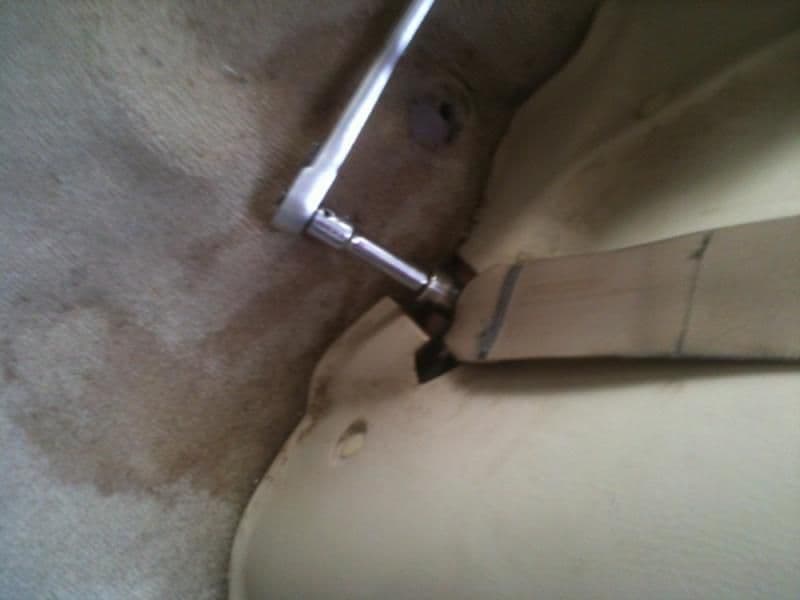
Figure 9. Removing the seat belt bolt. -
Remove the plastic trim piece by popping it off. If you prefer, you can use a flat head to pry it up carefully.
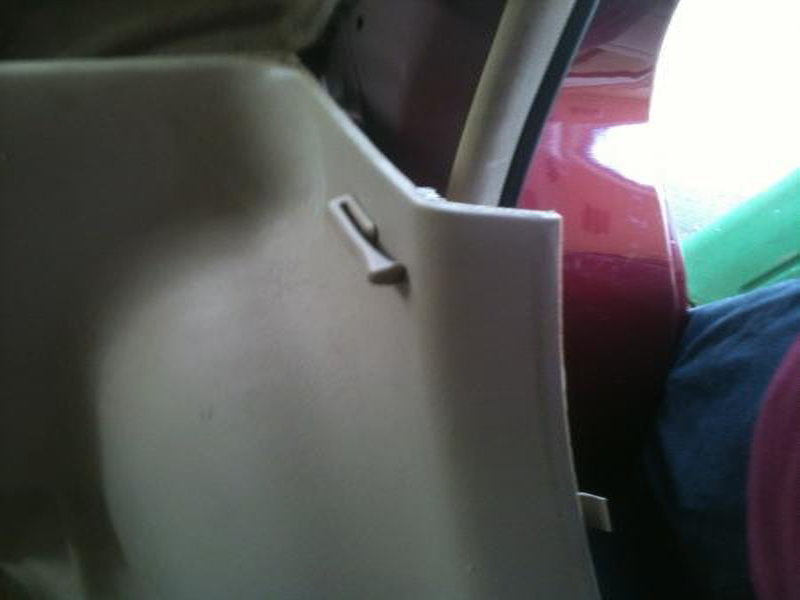
Figure 10. Removing the door trim panel. -
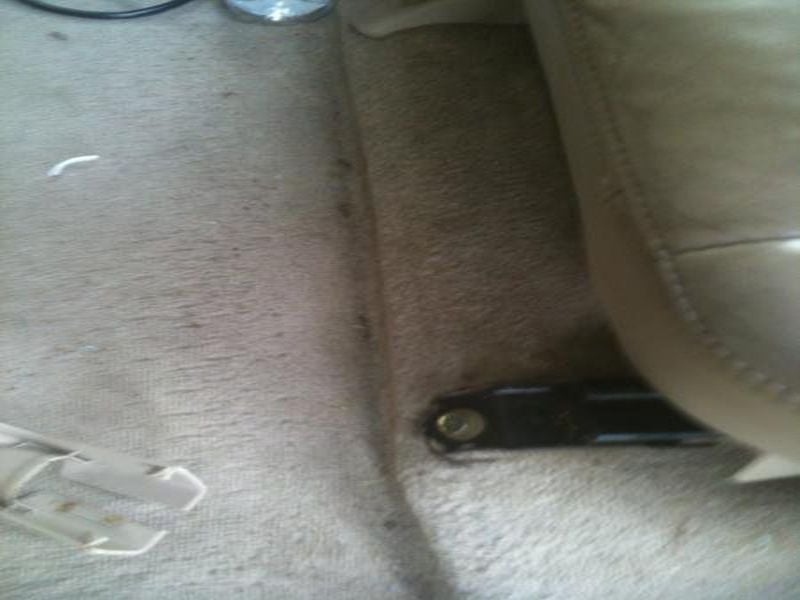
Pull back the carpet and remove the plastic disc underneath.
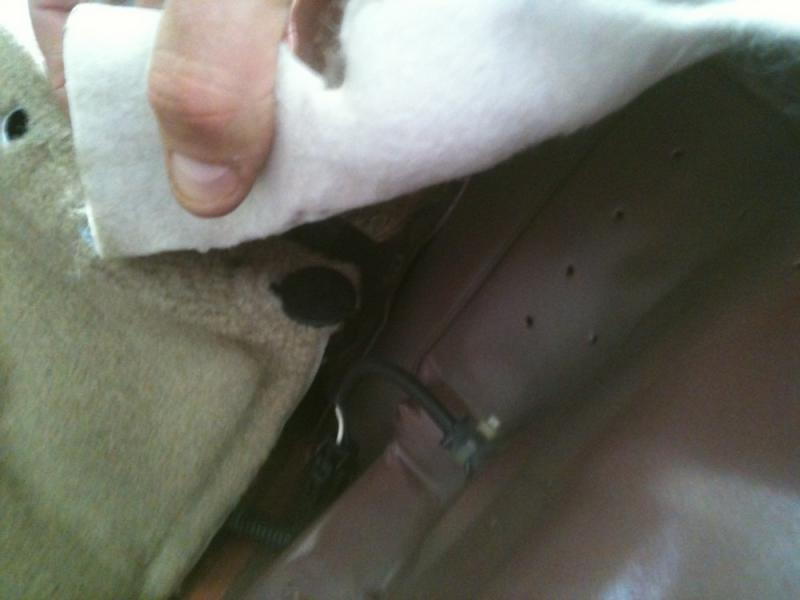
Figure 11. Remove disc under the carpet. -
Pull back the carpet all the way, so you will be able to get to the access panel.
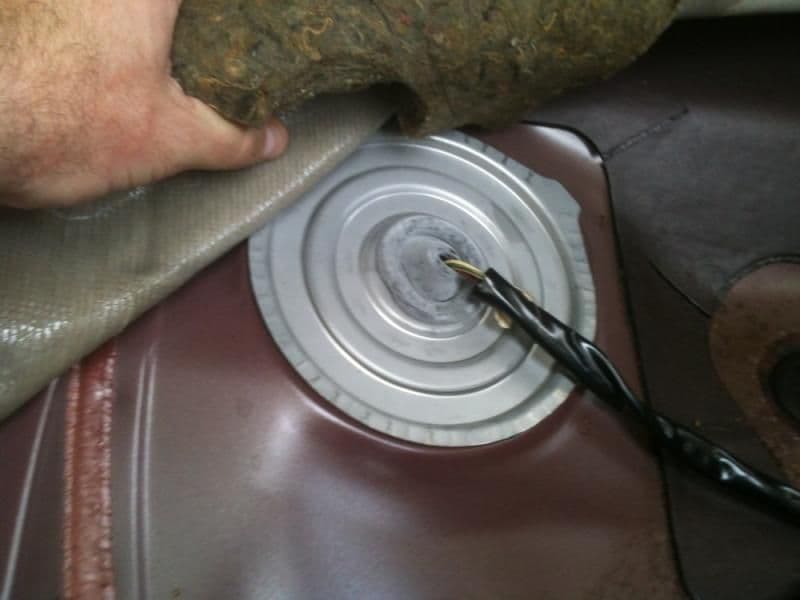
Figure 12. Pull back carpet to get to the access panel.
Step 4 – Replacing fuel pump
-
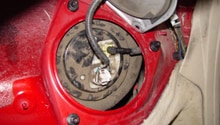
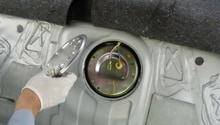
Similar to the way you'd remove a can lid on a paint bucket, you can pry up the access panel lid using your flat head.
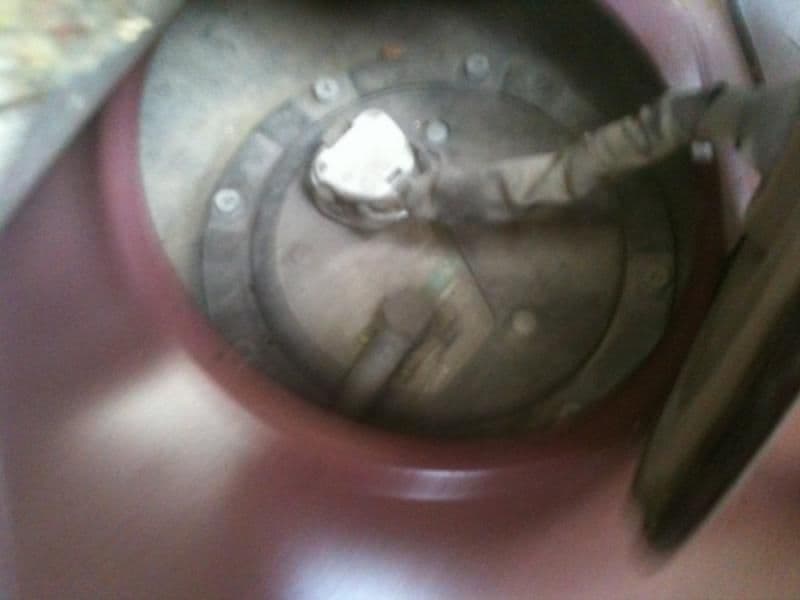
Figure 13. Access panel lid removed. -
Carefully remove the electrical connection from the top of the fuel pump.
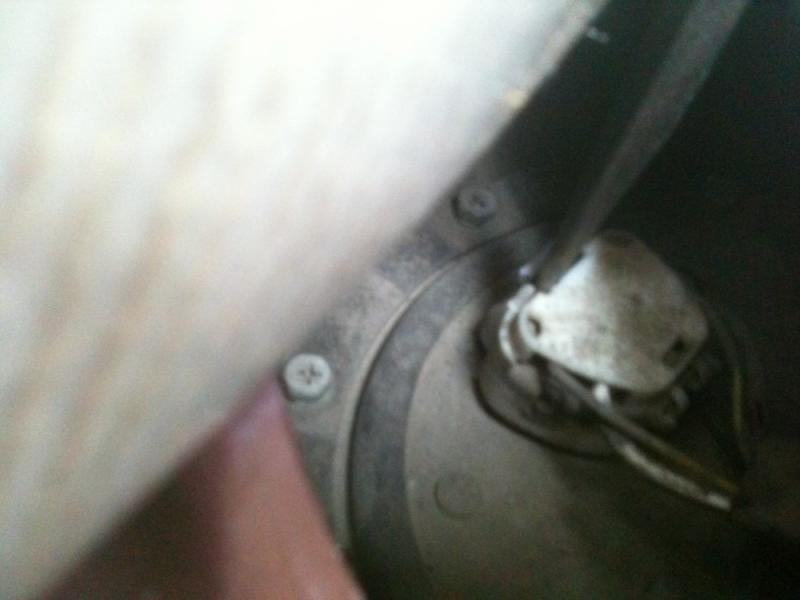
Figure 14. Removing electrical connector. -
Pry out the fuel line retaining clip using needle nose pliers. Be prepared with some paper towels to catch any gas after you remove the fuel line.
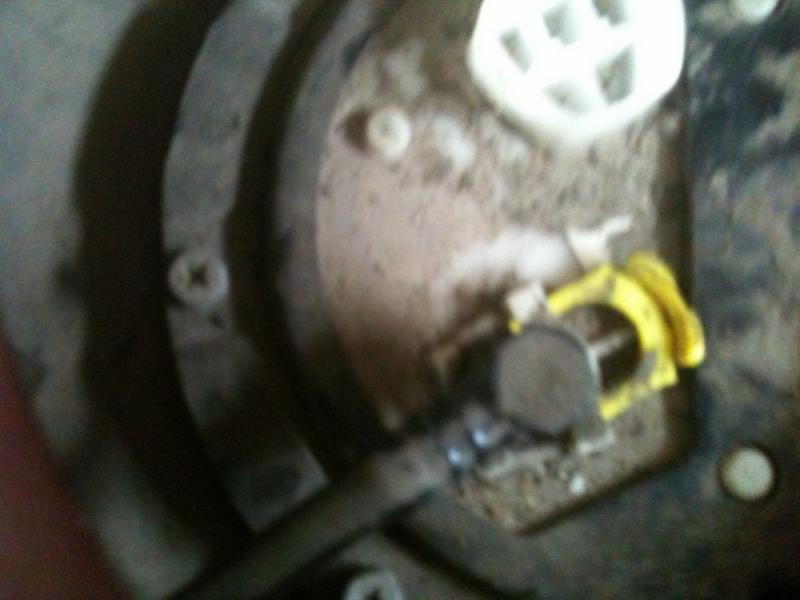
Figure 15. Removing fuel line retaining clip. -
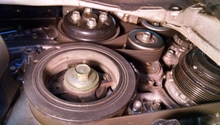
Remove the 8mm bolts, while holding the fuel pump in place.

Figure 16. Removing the 8mm bolts. - Pull the fuel pump out about halfway.
-
Disconnect the rubber fuel line by pinching the clip together using pliers and sliding it off.
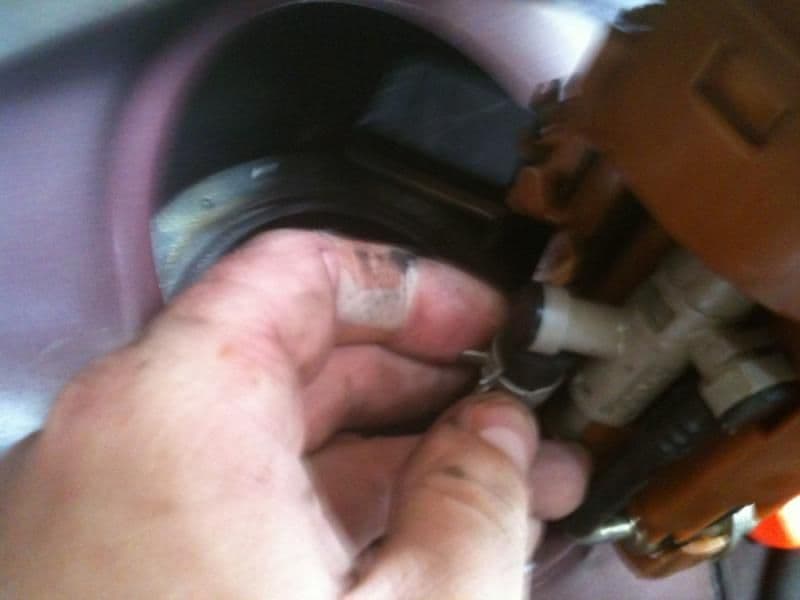
Figure 17. Disconnecting the rubber hose. -
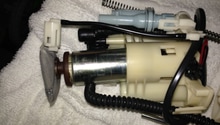
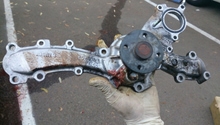
Now remove the fuel pump completely. You may need to wiggle it or angle it some to remove it completely.

Figure 18. Fuel pump removed.
Step 5 – Install
Install will be the reverse process of removal. Once the fuel pump is in and hooked up, reconnect the negative battery cable to make sure the fuel pump is functioning properly. Before installing the rear seat, now might be the perfect time to vacuum out the rear floorboard.
Featured Video: Replacing Fuel Pump Lexus RX300
Related Discussion
- Changing the Fuel Pump - ClubeLexus.com