Lexus IS: How to Replace Radiator
Replace the radiator in your Lexus IS by following these steps.
This article applies to the Lexus IS (2005-2014).
Your Lexus IS's radiator is responsible for keeping your engine cool. If your radiator isn't performing properly, it is probably time to replace it. Replacing the radiator for your Lexus IS will require a lot of work, but it's not really difficult work. It simply requires the correct tools, patience, and know-how to be completed in a safe and timely manner. In the end, you will improve the performance of your Lexus IS, save money, and gain the satisfaction of completing the job on your own.

Materials Needed
- Complete wrench set, ratchet set, pliers, and screwdriver
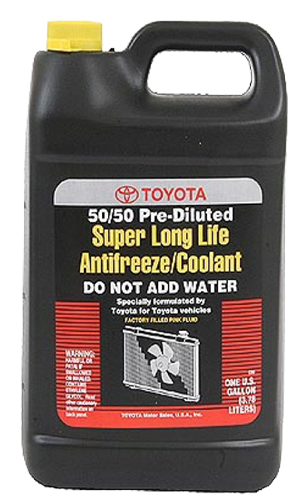
- 2 gallons of Toyota Super Long Life Coolant
- Antifreeze pans
- Safety goggles and gloves
Step 1 - Remove plastic engine covers
Pull off the plastic engine covers. The large plastic front cover is held in with 11 clips.
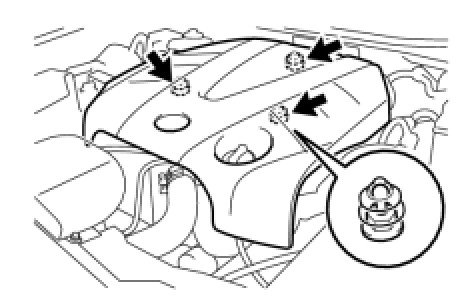
Figure 1. Remove clips from this cover. 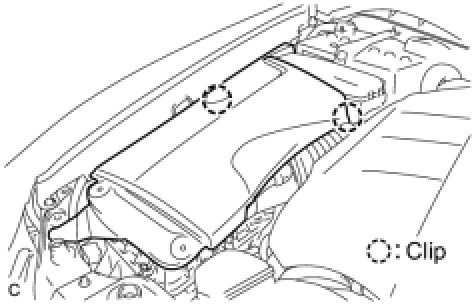
Figure 2. There's another clip near the front. 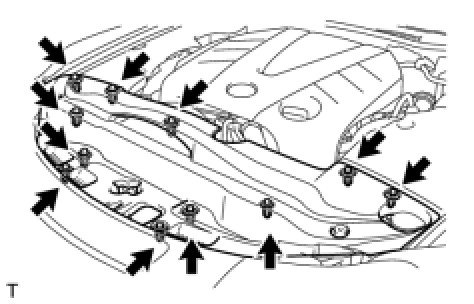
Figure 3. Remove all 11 clips from the front cover.
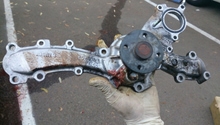
Step 2 - Drain the antifreeze from your existing radiator
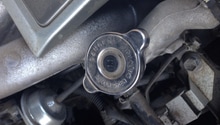
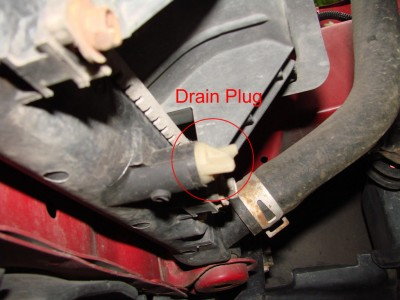
Confirm that your Lexus IS has not operated for 2 hours and that your engine is cool. Put on your safety goggles and gloves, then locate the drain plug at the bottom of the radiator, underneath your Lexus IS. It should be a white nut similar to the one in figure 4. Center your antifreeze drain pan underneath the drain plug, remove the plug, and allow all of the antifreeze to drain into the pan.
Pro Tip
Antifreeze is extremely dangerous to both animals and children. After you have completed the drain of the antifreeze, be sure to cover the drainage pan and take it to your local auto parts store for proper disposal.
Step 3 - Remove front bumper
Unscrew the pins attached to the front bumper in right and left wheel wells. Unscrew the eight screws along the bottom of the bumper. Remove the two clips keeping the top of the bumper secure. Lastly, there are ten plastic latches that hold the bumper to the body. Unclip them and pull the bumper from the body.
Featured Video: How to Remove the Front Bumper
Step 4 - Remove hoses from radiator
Disconnect the upper and lower radiator hoses. They'll likely be held on by a screw clamp or a constant tension band (CTB) clamp. Use either a Phillips head screwdriver (for screw clamps) or a pair of pliers (for CTB clamps) handy. Be careful not to strip the ends of the hoses or the bolts attached. If the hoses are frayed or showing signs of tearing or other damage, replace them.

Step 5 - Disconnect hood latch assembly
Remove the three screws, clamp, and hood lock holding the control cable cover. On the other side, remove the hood lock nut and the two remaining bolts securing the hood latch.
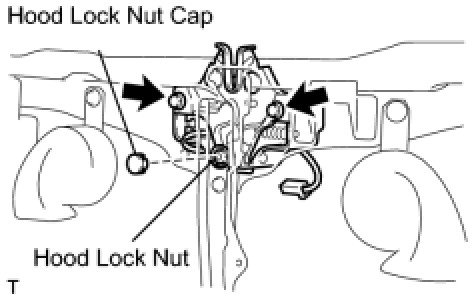
Figure 6. Hood latch diagram. 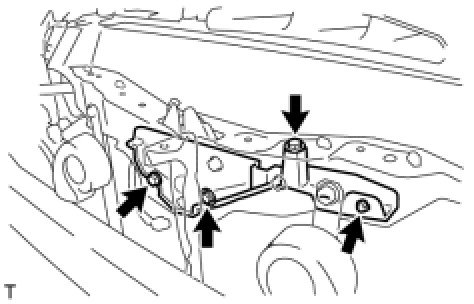
Figure 7. Remove the remaining bolts.
Step 6 - Disconnect the negative battery terminal
It is important to first disconnect the negative charge to your Lexus IS battery so there is no electricity flowing through the engine. There are several connections from the radiator to the cooling fan and electrical system. Be certain to disconnect them all and be careful not to strip any of the screws and bolts connected to them.
Step 7 - Disconnect wiring harness
Locate and disconnect all of the electrical connections to the radiator. There are two electrical connections to fan motors. There are another three connectors on the front of the bumper. Separate the wiring harness from the front bumper. The easiest way to do this is to simply follow the wiring harness from the car to the bumper, disconnecting the clips as you go along. The clips are plastic, so be gentle when freeing them.
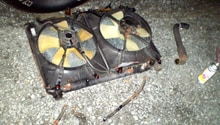
Step 8 - Remove radiator
Inspect your Lexus IS to ensure that all of the hoses and electrical connections have been removed. The radiator will snag on removal if there are still connectors attached.Unbolt the upper radiator support and remove it from the vehicle. Remove the bolts holding in the radiator and pull the radiator out.
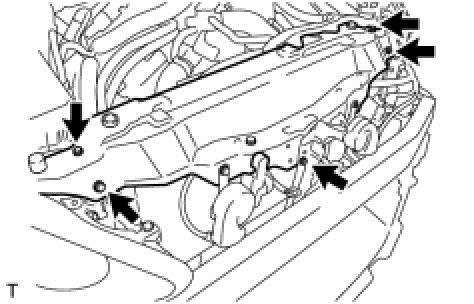
Figure 8. Removal of the upper radiator support. 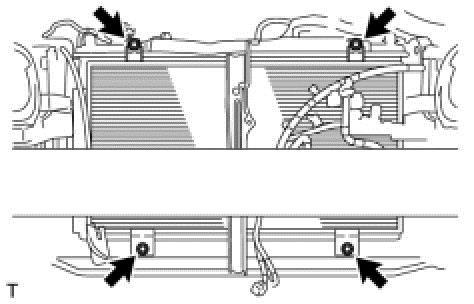
Figure 9. Unbolt the radiator. 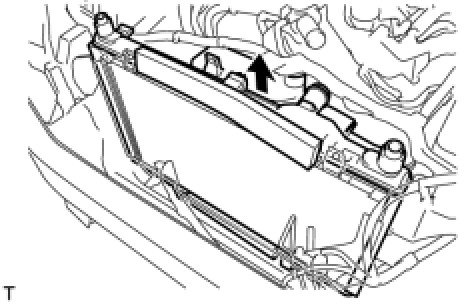
Figure 10. Pull radiator up and out.
Step 10 - Install new radiator
Insert the new radiator and reverse the instructions above to install it. Drop the new radiator into place and bolt it in to the radiator support. Then reconnect the upper and lower radiator hoses. Don't forget to reattach the transmission cooler lines. Re-install upper radiator support. Re-attach wiring harness connections and clips. Re-install hood latch assembly.
Step 11 - Pour new antifreeze in and test
After placing the new radiator into your Lexus IS, refill your radiator with Toyota's Super Long Liftetime Coolant (SLLC). Pour the new mixture into the radiator, then inspect the entire radiator and connections for any leakage. Start your engine and allow the engine to run for approximately 20 minutes. Check the radiator area again for any leaks. After 20 minutes, check the temperature gauge in your Lexus IS to confirm it's in an acceptable range. If everything looks good, you are ready to go.
Related Discussions and Sites
- Radiator, Engine Cover Diagrams - Alldata.com
- IS-F Radiator Leaks - ClubLexus.com
- Typical Radiator Replacement Costs - RepairPal.com
- What a Bad Radiator Cap can do to Your Vehicle's Cooling System - ClubLexus.com