Lexus: How to Replace Center Console Light
Here's how to replace your center console light and save money on labor.
This article applies to the Lexus IS, ES, GS, and RX (2005-2013).
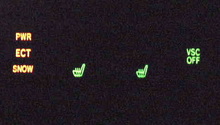
One of the coolest moments you can experience in your car is turning it on in the dark. How your center console lights up can make a big difference between feeling like you are staring into the instrument panel of an F-35 fighter plane or trapped in the dark, claustrophobic confines of a Vostock 3KA-2 Space Capsule. Replacing the burned out light bulbs in your center console will make it look new again. This fix could also improve safety by giving you immediate information so your focus stays on the road. This repair can be done in about 20 minutes and is easy for a beginner to do.

Materials Needed
- Phillips head screwdriver
- Regular screwdriver
- Thin blade regular screwdriver
- Small pry bar
- Bulbs
Step 1 – Remove the ashtray
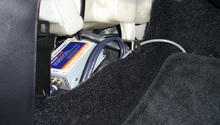
Set the parking brake so you can move the shift left to Neutral or Drive, and thus have room for the ashtray to come out. Pull the ashtray towards you. It might take a few firm pulls to get it loose. Remove the wire from the back of the ashtray and remove the ashtray.

Figure 1. Open the ashtray. 
Figure 2. Pull ashtray out.
Step 2 - Remove the console
Use your pry tool to carefully pry off the console. After prying it a little, use your fingers to gently remove it.
Pro Tip
Be gentle when prying plastic parts such as the console to avoid scratching the finish. Placing a rag over the blade will save parts.
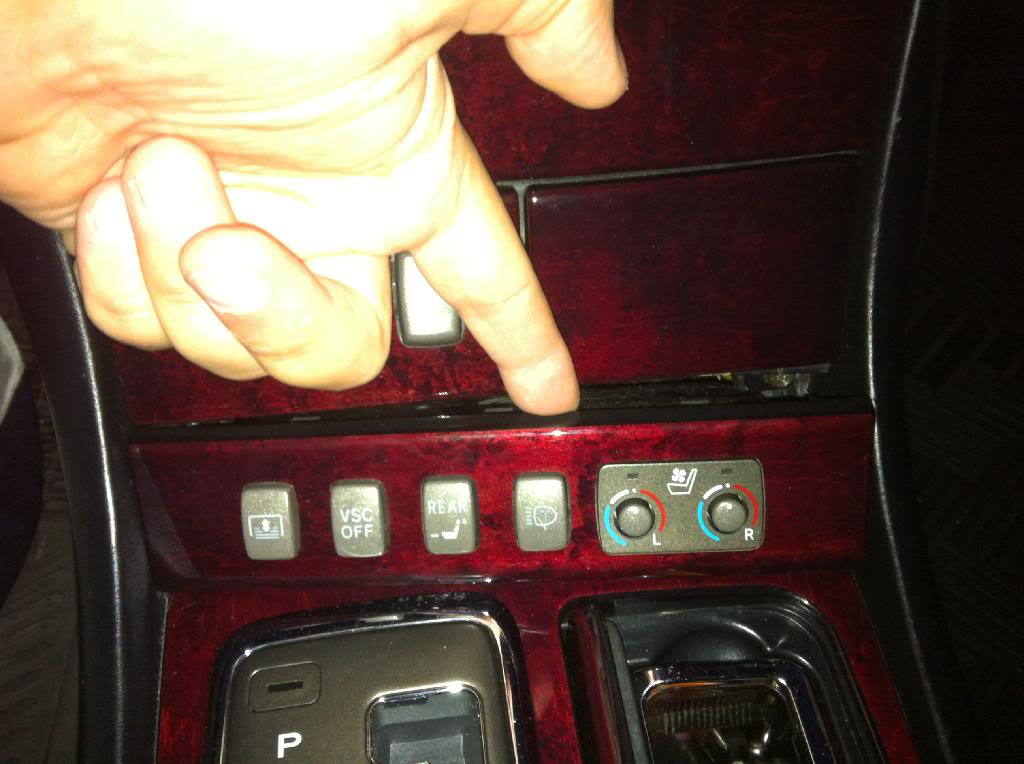
Step 3 – Remove the switch panel from the console
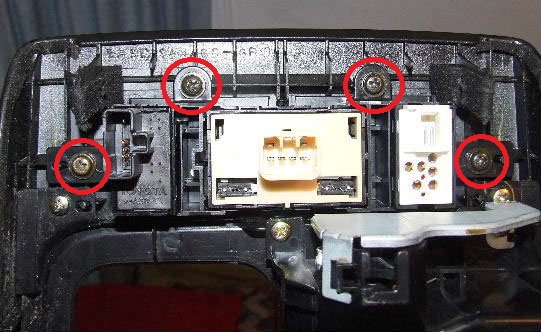
Remove the four screws that hold the switch panel to the back side of the console.
Step 3 – Pry each switch individually from the switch panel
Using the flathead screwdriver, gently pry up on the tabs and slide the switches out of the panels.

Step 4 – Remove and replace the bulbs
The bulb is accessed by removing the cover from the back of the switch as shown in Figure 5. Unscrew the plug and replace the bulb. Repeat these steps for removing the bulbs and switches until all of the bulbs are replaced.

Pro Tip
It is best to test the bulbs in the switch panel before reassembling. Reconnect all of the wires and turn the lights on to verify operation. If you are in direct sunlight, you might have to shield the switches to see if the lights are working.
Step 5 – Re-assemble
Re-assembly is the reverse of dis-assembly. install the wiring, then install the switches back. Install the switch panel, the center console and the ashtray.
Related Discussions
- Installation of Chrome Shifter Bezel Ring - ClubLexus.com
- DIY Changing Center Console Bulbs/Tranny Gear Indicator Bulb - ClubLexus.com
- Change Light Bulbs in Center Console and Temperature Control Buttons - ClubLexus.com