Lexus IS: How to Replace Parking Lights with LEDs
Learn how to replace the parking lights with LEDs and save a lot of money on labor cost.
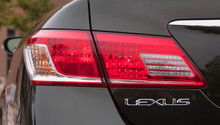
This article applies to the Lexus IS (2005-2013).
Want to modify a Lexus IS by replacing the parking lights with LED lights? While this is an excellent idea, electrical work can get pretty pricey at the dealership or your local mechanic's garage. Whether you're a master at DIY jobs or just starting out, this simple switch can be easily performed at home. This article outlines three methods to get the job done, from easy to advanced.

Tools and Materials Needed
- Flathead screwdriver
- 10 mm socket
- 6" extension
- Socket wrench
- Latex gloves
- Flashlight (recommended)
Related Site:
- Lexus Owner's Manual - Lexus.com
Easy Method
Step 1 - Remove the grille cover
Open the hood and remove the grille cover.
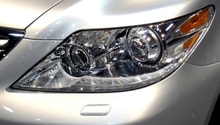
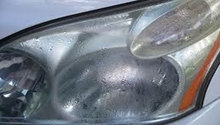
Step 2 - Remove cap on the back of the headlight and replace headlight
Remove the cap on the back of the headlight. Then, grab he city light socket; turn left for loose, right for tight. Twist it to the left to remove it, replace it, then repeat for the other side.

Figure 2. Headlight cap indicated. 
Figure 3. Arrow points to light socket.
Moderate Method
Step 1 - Open the hood
Open the hood and turn your wheel away from the side you are working on. For example, if you are changing the light on the left side, turn your wheel all the way to the right.
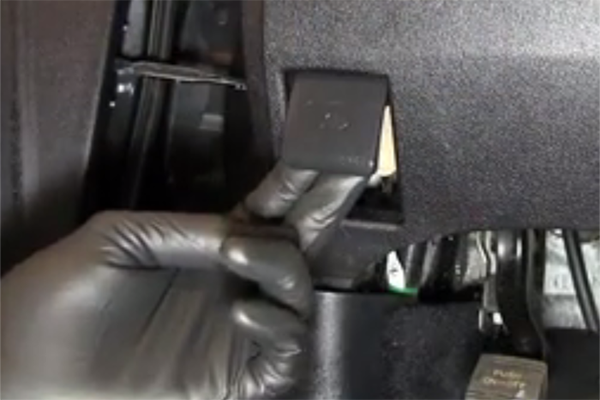
Step 2 - Remove bolts, cover, and bulb assembly
Remove the bolts holding the wheel well in place. Then, reach with your hand through the wheel well, remove the headlight cover, and remove the parking bulb assembly.
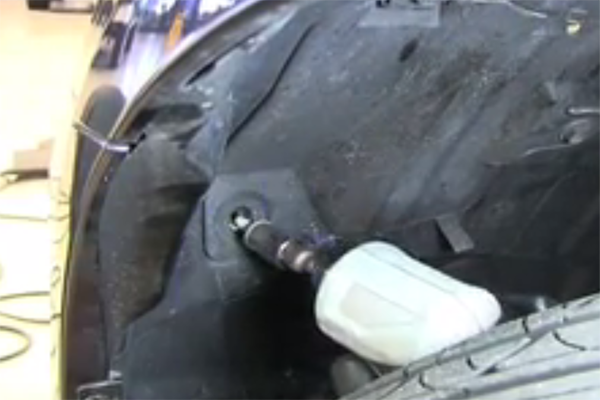
Figure 5. Removing bolts on cover. 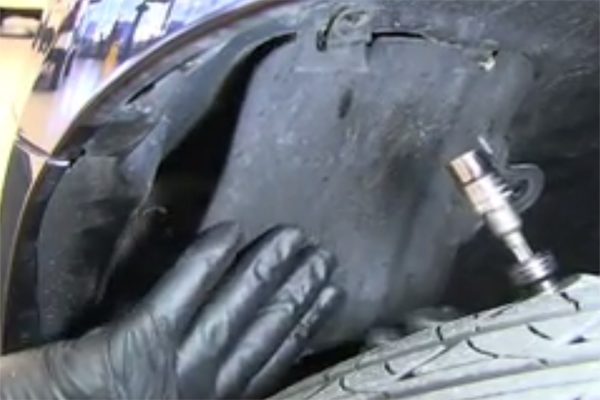
Figure 6. Removing the cover. 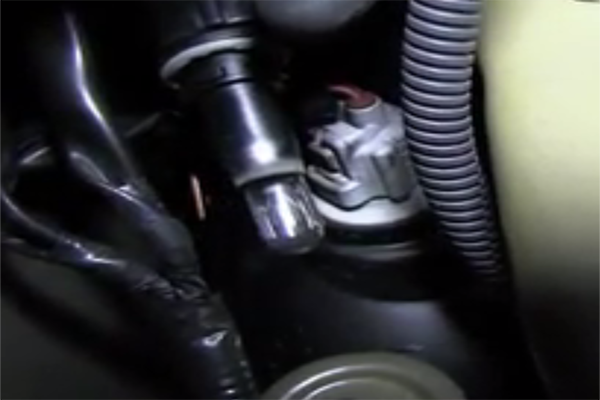
Figure 7. Removing the bulb assembly.
Step 3 - Replace the bulb
While wearing gloves, replace the bulb by inserting the bulb into the socket and gently snapping it back into place. Do not touch the glass with your bare hands, as this could cause the bulb to burn out quicker.
Pro Tip
It is recommended to replace multiple bulbs at once; if one bulb burns out, it's likely that the bulb on the other side will burn out soon. It is also important to ensure that the new bulbs are an exact match to the originals.
Step 4 - Re-install cover
Install the new bulb into the assembly, place the wheel well cover back, tighten the bolts, and try the lights.
Advanced Method
Step 1 - Remove the protective plastic coverings and the windshield washer fluid's tubing unit
The tubing unit for the windshield washer fluid should pull straight up and pop out rather easily. If you are a novice at repairs and are unsure of where to locate this element, the diagram below distinguishes between the different elements of the average windshield washer system. Further descriptions can also be found in your owner's manual.

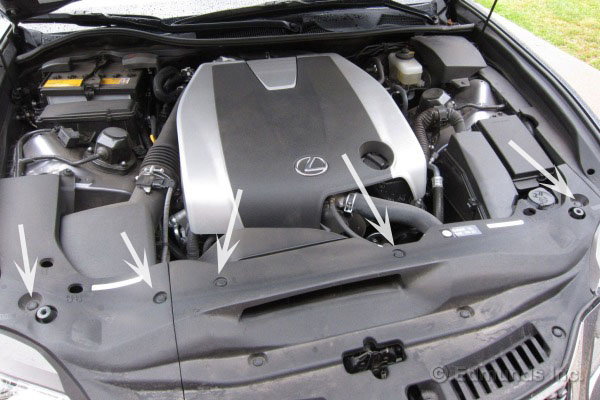
Step 2 - Disconnect the air filter
Directly in the center of the engine compartment should be a plastic part known as a cold air scoop. This needs to be removed, and there are a few mini steps to follow in order to remove it.
- To get started, position the flathead screwdriver in between the engine compartment ring and center piece, then push up to detach the center piece.
- Once you have popped the center piece out, unscrew the 10 mm bolt on the right hand side; the scoop for the cold air intake shrould shimmy out.
- Next, remove the two bolts that are keeping the engine compartment in place by utilizing the 6" extension and a flashlight.
- Finally, remove the intake pipe using the 10 mm socket. Once this element is removed, the air filter box should come right out.
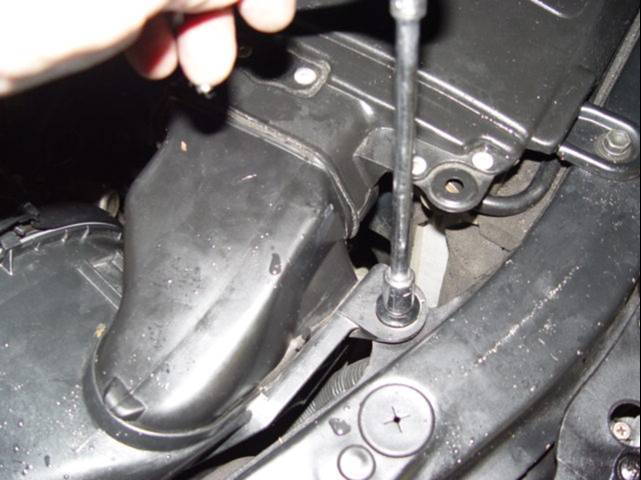
Figure 10. Unscrew the 10mm bolt on the air intake. 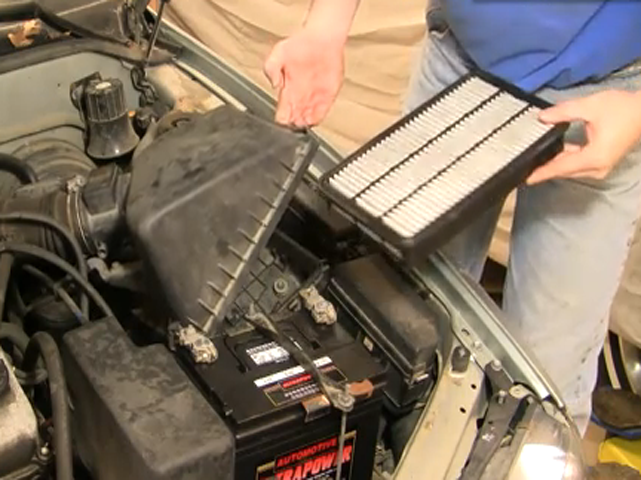
Figure 11. The air filter should remove easily.
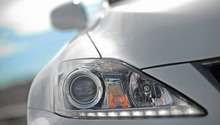
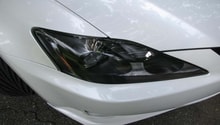
Step 3 - Remove the parking lights
Be certain to wear latex gloves when removing the parking lights. The parking lights should be pulled out straight, not shimmied, in order to avoid possible breakage.
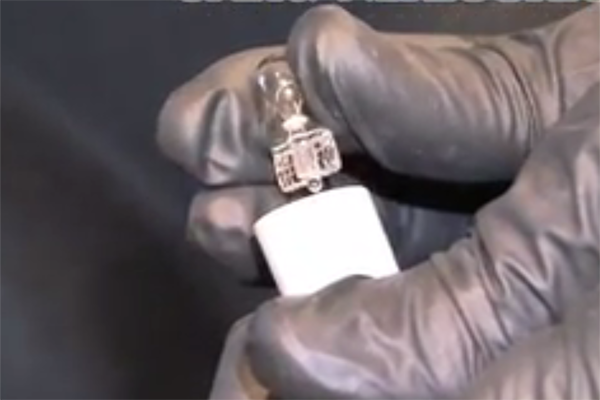
Step 4 - Replace the parking lights with LED lights
Once you have replaced the parking lights, simply reverse the steps to reassemble your Lexus IS. Re-connect the intake pipe, cold air intake shroud, and the protective plastic coverings that you took off.
Related Discussion and Sites
- Help with Search for DIY Change Citylights - ClubLexus.com
- Parking Light Change 2007-2012 Lexus ES350 - Carcarekiosk.com
- How to Replace the Windshield Washer Pump Reservoir - 2carpros.com