Lexus IS: How to Black Out Your Headlights
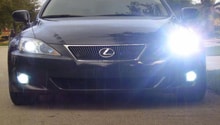
Blacking out the headlights on the Lexus IS gives it a modified look. The process isn't difficult and doesn't cost much.
This article applies to the Lexus IS (2005-2013).
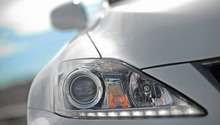
Blacking out the headlights on the Lexus IS is a popular modification that doesn't cost a lot of money. Although a minor modification, it definitely makes a very noticeable aesthetic difference. Check your state laws to make sure the modification is legal before working on your Lexus.

Tools Needed:
- Metric socket set
- A socket driver (looks like a screw driver with a ratchet type end to it)
- Wire strippers
- Screwdrivers
- Glue
Step 1 - Remove the front bumper
Remove all the clips and screws from the cover underneath the bumper, and remove the screws and clips from the top of the grille. Then, remove the two clips by the front wheels and the screws from the bottom of the bumper.

Pro Tip
Use a compartment box such a fishing lure box nearby. Put the screws and clips in the box in order. For reassembly, reverse the order. Take pictures of the screws with your phone and their locations in order to avoid confusion.
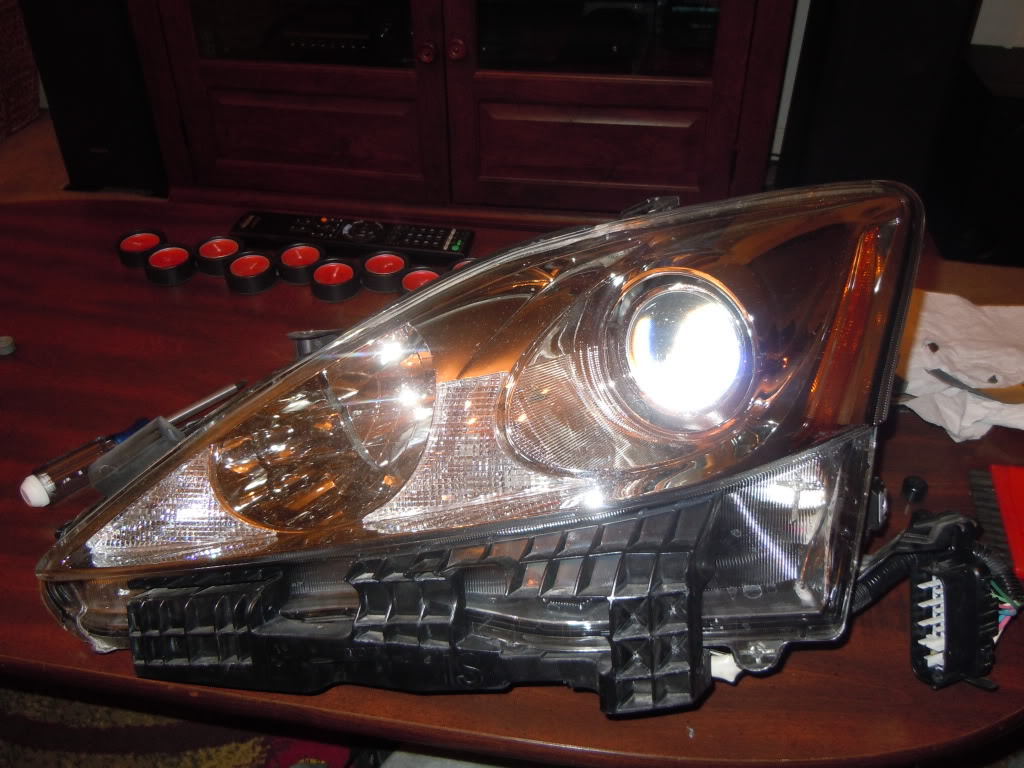
Step 2 - Remove the headlight from the vehicle
The headlight assembly is removed by taking out the three 10 mm screws holding the headlight.
Featured Video: How to Remove the Headlights from a Lexus IS250/IS350
Pro Tip
Keep the wiring harness intact so you don't alter the auto leveling headlight sensor.
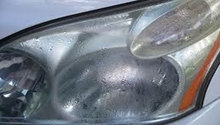
Step 3 - Remove all screws and bulbs from the headlight
The factory HID bulb will remain in the assembly during this step. Remove all of the screws and bulbs from the headlight. The wires for the bulbs are held in by plastic covers that have to be removed.
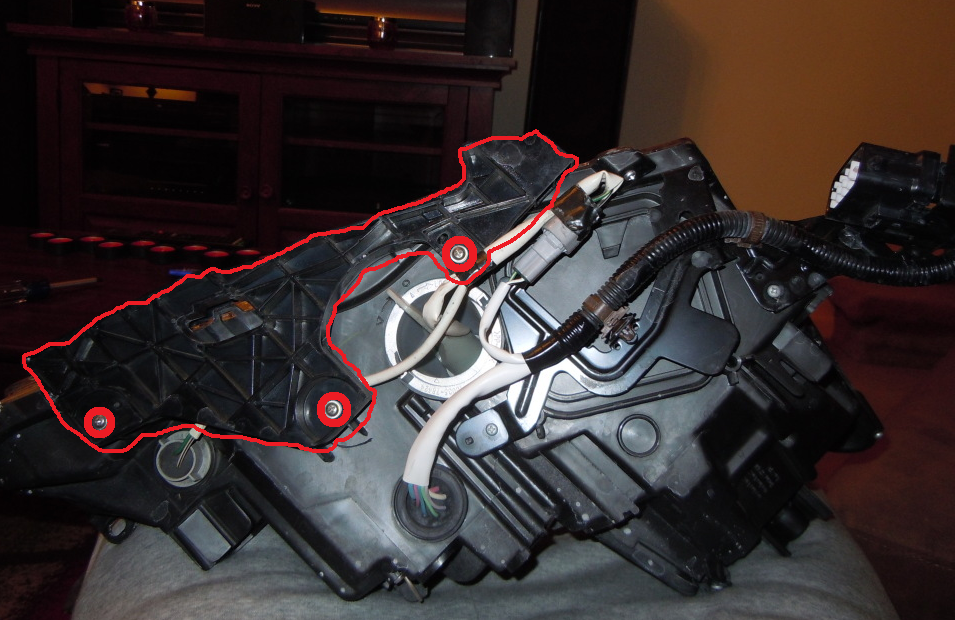
Figure 3. Remove the bottom piece, highlighted.
Pro Tip
Leave the factory HID bulb in the light, as it's hard to remove.
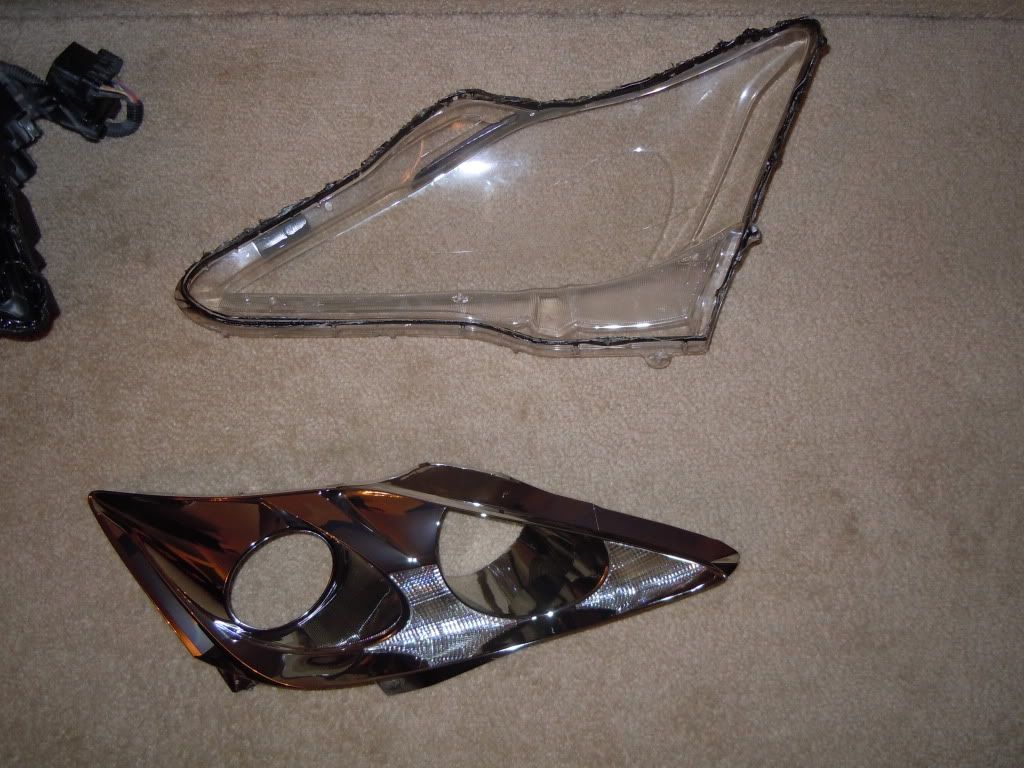
Step 4 - Separate the outer lens from the assembly
For this step, you need to heat the assembly in an oven. Preheat the oven to 220 degrees Fahrenheit and insert the light assembly for 20 minutes to soften the glue. Starting near the marker light, pry the outer lens from the assembly.

Figure 4. The lens, separated from the light assembly. 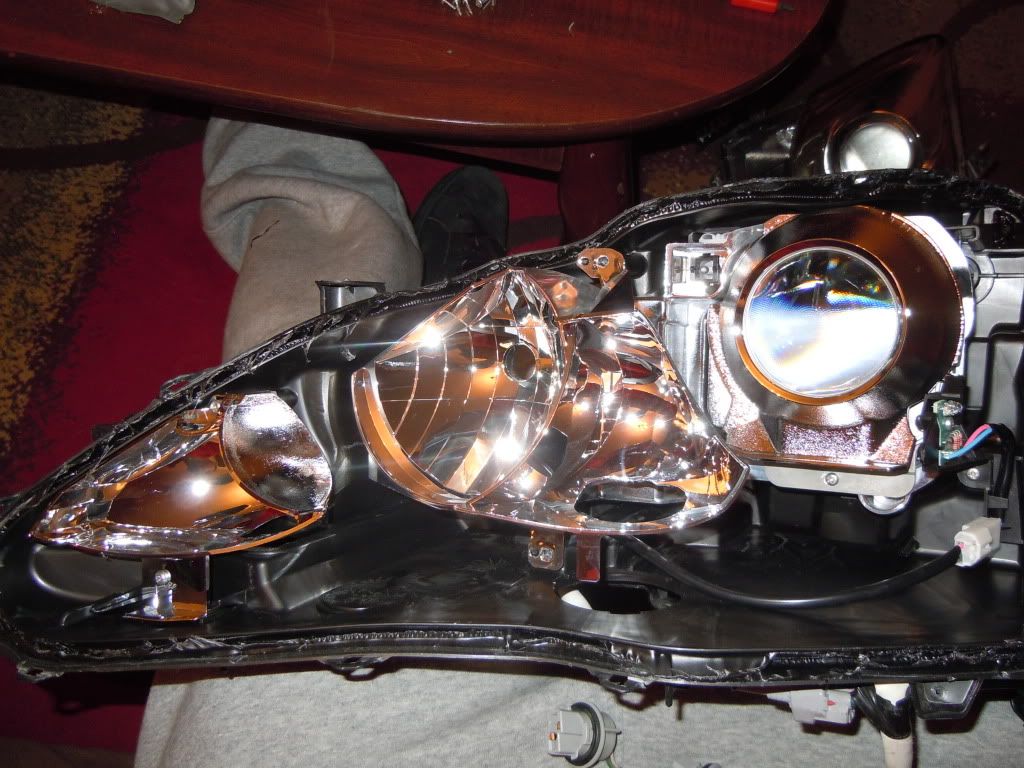
Figure 5. The light assembly, separated from the lens.
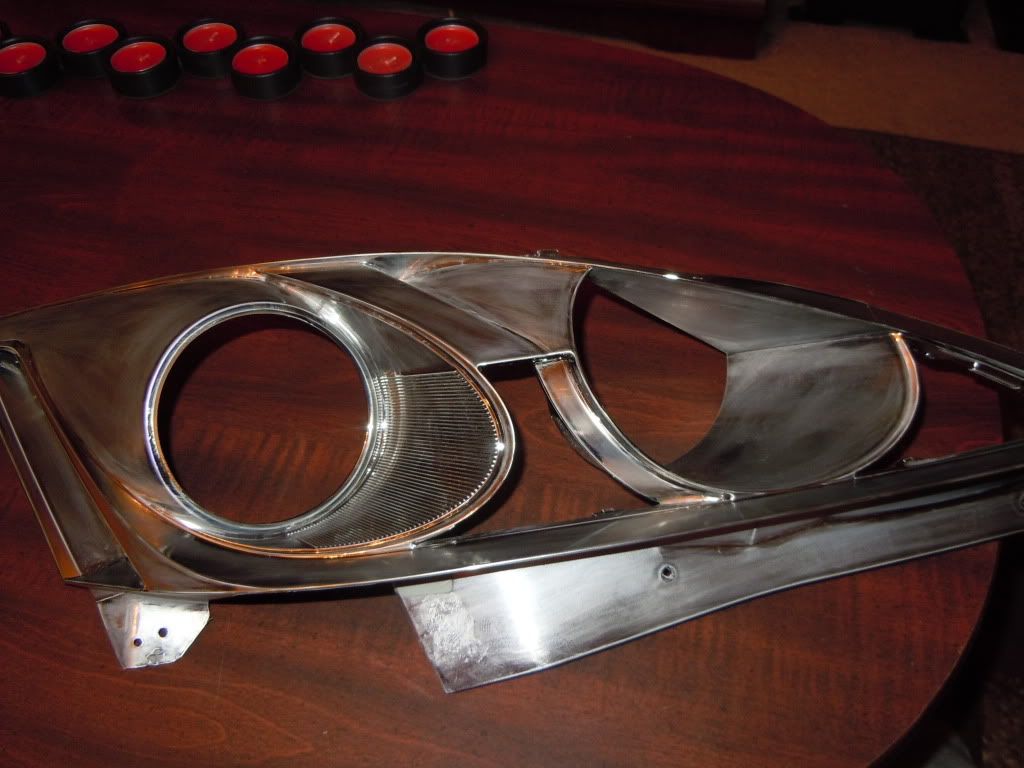
Step 5 - Separate the lens and the bezel
While the assembly is still warm, separate the lens from the bezel. Use your flathead screwdriver to pry it off very gently.
Step 6 - Clean and paint the bezel
Remove the reflector/parking light lens. Sand and clean the area so the paint sticks. Paint the bezel, then install the reflector/parking light lens back on it.
Step 7 - Reassemble the lens and light
Put the lens and the light together and then back in the oven for 17 minutes. Remove the assembly from the oven and squeeze it together while aligning the light.
Pro Tip
Keep the second light in tact and in the car for a reference as to where screws and wires go.
Step 8 - Install the light
Assembly is the reverse of removal.

Related Discussions and Site
- DIY for HALO Fans - ClubLexus.com
- Headlight/Turn Signal Removal DIY - ClubLexus.com
- DIY ISX50 Black Headlights - ClubLexus.com
- Lexus Halo Kits - Automotivelightstore.com