Lexus ES: How to Replace Your Timing Belt
A timing belt replacement is an expensive procedure at the dealership. For those with an aging Lexus ES, who don't want to spend the coin, can do it themselves at home with this guide.
This article applies to the Lexus ES (1991-2006).
Replacing the timing belt on a Lexus ES is not a trivial matter. This repair is recommended for experts because there is a lot to consider. In addition to reading this article, it is highly recommended that you view the YouTube video in order to understand the size of the task.
The procedure is complex because there are three covers and a number of other components that must be removed to access the belt. In addition to the removal complexity, there are a number of belt and belt gears alignments that are required. If any mistakes are made, the valve sequence could be out of place. If the valves contact the pistons, a major engine repair will be needed. Also, there are special tools needed for this repair. The knowledge, cost of the tools and the labor makes the professional cost of a repair shop justifiable. Again, this is not a repair that is recommended for beginners or novices.
While the timing belt is off, it is recommended that you replace the water pump. Also, replace the seals on the camshafts in order to save yourself the headache of future repairs.
Timing belt replacement is an interval maintenance requirement for Lexus vehicles. This repair should run you under $400 and to replace the water pump will cost between $343 and $441.
Pro Tip
Owners of Lexus ES 350 and 300h models do not have timing belts. Their engines are equipped with timing chains that do not require specific maintenance.

Materials Needed
- 10mm, 12mm and 22mm socket kit
- Seal pullers and camshaft seals (recommended)
- Paint can opener
- Breaker bars
- A mirror (to view hidden belts behind components)
- Jack and jack stands
- Wheel puller (to remove pulleys, harmonic balancer and timing gears)
Step 1 – Remove engine dampener and bracket
Loosen the bolts on the engine bracket. Remove the “Dog Bone” engine dampener, bracket, and strut bar.

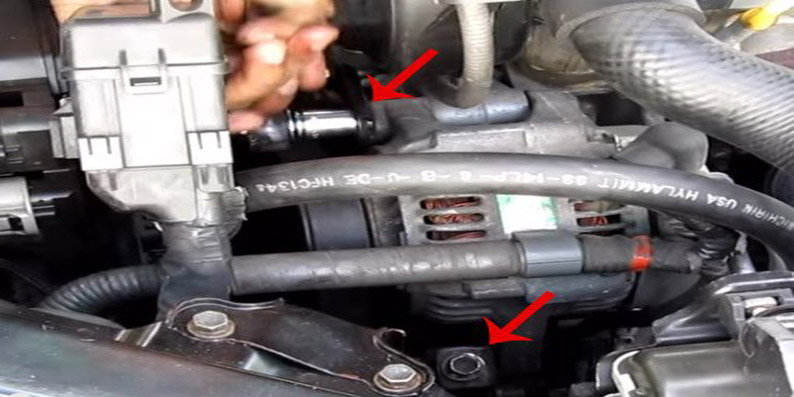
Step 2 – Remove alternator
Remove the alternator pivot bolt and remove the alternator. Extract the alternator belt. Remove the 12mm nut from the bottom of the stud, which is located on the alternator bracket. Remove the alternator bracket.
Step 3 – Removing timing belt covers
Unclip the the wiring harness attached to the timing belt cover. Using your hand, remove the plastic clips that are holding the timing belt cover.
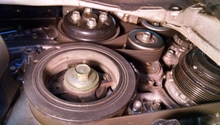
Remove the passenger side front wheel. Then, remove the splash plate behind it by removing the two 10mm bolts. Loosen the 12mm bolt that holds the power steering pump belt tensioner and pull off the power steering belt. Switch to a 22mm socket and remove the crank bolt. A breaker bar may be necessary to remove the crank bolt.
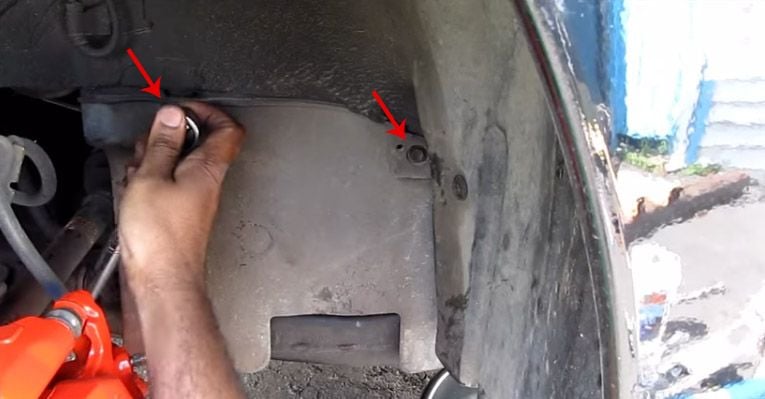
Figure 3a. Locations of the 10mm bolts. 
Figure 3b. Loosen the 12mm bolt and then remove the 22mm bolt.
Pro Tip
If you're having trouble breaking the bolt off the pulley, attach the socket to a breaker bar and place it on the bolt with the handle braced against the control arm. Disconnect the ignition and blip the starter. The pulley will rotate clockwise and break the bolt.
Step 4 – Remove timing belt covers and plates
Remove the second timing belt cover from the bottom of the engine. There are several 10mm bolts holding the cover to the engine. Remove those bolts, and the cover will come straight off.
With the timing belt cover off, pull the timing belt guide. Note which side faces the engine and mark this with a marker if necessary. Then, remove the 10mm bolt securing the timing gear guide.
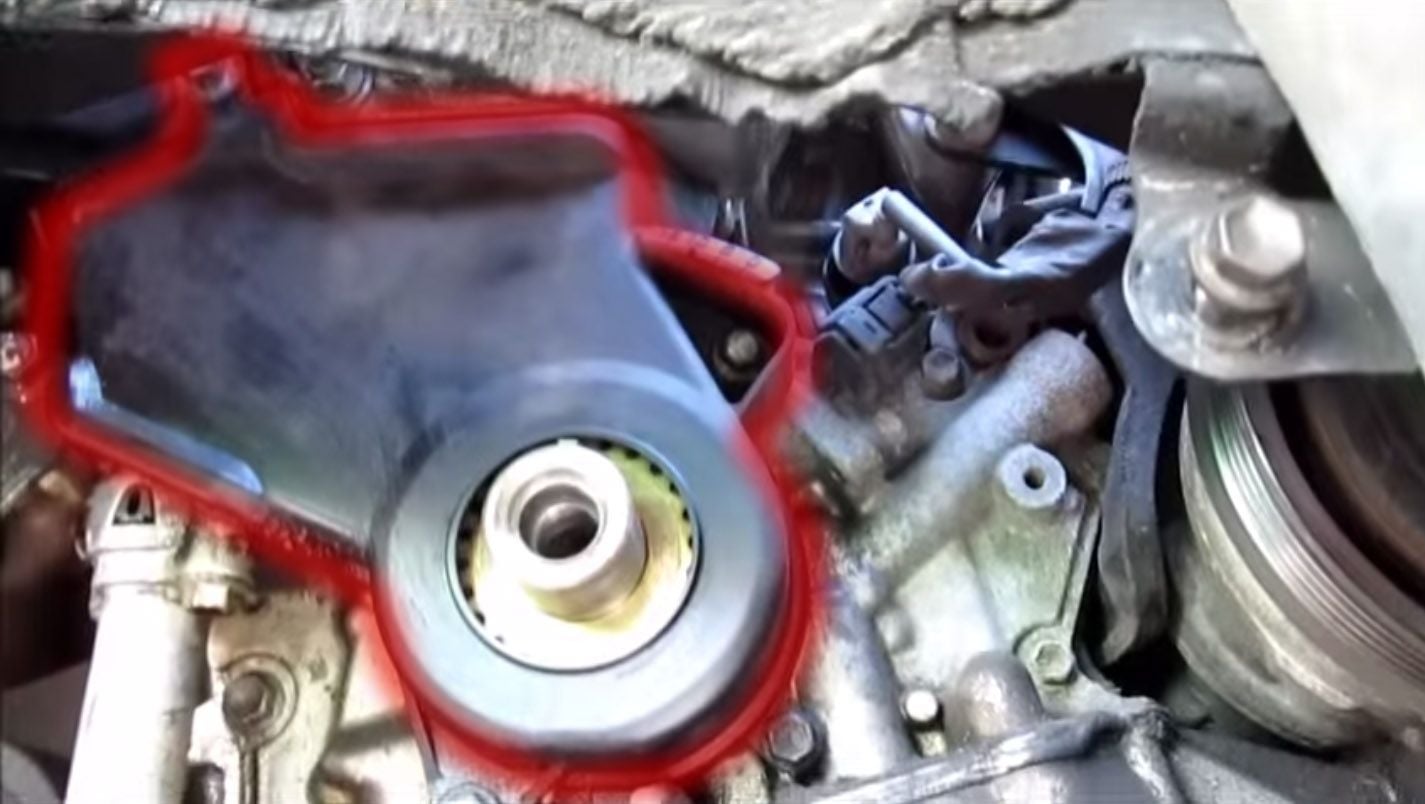
Figure 4a. Lower timing belt cover. 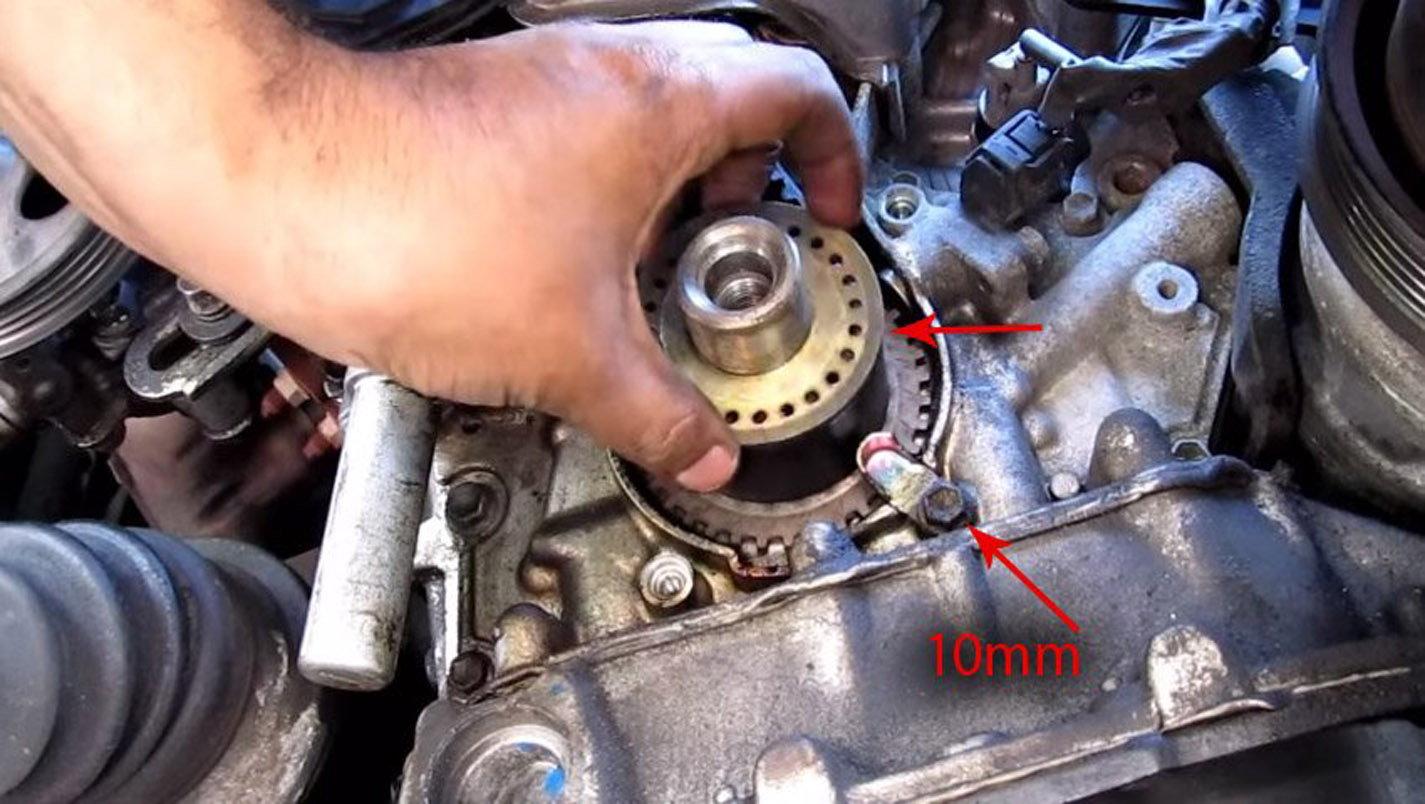
Figure 4b. Timing belt guide (top) and timing gear guide (bottom).
Remove the five 10mm bolts securing the upper timing belt cover. Then, remove the engine bracket by unscrewing the two 12mm bolts that hold it in.
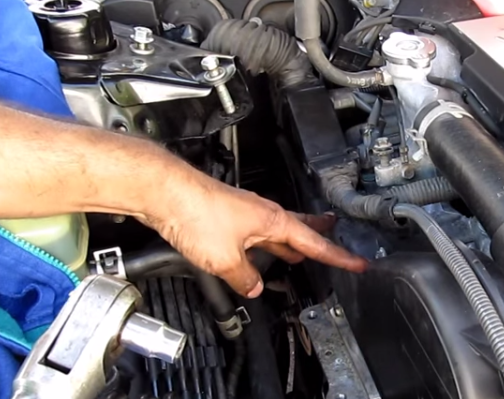
Figure 5a. Upper timing belt cover. 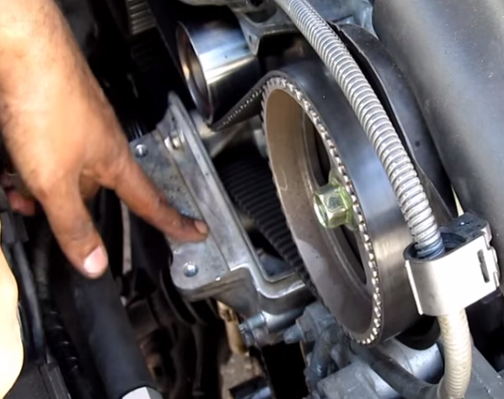
Figure 5b. Engine bracket.
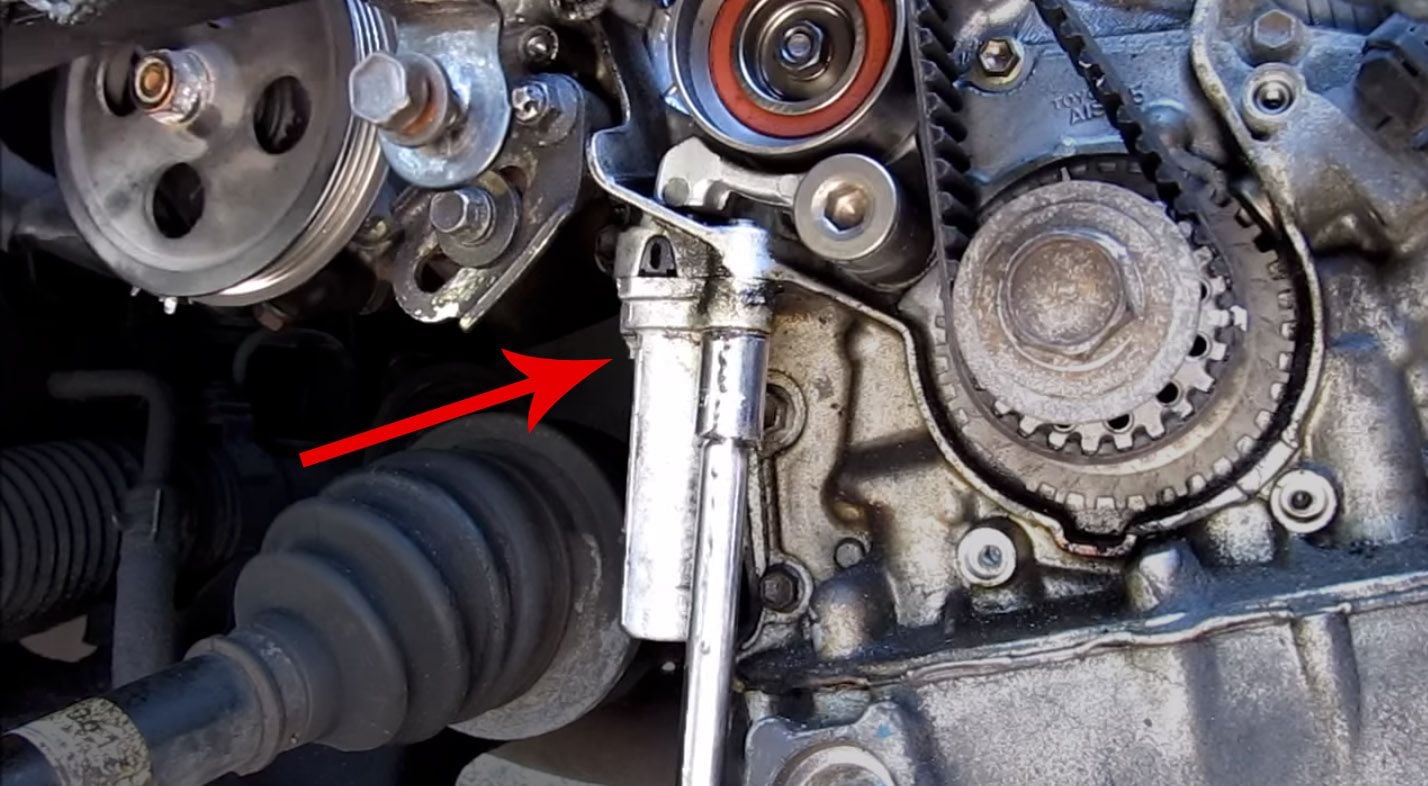
Step 5 – Mark timing gears and belts
Use two breaker bars to break the camshaft bolt loose. Place one on the timing belt tensioner and the other on the camshaft bolt.
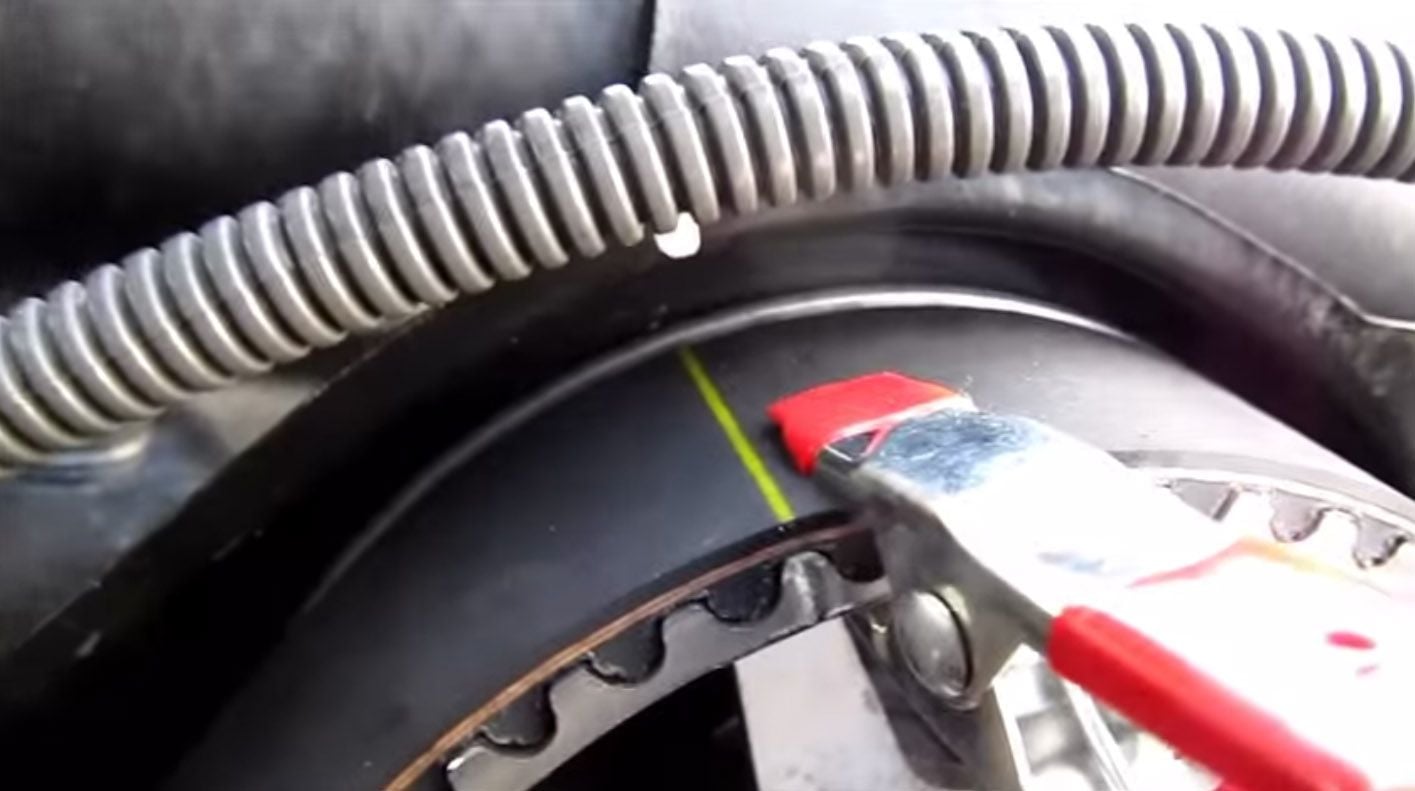
Re-install the crank bolt and use it to align the engine to the top dead center. There's a line on the crank shaft that aligns with a notch on the engine block. The timing belt aligns with the mark on the timing gear, which is on the crankshaft. This is your second alignment mark for getting the crankshaft to the top dead center and it will function as a reference when re-installing the belt.
When the crankshaft is at the top dead center, mark the camshaft gears and timing belt cover with a reference point. All these marks should match up when re-installing.
Like the front, the mark should align the gear, belt, and a reference point of the engine for re-installing.
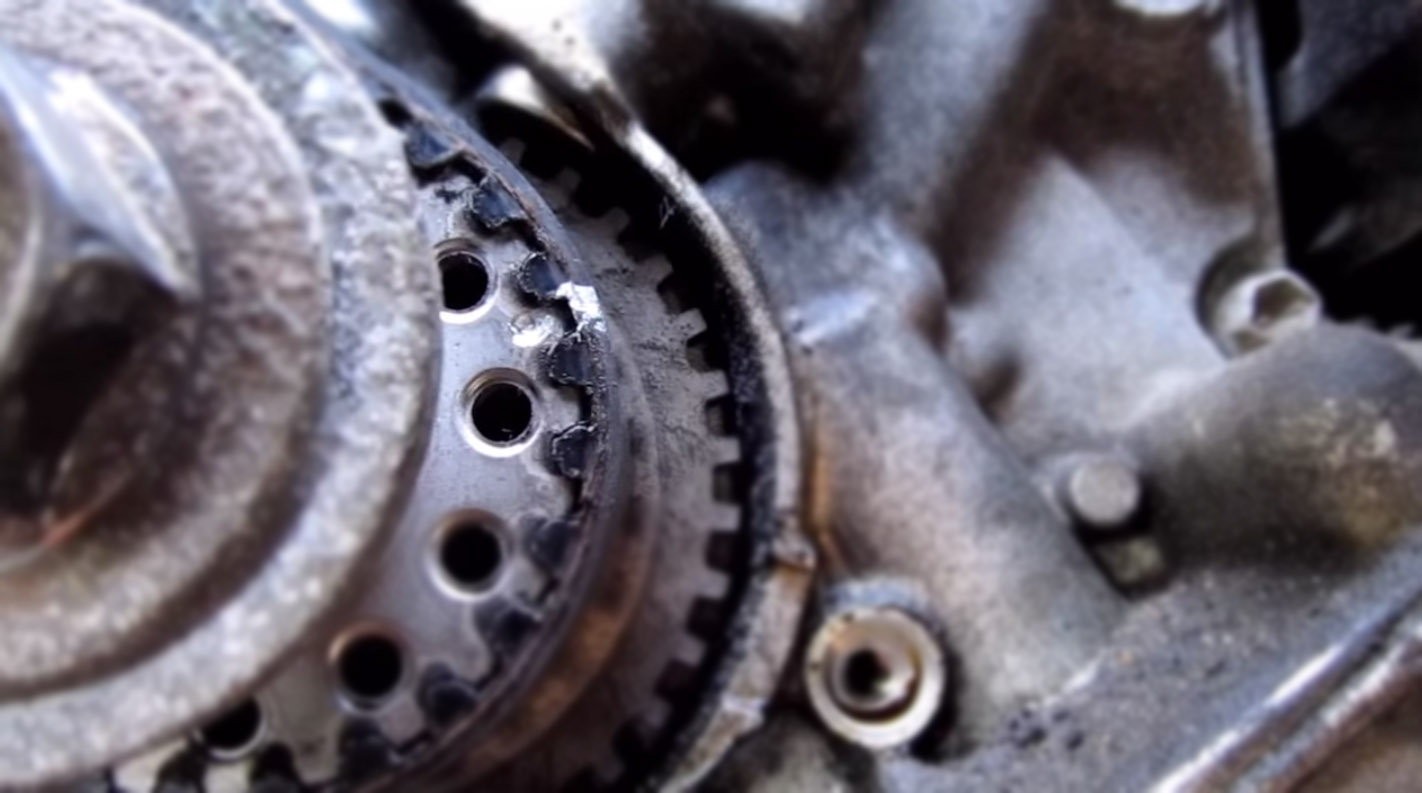
Figure 6a. Timing belt crankshaft gear mark. 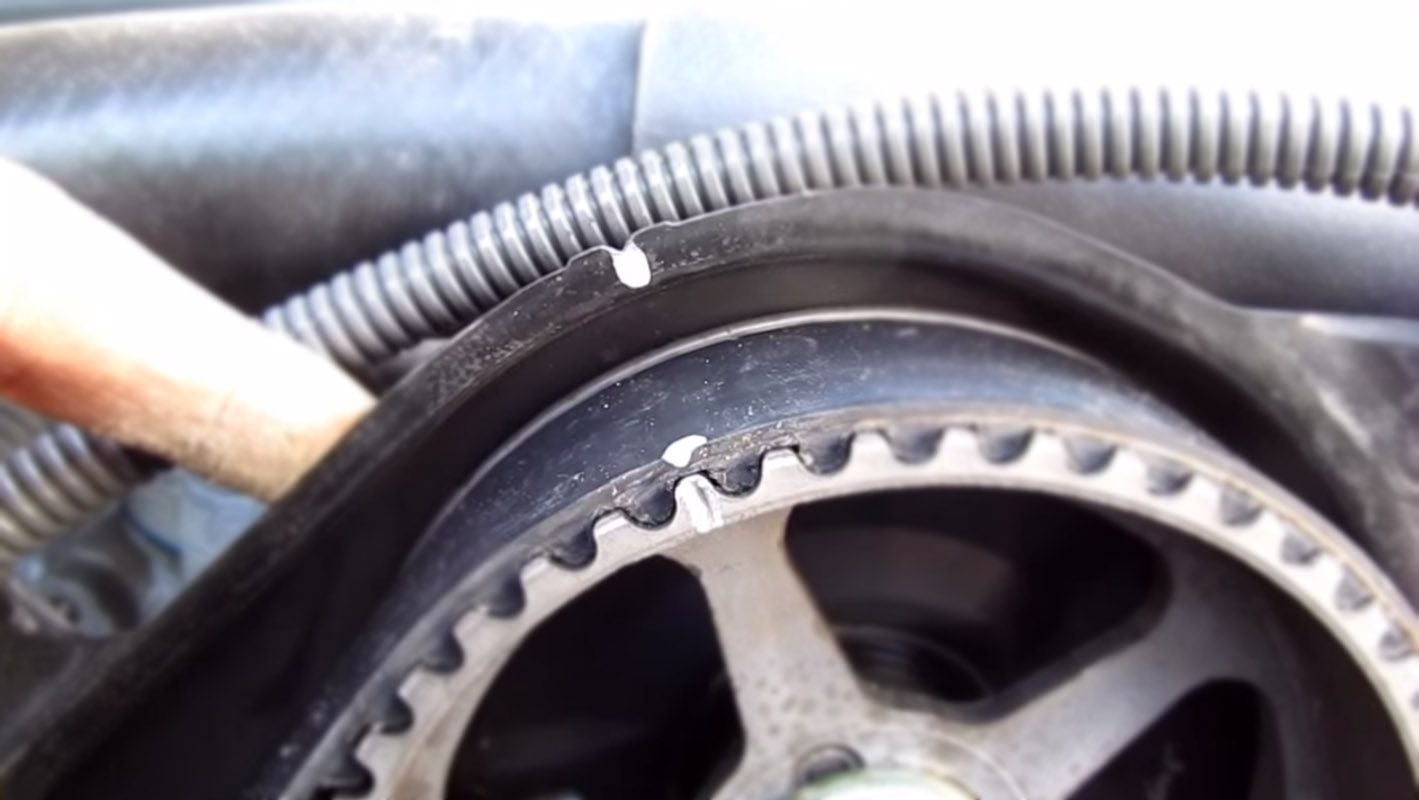
Figure 6b. Camshaft gear timing marks.
Pro Tip
Use a mirror to align the rear camshaft because it is difficult to see.
Step 6 – Remove timing belt
Use a socket to release the timing belt tensioner, so that you can remove the timing belt. Remove the timing belt from the crankshaft gear and also the camshaft gears.
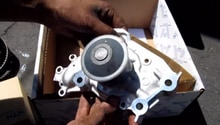
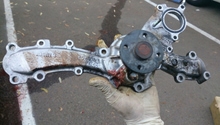
Step 7 – Install water pump
It's recommended that you install a new water pump at the same time as timing belt swap. It's a difficult part to get to, so save yourself the time by doing it all at once.
(Related Article: How to Replace Water Pump - ClubLexus.com)
Step 8 – Install timing belt
Make sure the marks on the gears and the marks on the timing belt cover align. If they don't, rotate the camshafts via the camshaft gear until they do.
Working your way forward to the front camshaft, install the new belt on the rear camshaft. Make sure the marks on the belt align with the marks on the belt gears. The mark on the timing belt should also align with the mark on the crankshaft.
Re-install the timing belt tensioner. Once you verify the timing marks, release the key pin from the timing belt tensioner. While watching the timing belt, use the 22mm socket on the crankshaft bolt to turn the engine over twice. Check the belt for proper tension and alignment on the shafts as it travels.
Step 9 – Finishing up
- Re-install the engine bracket and tighten the two 12mm bolts and nuts.
- Re-install the upper timing belt cover. Replace and tighten the five 10mm bolts that hold the cover on.
- Replace the lower timing belt cover with the four 10mm bolts that hold it.
- Replace the harmonic balancer and tighten it to the specified torque rating.
- Re-install the power steering belt.
- Re-install the alternator and its hardware.
- Replace the engine mount bracket. This bracket has two long 14 mm bolts and one short 12mm bolt.
- Replace the “Dog Bone” engine mount and two 4mm bolts that hold it.
- Replace the splash plate and two 10mm bolts that hold it.
- Replace the front tire. Torque the tire to the specified value and lower the car off the jack stands.
- Re-install the strut bar above the engine.
- Start the engine to look for anything loose and listen for any abnormal sounds.
- Test drive the vehicle. When you return from your drive, check for any fluid leaks under the vehicle. Record the mileage of when the belt was replaced on the belt cover.
Featured Video: Timing Belt and Water Pump Replacement
Related Discussions and Site
- ES300 Timing Belt Costs - ClubLexus.com
- When to Replace ES300 Timing Belt - ClubLexus.com
- Timing Belt Replacement Cost for Lexus ES330 - RepairPal.com