Lexus ES: How to Replace Exhaust and Catalytic Converter
Replace your exhaust and diagnose a bad catalytic converter from the comfort of your driveway.
This article applies to the Lexus ES (2007-2014).
Replacing the stock exhaust with an aftermarket system is relatively easy on your Lexus. The most difficult aspect of this job is getting the clearance under the vehicle if you do not have access to a lift. Removing and replacing the catalytic converter is a little bit harder and a bit more expensive. If you have the skills to do this yourself, it will be much less expensive than going to a dealership or other professional. A few tools and a couple hours are all that's needed to get this job done.

Materials Needed
- 15mm socket with extension
- 3/8" ratchet
- Pry bar
- Torque wrench
- Silicone spray lubricant
- Bi-directional scanner tool
- Infrared temperature gauge
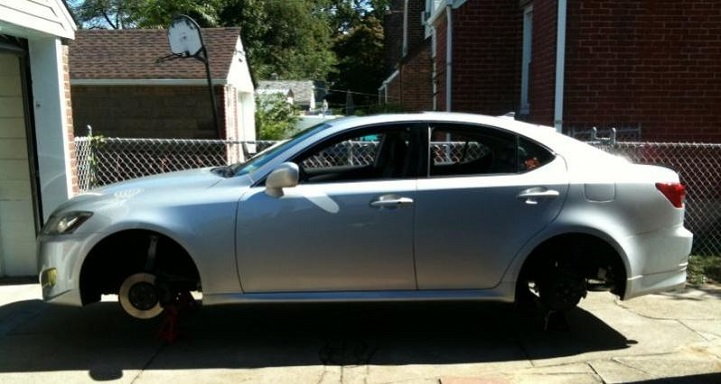
Step 1 - Put the vehicle on jack stands
Warning
Before starting, make sure that your exhaust system has fully cooled down.
It is best to use a hydraulic lift for this job as there needs to be plenty of clearance under the car. Most people don't have access to a two-post lift, so jack stands will do. Make sure the vehicle is on a level working surface and supported by jack stands at all four corners of the vehicle. Wear goggles while doing this work as plenty of debris will be falling throughout the job.
(Related Article: How to Jack Up Your Lexus - ClubLexus.com
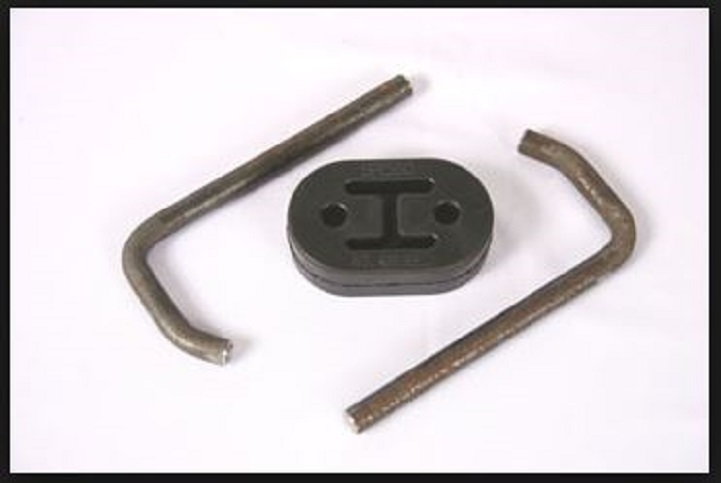
Step 2 - Lubricate the hangers and rubber isolators
Use the silicone spray lubricant to spray a generous amount on each hanger and isolator. This will keep the rubber supple to avoid cracking and breaking of the metal, which will likely be rusty. If they do crumble or break, replacement kits are relatively inexpensive.
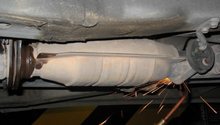
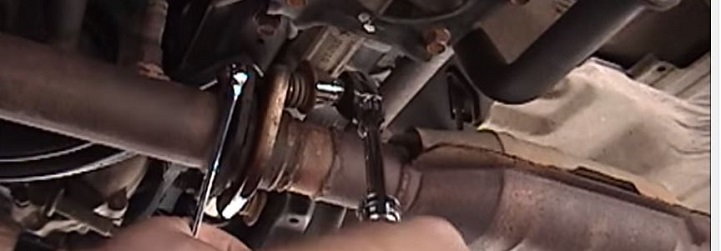
Step 3 - Remove the muffler
Remove the bolts from the rear muffler flanges, which are located on the right hand side behind the muffler. A pry bar or a rubber mallet may help facilitate the removal of the muffler. Set the muffler aside. If you do not have a problem with your catalytic converter, install the new muffler now. If not, continue to Step 4 to determine if the catalytic converters need to be replaced, too.

Step 4 - Diagnose with your bi-directional scan tool
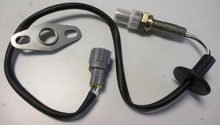
Plug in the bi-directional scan tool and start the engine. Take the reading for your O2 sensors with the car at about 2,000 RPMs. The front O2 sensor should change voltage levels pretty rapidly back and forth. The secondary O2 sensor is the important one to look at. It should remain relatively steady compared to the primary, at about one-half of a volt. If this step fails, it is likely you have a bad catalytic converter, but you cannot completely rule out a bad O2 sensor at this point. To do that, you will need to go to Step 5.
Pro Tip
It is going to be loud without the muffler. If the noise is going to be a problem, either do this step first or install the new muffler first.
Featured Video: Diagnosing a Bad Catalytic Converter
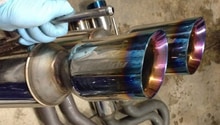
Step 5 - Take inlet and outlet port temps on catalytic converter
Take the temperature of the catalytic converter after verifying low or bad secondary O2 sensor readings. Ideally, they should operate in the 1,200 to 1,600 degree Fahrenheit range. These will not read anywhere near the 1,200 degree internal temperature of the converter; however, the outlet port should always read higher than the inlet port. Make sure that the reading isn't coming from the heat shield. If the inlet temperature is reading hotter than the outlet temperature, the catalytic converter is not working properly. Go on to Step 6 to remove the converter.

Step 6 - Remove the catalytic converter
Warning
If you ran the catalytic converter test with the bi-directional scanner and temperature tools, be sure to let your car cool down for at least 30 minutes before removing the catalytic converter. This area of your car will be extremely hot.
This is going to be a more difficult task to accomplish than the muffler replacement because of the higher temperatures a catalytic converter experiences. Rust also plays a big factor here. Hopefully, you will not need a cutting torch to do any of this work, but that might be the easiest way to replace it if the bolts are too seized.
The converter will have access points before and after it. These attach the converter to the exhaust pipes on either end and are held in place by two bolts on each end. Soak the nuts and bolts in WD-40 while you work on the rest of the project. The heavy catalytic converter will likely just fall to the ground after removing the bolts, so take care when removing it. Support one end with something while you remove the bolts from the other side so it doesn't swing down and bend the coupled section from the other end. If this happens, you may have to replace the exhaust section from that end to its terminating point.
Once removed, check the remaining pipe and fittings for any cracks or damage. It would be a good idea to correct those issues now before they become worse. Once the converter has been replaced, continue to install the muffler if that hasn't been done already.
Related Discussions and Sites
- Has Anyone Had to Replace Their Catalytic Converter? - ClubLexus.com
- Code P0430 Catalytic Converter Question - ClubLexus.com
- Almost Messed Up My Car With Jack Stands - ClubLexus.com
- How to Replace a Catalytic Converter - YouTube.com
- P0420 How to Diagnose a Bad Catalytic Converter - YouTube.com
- Toyota Camry Sport Exhaust - CDNShopify.com