Lexus IS: How to Replace Your Exhaust
Change the personality of the Lexus IS by swapping out the factory unit for an exciting, sporty exhaust.
The first key to increasing power at modest cost isn’t a turbo or supercharger; it’s the exhaust system. “Get the air in, get the air out," Lingenfelter always said. It’s still true. Crawl under your car and get more air out!

Materials Needed
- Four jack stands
- Hydraulic floor jack or scissor jack
- Socket wrench
- Socket set
- Creeper
- Loctite blue
- PB blaster
Step 1 – Lift and secure the car
Unless you own a hoist, you'll need to be flat on your back on a creeper or sheet of cardboard. Use a hydraulic or scissor jack to lift each corner. Place a jack stand beneath a factory designated point (see user manual for jack locations, use them) before releasing jack tension.
Warning
Do NOT skip or skimp with jack stands. Cars are heavy and people are fragile.

(Related Article: How to Jack Up Your Lexus - ClubLexus.com
Step 2 – Lay out the new exhaust system
Every manufacturer delivers slightly different hardware. In general, pipes are secured with U-bolts or flange bolts. Every exhaust maker supplies different nuts and bolts. Typically, manufacturers will have the contents listed on their website. Be sure you have the correct sockets or ratcheting box ends to fit before buying.
Pro Tip
Use blue Loctite thread locker for your bolts. Do NOT use red (601) thread locker or else the next person working on the exhaust will find it extremely difficult.

Step 3 – Remove old system, starting at the tail pipe
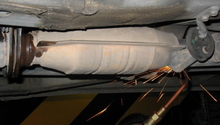
Support the first junction, loosen the fasteners and remove the tail pipe and (likely) the resonator. The exhaust will hang from rubber donuts. If these are cracking or degraded, replace them with OEM hardware. Support each piece ahead of the exhaust section you're removing and support the rear of the exhaust section you're removing with jack stands. Spray with penetrating oil like Kroil, ProLong SPL 100, or SuperZilla. If necessary, a MAPP gas or oxyacetylene torch may be needed to remove the old nuts.
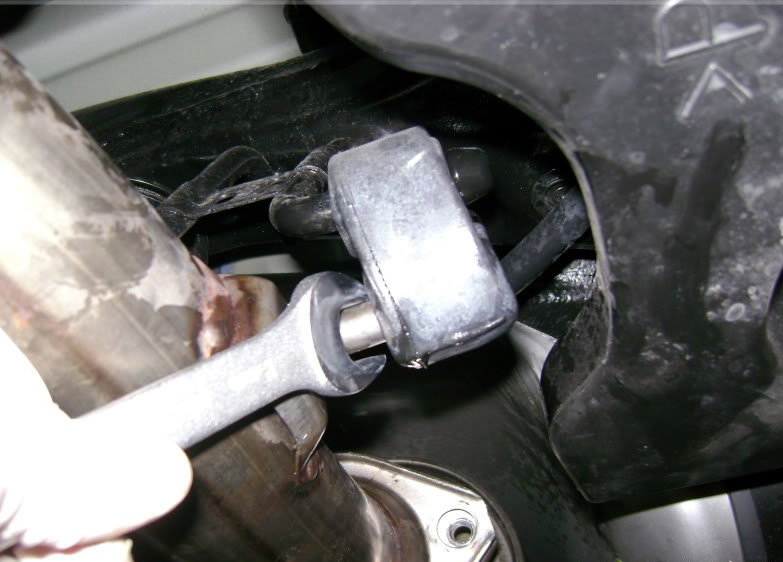
Figure 3a. Remove the exhaust from the rubber hangers. 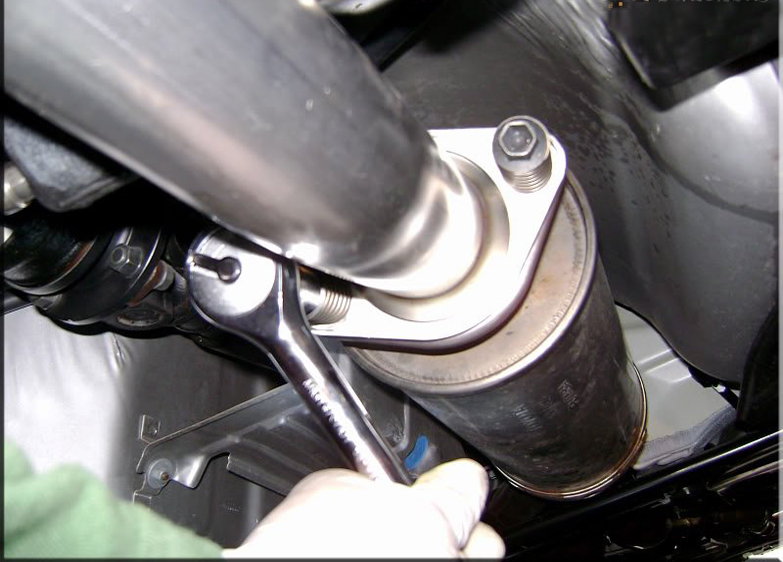
Figure 3b. Remove bolts securing exhaust.
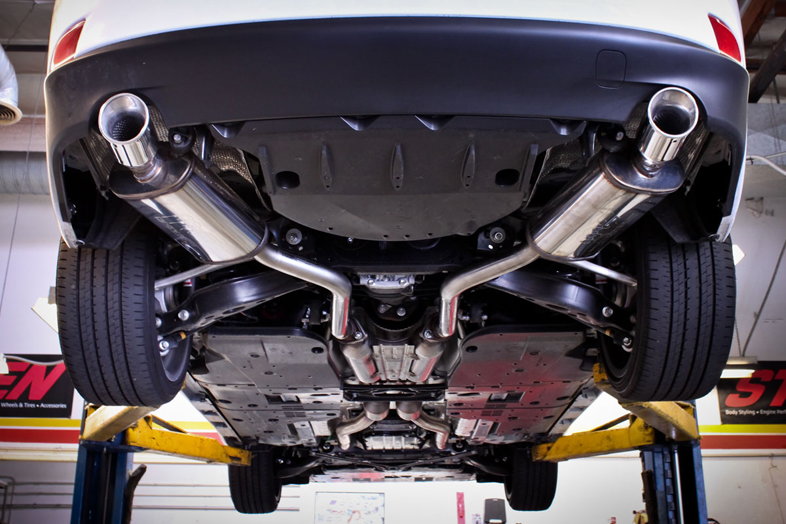
Step 4 – Replace system, starting at catalytic converter downpipe
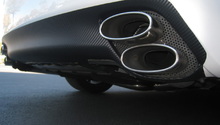
Loosely fit the first pipe(s) to each downpipe and secure finger tight. Support the loose end before adding additional parts. Once all pipes, mufflers, resonators, or x-tubes have been installed and aligned properly, torque to manufacturer's specification. If none is given, assume Grade 3 fasteners, torque to 30 pound-feet, and use thread locker. Reread the manual, check for leftover parts, then polish those shiny new exhaust tips and let the engine roar!
Pro Tip
The only "approved" system for your IS is the F Sport Accessory Exhaust. If you have a dealer installation, it carries a 12 month/12,000 mile warranty or the balance of your new car warranty at the time of installation (4 years/50k miles at purchase). If it's a DIY installation, the F Sport system carries only 12 months/12,000 miles.
Related Discussions
- Lexus IS F Greddy Cat Back Exhaust - ClubLexus.com
- IS 250 Greddy Exhaust Install - ClubLexus.com