When you click on links to various merchants on this site and make a purchase, this can result in this site earning a commission. Affiliate programs and affiliations include, but are not limited to, the eBay Partner Network.
-Pull the spark plugs to make turning the crank easier.
-Do not remove the power steering pump.
-Do not remove the A/C compressor. On the �Stay� (the L shaped bracket on the right, lower side of the compressor) there is a nut and a bolt. That bolt needs to be removed because it screws into the Idler Pulley Sub-Assy #1. I had also unscrewed the wire clamp on the upper right side of compressor. That wire bracket sits on top of the compressor and it�s left most side is in the way of the Idler Pulley Sub-Assy #1. Some folks have had trouble removing the 2 Phillips head screws of the wire bracket and have instead bent the left side of the bracket to clear the sub-assy. I initially tried a screw driver but quickly realized I needed to use an old trick I learned. Use a Phillips bit and a small � inch drive socket wrench. First tap the bit into the screw with a hammer, to get it to seat real tight. Then attach the socket wrench and break it free. I have found you can get much better leverage this way versus a screwdriver. I will say that when it came time to pull the Idler Pulley Sub-Assy #1 off, it was hitting the A/C pulley. For a minute, I thought I would have to move or remove the compressor. But if you angle the sub-assy just right, it will clear the A/C pulley.
Fast forward to the point where the covers are off the cams, and you can see the belt. I won�t talk about reusing the old timing belt. Personally, I think if you have made it this far you would be crazy not to install a new belt.
-Start with the engine in a perfectly timed position. The easiest way to assure this is to use the car manufacturers #1 cyl TDC timing marks. Make sure it is on the power stroke (TDC) and not BDC.
-Put the engine in a SAFE position, so if a cam or crank rotates while taking the belt off�no valves will bump into a piston face. To do this, rotate crank CCW by about 50 degrees. Why 50 degrees and why CCW? Every 90 degrees of crank turn puts another set of pistons at TDC. Right now at #1 TDC, #1 (and I think #6), are at TDC. So backing that off by about 50 is putting them back down into the cylinder roughly halfway�pretty safe. Would 45 work? Would 40 work? Yes, but 50 degrees is easy to see because at that point, the crankshaft v notch and key, will be at the 12 o�clock position. That�s the only reason I can think of as to why the manufacturer says BTDC vice ATDC. It�s easier to see that 12 o�clock position. If you chose to go CW, how would you reference that and be able to easily see where 50 CW is?
-Take the belt off.
* In my own experience, after having it at 50 BTDC, as I took the belt off, I started with the RH cam first (because it doesn�t have the front plate, you can slide the belt right off (with a little effort). I then tried to work CCW, but it was too hard (too much tension) on the crank sprocket, so I worked CW instead. Off the water pump then off the LH cam, and then finally off the cranks. At some point in the process (I didn�t readily notice when), I felt or heard the LH cam rotate CCW, like it was a spring unloading. It had rotated about 30 degrees! I was definitely not prepared for anything to move. Nothing in the manual or instructions about that potential. Later figured out it was because a combination of valve spring pressure (some are loaded up a bit) and the lobe shape of cams. It doesn�t take a lot of pressure for a cam to fall off a lobe.
-Install new belt. Of course it all starts with getting the cams and crank perfectly aligned at #1TDC. Use a 19mm wrench and get the cams at TDC marks. Put crank at TDC.
-#1. TRICK! Lock up the crank! After attaching the belt around the crank (CR mark on belt matched up to the dot on crank�about opposite to the key and v notch, put a socket with breaker bar on the crank bolt and position the handle of the breaker bar on some part of the engine bay that will prevent the crank from rotating CCW. Luck have it, I was able to rest the bar on the passenger side inner fender well. I also painted with white nail polish, a small marker on the crank pulley and block at the 12 o�clock position. I wanted something easy to see so as I was installing the belt I could easily glance at the 12 o�clock marks and make sure the crank wasn�t moving. Easier than bending down to see the oil pump dot, etc�
-Like the manual says, put the LH cam � tooth past TDC (CW), because trying to stretch the belt when the cam is at the TDC position is nearly impossible. I actually rotated the cam 1 whole tooth CW and was able to easily put the belt on with the LH CAM belt mark aligned to the correct cam pulley tooth.
*I think this is where the �T� mark on the cam housings come into play. I don�t think they stand for �timing.� I believe the symbol represents a valve, and that the �T� is a warning to not rotate past that point while the crank is at #1TDC. I think it is a safe marking. You could rotate cam up to it, but don�t go past it. There are 48 teeth on the cam sprocket. Divided by 360 degrees, each tooth on the cam represents 7.5 degrees of cam rotation. From #1 TDC, there are 2 teeth to get you to the �T�, 15 degrees of cam rotation. That amount of rotation of the cam shaft will not give enough valve lift to force any valve into the face of a piston that is at TDC. I think 15 degrees of cam movement results in about .08 inches of lift. Obviously all this depends on the cam lobe geometry. So, that�s what I think the �T� is for, just a warning mark about valve interference.
-With the belt on LH cam, take your 19mm closed end wrench and gently tap it CCW, back to the TDC position. Wrap the belt around the water pump pulley, and then as you approach the RH cam, �sproing!� The LH cam just rotated CCW about 2 teeth, the belt staying still because the crank is locked in. The belt and LH cam are no longer aligned. Damn! That slight CCW tension I put on the belt as I routed it towards the RH cam was all it took for the LH cam valve springs to overcome the cam lobes and pop CCW those few degrees. Long story to get to the second trick.
-When the LH cam is all set and back to TDC with the belt exactly where it needs to be�TRICK! Lock up the LH cam! I used one of those big plastic work clamps and clamped the belt to the cam, kind of at the 11 o�clock and 5 o�clock position. Now you have the crank and LH cam locked together!
-Same deal with RH cam. Rotate it 1 or 2 teeth CW, put the belt on it and then on the tension pulley. The belt is completely routed. Then wrench the cam CCW back to TDC.
TRICK! Lock up the RH cam! Put a clamp on the RH cam. Better to be safe than sorry.
-With everything locked up at exactly TDC, attach the hydraulic tensioner device with its 2 bolts. Alternate between the 2 bolts, take your time. You want the device to seat squarely in the bore of the pulley assembly, it will start to put a little tension on the belt as you screw the bolts in. Torque to 19ftlbs. Then finally, pull the pin! Grenade!!
That was it. Went smoothly. Nothing shifted.
Notes:
-The permanent timing marks are all for the #1 cylinder. For the crankshaft position, you have the �dot� like protrusion near the oil pump, and the �v shaped notch� on the rear end of crankshaft sprocket. When the notch is aligned to the dot (which is at about the 2 o�clock position), the crankshaft is either at BDC or TDC.
-A brand new belt has 3 markings on them. They exist because there are an exact number of belt teeth that must go between each of the mounting points on the cams and crank. Between the two cams, RH, around water pump, to LH, there are 71 teeth on the belt.
-You probably knew this, but I didn�t!
With the engine absolutely at #1TDC, not a hair off, I put my new timing belt on, with the manufacturers marks on the belt (RH Cam, LH Cam and CR) exactly where they needed to go. I released the hydraulic tensioner and now with the belt taught, everything stayed exactly where it was supposed to! There�s a cool trick I used that I�ll mention later, but here�s the deal. When I then turned the crank 2 full revolutions to confirm everything was in fact as great as I thought it was, when I reached #1TDC two crank rotations later�the marks on the belt were no longer there! Holy crap I thought, I just screwed everything up. What happened to the belt marks!! I kept turning the crank, still no belt marks. Oh, there they are, I see them, going around the water pump pulley. Kept turning, watching the belt marks navigate their way around the loop. I stopped counting crank turns, and eventually the belt marks made their way, 1 full lap around the track, back to starting position�but they weren�t pointing at the CAM pulley timing marks anymore. Took me many moments of mental anguish to figure out that this is a geometry/math phenomenon. Crank pulleys have 48 teeth, crank shaft has I don�t know how many, and the belt has a couple hundred teeth. There�s probably some astronomical magical formula for figuring out how many crank turns before the sun, moon and Earth align. Point is, it doesn�t matter as long as you installed it correctly, it has the right tension on it and of course that it is the right belt.
-Pull the spark plugs to make turning the crank easier.
...
-With the belt on LH cam, take your 19mm closed end wrench and gently tap it CCW, back to the TDC position. Wrap the belt around the water pump pulley, and then as you approach the RH cam, �sproing!� The LH cam just rotated CCW about 2 teeth, the belt staying still because the crank is locked in. The belt and LH cam are no longer aligned. Damn! That slight CCW tension I put on the belt as I routed it towards the RH cam was all it took for the LH cam valve springs to overcome the cam lobes and pop CCW those few degrees. Long story to get to the second trick.
-When the LH cam is all set and back to TDC with the belt exactly where it needs to be�TRICK! Lock up the LH cam! I used one of those big plastic work clamps and clamped the belt to the cam, kind of at the 11 o�clock and 5 o�clock position. Now you have the crank and LH cam locked together!
-Same deal with RH cam. Rotate it 1 or 2 teeth CW, put the belt on it and then on the tension pulley. The belt is completely routed. Then wrench the cam CCW back to TDC.
TRICK! Lock up the RH cam! Put a clamp on the RH cam. Better to be safe than sorry.
...
Your write-up is great.
In fact, I wish you had written this up about 5 years ago when I did a T-belt on a LX-470. I ended up using the same solution as you, but not until several frustrating attempts to do it without the clamps. I thought I was going to have to have to towed to a shop and beg for help with a half-done job.
Thanks for the compiments. Hard to put amount of time on this. I am lucky enough to have other vehicles to use, so it is not urgent that I get it done quickl? I actually just did about 2 hours today putting things back together. What started rhis whole thing was radiator crack. Naturally, with 175K miles on car, I decided to do timing belt, new hoses, water pump, valve cover gaskets, etc. So I have probably put a good 10 hours in it so far?
Nice write up. I did mine twice in one week. Made the mistake and used a gates belt the first time and it was noisy. First time was 8-9 hours on jack stands.
Went and got a Toyota belt And zipped everything back off with 1/4� air ratchet. Toyota belt reinstalled without water pump (did that 1st time) was two hours. I used a puller and pulled the power steering pulley each time.
Yikes, twice in one week, I couldn't take that. Sometimes I get sick of working in the cars, but then it passes and I am back into some type of maintenance or repairs.
I wrapped eveything up on the timing belt, radiator, pump, valve cover gaskets, etc, this morning. Geat test drive, all is well. Except, I almost made anhuge Meathead Mistake...I am good at making them. When I was putting the transcooler lines back on radiator, the first one I quickly took my tape plug off the line and shoved it on the radiator. The aecond line, took tape off and took the golf tee plug out and put that on. Oh, oh. forgotnInput golf tees in as plugs. I didnt take it out of first line. I almost said, maybe I only used one tee in one line.....no, take off the first one and it was jammed up in the hose. Had to massage it out. What a disaster that would have been! Meathead!
Yea, sometimes you get to the point where you aren't thinking straight and the little gremlins emerge.
As I've gotten old(er) I've learned to recognize when it's time to call it a day and start again with a fresh head. Unfortunately, that time gets earlier and earlier....
This is exactly what I went thru!! I felt so demoralized when the marks on the belt wouldn�t sync up. I couldn�t figure out what I could have done wrong? And the first time my cam sproinged an unknown amount of rotations on me, it was the only time I have gotten drunk in the last 30 years� I was able to get it straightened out, just as you did but I couldn�t find a single paragraph anywhere on the web that covered these rookie mistakes. I am going to PM u the next time I have the urge to get a bottle, probably feel much better the next day if I go this route.
Yikes, twice in one week, I couldn't take that. Sometimes I get sick of working in the cars, but then it passes and I am back into some type of maintenance or repairs.
I wrapped eveything up on the timing belt, radiator, pump, valve cover gaskets, etc, this morning. Geat test drive, all is well. Except, I almost made anhuge Meathead Mistake...I am good at making them. When I was putting the transcooler lines back on radiator, the first one I quickly took my tape plug off the line and shoved it on the radiator. The aecond line, took tape off and took the golf tee plug out and put that on. Oh, oh. forgotnInput golf tees in as plugs. I didnt take it out of first line. I almost said, maybe I only used one tee in one line.....no, take off the first one and it was jammed up in the hose. Had to massage it out. What a disaster that would have been! Meathead!
congratulations on completing this massive job.
since you saved $800-$1000 on labor, reward yourself with a couple of tools for the future.
these are cheap, easy to use and can almost guarantee that “almost mistake” won’t be made again.
More cool and inexpensive tools available on Amazon!
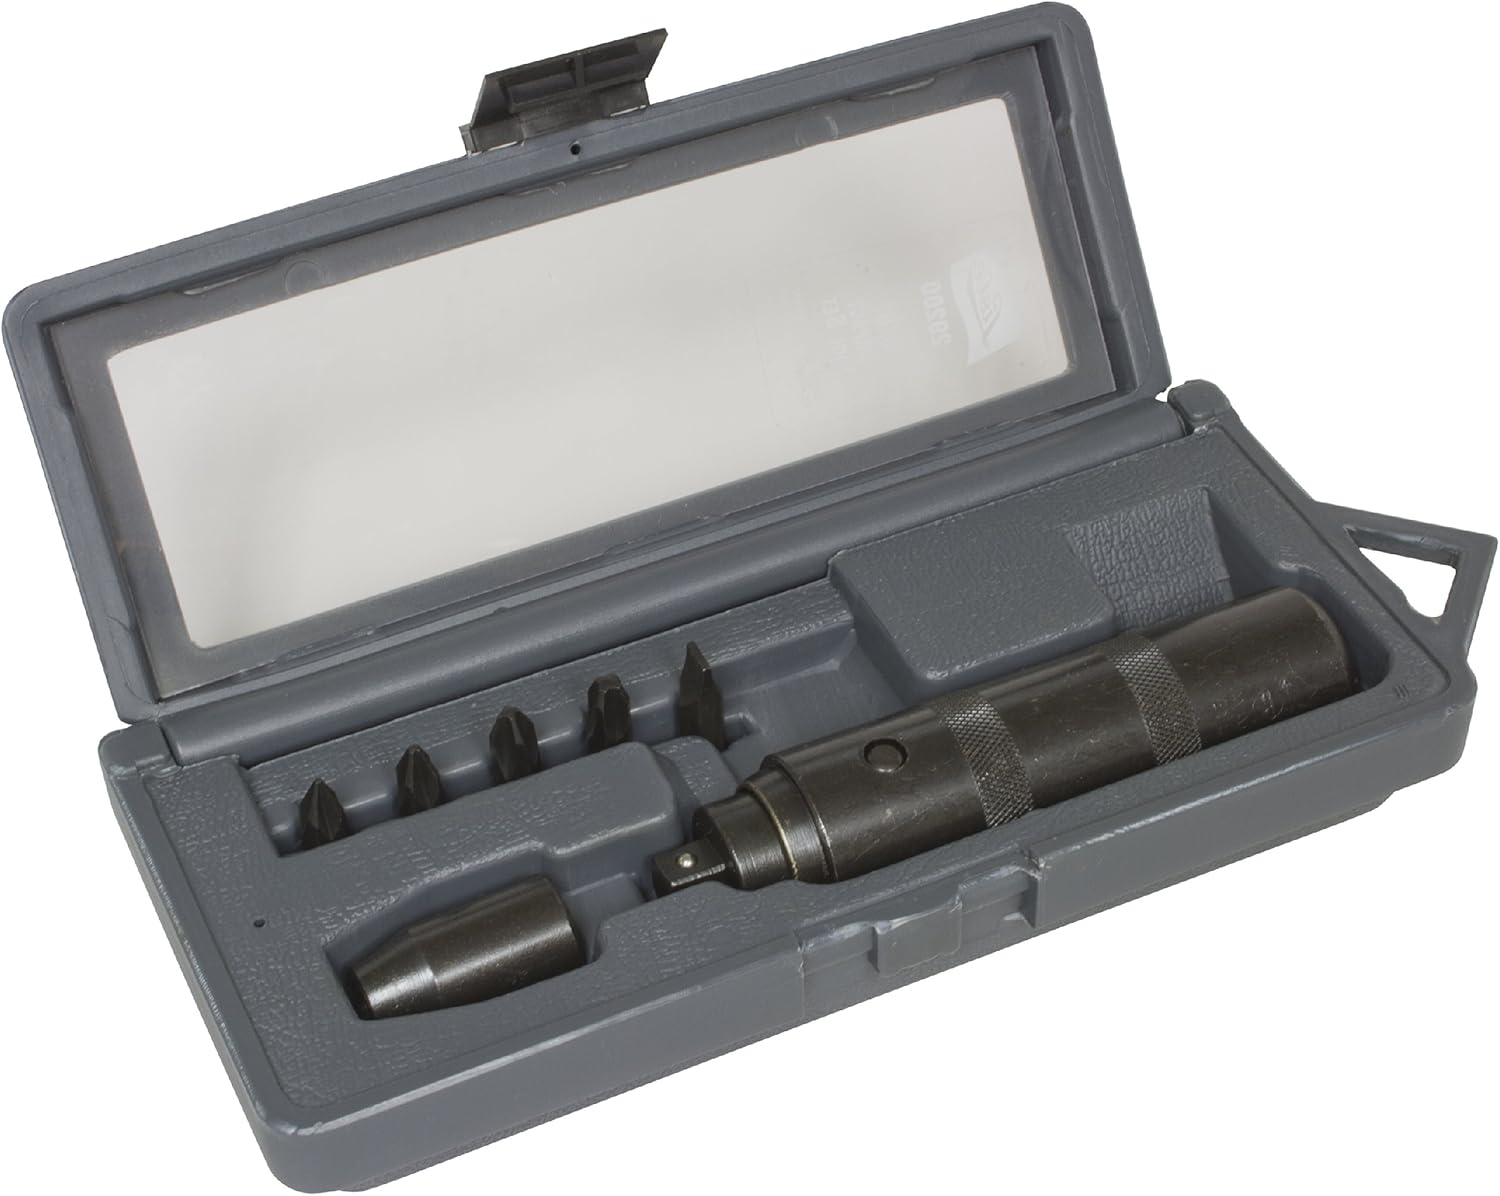
An impact screwdriver for loosening difficult screws (I've had this brand for 40 years and love it, it's a Lisle 29200 3/8" Hand Impact Tool Set).
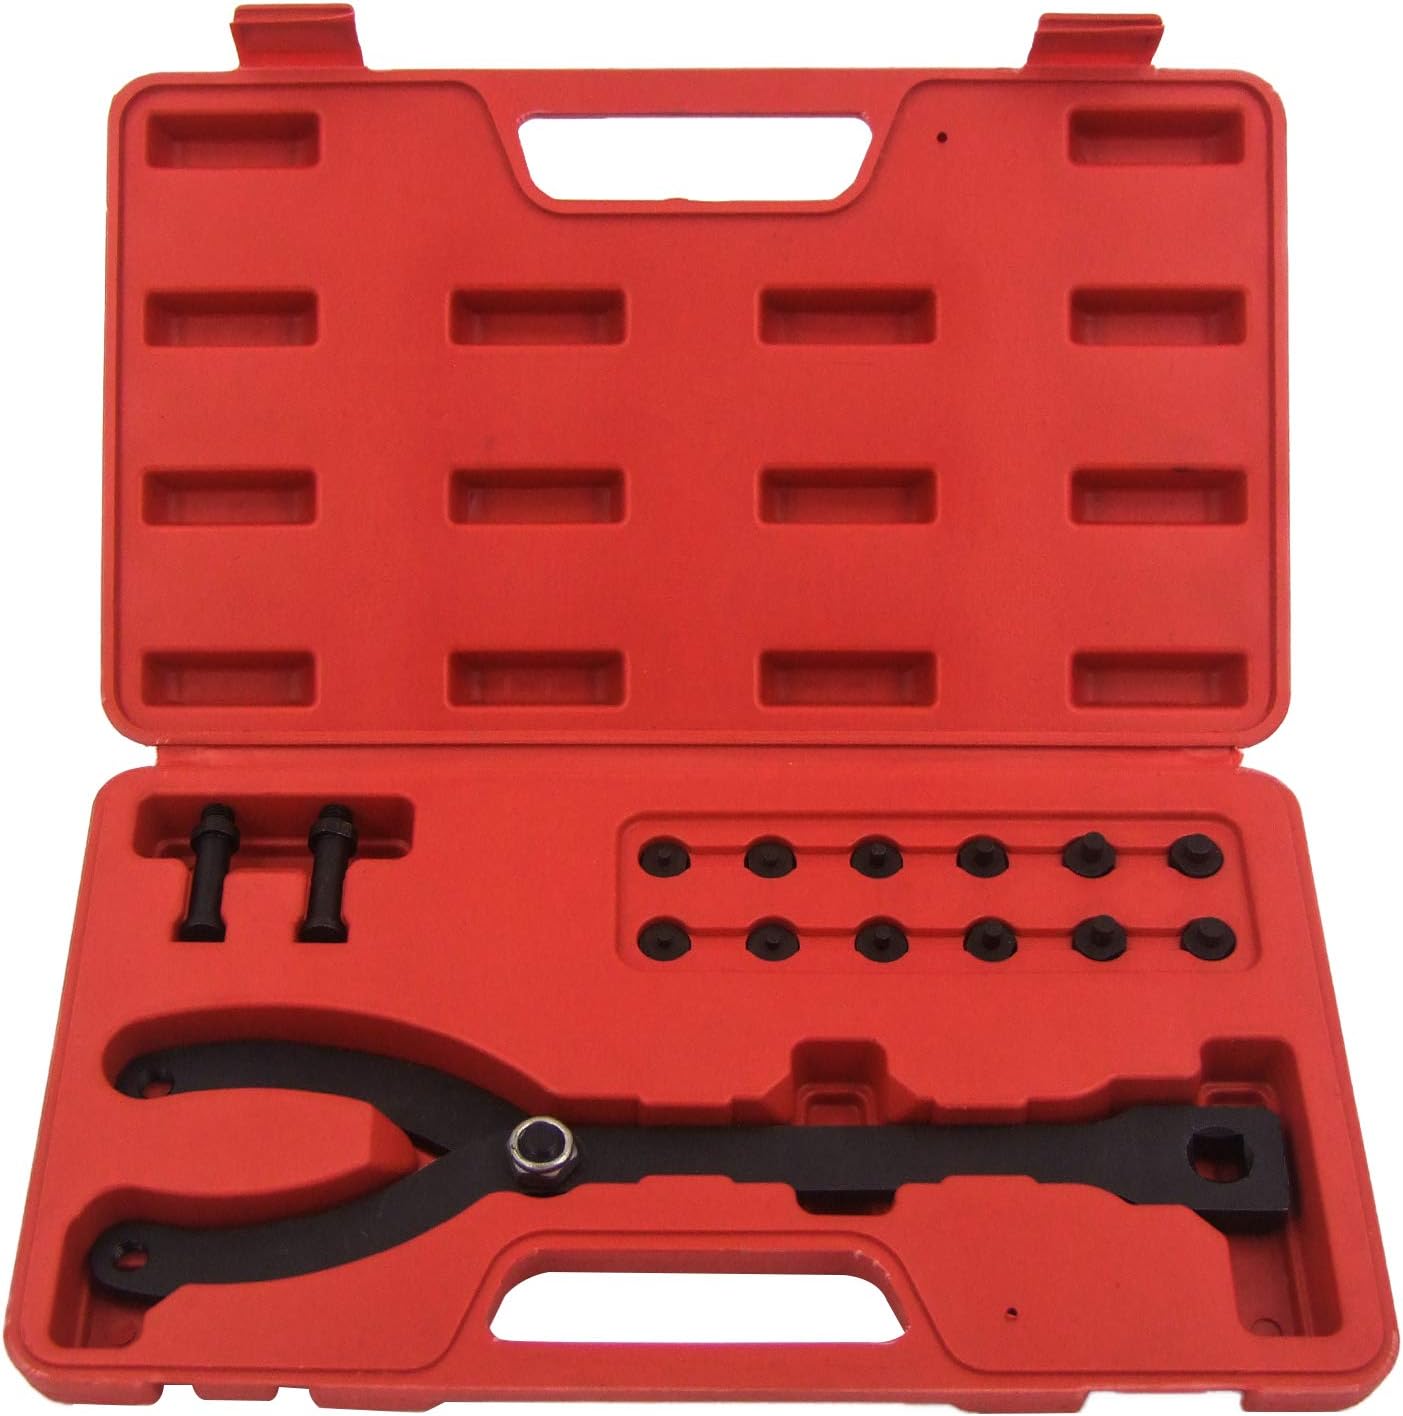
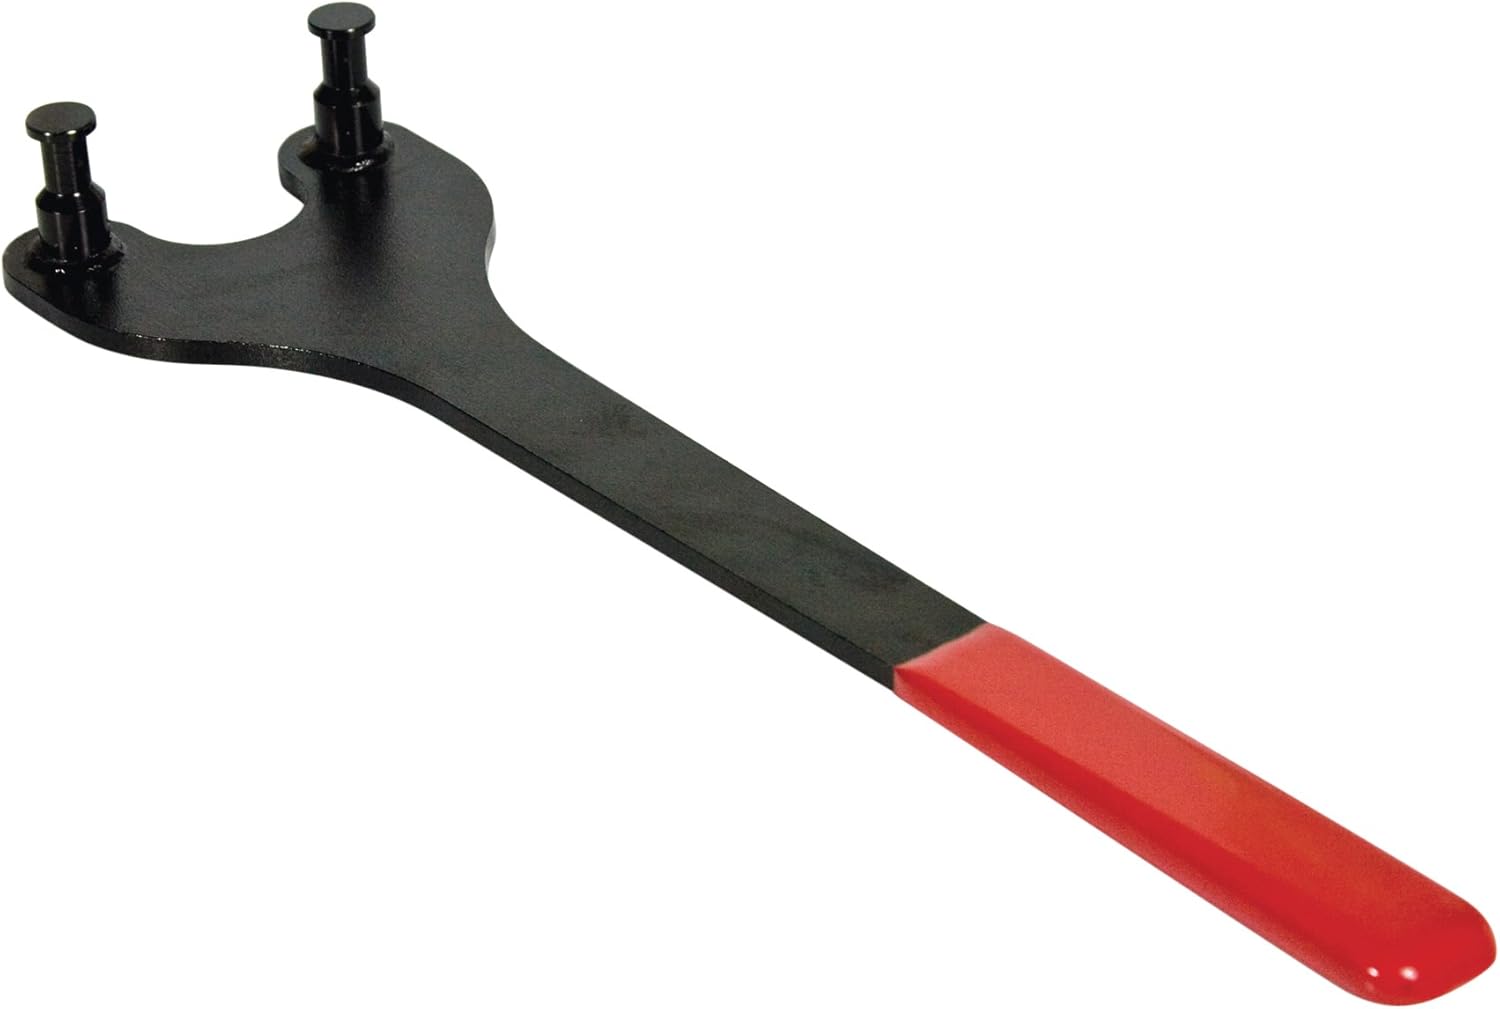
A universal cam gear holder for positioning or removing the cam gear (possible substitute for the discontinued Toyota SST 09960-10010?), or, below that, the simpler pin wrench for the same purpose.
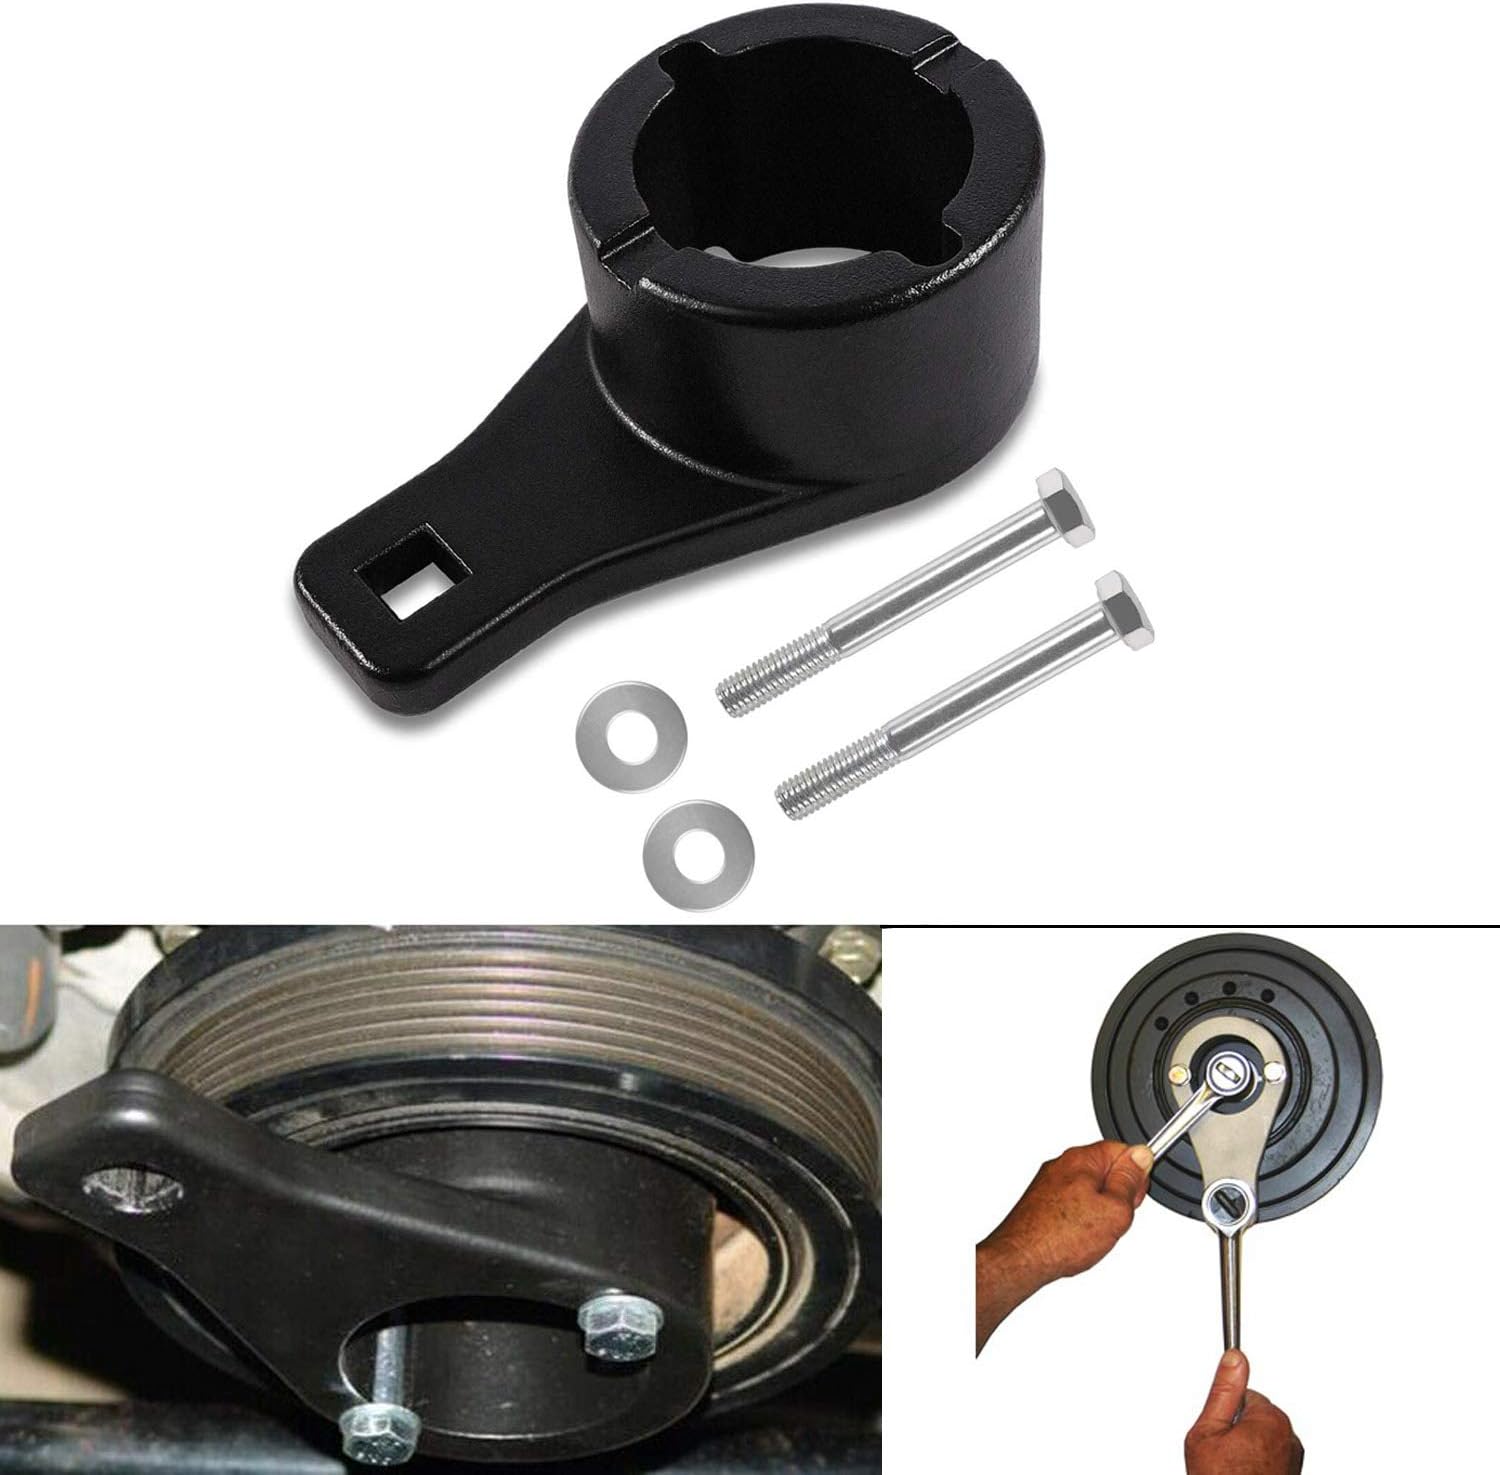
A crankshaft end bolt removal tool (possible substitute for SST 09213-70011?), or, use the "bump stop" method.
A universal harmonic balancer remover (possible substitute for SST 09950-50013?), or, below that, a simpler version for the same purpose (may need to supply one's own 8mm bolts if they aren't included).
The last tool is a universal seal puller, in case one needs to replace leaky cam or crank seals.
I've done Toyota TB jobs without most of these tools, sometimes fabricating SST's as I go, or using universal tools I have on hand. If anyone has any feedback on using any of these, I'm interested in hearing it, as I'm considering investing in some before my next TB job.
More cool and inexpensive tools available on Amazon!
An impact screwdriver for loosening difficult screws (I've had this brand for 40 years and love it, it's a Lisle 29200 3/8" Hand Impact Tool Set).
A universal cam gear holder for positioning or removing the cam gear (possible substitute for the discontinued Toyota SST 09960-10010?), or, below that, the simpler pin wrench for the same purpose.
A crankshaft end bolt removal tool (possible substitute for SST 09213-70011?), or, use the "bump stop" method.
A universal harmonic balancer remover (possible substitute for SST 09950-50013?), or, below that, a simpler version for the same purpose (may need to supply one's own 8mm bolts if they aren't included).
The last tool is a universal seal puller, in case one needs to replace leaky cam or crank seals.
I've done Toyota TB jobs without most of these tools, sometimes fabricating SST's as I go, or using universal tools I have on hand. If anyone has any feedback on using any of these, I'm interested in hearing it, as I'm considering investing in some before my next TB job.
I've got these 3 in my toolbox.
The impact driver dates back to when I rode Norton motorcycles. Although I never saw evidence, they must have used some sort of thread locker on the Phillips screws. Haven't used it in a long while, but it does work when all else fails on a getting a screw out.
I used the crank end bolt remover on a LX470. I wasn't confident about the bump start method. Ended up with a 2-foot section of galvanized pipe over a 1/2" breaker bar to get that sucker to break free (and a chain wrench to hold the pulley in place)
The balancer puller has com in handy for lots of things, including pulling a steering wheel on an old Mopar that was quite a tight fit.
I used the crank end bolt remover on a LX470. I wasn't confident about the bump start method. Ended up with a 2-foot section of galvanized pipe over a 1/2" breaker bar to get that sucker to break free (and a chain wrench to hold the pulley in place)
Thanks for the feedback! To clarify, you used the chain wrench before you bought your removal tool, right? Using a chain wrench is risky because you risk cracking/stressing the rubber between the inner-hub and outer-pulley which make up the harmonic balancer (HB).
In one of the YouTube TB videos, the guy simply removed the end bolt with an air-impact gun, without a tool to hold the HB stationary, and then removed the HB by hand, without a puller tool! He claimed it had never been removed before, and thus, was anticipating trouble. This guy must be living right...I'm never that lucky! Too, I'm not sure why an air-impact doesn't simply rotate the whole crank counter-clockwise if one is not using any sort of tool to hold it stationary. It seems "counter" intuitive, but for my next TB job, I'm trying this method first! For my first four TB jobs, I didn't even own a air-impact gun, but now have a really good one. I also have a 3/8" air ratchet, and I'm shopping for a 1/4" air ratchet, although, a electric/rechargeable version may be better. Any opinions on this?
I've used the "bump start" method with success, but it seemed risky (not sure why). While I understand the logic, when it comes time to put the crank bolt back in, one still needs a tool to hold the HB stationary while torquing the bolt to 181 ft lbs. You can't do a reverse bump start! I fabricated a tool for this by cutting and drilling some Uni-strut. I've use the same tool for subsequent TB jobs for removal and for re-torquing, but it is somewhat flimsy, so I'll likely spring for the tool.
Another method I've used to hold the crank stationary was by accessing the flywheel (starter) gear through an access point, and wedging a large screwdriver in the gear teeth. This takes an extra set of hands to give your engine a wedgie!
@Wilson2000 To be honest I can't remember much of the sequence in how I used the tools. It's been 6 years and the vehicle is gone - my brain tends to dump any info not currently needed. I like to think I know so much that there's no more storage room, but the reality is I'm just old and have to look at my driver's license to remember my name.
At the time I do remember the only impact I had at the time was the cheapest 1/2" they had at Harbor Freight. It couldn't break free the bolt, hence my search for alternate, and affordable tools began. I "think" I tried holding the pulley with the chain wrench but it started slipping and I was afraid to really clamp down on it to avoid damage. Hence buying the crank end tool.
Edit: Sort of funny they show what likes like a 3/8" ratchet on the tool. I actually used two 1/2" breaker bars and 2 pieces of galvanized pipe. Wedged one (using the pictured tool) against the inner fender and pulled hard on the other attached to the bolt itself to break it free.
Last edited by oneround; Aug 23, 2021 at 03:33 PM.
Reason: remembered
Thanks for the feedback! To clarify, you used the chain wrench before you bought your removal tool, right? Using a chain wrench is risky because you risk cracking/stressing the rubber between the inner-hub and outer-pulley which make up the harmonic balancer (HB).
In one of the YouTube TB videos, the guy simply removed the end bolt with an air-impact gun, without a tool to hold the HB stationary, and then removed the HB by hand, without a puller tool! He claimed it had never been removed before, and thus, was anticipating trouble. This guy must be living right...I'm never that lucky! Too, I'm not sure why an air-impact doesn't simply rotate the whole crank counter-clockwise if one is not using any sort of tool to hold it stationary. It seems "counter" intuitive, but for my next TB job, I'm trying this method first! For my first four TB jobs, I didn't even own a air-impact gun, but now have a really good one. I also have a 3/8" air ratchet, and I'm shopping for a 1/4" air ratchet, although, a electric/rechargeable version may be better. Any opinions on this?
I've used the "bump start" method with success, but it seemed risky (not sure why). While I understand the logic, when it comes time to put the crank bolt back in, one still needs a tool to hold the HB stationary while torquing the bolt to 181 ft lbs. You can't do a reverse bump start! I fabricated a tool for this by cutting and drilling some Uni-strut. I've use the same tool for subsequent TB jobs for removal and for re-torquing, but it is somewhat flimsy, so I'll likely spring for the tool.
Another method I've used to hold the crank stationary was by accessing the flywheel (starter) gear through an access point, and wedging a large screwdriver in the gear teeth. This takes an extra set of hands to give your engine a wedgie!
Originally Posted by oneround
@Wilson2000 To be honest I can't remember much of the sequence in how I used the tools. It's been 6 years and the vehicle is gone - my brain tends to dump any info not currently needed. I like to think I know so much that there's no more storage room, but the reality is I'm just old and have to look at my driver's license to remember my name.
At the time I do remember the only impact I had at the time was the cheapest 1/2" they had at Harbor Freight. It couldn't break free the bolt, hence my search for alternate, and affordable tools began. I "think" I tried holding the pulley with the chain wrench but it started slipping and I was afraid to really clamp down on it to avoid damage. Hence buying the crank end tool.
Edit: Sort of funny they show what likes like a 3/8" ratchet on the tool. I actually used two 1/2" breaker bars and 2 pieces of galvanized pipe. Wedged one (using the pictured tool) against the inner fender and pulled hard on the other attached to the bolt itself to break it free.
I made a crank hold tool to tighten the crank bolt but used the starter to loosen it�