Lighting Modernization


Thread Starter
Instructor


Joined: Jun 2019
Posts: 1,135
Likes: 292
From: CA
I see a lot of talk about bulbs in some of the other threads, so I wanted to share what I've done.
I'll take some pics next time I'm out, but it looks SO much more modern than before. (and brighter)
Here's what I used:
Interior:
Overhead lights:
Sun Visor Lights:
Door & Trunk Lights:

Driver side footwell:
Passenger footwell & glove box:
NOTE: For the passenger side footwell, I had to sand just a tiny bit off each side of the connector to make it fit with a sanding wheel. I didn't use the same bulb as the driver side because it sat too close to the lens and refracted a weird blue disco ball. It doesn't do this on the driver side because the bulb is pointed in a different direction. And in the glovebox, the driver side footwell bulb wouldn't sit snug in the socket, but the passenger side footwell one worked plug-and-play.
Exterior:
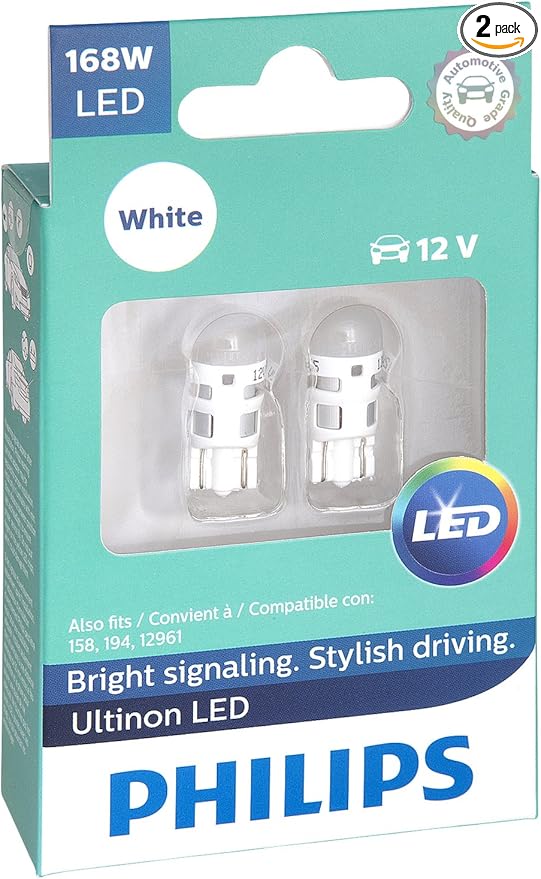
Parking Light bulbs:
Front turn Signal: https://weisslicht.com/products/weis...22924925698129

Rear Turn Signal: https://weisslicht.com/products/weis...22924928876625

Reverse:

NOTE: The rear turn signal bulb "fits" but doesn't SNAP in tight. It's not going anywhere, but it doesn't give you the satisfying snap. I had the same problem with the GP thunder bulbs, I think maybe our socket is a little non-standard. I emailed weisslicht to see if they can do anything about it. I haven't installed the fronts yet as it requires taking the bumper off.
Also, the reverse lights JUST fit in the housing, barely. You might have to fiddle with it for a minute to get the exact right fit to get the connector to screw back in, but it's in.
And the parking lights stick out a little farther than a regular 194 bulb, but i really like that they have a "bulb like" cover over them so you don't really notice them. I prefer this to a oem size LED where you can see the actual LEDs for this location. I don't even notice they're there when the lights are off.
I'll take some pics next time I'm out, but it looks SO much more modern than before. (and brighter)
Here's what I used:
Interior:
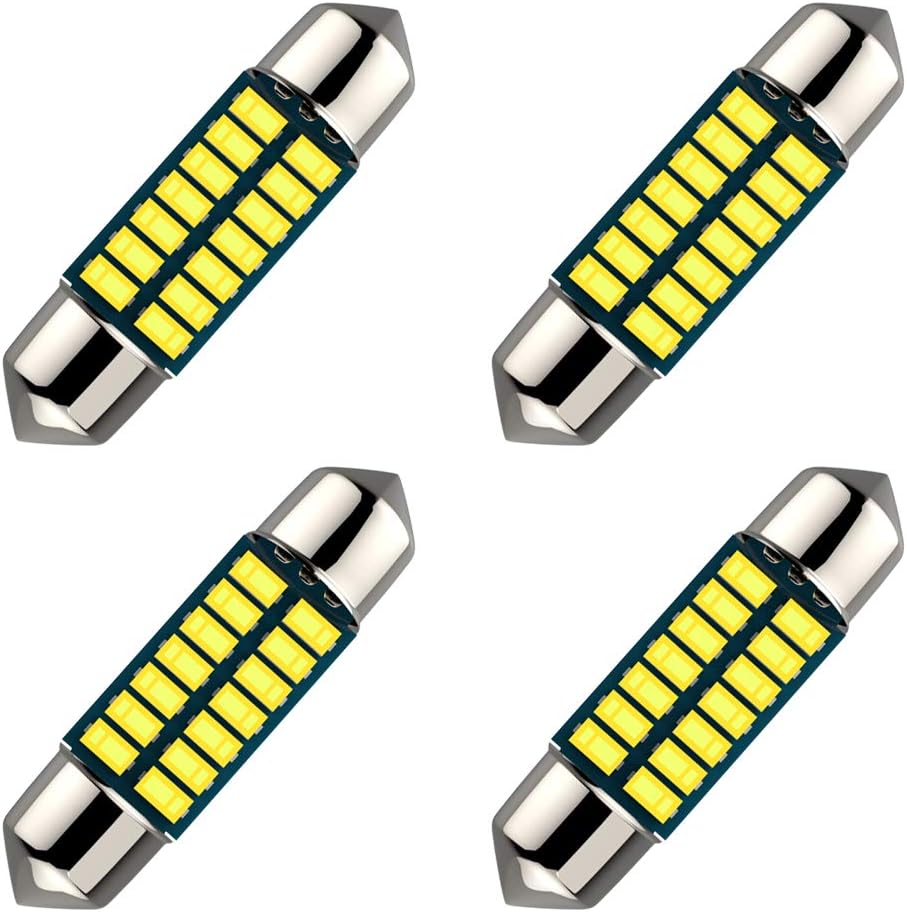
Overhead lights:
Sun Visor Lights:
Door & Trunk Lights:
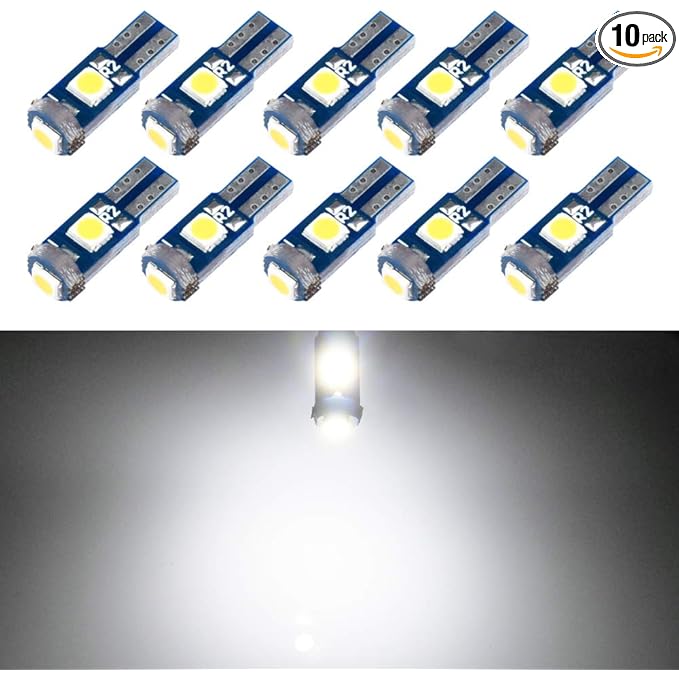
Driver side footwell:
Passenger footwell & glove box:
NOTE: For the passenger side footwell, I had to sand just a tiny bit off each side of the connector to make it fit with a sanding wheel. I didn't use the same bulb as the driver side because it sat too close to the lens and refracted a weird blue disco ball. It doesn't do this on the driver side because the bulb is pointed in a different direction. And in the glovebox, the driver side footwell bulb wouldn't sit snug in the socket, but the passenger side footwell one worked plug-and-play.
Exterior:
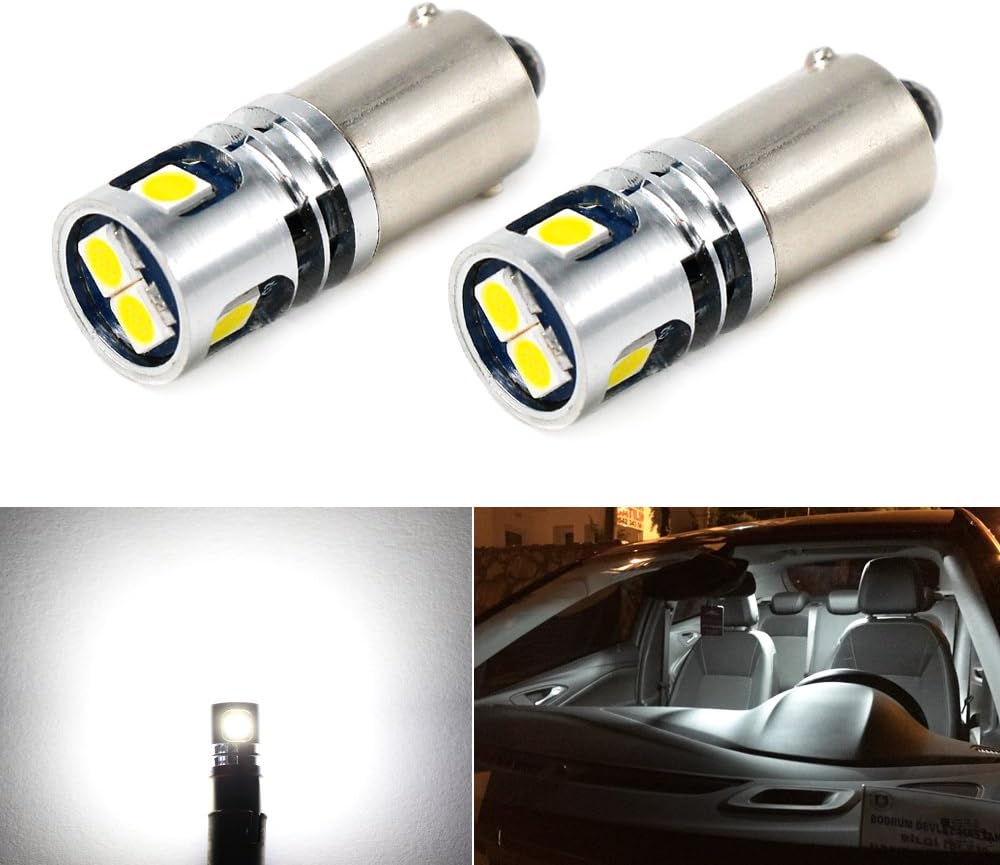
Parking Light bulbs:
Front turn Signal: https://weisslicht.com/products/weis...22924925698129
Rear Turn Signal: https://weisslicht.com/products/weis...22924928876625
Reverse:
NOTE: The rear turn signal bulb "fits" but doesn't SNAP in tight. It's not going anywhere, but it doesn't give you the satisfying snap. I had the same problem with the GP thunder bulbs, I think maybe our socket is a little non-standard. I emailed weisslicht to see if they can do anything about it. I haven't installed the fronts yet as it requires taking the bumper off.
Also, the reverse lights JUST fit in the housing, barely. You might have to fiddle with it for a minute to get the exact right fit to get the connector to screw back in, but it's in.
And the parking lights stick out a little farther than a regular 194 bulb, but i really like that they have a "bulb like" cover over them so you don't really notice them. I prefer this to a oem size LED where you can see the actual LEDs for this location. I don't even notice they're there when the lights are off.
Last edited by joemg; Sep 26, 2019 at 08:49 PM.

Racer
Joined: Aug 2019
Posts: 1,757
Likes: 355
From: CA
I thought about going that route on the "interior" but decided that I actually preferred the soft yellow glow of the incandescent bulbs versus the very bright "harsh" white. It's just a personal preference.
Paul
Paul
Thread Starter
Instructor
Joined: Jun 2019
Posts: 1,135
Likes: 292
From: CA
One thing I will say about the car's fixtures is they do a nice job of diffusing the bright light so it doesn't come off as stark or abrasive. Though the sun visor LEDs are far too much light, if someone is considering this, you could look for ones with fewer LEDs, but it's really not that bad since there's a thick plastic piece in front of it.

Thread Starter
Instructor
Joined: Jun 2019
Posts: 1,135
Likes: 292
From: CA
Interior:

Puddle Light (don't mind the sticker over the window controls, just had windows tinted and they put that over the controls to remind me not to use the window for a few days):

Trunk:


Puddle Light (don't mind the sticker over the window controls, just had windows tinted and they put that over the controls to remind me not to use the window for a few days):
Trunk:
Last edited by joemg; Sep 27, 2019 at 10:29 AM.

CL Community Team

Joined: Apr 2007
Posts: 12,397
Likes: 453
From: GA
Nice. I have updated mine however that was a long time ago, the new LEDs are great. I used the 1st generation ones. Some of the ones I put on in my daily had to be replaced, they just quit working. I did buy a few so I have spares. But yeah we have options today. Great upgrade.
Trending Topics

Lead Lap
Joined: Aug 2006
Posts: 4,759
Likes: 416
From: Texas
It is timely that you posted this. I recently had my passenger side footwell light go out. It was the old LED bulb. I tried replacing it but couldn't get the new one in without destroying it. (I finally gave up thinking that maybe the socket is damaged.) I remembered having a lot of trouble replacing it and needing to shave the corners off it to get it to go in.
So when you say that you had to shave the sides of the passenger side footwell LEDs, do you mean the entire side or just the corners where it is inserted?
So when you say that you had to shave the sides of the passenger side footwell LEDs, do you mean the entire side or just the corners where it is inserted?
Thread Starter
Instructor
Joined: Jun 2019
Posts: 1,135
Likes: 292
From: CA
It is timely that you posted this. I recently had my passenger side footwell light go out. It was the old LED bulb. I tried replacing it but couldn't get the new one in without destroying it. (I finally gave up thinking that maybe the socket is damaged.) I remembered having a lot of trouble replacing it and needing to shave the corners off it to get it to go in.
So when you say that you had to shave the sides of the passenger side footwell LEDs, do you mean the entire side or just the corners where it is inserted?
So when you say that you had to shave the sides of the passenger side footwell LEDs, do you mean the entire side or just the corners where it is inserted?
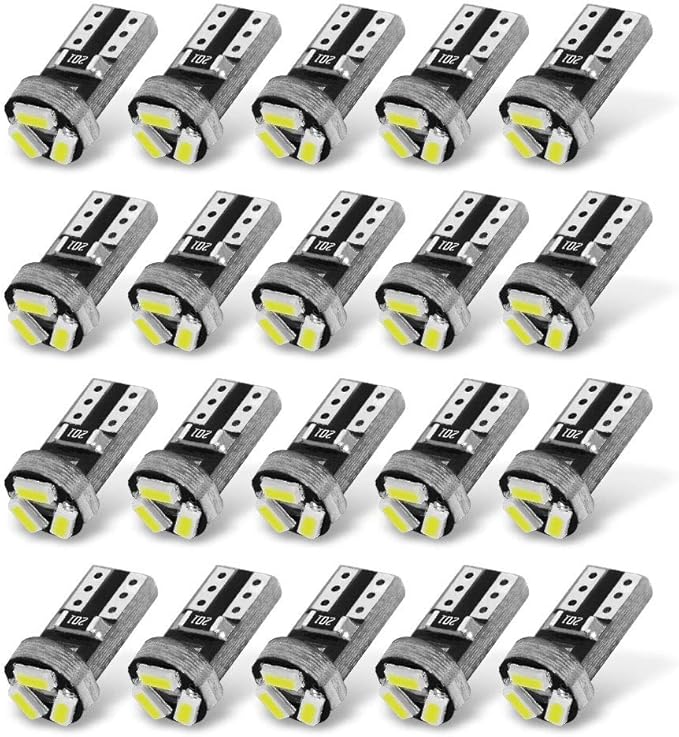
I shaved both sides along the length of the silver contact area on the PCB side (meaning don't sand the silver part). I only shaved the part that goes into the socket, so just where the silver section with the 3 dots are. I took just a tiny bit off each side. Don't take much or it'll be loose.
It helped that I had the other bulbs handy to compare width side by side.
Lead Lap
Joined: Aug 2006
Posts: 4,759
Likes: 416
From: Texas
Thanks and BTW, thanks for showing pictures of all the bulbs. In the past, we've typically just mentioned the part numbers or links. This is helpful.
So was it very difficult for you to plug these into the passenger side footwell? Mine was crazy hard.
So was it very difficult for you to plug these into the passenger side footwell? Mine was crazy hard.
Last edited by Harold57; Sep 28, 2019 at 04:12 PM.
Thread Starter
Instructor
Joined: Jun 2019
Posts: 1,135
Likes: 292
From: CA
Thank you!
That side is a pain in the ***, but after sanding a hair or 2 off of each side they went right in snugly. The funny thing is, they fit without any modification in the glove box, where as the bulb i used for the driver side footwell was loose and kept falling out of the glovebox, but fit just fine in the driver side footwell. go figure.
Pit Crew
Joined: Jun 2017
Posts: 143
Likes: 19
From: Michigan
Just did this on our 2004
One issue was it was hard to pull out the passenger and driver footwell bulbs. Couldn't get a grip on them and they are small glass bulbs. Didn't want to break them. Worried pliers would crush them. What worked was using double sided tape, small piece, put it around the bulb and use the other sticky side to pull with. Likely regular tape would work leaving a tail to pull them out with.
One issue was it was hard to pull out the passenger and driver footwell bulbs. Couldn't get a grip on them and they are small glass bulbs. Didn't want to break them. Worried pliers would crush them. What worked was using double sided tape, small piece, put it around the bulb and use the other sticky side to pull with. Likely regular tape would work leaving a tail to pull them out with.
Lead Lap
Joined: Aug 2006
Posts: 4,759
Likes: 416
From: Texas
Just did this on our 2004
One issue was it was hard to pull out the passenger and driver footwell bulbs. Couldn't get a grip on them and they are small glass bulbs. Didn't want to break them. Worried pliers would crush them. What worked was using double sided tape, small piece, put it around the bulb and use the other sticky side to pull with. Likely regular tape would work leaving a tail to pull them out with.
One issue was it was hard to pull out the passenger and driver footwell bulbs. Couldn't get a grip on them and they are small glass bulbs. Didn't want to break them. Worried pliers would crush them. What worked was using double sided tape, small piece, put it around the bulb and use the other sticky side to pull with. Likely regular tape would work leaving a tail to pull them out with.