When you click on links to various merchants on this site and make a purchase, this can result in this site earning a commission. Affiliate programs and affiliations include, but are not limited to, the eBay Partner Network.
The car I just purchased had some missing segments in the LCD screen. The seller agreed to order a new screen. I was OK with that. How hard could it be. Unplug old screen, plug in new screen put it all back together.... I should have watched the how-to video from the screen seller. They show how to get to the screen, they do not show how they replace the screen, then they show how to put it all back together again.
70 pins soldered to circuit board. I do not have the skill or tools to do that. After 2 passes with the de-soldering wick, I de-soldered and pulled them out one pin at at time. Then I spent a couple hours cleaning out the 70 holes and trying to get all 70 pins into the board at once.
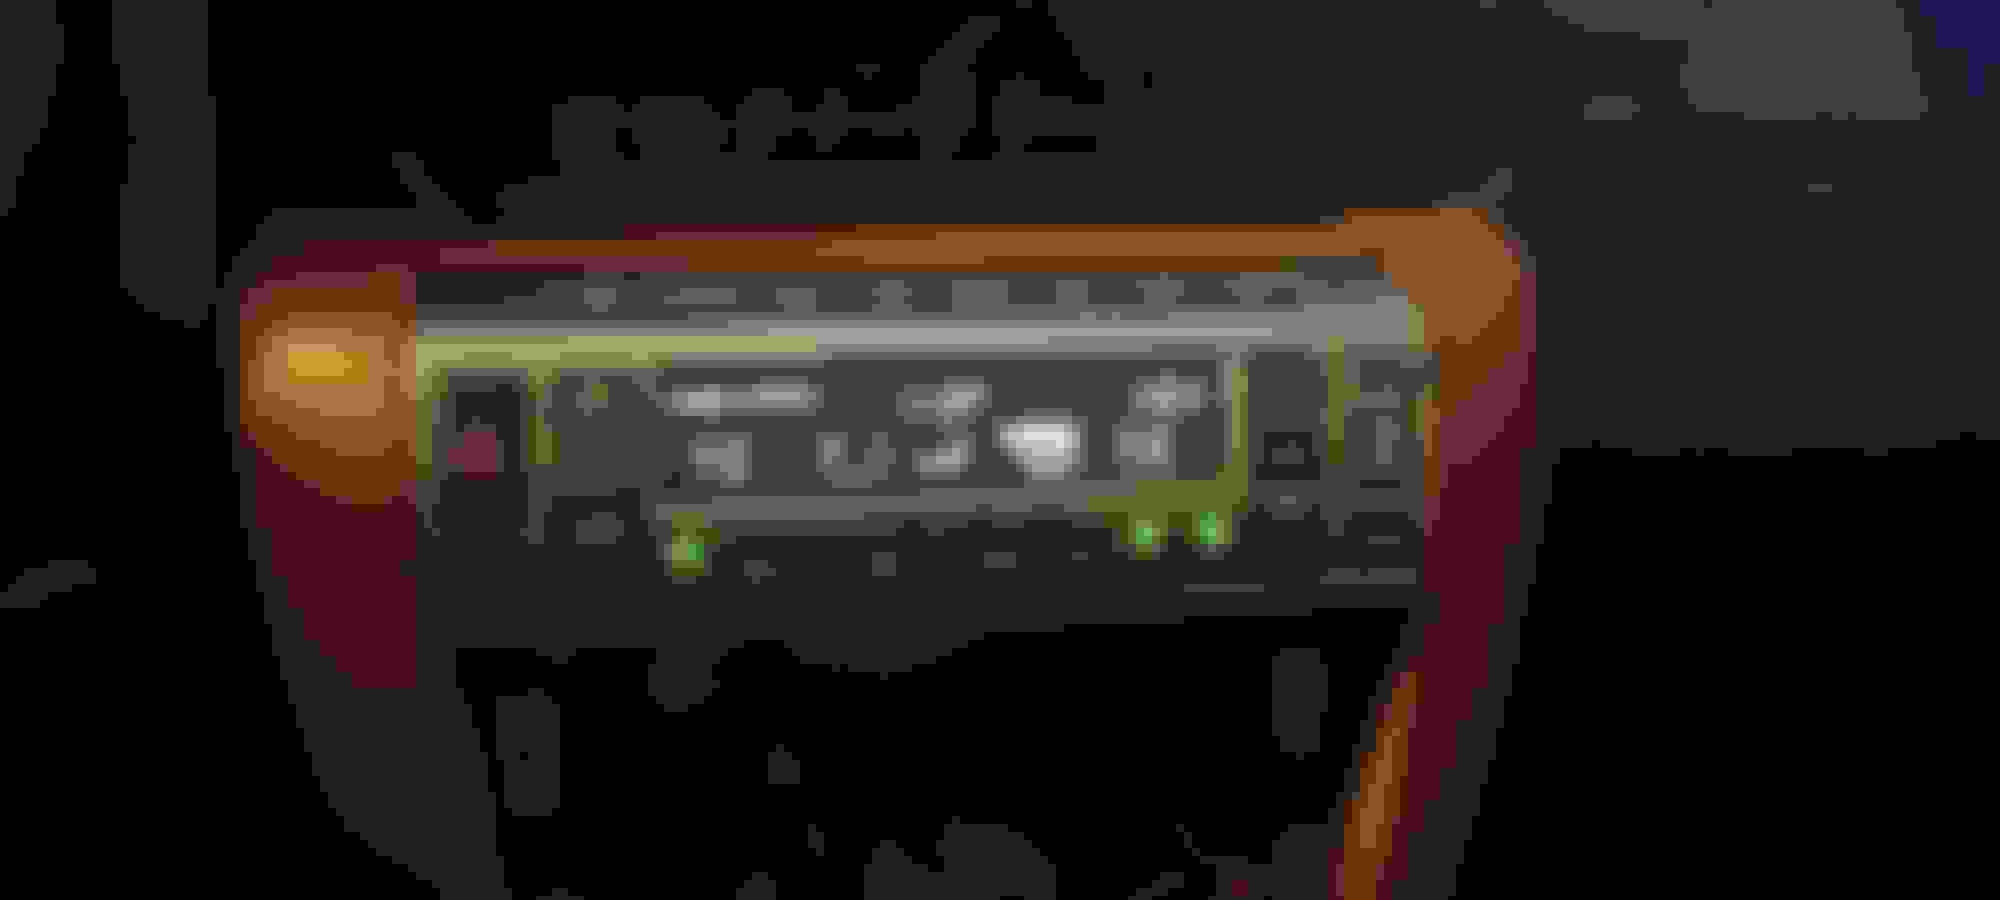
Results. Black background, white characters.
Unless you have the skills and tools, send your unit to WI and pay the man $100 labor to install the screen.
The car I just purchased had some missing segments in the LCD screen. The seller agreed to order a new screen. I was OK with that. How hard could it be. Unplug old screen, plug in new screen put it all back together.... I should have watched the how-to video from the screen seller. They show how to get to the screen, they do not show how they replace the screen, then they show how to put it all back together again.
70 pins soldered to circuit board. I do not have the skill or tools to do that. After 2 passes with the de-soldering wick, I de-soldered and pulled them out one pin at at time. Then I spent a couple hours cleaning out the 70 holes and trying to get all 70 pins into the board at once.
Results. Black background, white characters.
Unless you have the skills and tools, send your unit to WI and pay the man $100 labor to install the screen.
I solder quite often, but I took a look at all those pins and decided it wasn't worth risking the unit with my hobbyist skillset, since they're very expensive to replace.
They'll be working on mine this week. I went with the black LCD (so much more modern than the original) and i'm changing all the buttons to white to match the gauge cluster/new LCD. (I changed all the interior accents to white LED to match). I'll post pics when I get my unit back from Tanin.
$100 labor? How did you manage that? My unit is there right now ($300, not including new LEDs, glarescreen, and shipping
You're right. I was off by one (hundred). Thanks. I feel so much better about saving $200 + shipping, than $100.
I have never soldered on a circuit board like that before. I have never de-soldered like that before. Took me about 4 hours.
They must have a way to heat the entire board to be able to remove all 70 pins at once. Glitchy Mercedes cruise control boards could sometimes be fixed by covering the device side of the board in aluminum foil and putting it in a hot oven, device side down, for 10 minutes. It was suppose to melt all the solder enough to restore all the connections.
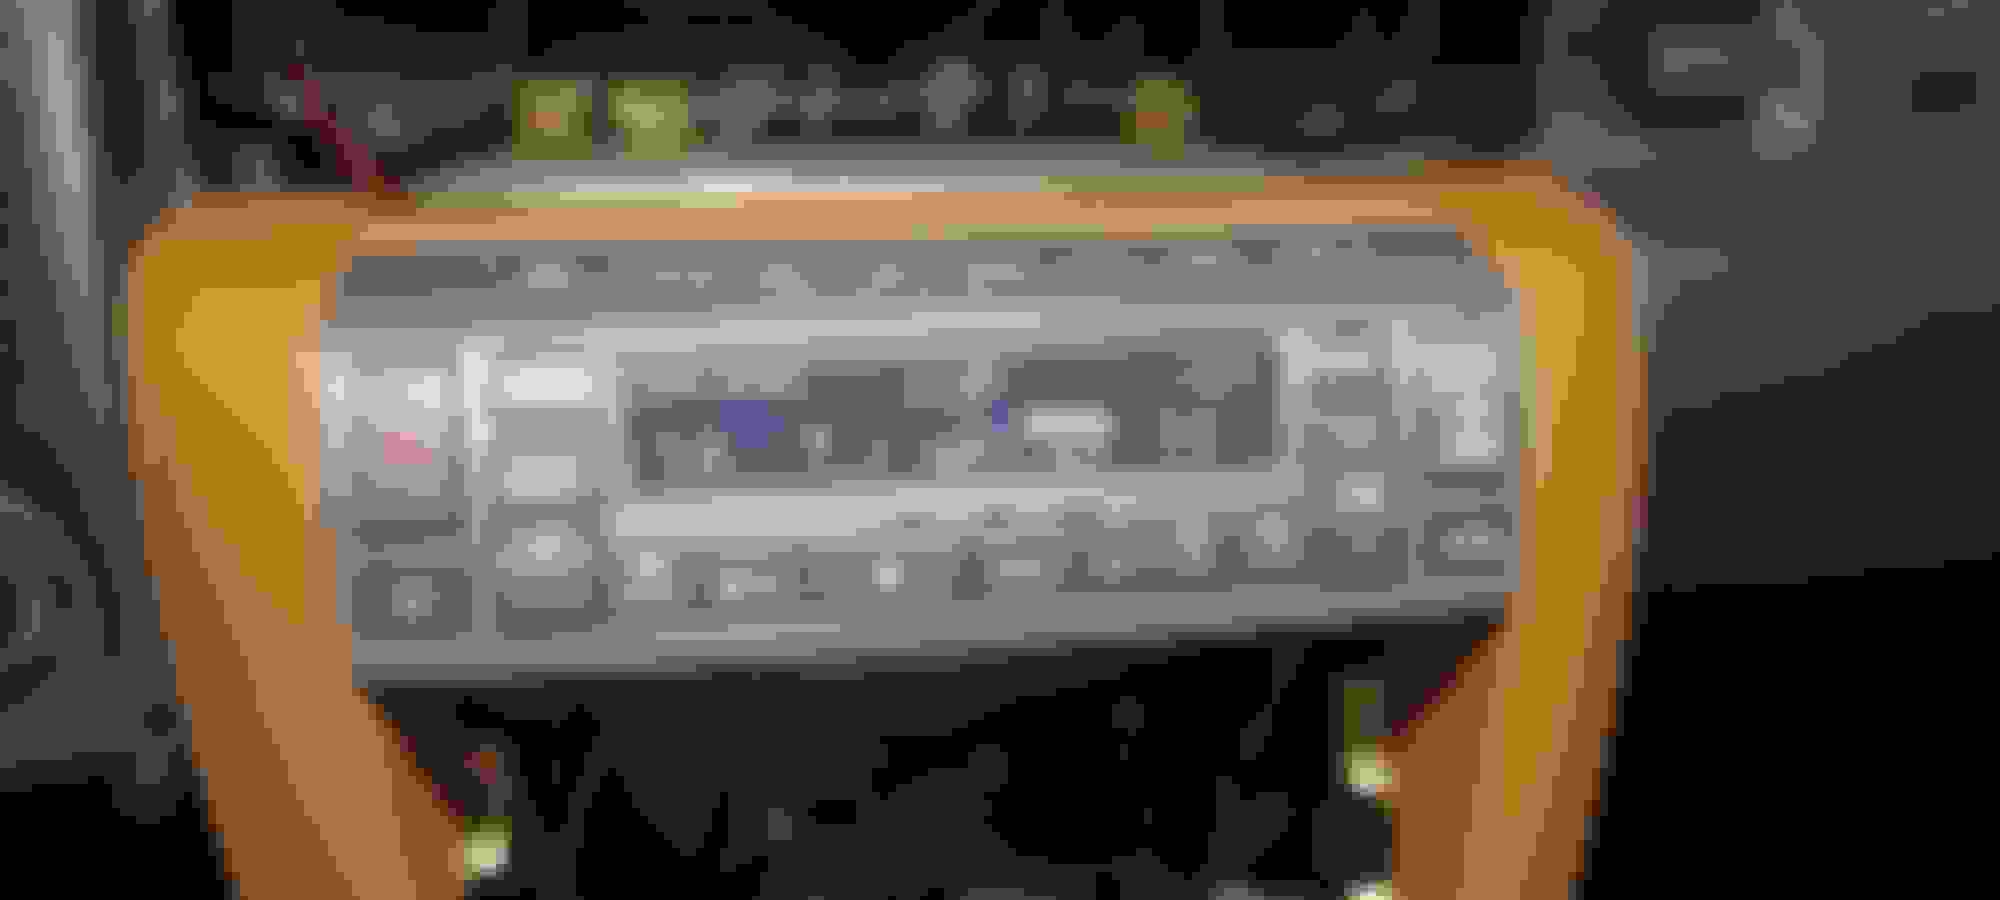
After the first drive with the top down and the sun shining, I think it was a mistake. I cannot see a single character on the display. I know of no way to increase the brightness or contrast.
After the first drive with the top down and the sun shining, I think it was a mistake. I cannot see a single character on the display. I know of no way to increase the brightness or contrast.
It doesn't help, but just curious, did you replace the factory anti-glare screen?
In fairness, I couldn't see the display in direct sunlight before ether. It really should be a matte screen or something that doesn't reflect light.
I had the day-cue film on the factory NAV and it works as best as I think anything is going to work in direct sunlight. They make DIY, cut to size kits too.
EDIT: Here's a comparison of their films: https://www.reddit.com/r/CarPlay/com...re_comparison/
Here is my unit that Tanin did (I haven't taken pics since installing yet). Is your screen so blue-ish? I wonder if it's the anti-glare on mine that's making it look so blue. That's why I'm curious if yours still has it. Your pics look whiter.
I removed the screen and I think it is better, but the sun is almost set, so I didn't get any direct sunlight on the screen. I will test it out mid day tomorrow.
Thanks.
Bright sunshine. I can make out the characters on the screen. Not as well as the OEM screen.
It is a marginally acceptable level of ecstasy. I would not make that choice again.
Bright sunshine. I can make out the characters on the screen. Not as well as the OEM screen.
It is a marginally acceptable level of ecstasy. I would not make that choice again.
I emailed nushield with dimensions, I’ll see if that’s a better option and report back.



 Replacing the HVAC LCD screen