O. L. T.
Keeper of the light
close


Mar 29, 2026
- Join DateFeb 2003
- LocationMy little world
- Posts:34,121
-
iTrader Positive Feedback100
-
iTrader Feedback Score(17)
-
Likes:307
-
Liked:475 Times in 277 Posts
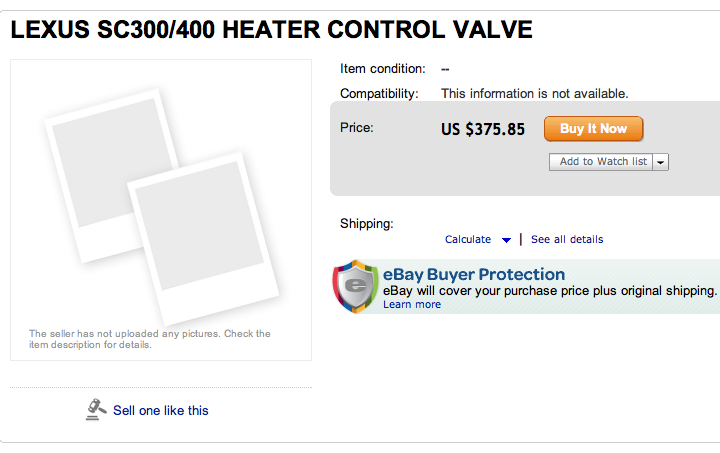
This is DIY #47 since 2003. Hell I've saved everyone so much money you can afford to give a little bit back.  This one you are gonna love...... $350 replacement part we are going to fix for $20 or so.
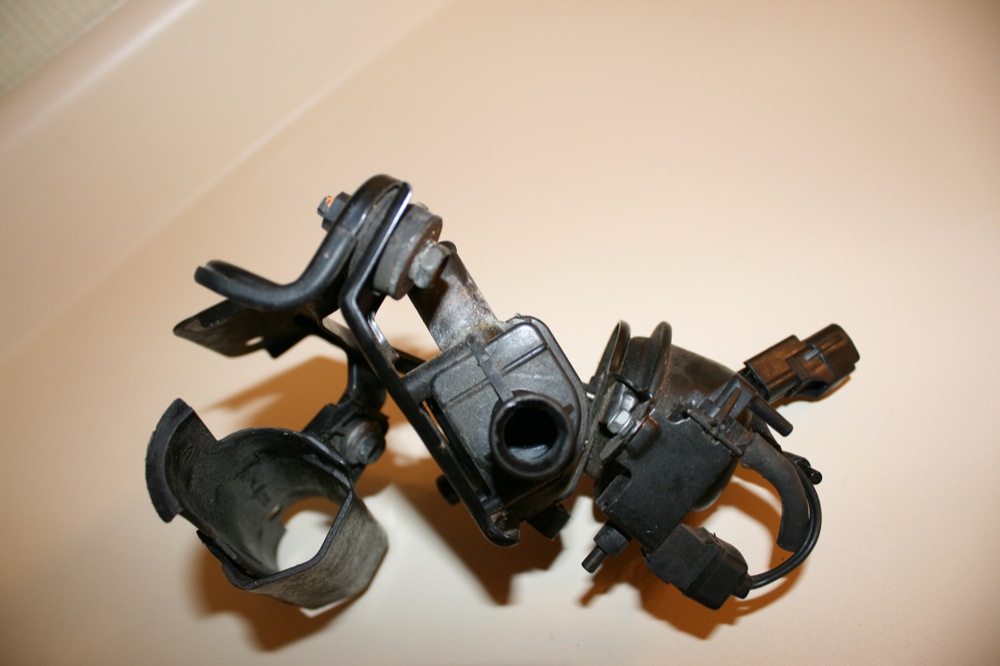
We've all seen this before.......
For this little bugger here.........


What we want......... MOTORCRAFT YG-368 Heater Control Valve
Price we pay......... $16.50 to $19.50
What it looks like......
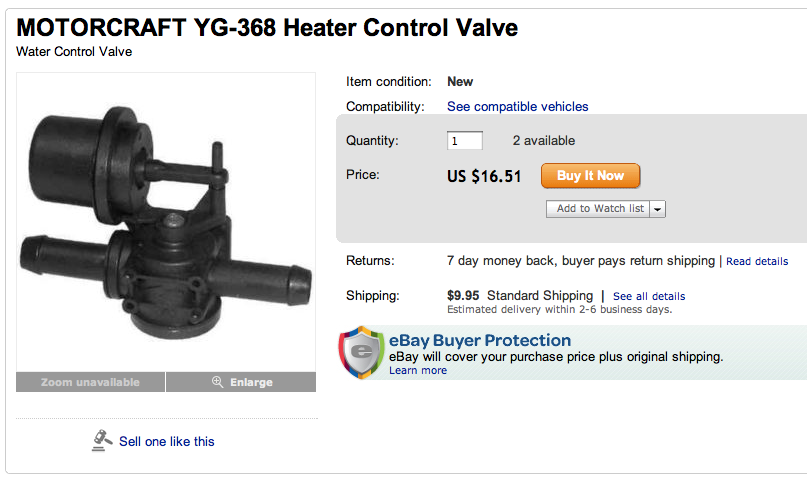
While it is true that this is not a right angle valve like the OEM, it is also not a $350 part. It changes nothing except that the hose moves slightly to accommodate the new input angle.
What I did was go looking for a self contained heater control valve. This means that it has both the valve, AND the vacuum canister on one frame. This keeps you from having to spend the REST OF YOUR LIFE trying to make the heater control valve and the vac canister actually work properly while you have duct taped the two a certain length apart to try and make them move just enough to open and close........ yeah F that, right? This Motorcraft unit is self contained vac AND valve in one. All you have to do is mount it on the old heater core valve's frame and hook it up!
The old valve comes of with two phillips screws and a 10mm bolt. This will separate the frame seen above in two pieces as the top lifts off that has the vac canister mounted to it. You still have plenty of room to mount the new valve on the half frame left over AND you can use one of the existing phillips screw holes on the frame to do so! The new valve comes with 4 mounting holes to choose from.
The swap is SO GRAVY you should be able to do it in about 15 minutes TOPS. Just unclamp the hoses and pull the vac line off the canister, then two 10mm bolts hold the heater core frame assembly photographed above from the body of the car. Then two phillips and a 10mm to split the frame. Then at least one phillips back in the new control valve to hold it to the frame, mount the frame back in and connect the hoses! (don't forget the vac line!)
SUPER GRAVY JOB and you have just fixed the heater valve that keeps hot air out in the summer and lets warm air in during the winter.
All for $20 and 20 minutes! Enjoy! Another O.L.T. DIY.............
This one you are gonna love...... $350 replacement part we are going to fix for $20 or so. We've all seen this before.......
For this little bugger here.........
What we want......... MOTORCRAFT YG-368 Heater Control Valve
Price we pay......... $16.50 to $19.50
What it looks like......
While it is true that this is not a right angle valve like the OEM, it is also not a $350 part.
It changes nothing except that the hose moves slightly to accommodate the new input angle.What I did was go looking for a self contained heater control valve. This means that it has both the valve, AND the vacuum canister on one frame. This keeps you from having to spend the REST OF YOUR LIFE trying to make the heater control valve and the vac canister actually work properly while you have duct taped the two a certain length apart to try and make them move just enough to open and close........ yeah F that, right? This Motorcraft unit is self contained vac AND valve in one.
All you have to do is mount it on the old heater core valve's frame and hook it up!The old valve comes of with two phillips screws and a 10mm bolt. This will separate the frame seen above in two pieces as the top lifts off that has the vac canister mounted to it. You still have plenty of room to mount the new valve on the half frame left over AND you can use one of the existing phillips screw holes on the frame to do so!
The new valve comes with 4 mounting holes to choose from.The swap is SO GRAVY you should be able to do it in about 15 minutes TOPS. Just unclamp the hoses and pull the vac line off the canister, then two 10mm bolts hold the heater core frame assembly photographed above from the body of the car. Then two phillips and a 10mm to split the frame. Then at least one phillips back in the new control valve to hold it to the frame, mount the frame back in and connect the hoses! (don't forget the vac line!)
SUPER GRAVY JOB and you have just fixed the heater valve that keeps hot air out in the summer and lets warm air in during the winter.
All for $20 and 20 minutes!
Enjoy! Another O.L.T. DIY.............Lexus Champion
Tight. Wish I would have seen this or thought of it before dropping $40 on another used valve. Oh well. I guess if the new used one starts leaking down the road I can go this route.
Lexus Champion
Check this one out. Right angle and metal construction...
http://compare.ebay.com/like/2004225...=sbar&_lwgsi=y
http://compare.ebay.com/like/2004225...=sbar&_lwgsi=y
O. L. T.
Keeper of the light
close
Mar 29, 2026
- Join DateFeb 2003
- LocationMy little world
- Posts:34,121
-
iTrader Positive Feedback100
-
iTrader Feedback Score(17)
-
Likes:307
-
Liked:475 Times in 277 Posts
Skipped that one for a few reasons. Stick to plastic so it doesn't leak internallly when it expands. Also that valve slides against the flow of the coolant (it's a 30 year old design replacement valve for an ooollddd car) and doesn't rotate in a circle to close no matter what the water pressure like the motorcraft one. The slider valve doesn't actually ever move out of the way totally so it is restrictive compared to the new design of a rotating valve. It would fit oddly in comparison, and is almost twice the price. Nothing really good about it at all.

Lead Lap
Love it. I think my valve is fubar'd so I'll have to try this when I'm done with paint and timing belt (in other words, not soon lol).
1JZ Single SC400
Your right.. Another great write up from the one and only..... OLT.
O. L. T.
Keeper of the light
close
Mar 29, 2026
- Join DateFeb 2003
- LocationMy little world
- Posts:34,121
-
iTrader Positive Feedback100
-
iTrader Feedback Score(17)
-
Likes:307
-
Liked:475 Times in 277 Posts
Well I certainly hope it helps broski's.

Driver School Candidate
Amazing. Amazing. AMAZING. GOOD FIND!!!! With winter coming this is a must. Mine has been broken since I got my car :x
THANK YOU SO MUCH!!! Saving money is always good.
THANK YOU SO MUCH!!! Saving money is always good.


